How to use the tesa® Adjustable Adhesive Screw for Tiles & Metal 3kg.

Using the tesa® Adjustable Adhesive Screw for Tiles & Metal 3kg

Using the tesa® Adjustable Adhesive Screw for Tiles & Metal 3kg. Smart, adjustable and damage-free wall-mounting on tiles without tools.

Cleaning the surface.

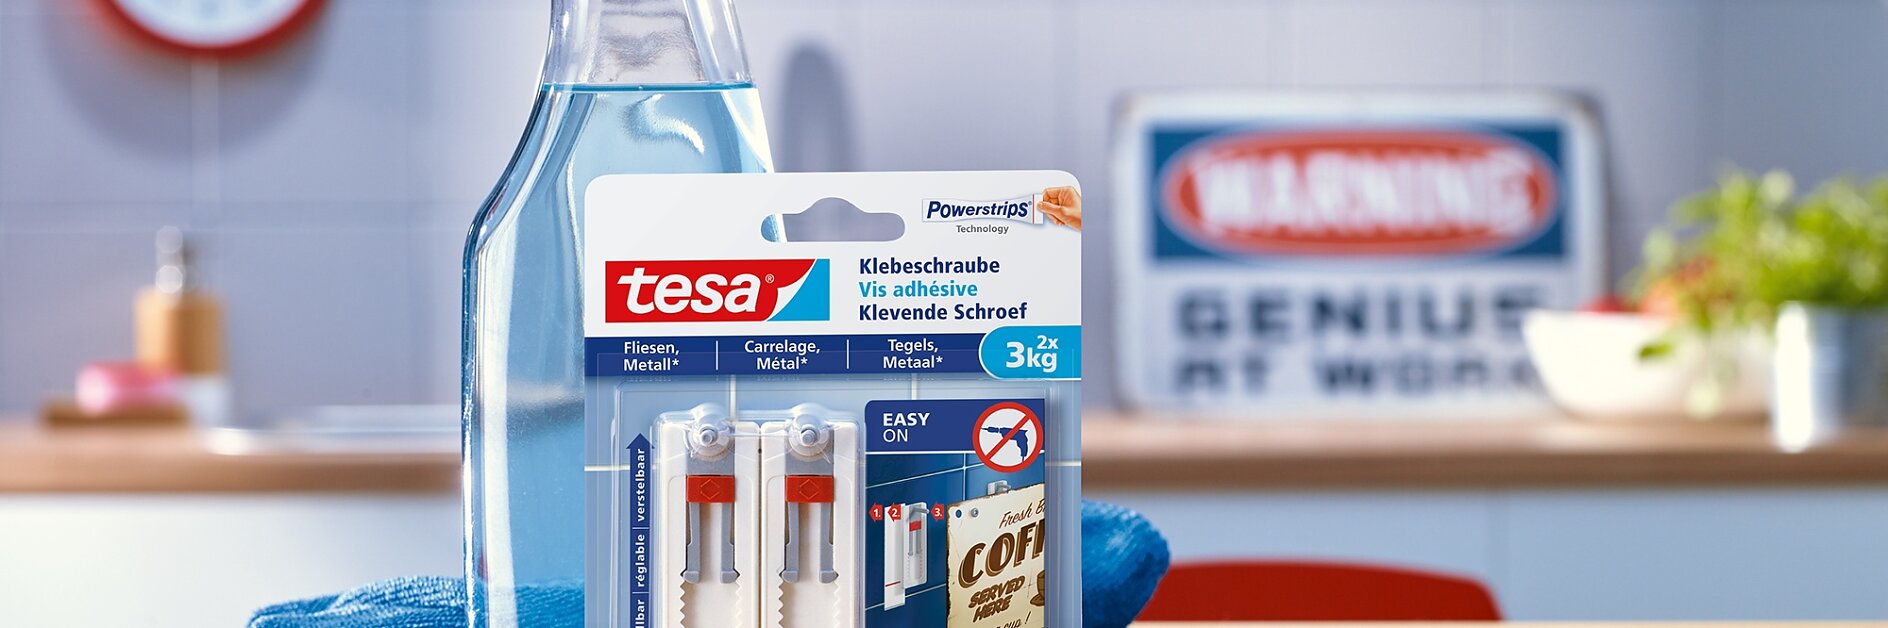
01Give the tiles a good clean

Use a dust-free cloth along with a little alcohol or methylated spirit to remove dirt and grease. If you’re using detergent, make sure it’s one that doesn’t contain silicone as this’ll leave a non-stick residue – and that’s obviously not good news for adhesives. Your surface should be dry before you move on to the next step.

Applying the Adhesive Strips.

02Remove the Adhesive Strips from their backing

Use the tabs at the end of the Adhesive Strips to remove them from their backing paper, taking care not to touch the adhesive surface itself. Apply the strips vertically to your freshly cleaned and dry tiling.

Engaging the Powerstrips® Technology.

03Engage the Powerstrips® Technology

Press down firmly across the whole surface of the strips for at least 5 seconds – this’ll activate the Powerstrips® Technology.

Attaching tesa® Adjustable Adhesive Screws for Tiles & Metal 3kg.

04Attach the screws

Remove the protective foil from both strips and carefully align each screw with the top edge of each one, with the screw heads uppermost. Then fold the screws down onto the adhesive area of the respective strip immediately above the red line.

Securing tesa® Adjustable Adhesive Screws for Tiles & Metal 3kg.

05Secure the screws

Time to engage the Powerstrips® Technology again. Press down at the top of each screw for 5 seconds, for another 5 seconds at the centre and for a final 5 seconds at the bottom.

Adjusting tesa® Adjustable Adhesive Screws for Tiles & Metal 3kg.

06Adjust the screws

To fine-tune the screws’ positions, slide the red toggle up so you can move each screw head up or down as required. Once you’ve got each screw at the height you want, just slide the toggle back down into its locked position and remove the detachable nuts from the screw heads.

Mounting with tesa® Adjustable Adhesive Screws for Tiles & Metal 3kg.

07Mount your object

Thread the screws through the holes in the object you want to mount and replace the nuts. It might be a metal sign as in this example, but these Adjustable Adhesive Screws can be used to mount just about anything up to 3kg (or 6kg using two screws), such as plate racks or light fittings.

Removing tesa® Adjustable Adhesive Screws for Tiles & Metal 3kg.

08Removing an Adjustable Adhesive Screw

This takes just a second or two. Take hold of the screw head between thumb and forefinger and with your other hand take hold of the exposed tab. Without pressing the screw back onto the surface, pull straight downwards (NOT away from the surface or diagonally). Stretching the strip like this gently releases the thousands of individual bonds and leaves your surface undamaged.