Find your bathroom shelves and storage here:
This is why it's so cool!


Bathroom shelves for gluing - Easy assembly without drilling
Bathroom shelves offer valuable space for care products, toiletries, and much more. Since drilling in the bathroom is often not straightforward, our bathroom shelves for gluing with tesa® Power.Kit technology offer the solution to your problem.
More storage space with adhesive bathroom shelves
No matter the size of your bathroom, bathroom shelves within easy reach of the toilet, shower or sink provide valuable storage space for hygiene items. Here are some ideas that will keep your bathroom tidy without drilling:
- Corner storage basket for the shower as a valuable storage space directly in the shower stall.
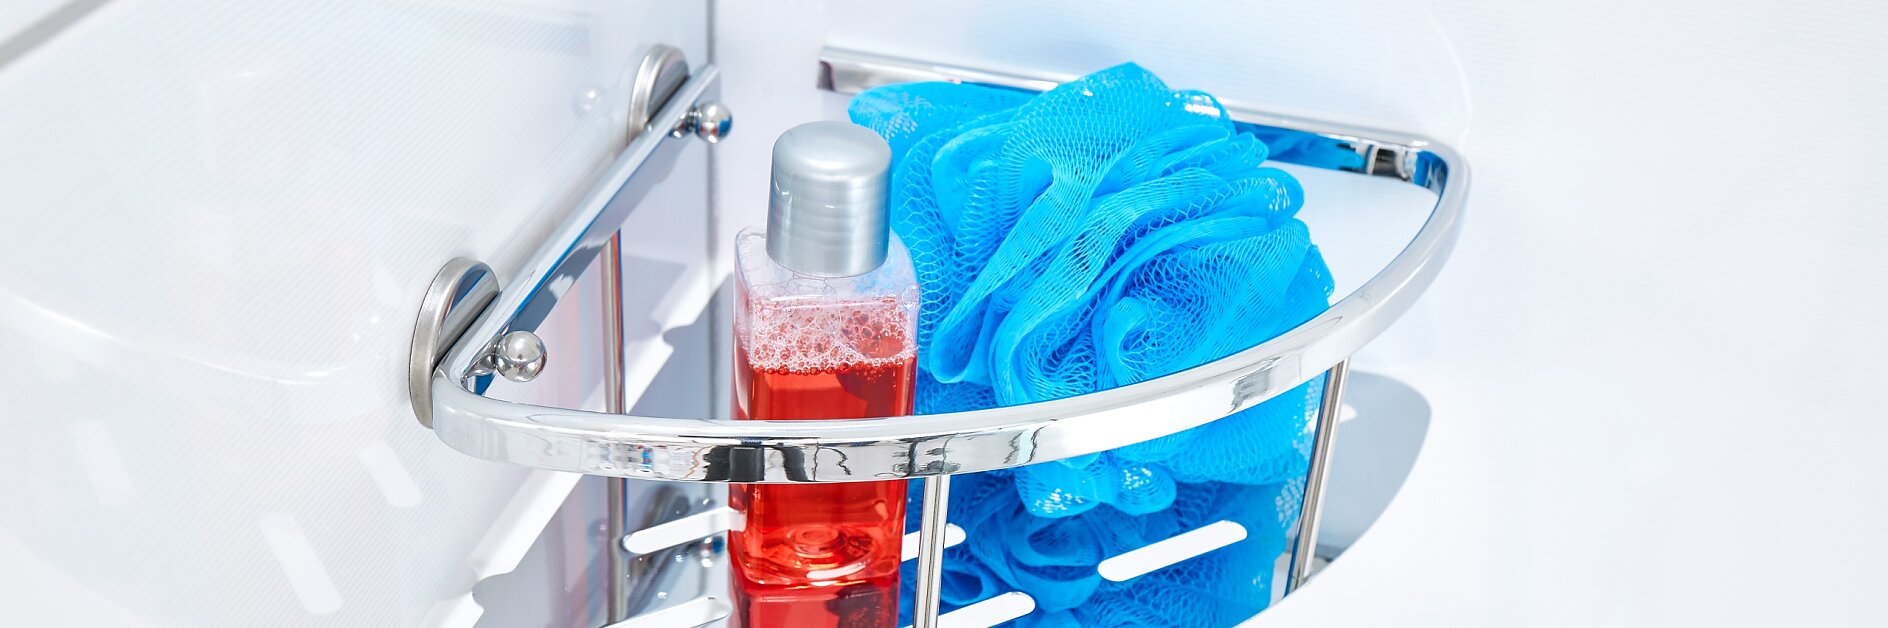
- Storage basket within reach of the bathtub. Here you can store shower gel, shampoo and conditioner or even children's toys within easy reach of the bathtub.
- Shelves made of glass above the sink provide space to store brush, comb and other bathroom utensils.
- Corner storage basket for the guest toilet ensures that spare toilet paper rolls are always at hand.
Drilling often leads to damage to the tiles
Fixing a bathroom shelf to the wall usually involves a complicated drilling process. The screws must be placed straight and precisely. A later change of the attachment point then presents the same challenges again. In the process, unsightly holes are left in the tiles and it is not uncommon for them to be damaged. For tenants, this often means that they have to re-tile when they move out.
The solution to your problem: bathroom shelves for gluing with tesa® Power.Kit technology
Many systems for attaching a bathroom shelf hold poorly and cannot be removed without leaving a residue. With tesa® Power.Kit adhesive technology, you can securely attach your bathroom shelf to the wall without drilling and remove it without damage.
Here are the advantages that our system offers:
- Assembly possible without tools. You do not need a drill or other complicated to handle tools. Mounting is easy even without any previous knowledge of craftsmanship.
- You do not need to worry about water pipes and power lines.
- The fastening system can be removed again without leaving any residue. You want to mount the bathroom shelf in another place or dismantle it completely? Removing the fastening system with tesa® Power.Kit technology is simple and clean.
- Adhesive and mounting adapter are included with every bathroom shelf.
- As a tenant, you won't get in trouble due to punctured or damaged tiles when you move out.
- Sticks permanently to most surfaces.
- Very high load capacity due to tesa® Power.Kit technology.
- Our fastening system is guaranteed rust-free. Even when in contact with water in the shower or bathtub, the bathroom trays for sticking do not rust.
Recommended surfaces:


Not recommended surfaces:


So if you want to install shelves in your bathroom, don't do without any longer: because with tesa® Power.Kit technology, you can fix bathroom equipment without drilling.
Without drilling: Simply use glue!


tesa bathroom shelves to stick without drilling attach
To ensure that the tesa® Power.Kit technology can develop its full adhesive performance, we have summarized the most important instructions for you on this page. If you follow the assembly instructions, you will have a lot of fun with your new tesa® bathroom shelf for gluing. We promise you that!
- Clean the surface very thoroughly: When you have found the suitable place for mounting the bathroom shelf, you should clean this area intensively. Only on surfaces that are free of dust, grease, lime and dry will the combination of adhesive mass and adapter achieve maximum holding power. Use a clean, soft cloth for basic cleaning. Please do not use any non-stick cleaning agents or cleaners containing silicone, as these substances impair the adhesive effect. After basic cleaning, clean with rubbing alcohol. If you want to be on the safe side, wipe the area again with a dry, soft and clean cloth.
- Stick the adapter to the wall: First remove the protective film of the adhesive ring. Press the adapter firmly to the surface for a few seconds. Be careful not to touch the adhesive surface of the adapter with your fingers. Otherwise, new grease could get on the surface and reduce the load-bearing capacity. If you are installing a bath shelf with two adapters, make sure the distance between the adapters is correct and they are aligned correctly.
- Fill the adapter with the adhesive: place the wing of the applicator on the applicator. Open the applicator at its tip with a twisting motion. Now hold the applicator in the larger opening of the adapter. Now carefully squeeze the adhesive out of the applicator and fill the ring with the adhesive until it appears at the smaller hole of the adapter. Important: Please do not press or touch the adapter now! This could create cavities that impair the holding force.
- Allow the adhesive to cure and mount the bath shelf: To ensure maximum holding force, please wait 12 hours. Then the adhesive is completely cured. If there is any adhesive protruding from the sides of the adapter, you can carefully remove it. Now attach the bathroom shelf to the adapters. For most product groups, the enclosed Allen key will help you to do this.
Last updated on Apr 22, 2025