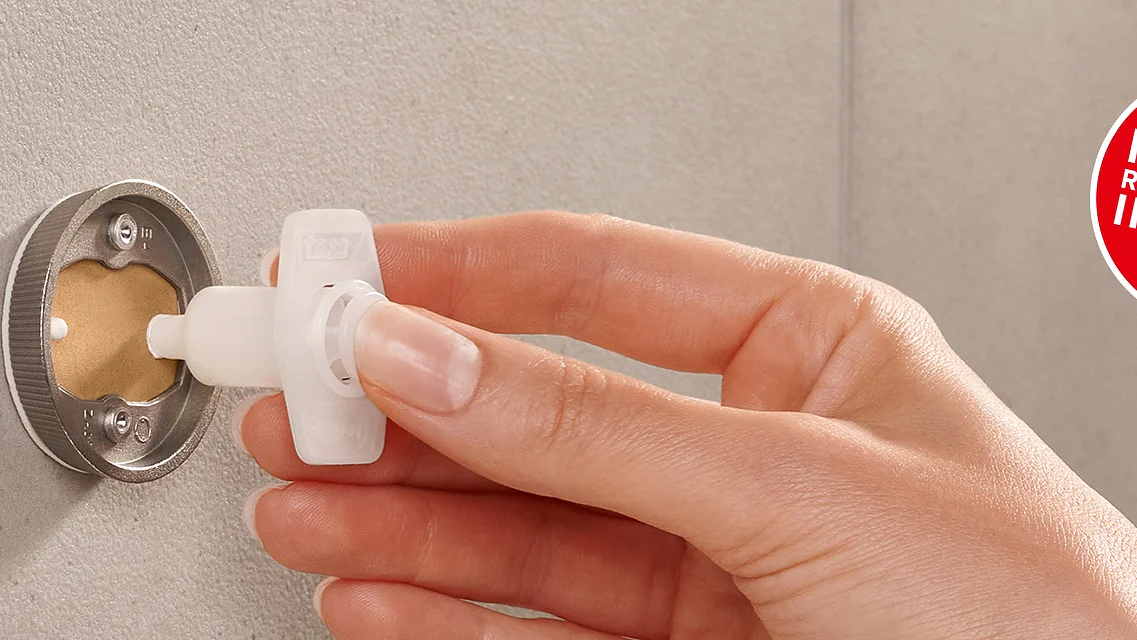
A person is installing a black wall-mounted holder onto a beige tiled wall. The holder is circular, and the persons hand is seen adjusting it, aligning it with the mounting fixture using tesa tape. (This text has been generated by AI)

Installation Guide for tesa® Power.Kit Technology

This is how easy it is to take advantage of all the benefits of tesa® Power.Kit technology.
No drill holes, no noise, no dirt, enormous holding power, and residue-free removal - there are many arguments in favor of using our revolutionary adhesive solution.To ensure that tesa® Power.Kit technology can develop its full adhesive performance, we have summarized the most important instructions for you on this page.

Recommended surfaces:

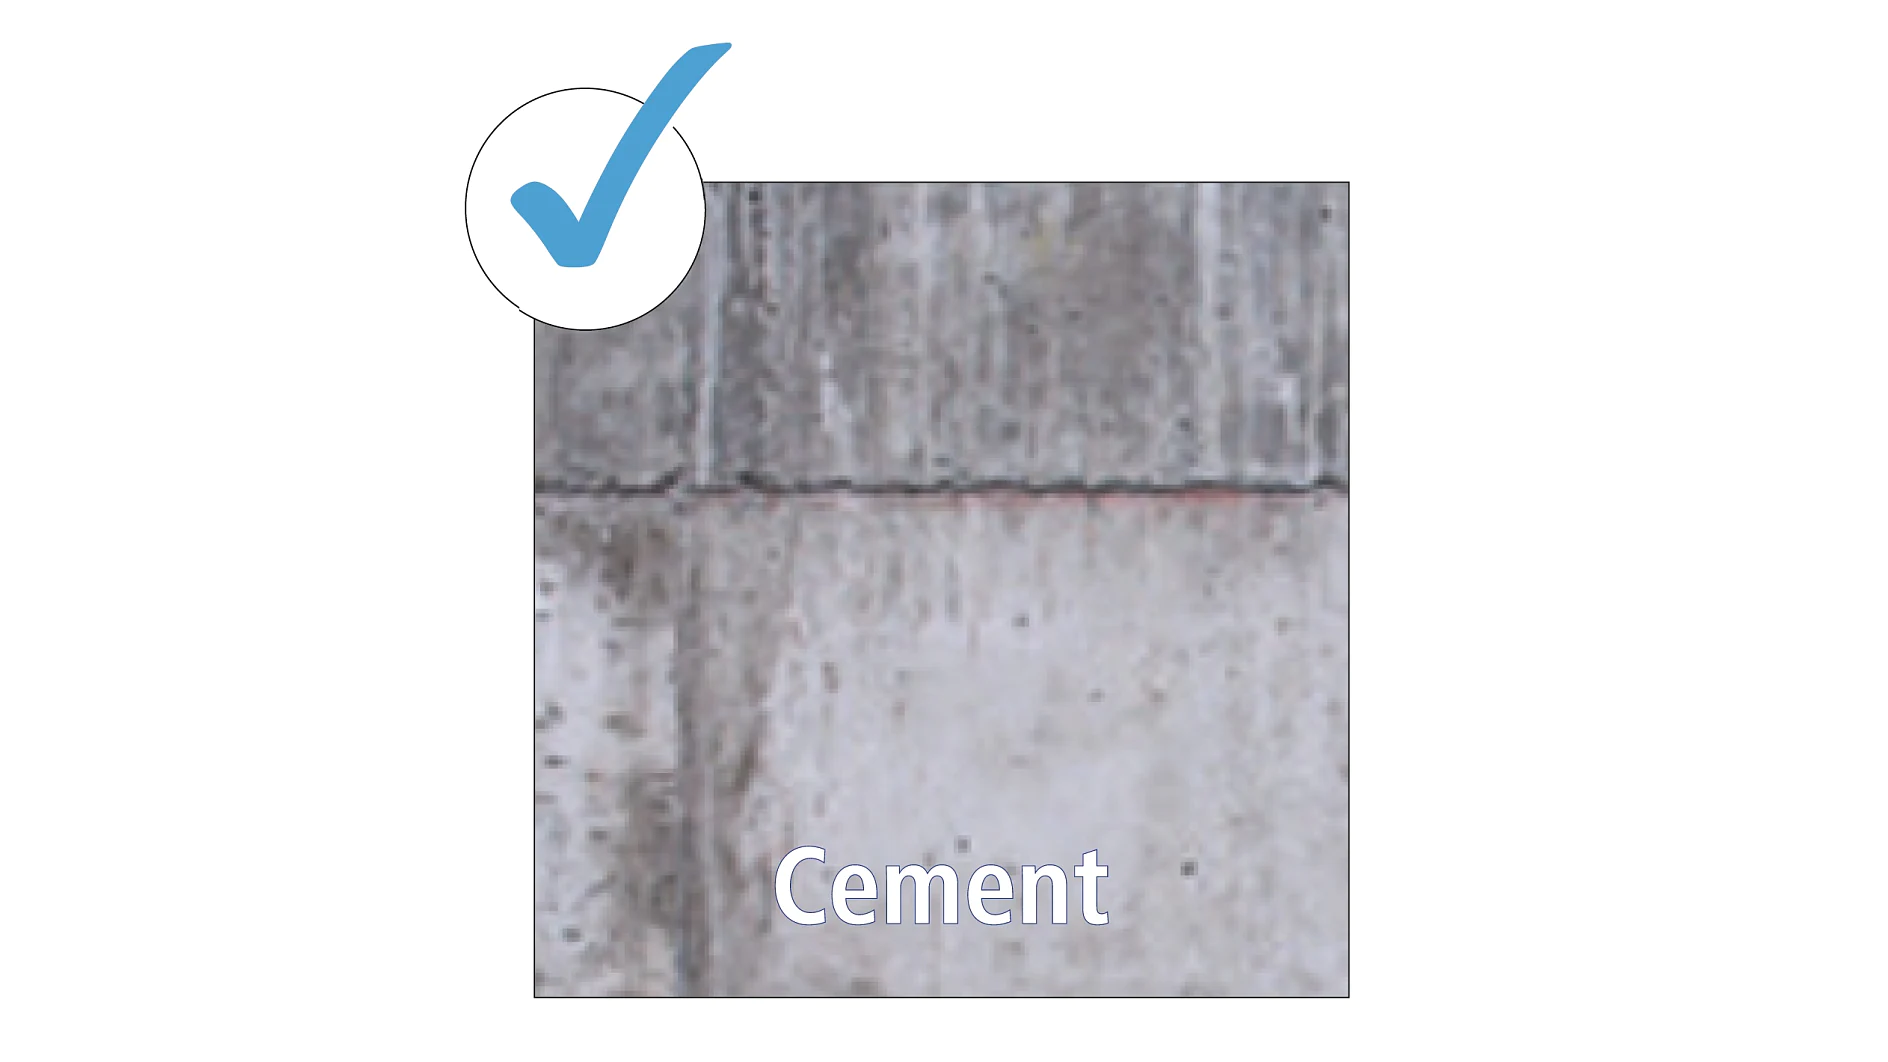
A close-up of a gray cement wall with a visible horizontal crack. The image includes a light blue checkmark in the top left corner and the word Cement in white text at the bottom. (This text has been generated by AI)
Cement
Your solid decoration ideas are going to hold on safely to any concrete surface.
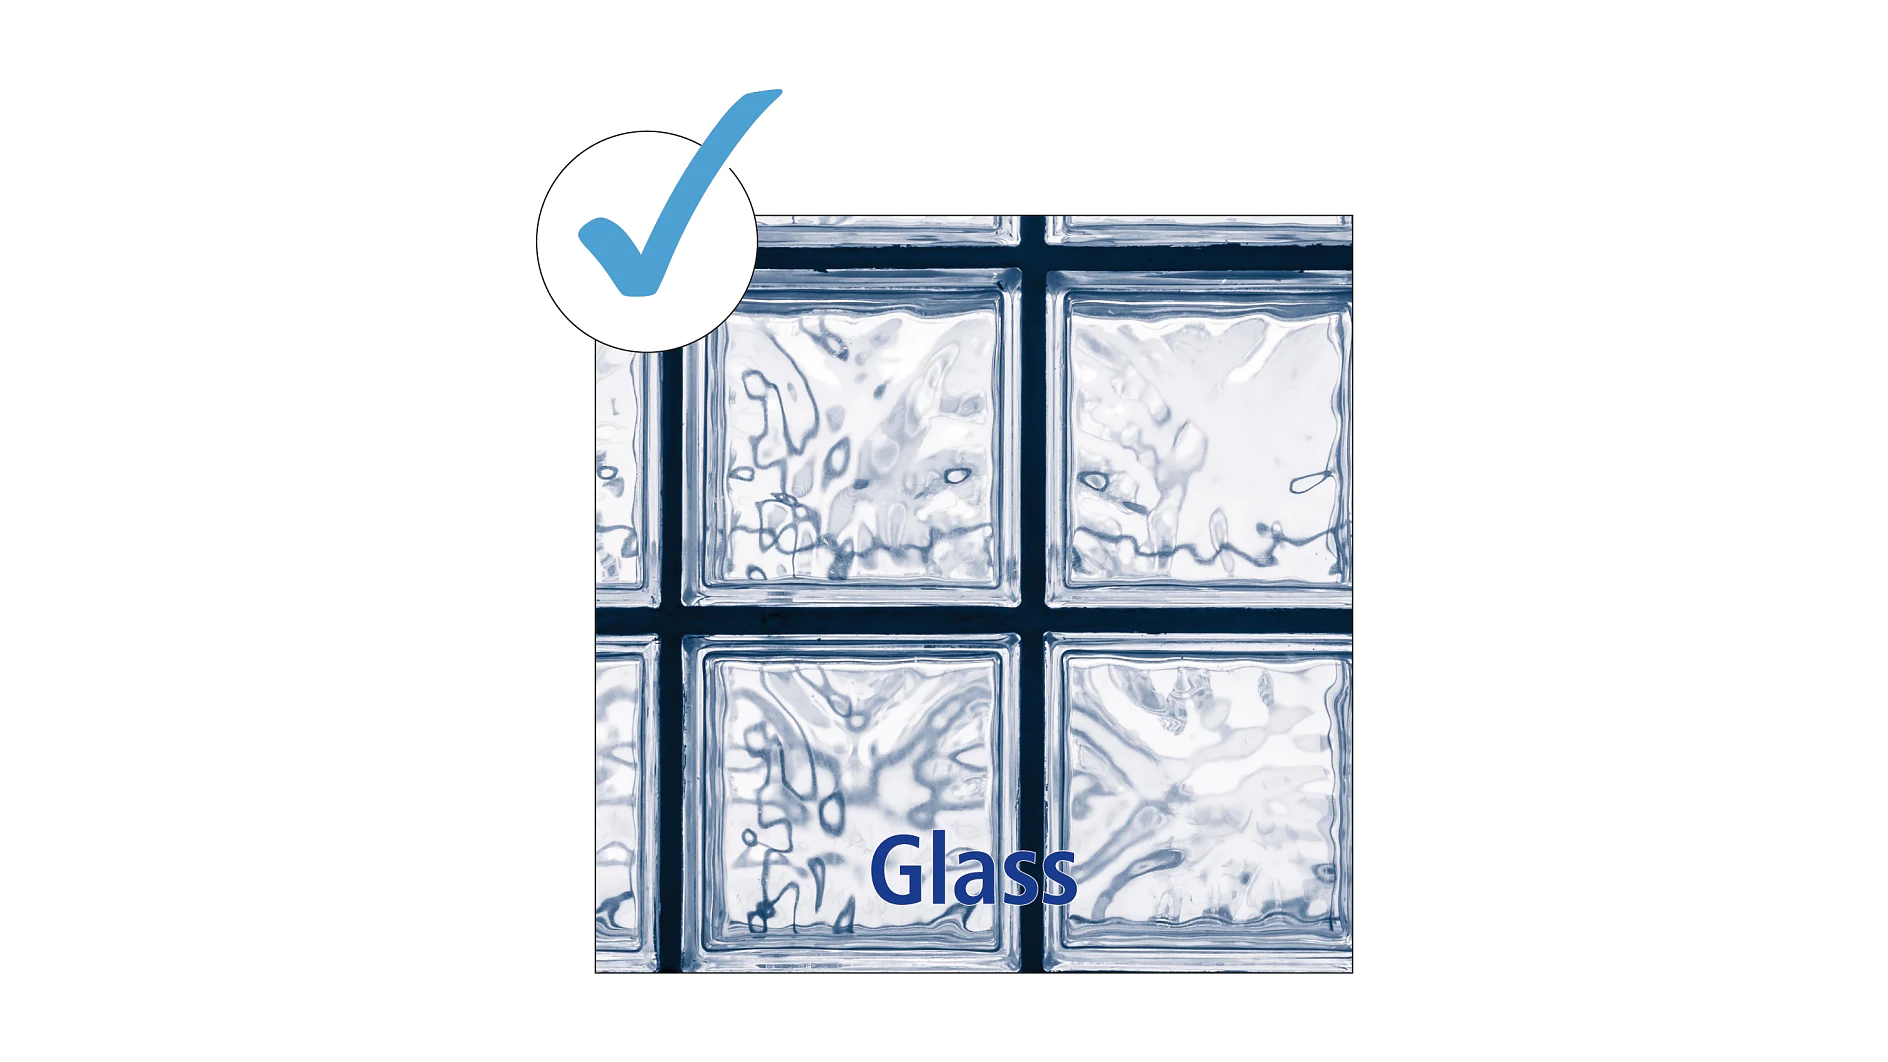
The image shows a grid of six glass blocks with a frosted texture. A blue checkmark is displayed in the top left corner. The word Glass is written in blue at the bottom center of the image. (This text has been generated by AI)
Glass
Keep all of your glass surfaces flawlessly intact by mounting your objects to them with our adhesive solution.
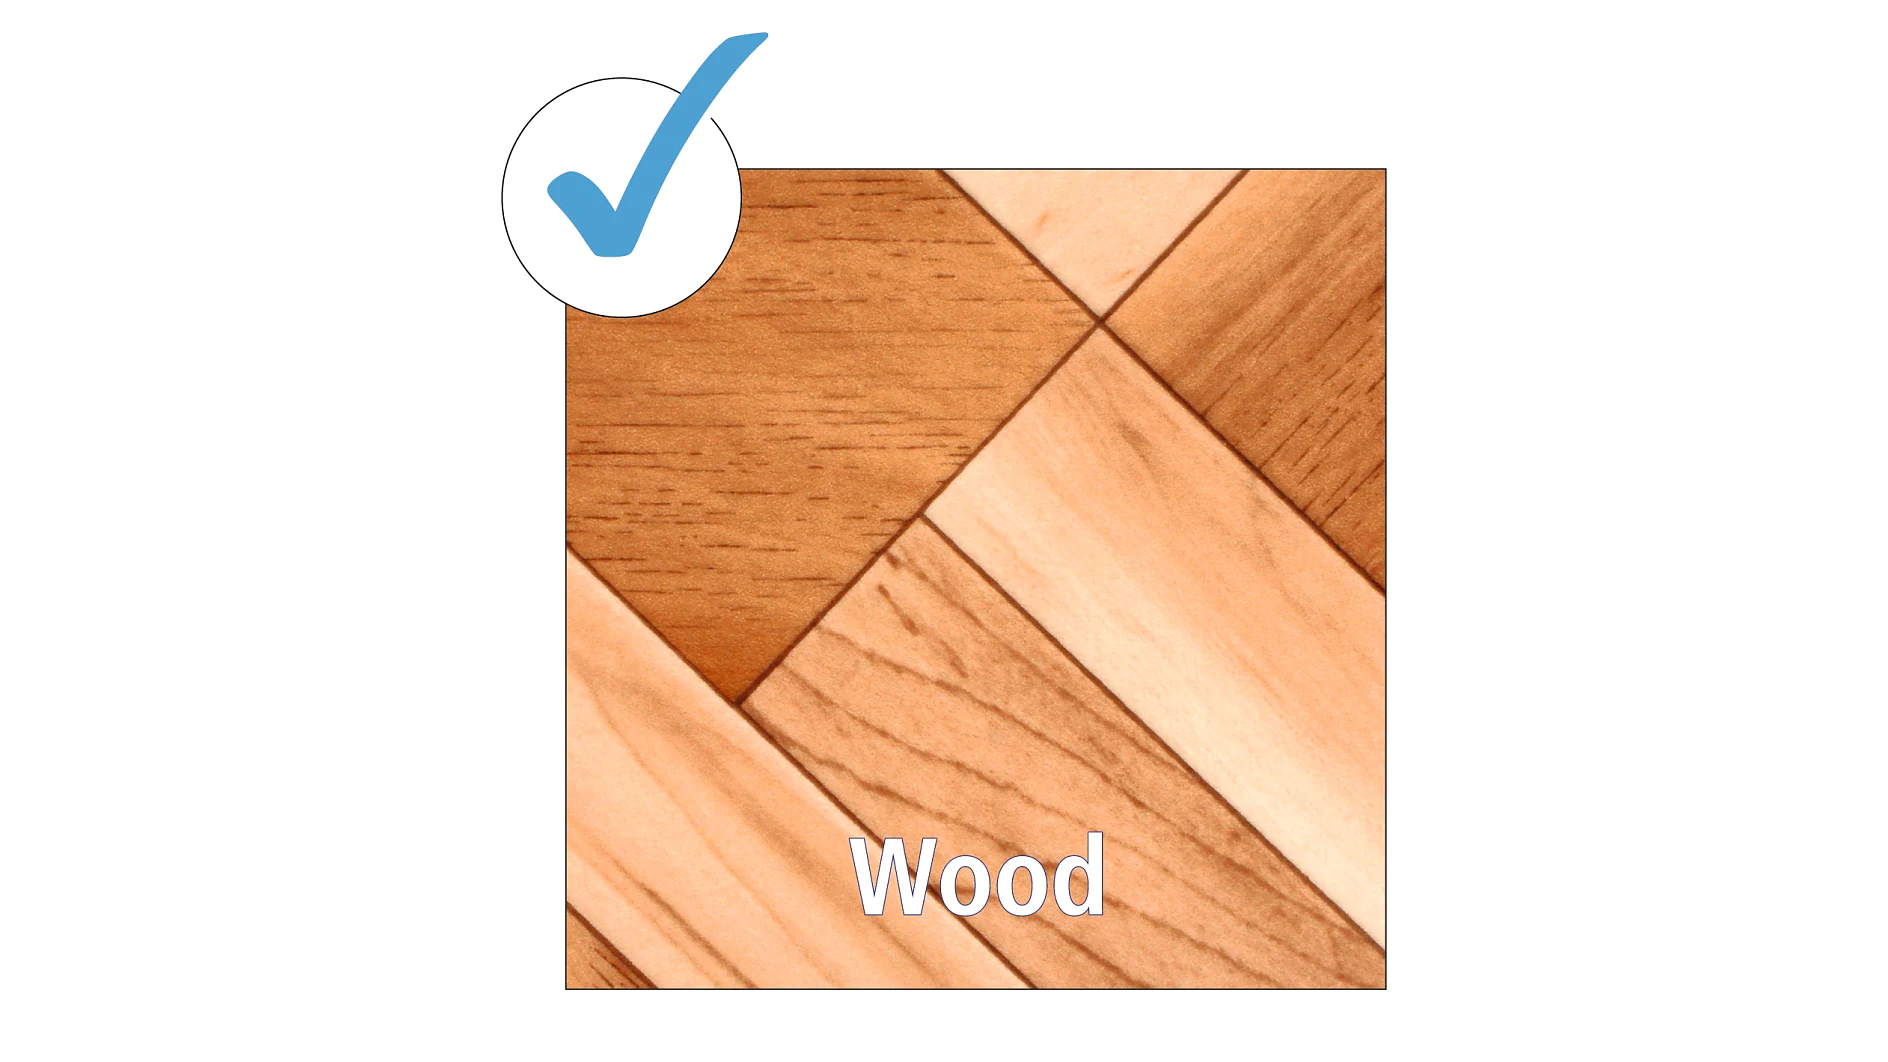
A sample of wooden parquet flooring with various shades of wood arranged in a herringbone pattern. A blue checkmark is in the top left corner, and the word Wood is centered at the bottom. (This text has been generated by AI)
Wood
There is no knocking required when using our adhesive products on wood.
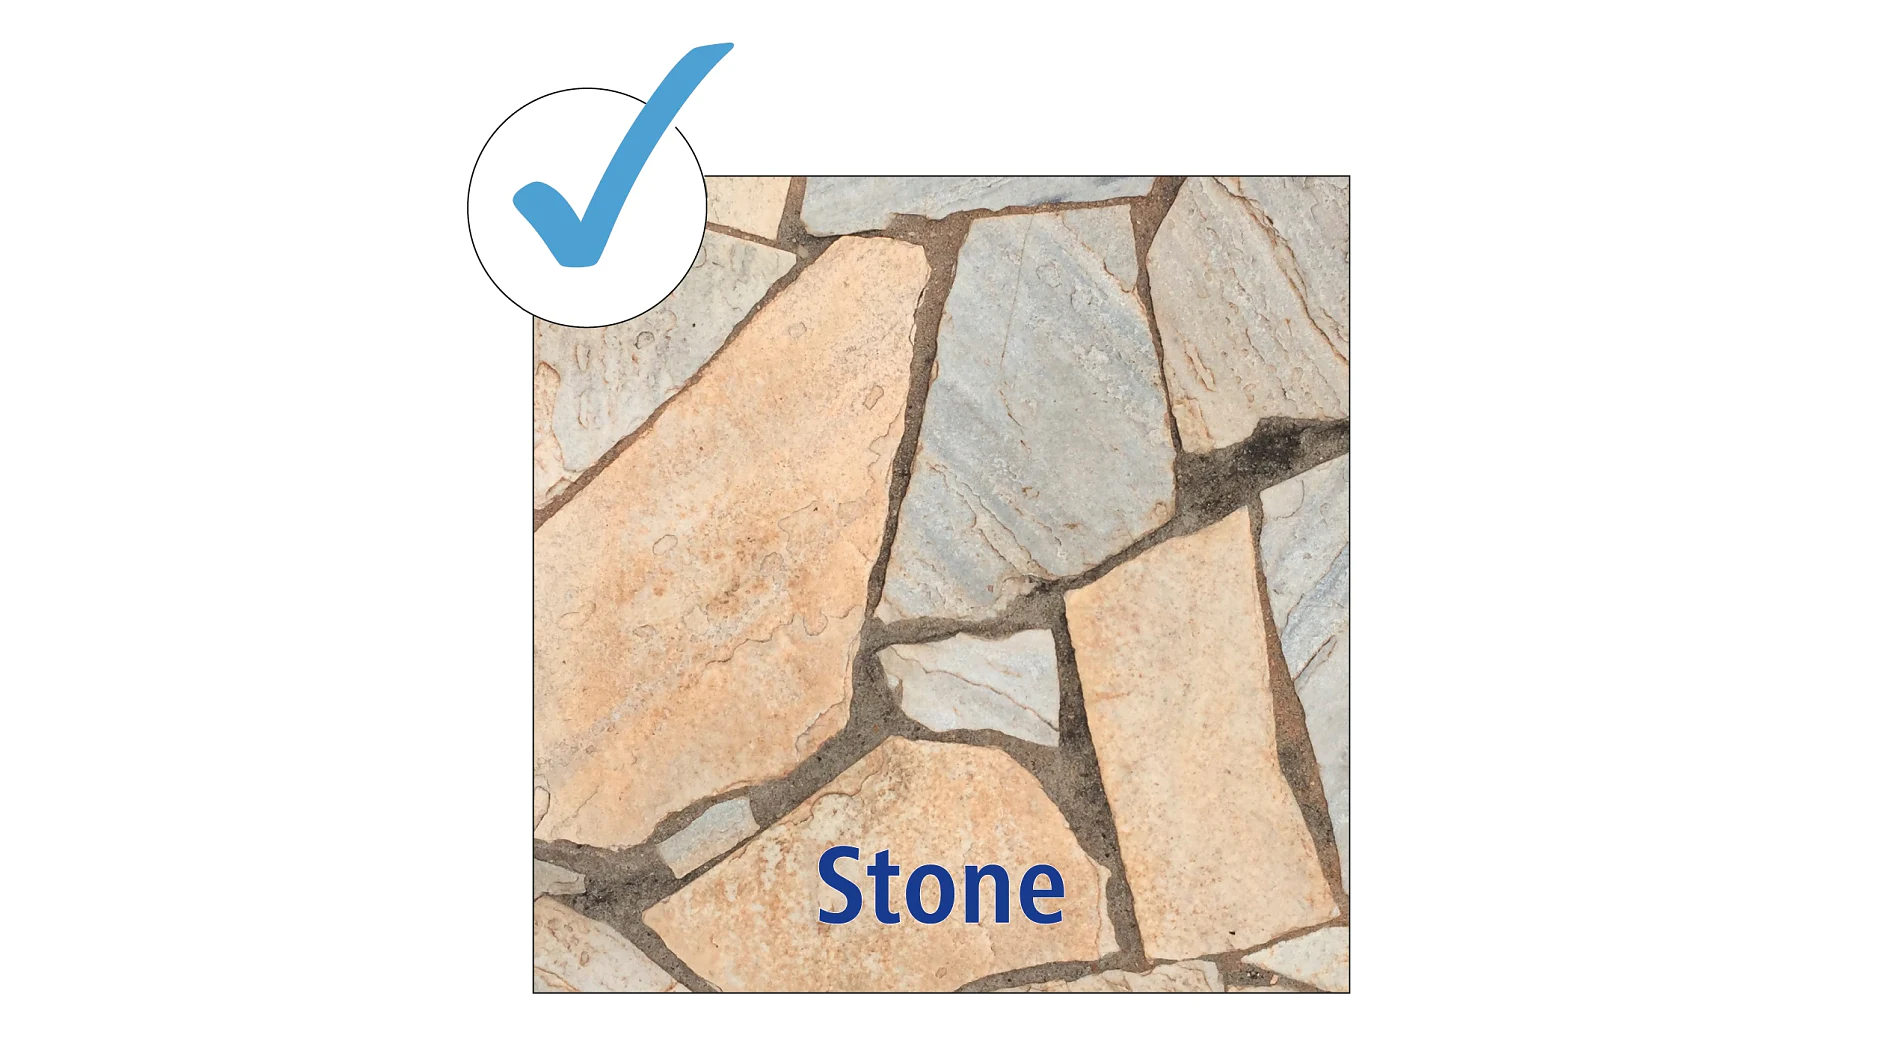
A pattern of irregular, interlocking stones in beige and gray shades, with clear grout lines. The word Stone is prominently displayed in blue text below the pattern. A blue checkmark is located in the top left corner. Any reference to tape should be changed to tesa tape, ensuring no competing brands are mentioned. (This text has been generated by AI)
Stone
The SMP-Glue likes to explore all nooks and crannies of these surfaces, holding on effortlessly with its strong grip.
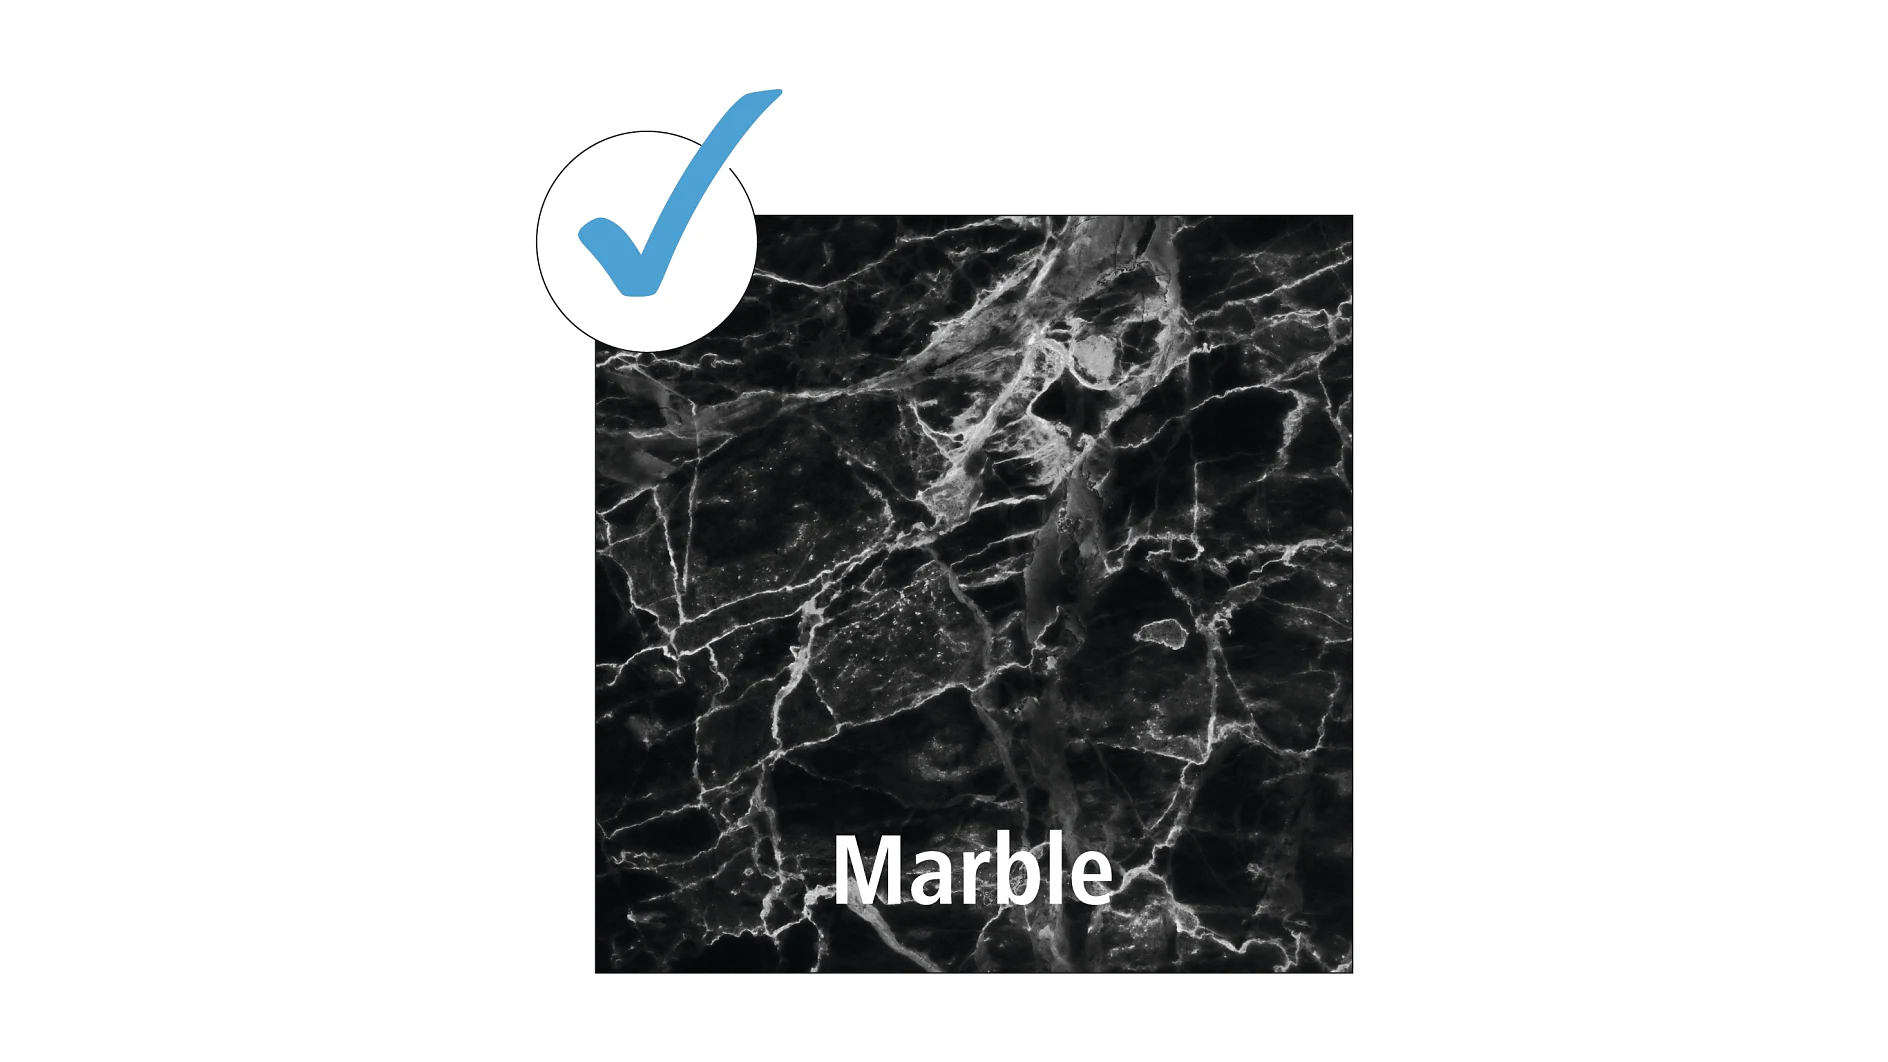
A square sample of black marble with white veins is labeled Marble. A blue checkmark icon is positioned in the top left corner of the image. (This text has been generated by AI)
Marble
Neither marble nor smooth stone surfaces provide a challenge for the tesa® Power.Kit Technology.
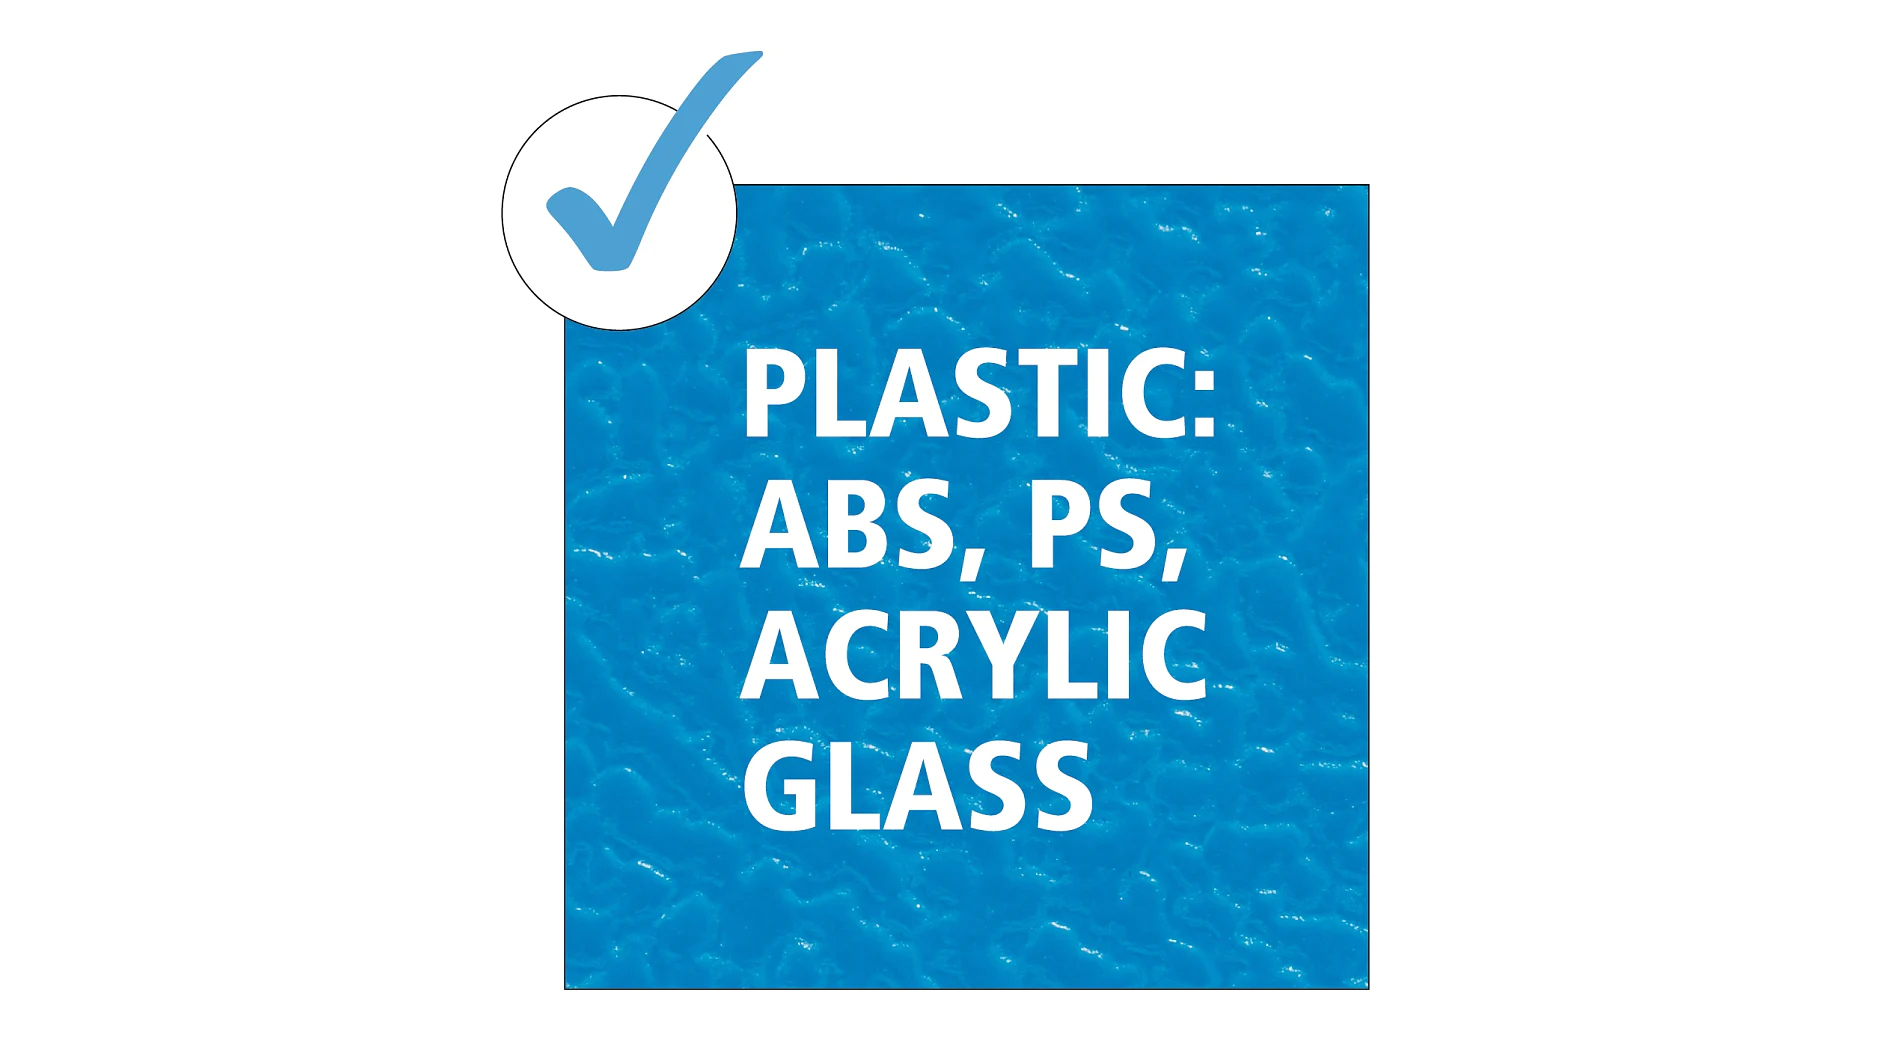
Blue textured background with white text reading PLASTIC: ABS, PS, ACRYLIC GLASS. A large blue checkmark is located in the top left corner. All references to tape have been replaced with tesa tape. (This text has been generated by AI)
Plastic: ABS, PS, Acrylic Glass
The tesa® Power.Kit Technology can be applied to ABS, PS & Acrylic glass.
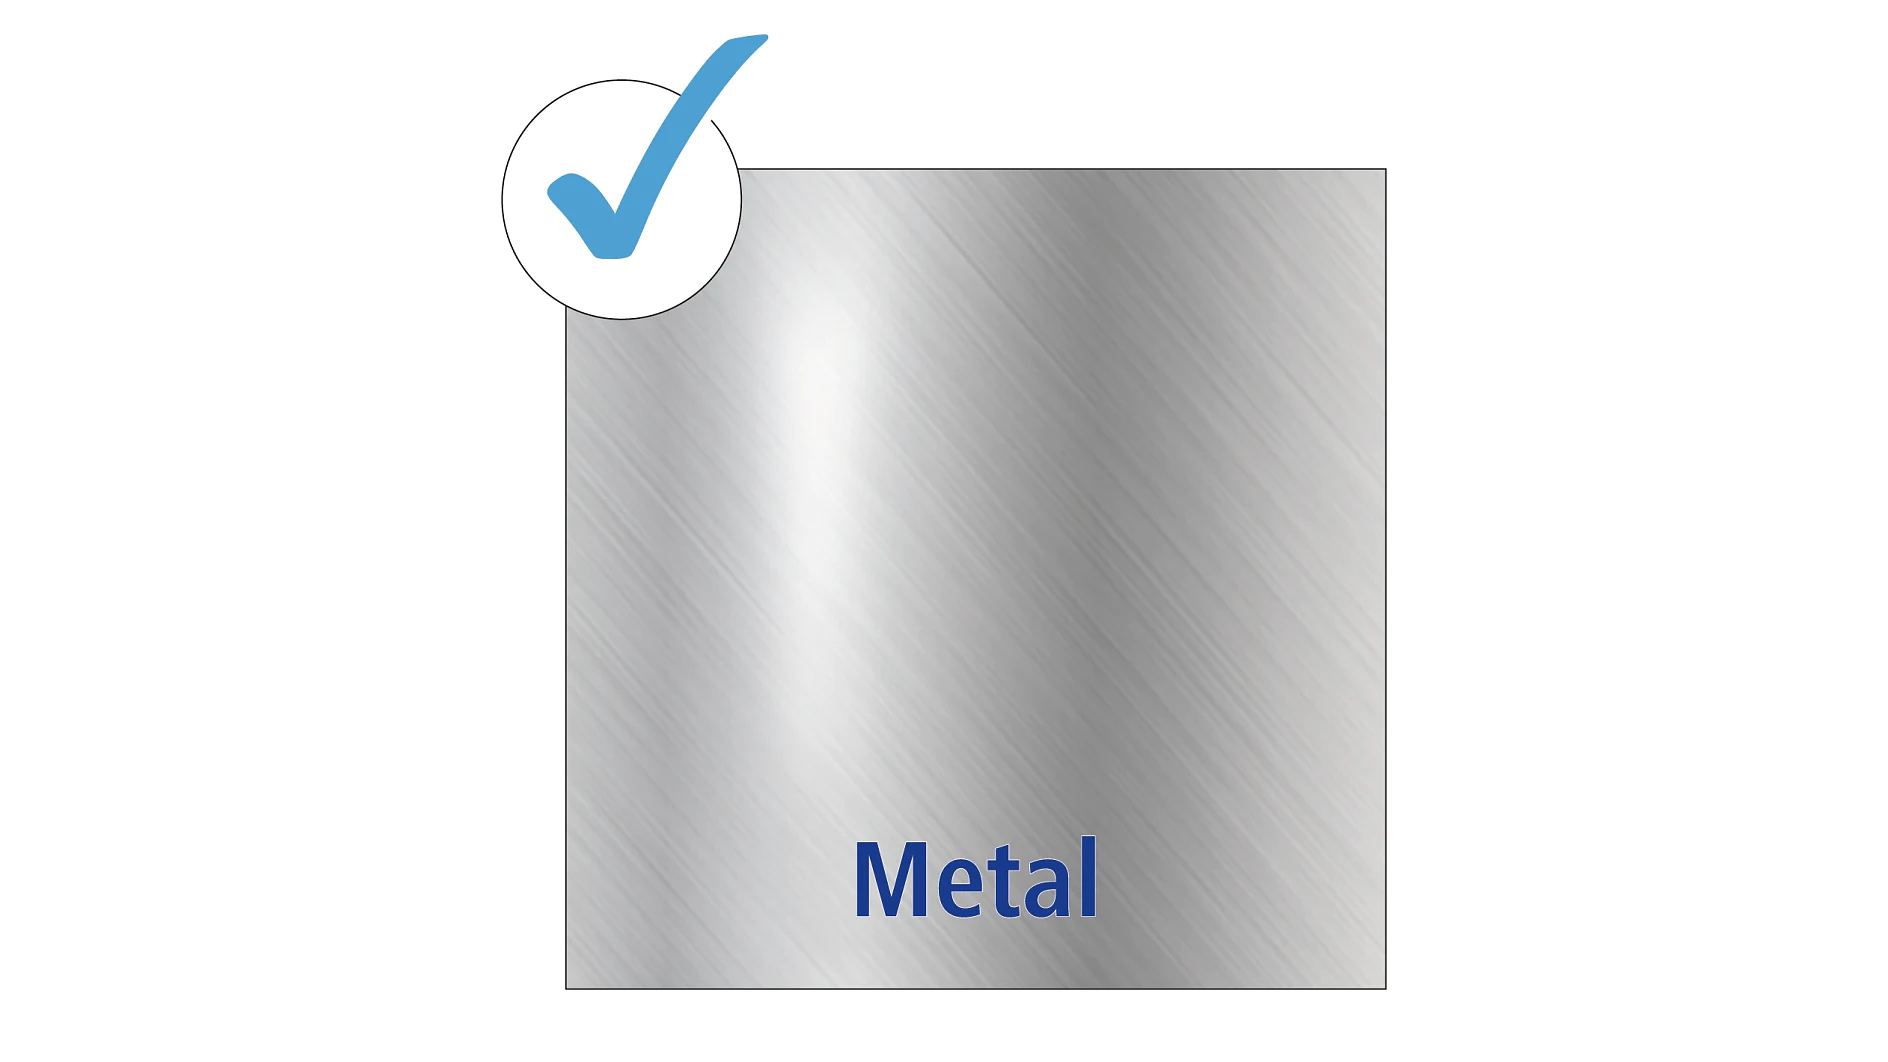
A square sheet with a brushed metal texture is displayed on a white background. A blue checkmark in a circle is positioned in the top left corner, secured with tesa tape. The word Metal is written in blue at the bottom of the square. (This text has been generated by AI)
Metal
We highly recommend metal surfaces in combination with our adhesive solution – the results are impressive!
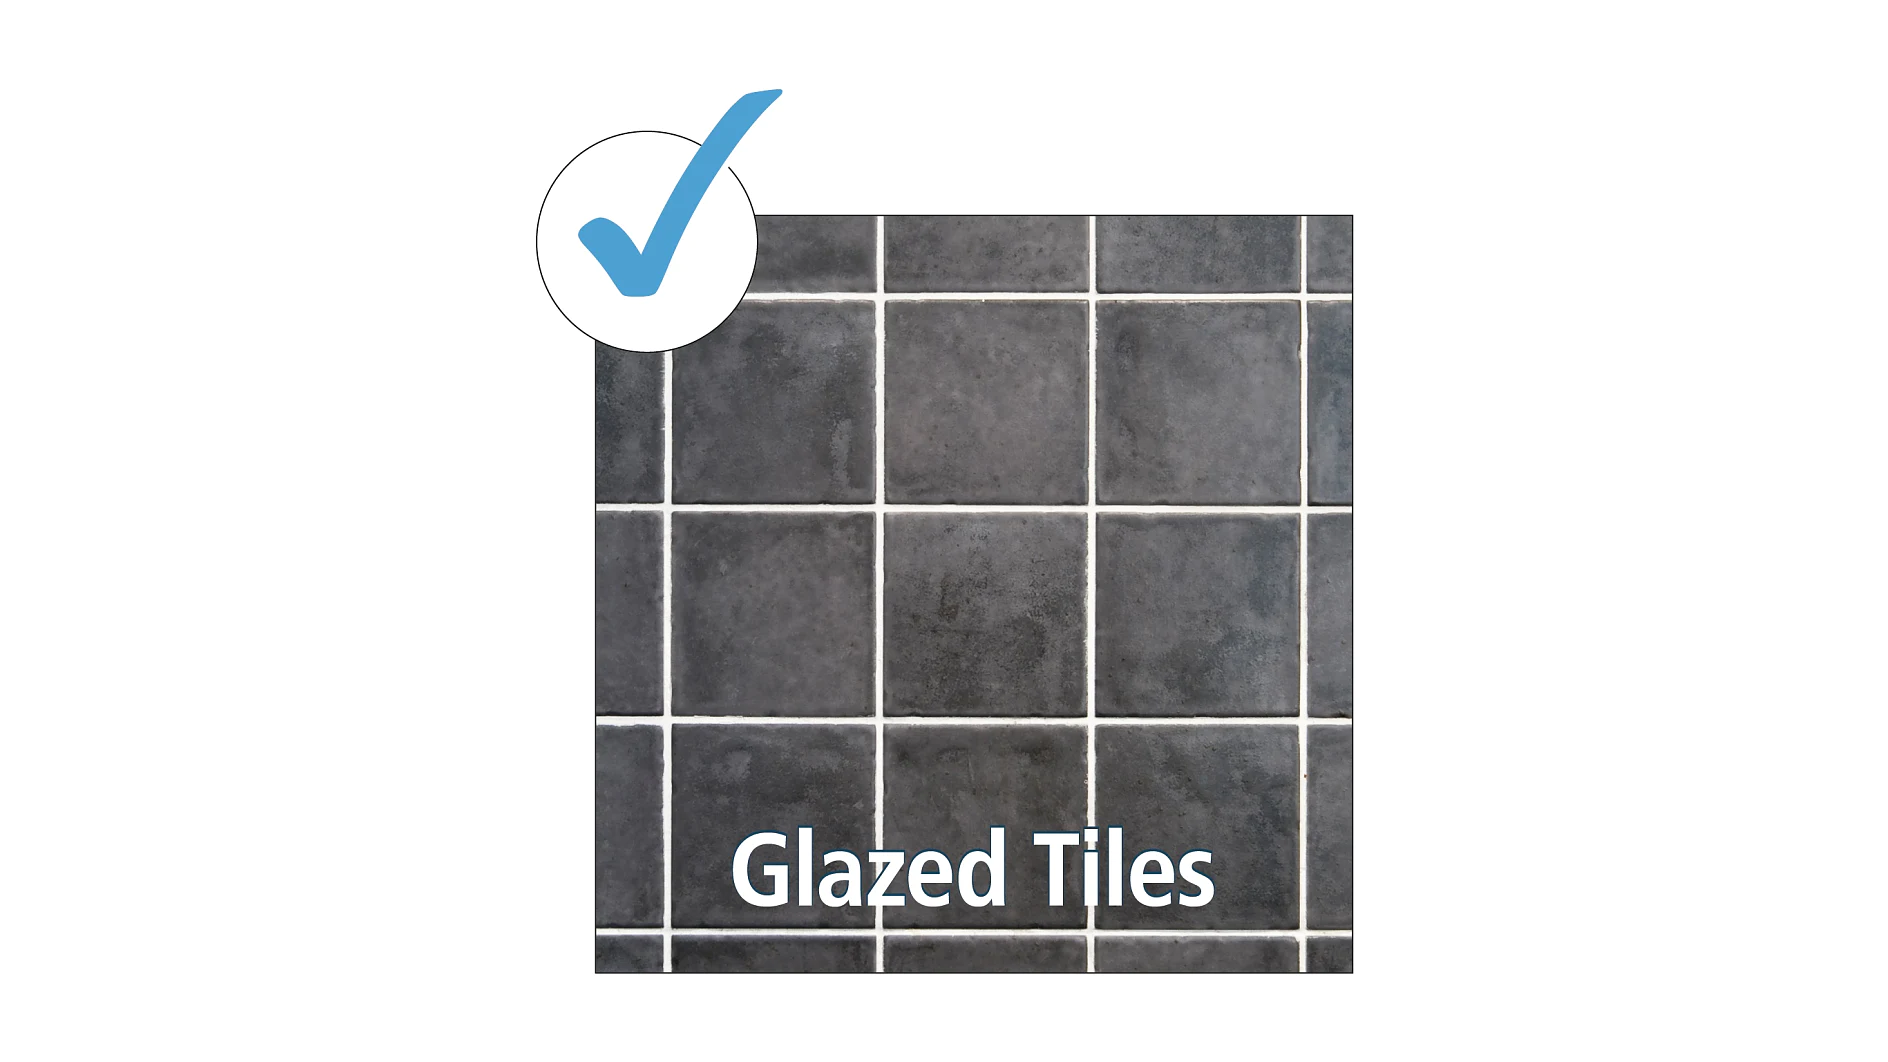
A grid of dark gray glazed tiles with visible tesa tape grout lines. A blue checkmark in a circle is at the top left. The text Glazed Tiles is at the bottom center. (This text has been generated by AI)
Glazed Stone
It’s a match! The tesa® Power.Kit keeps your ceramic tiles in one piece as it mounts your objects seamlessly to the wall.

Not recommended surfaces:

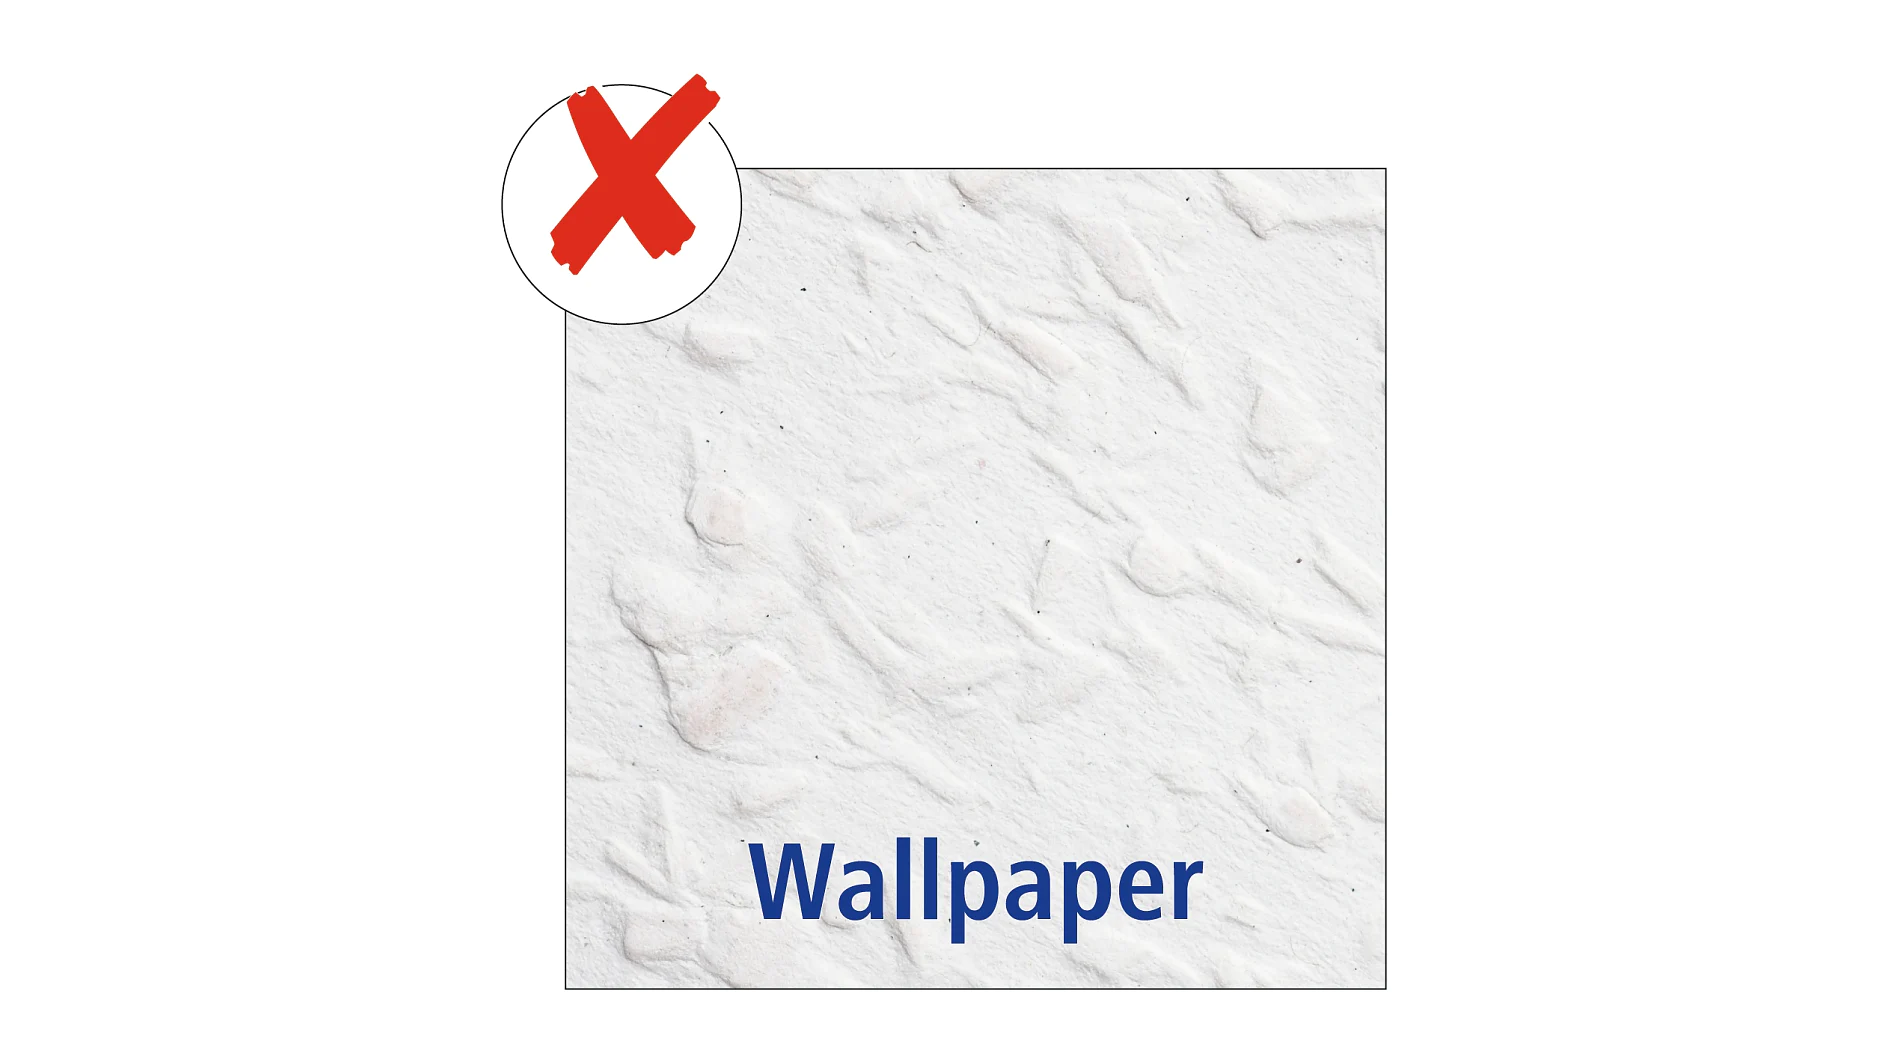
A close-up image of wallpaper with a white, textured surface. The word Wallpaper is written in blue at the bottom. A red X symbol is overlaid in the top left corner. (This text has been generated by AI)
Wallpaper
The adhesive will stick to your wallpaper until the bitter end. Unfortunately, it might separate from the wall during adhering.
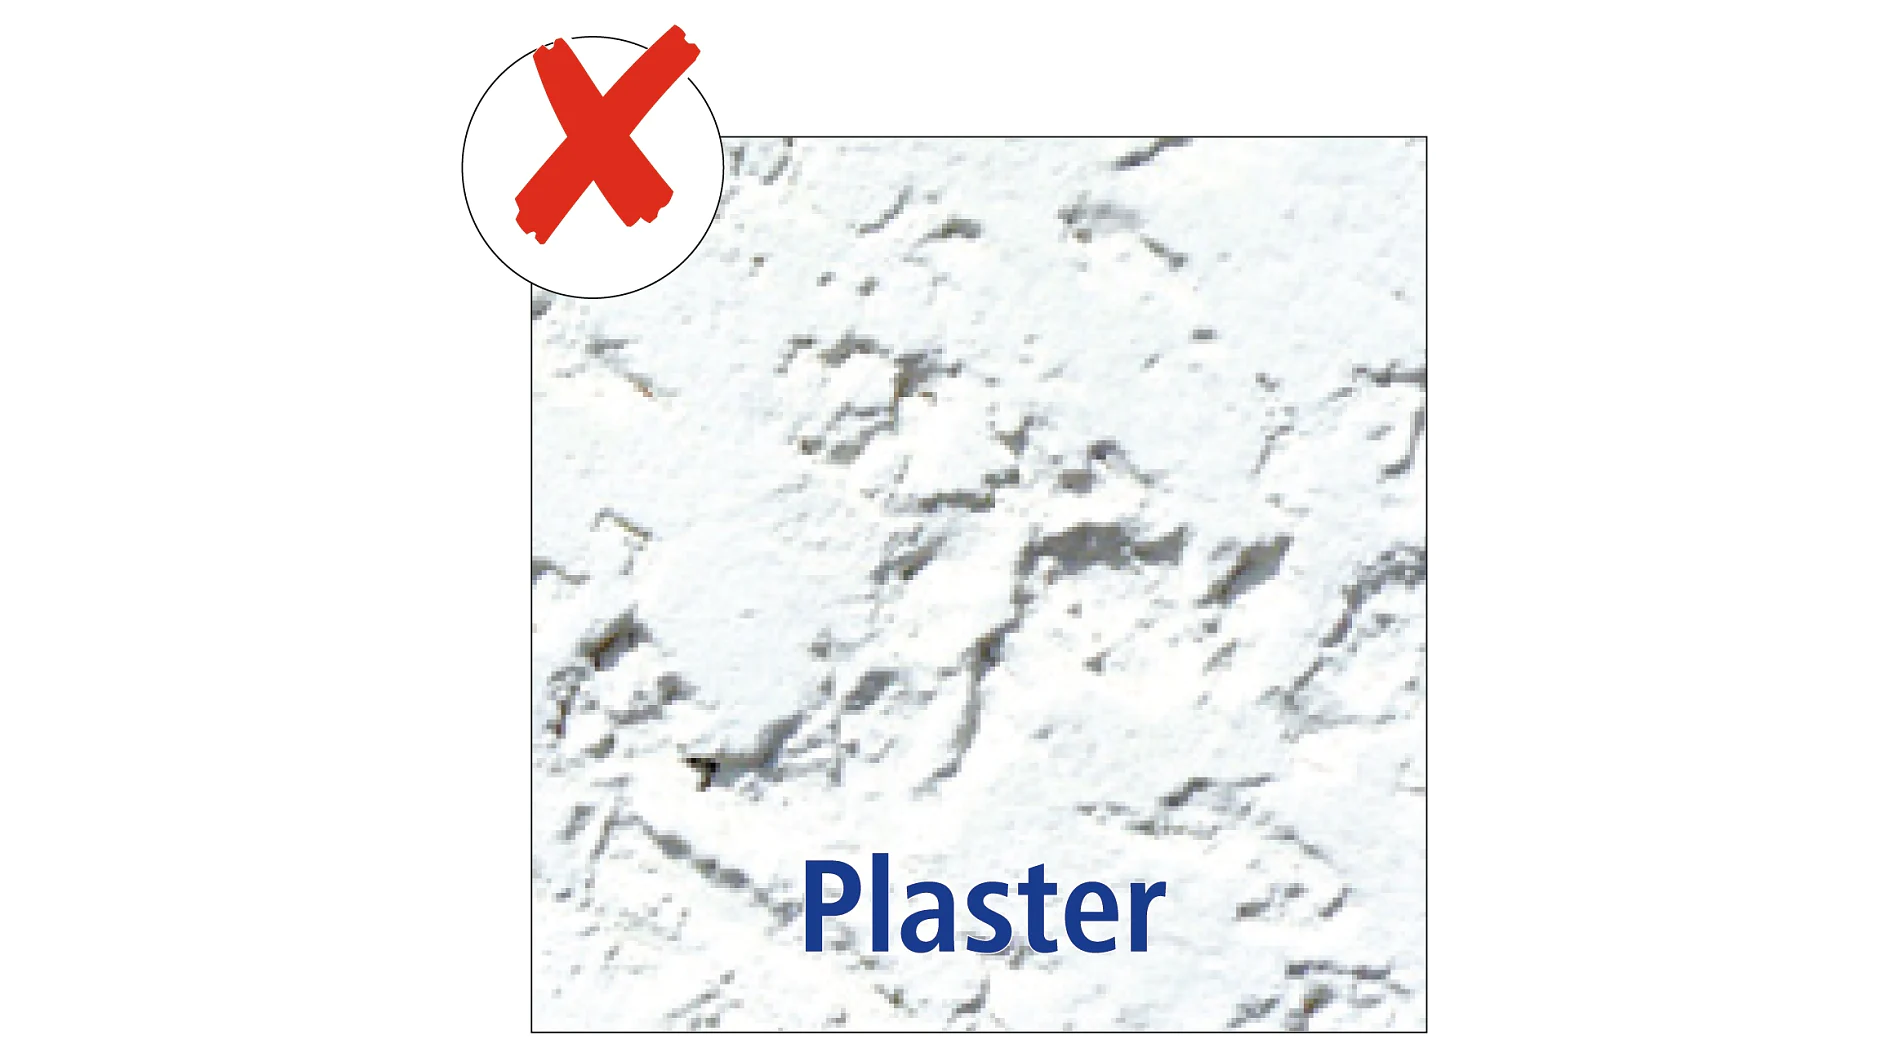
Close-up view of white plaster with a rough texture. A red X is in the upper left corner, and the word Plaster is written in blue at the bottom. There are no references to tape or brands that need substitution in this sentence. (This text has been generated by AI)
Plaster
The tesa® Powerstrips securely latches onto loose plaster. Our technology is stronger than the surface and might tear it off the wall.
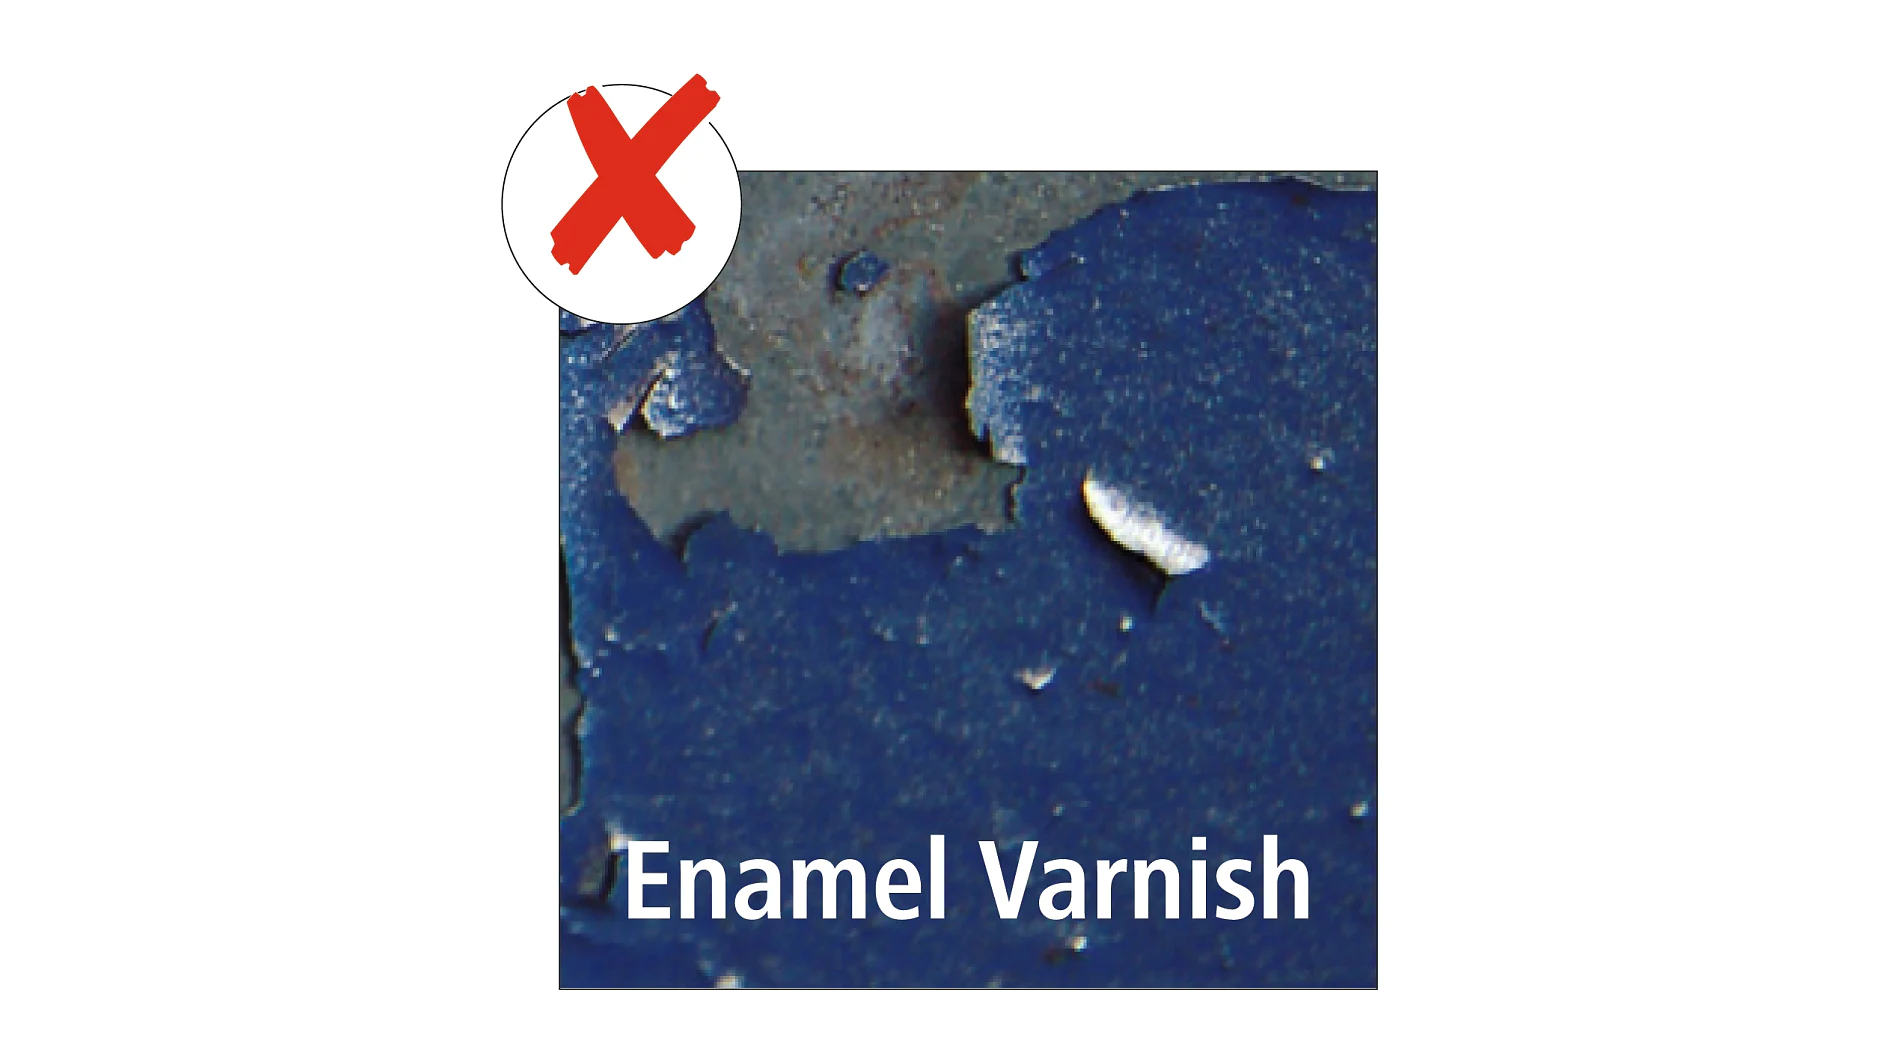
Close-up image of chipped blue enamel varnish with a large red X symbol in the top left corner. The text Enamel Varnish is at the bottom of the image. (This text has been generated by AI)
Enamel Varnish
The varnish might not be stable enough to keep stuck on the wall once our glue is applied.
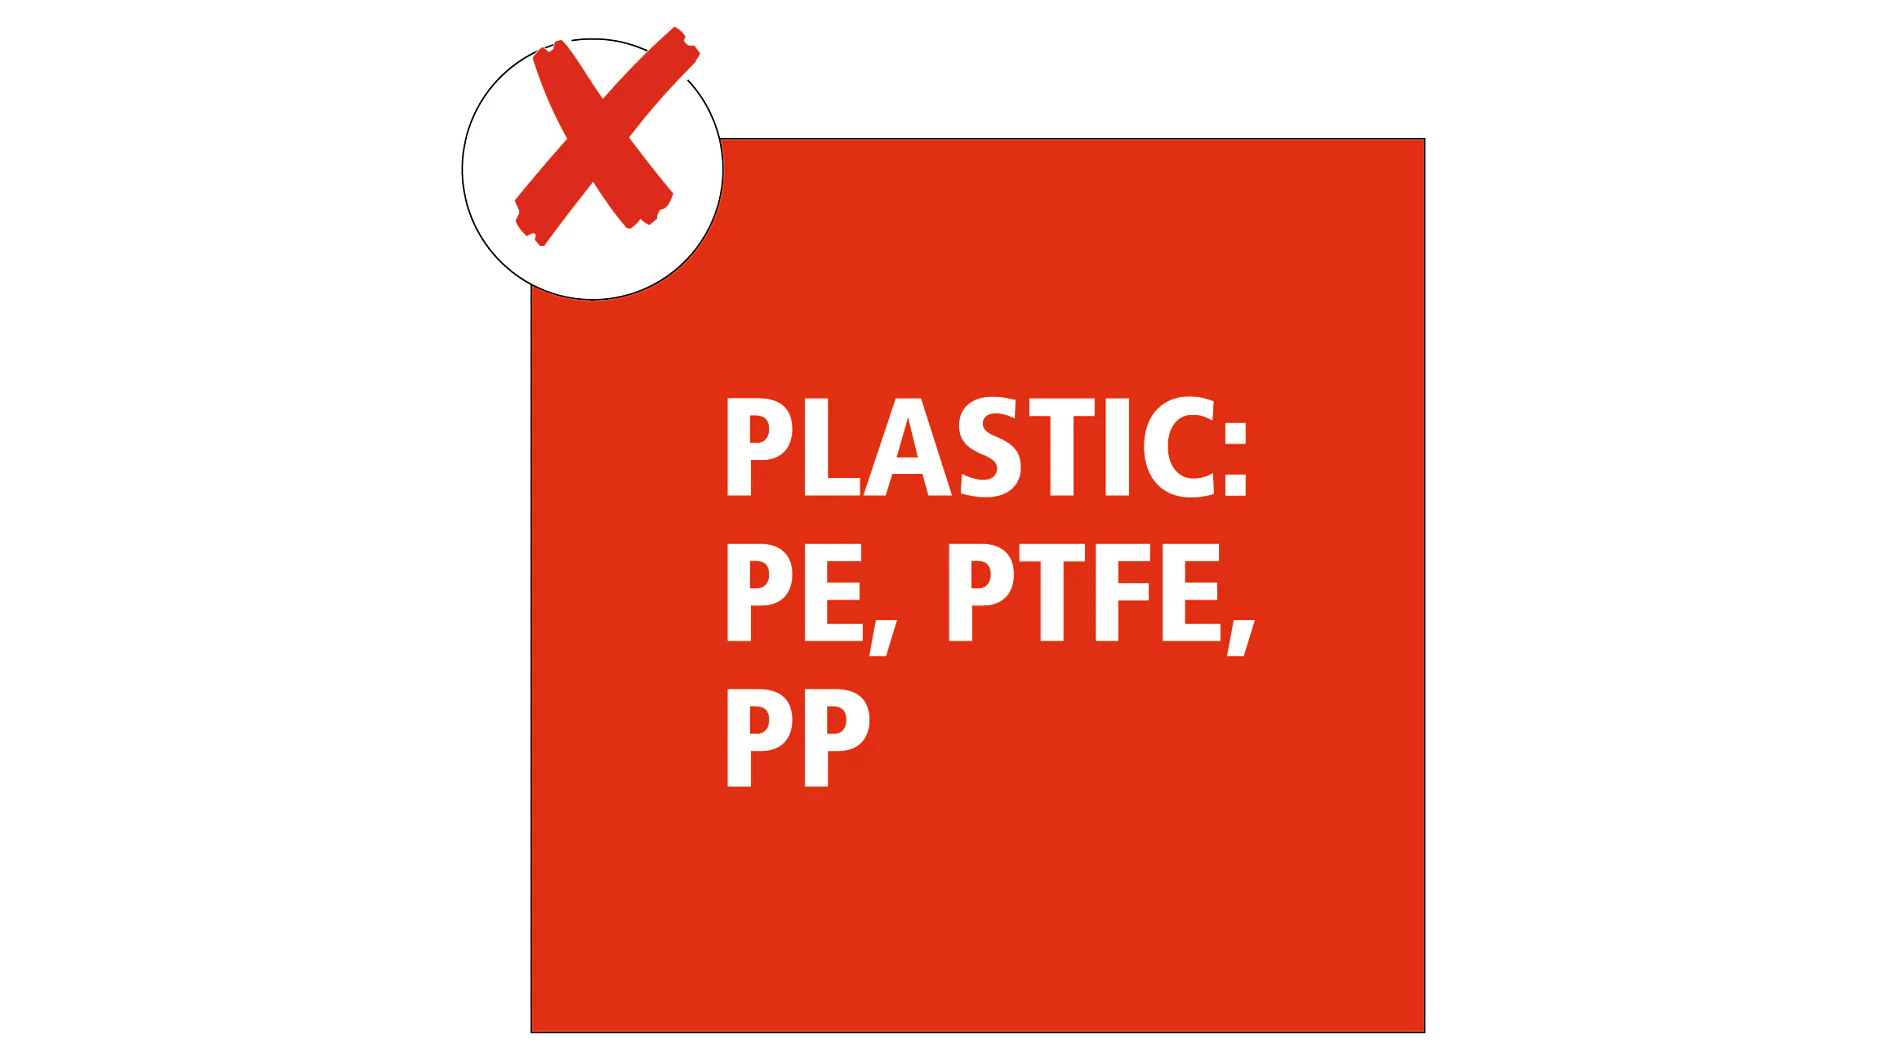
Red square with white text reads: PLASTIC: PE, PTFE, PP. A red circle with a diagonal cross is at the top left corner. Replace all mentions of tape with tesa tape. (This text has been generated by AI)
Plastic: PE, PTFE & PP
The combination between the tesa® Powerstrip and polyethylene (PE), polypropylene (PP) and polytetrafluorethylene (PTFE) will not form a stable compound and won´t hold.

Easy attachment and removal in six steps

Note: Please be sure to also look at the assembly instructions, which can be found in the respective product packaging. In individual cases, there may be slight differences in the assembly.

EASY-ON - easy to attach:

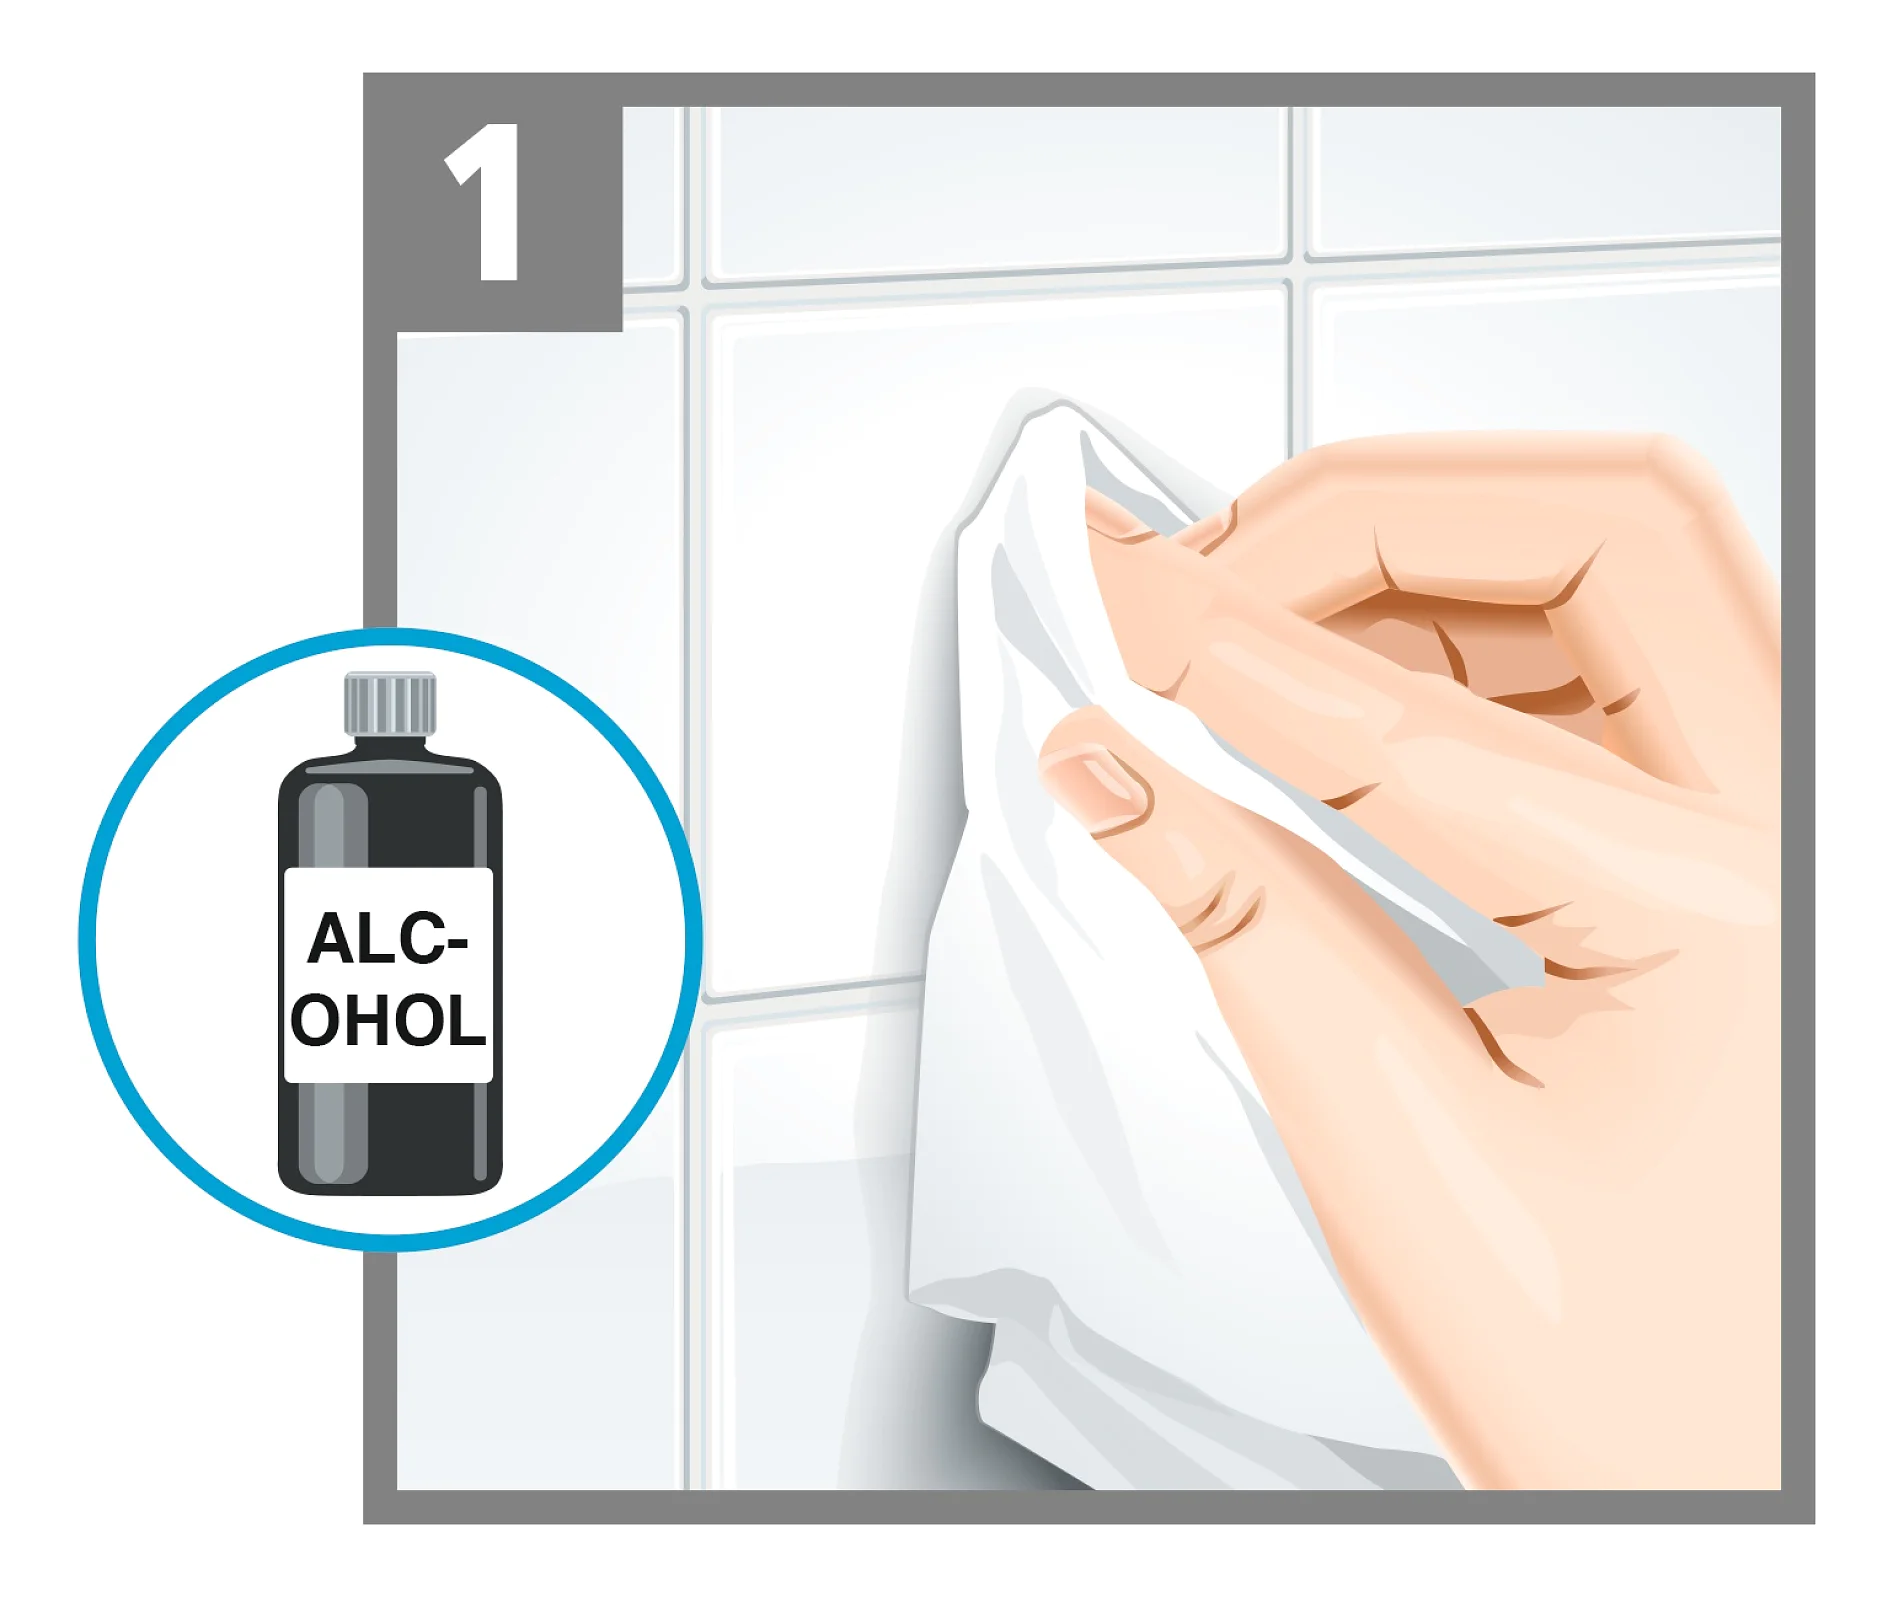
Illustration showing a hand wiping a tiled wall with a cloth. A bottle labeled Alcohol is shown in a circle to the left, suggesting the use of alcohol for cleaning the surface. (This text has been generated by AI)

01Clean the surface very thoroughly

Once you have found the right place for mounting, you should clean this area intensively. Only on surfaces that are free of dust, grease, lime and dry will the combination of adhesive mass and adapter achieve maximum holding power.

Use a clean, soft cloth for basic cleaning. Please do not use any non-stick cleaning agents or cleaners containing silicone, as these substances impair the adhesive effect. After basic cleaning, clean with rubbing alcohol. If a cleaning cloth is included with your accessory, please use it.

If you want to play it safe, wipe the area again with a dry, soft and clean cloth.

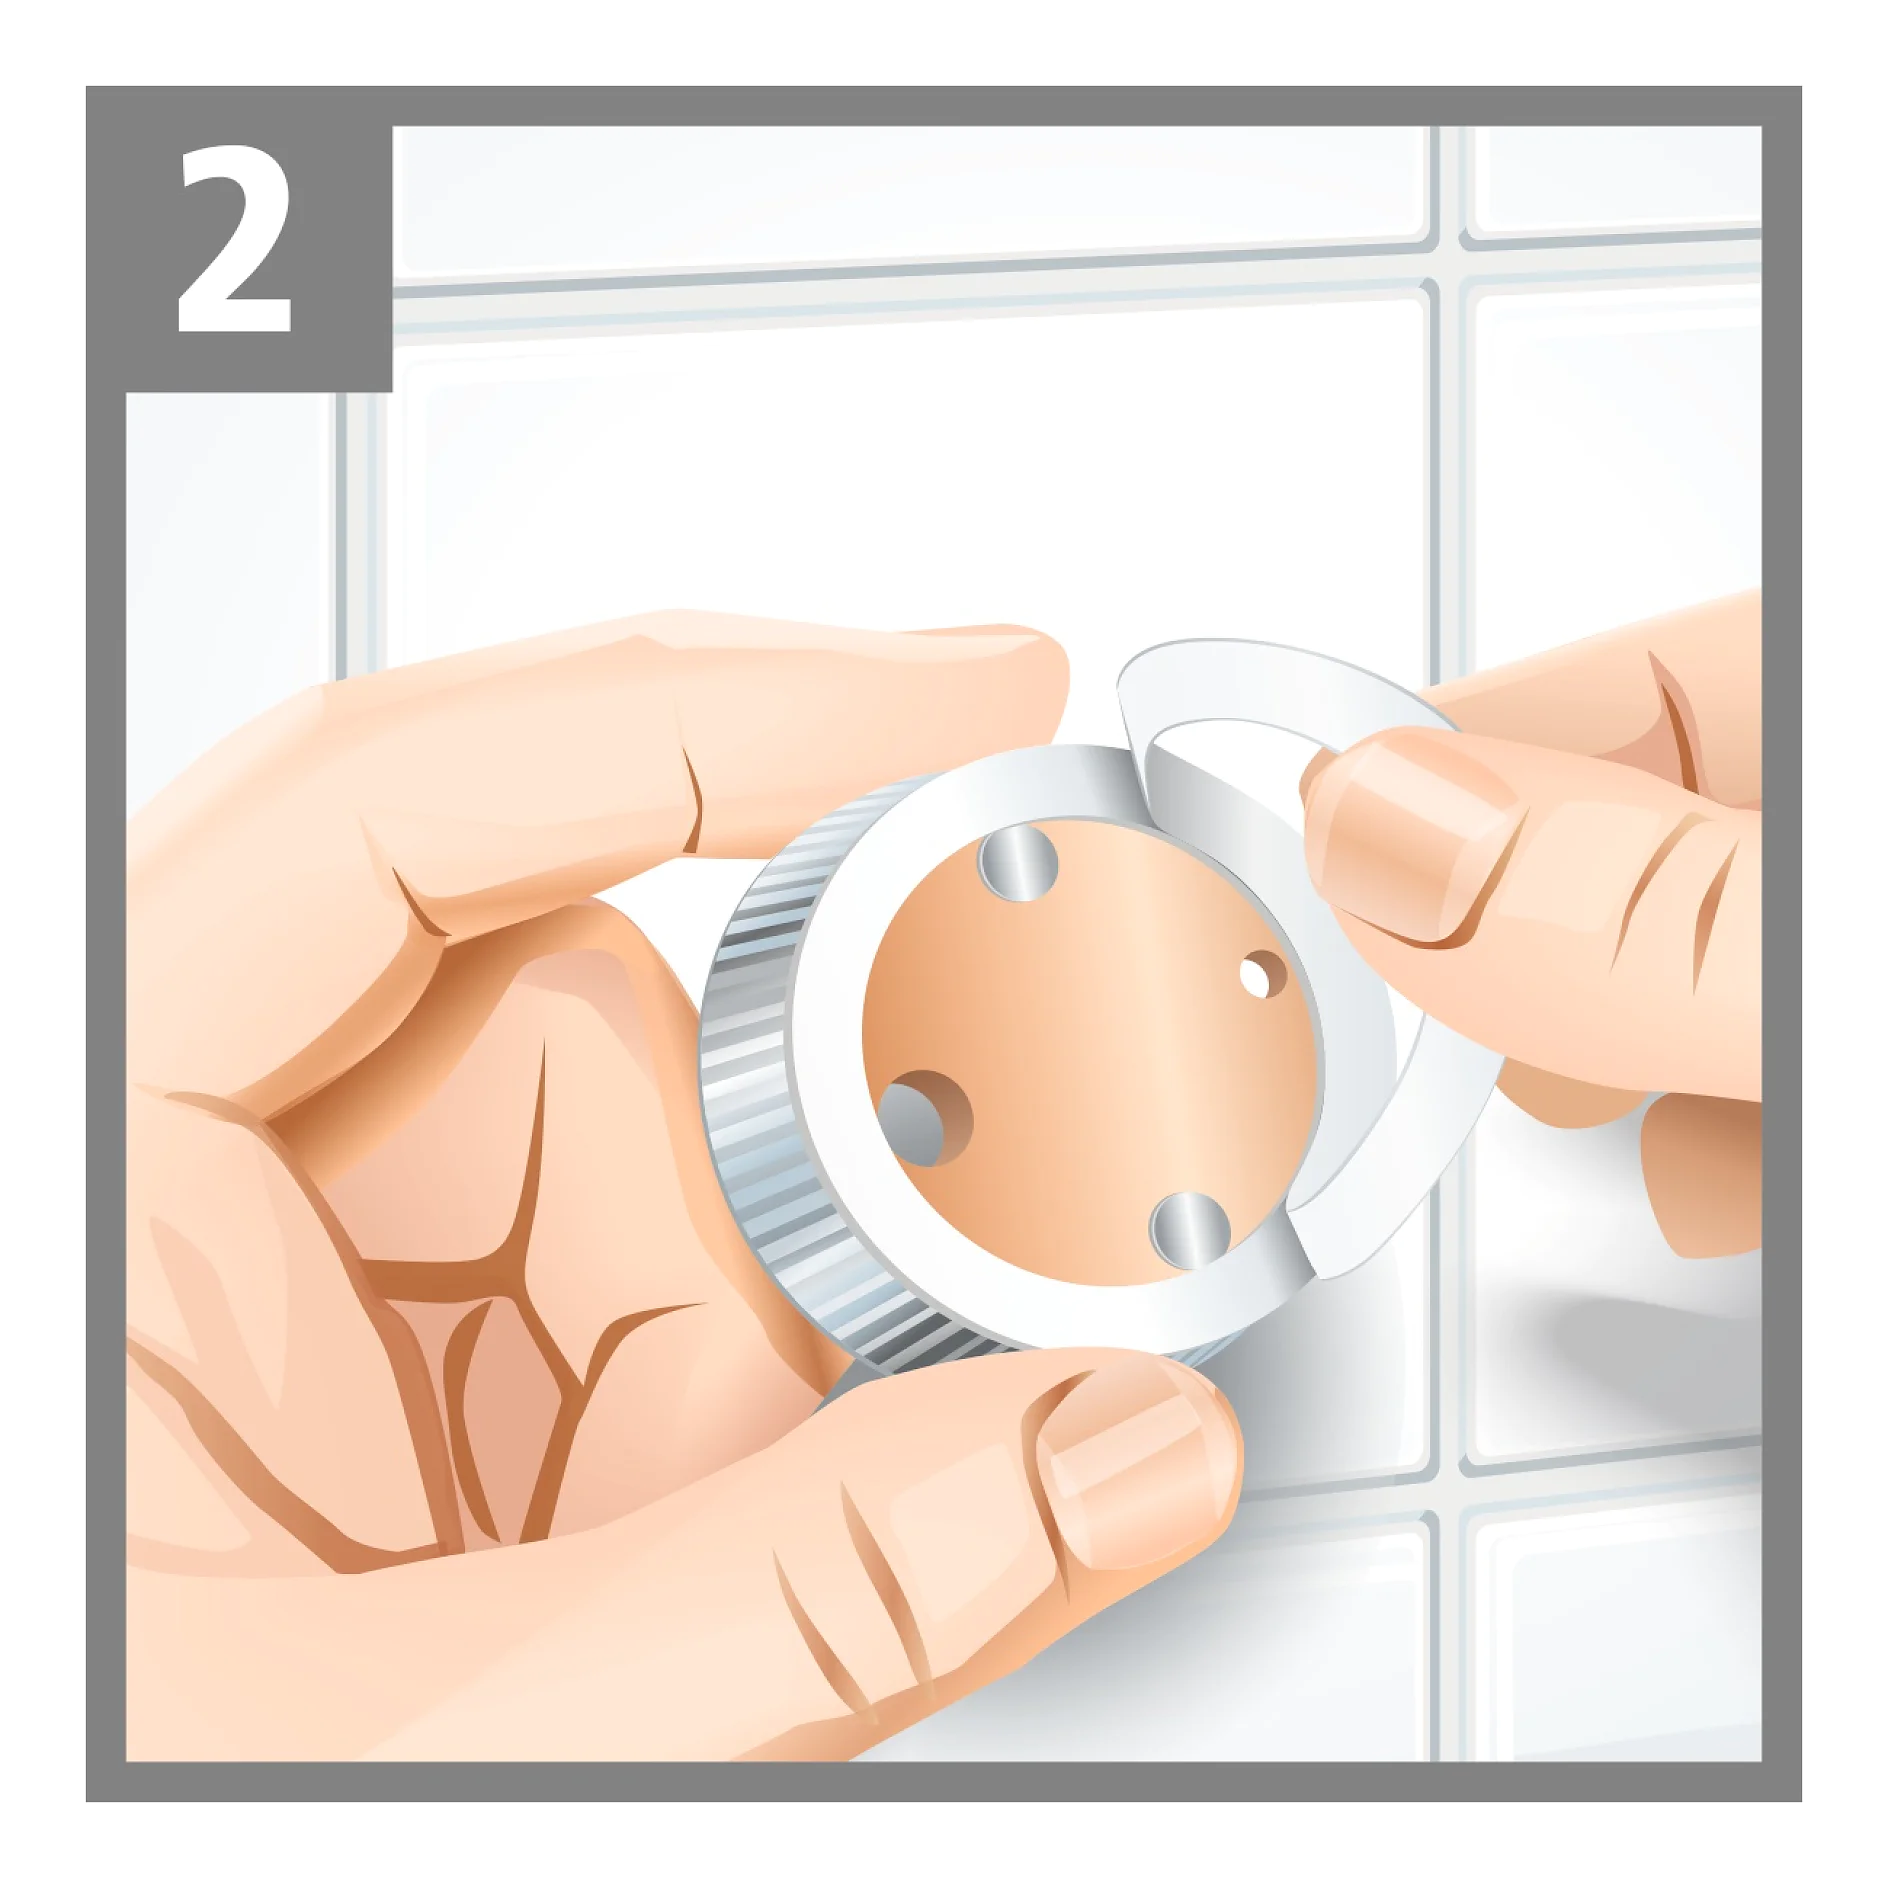
Illustration shows two hands holding a circular, silver object with a beige center and three holes. A small, semicircular tesa tape sticker is being peeled off the objects edge. The background features white, square tiles. A number 2 is in the top left corner. (This text has been generated by AI)

02Stick the adapter to the wall

In our assortment you will find various adapters to properly mount the bathroom accessories. Among other things, they are used for fixing toilet paper holders, toilet brush sets, towel hooks and soap dispensers.

All adapters are similar in design and work on the same principle: first remove the protective film of the adhesive ring. Press the adapter firmly to the surface for a few seconds. If you are mounting a bathroom accessory with two adapters, make sure that the distance between the adapters is correct and they are aligned correctly.

Info: Be careful not to touch the adhesive surface of the adapter with your fingers. Otherwise, new grease could get onto the surface and reduce the load-bearing capacity.

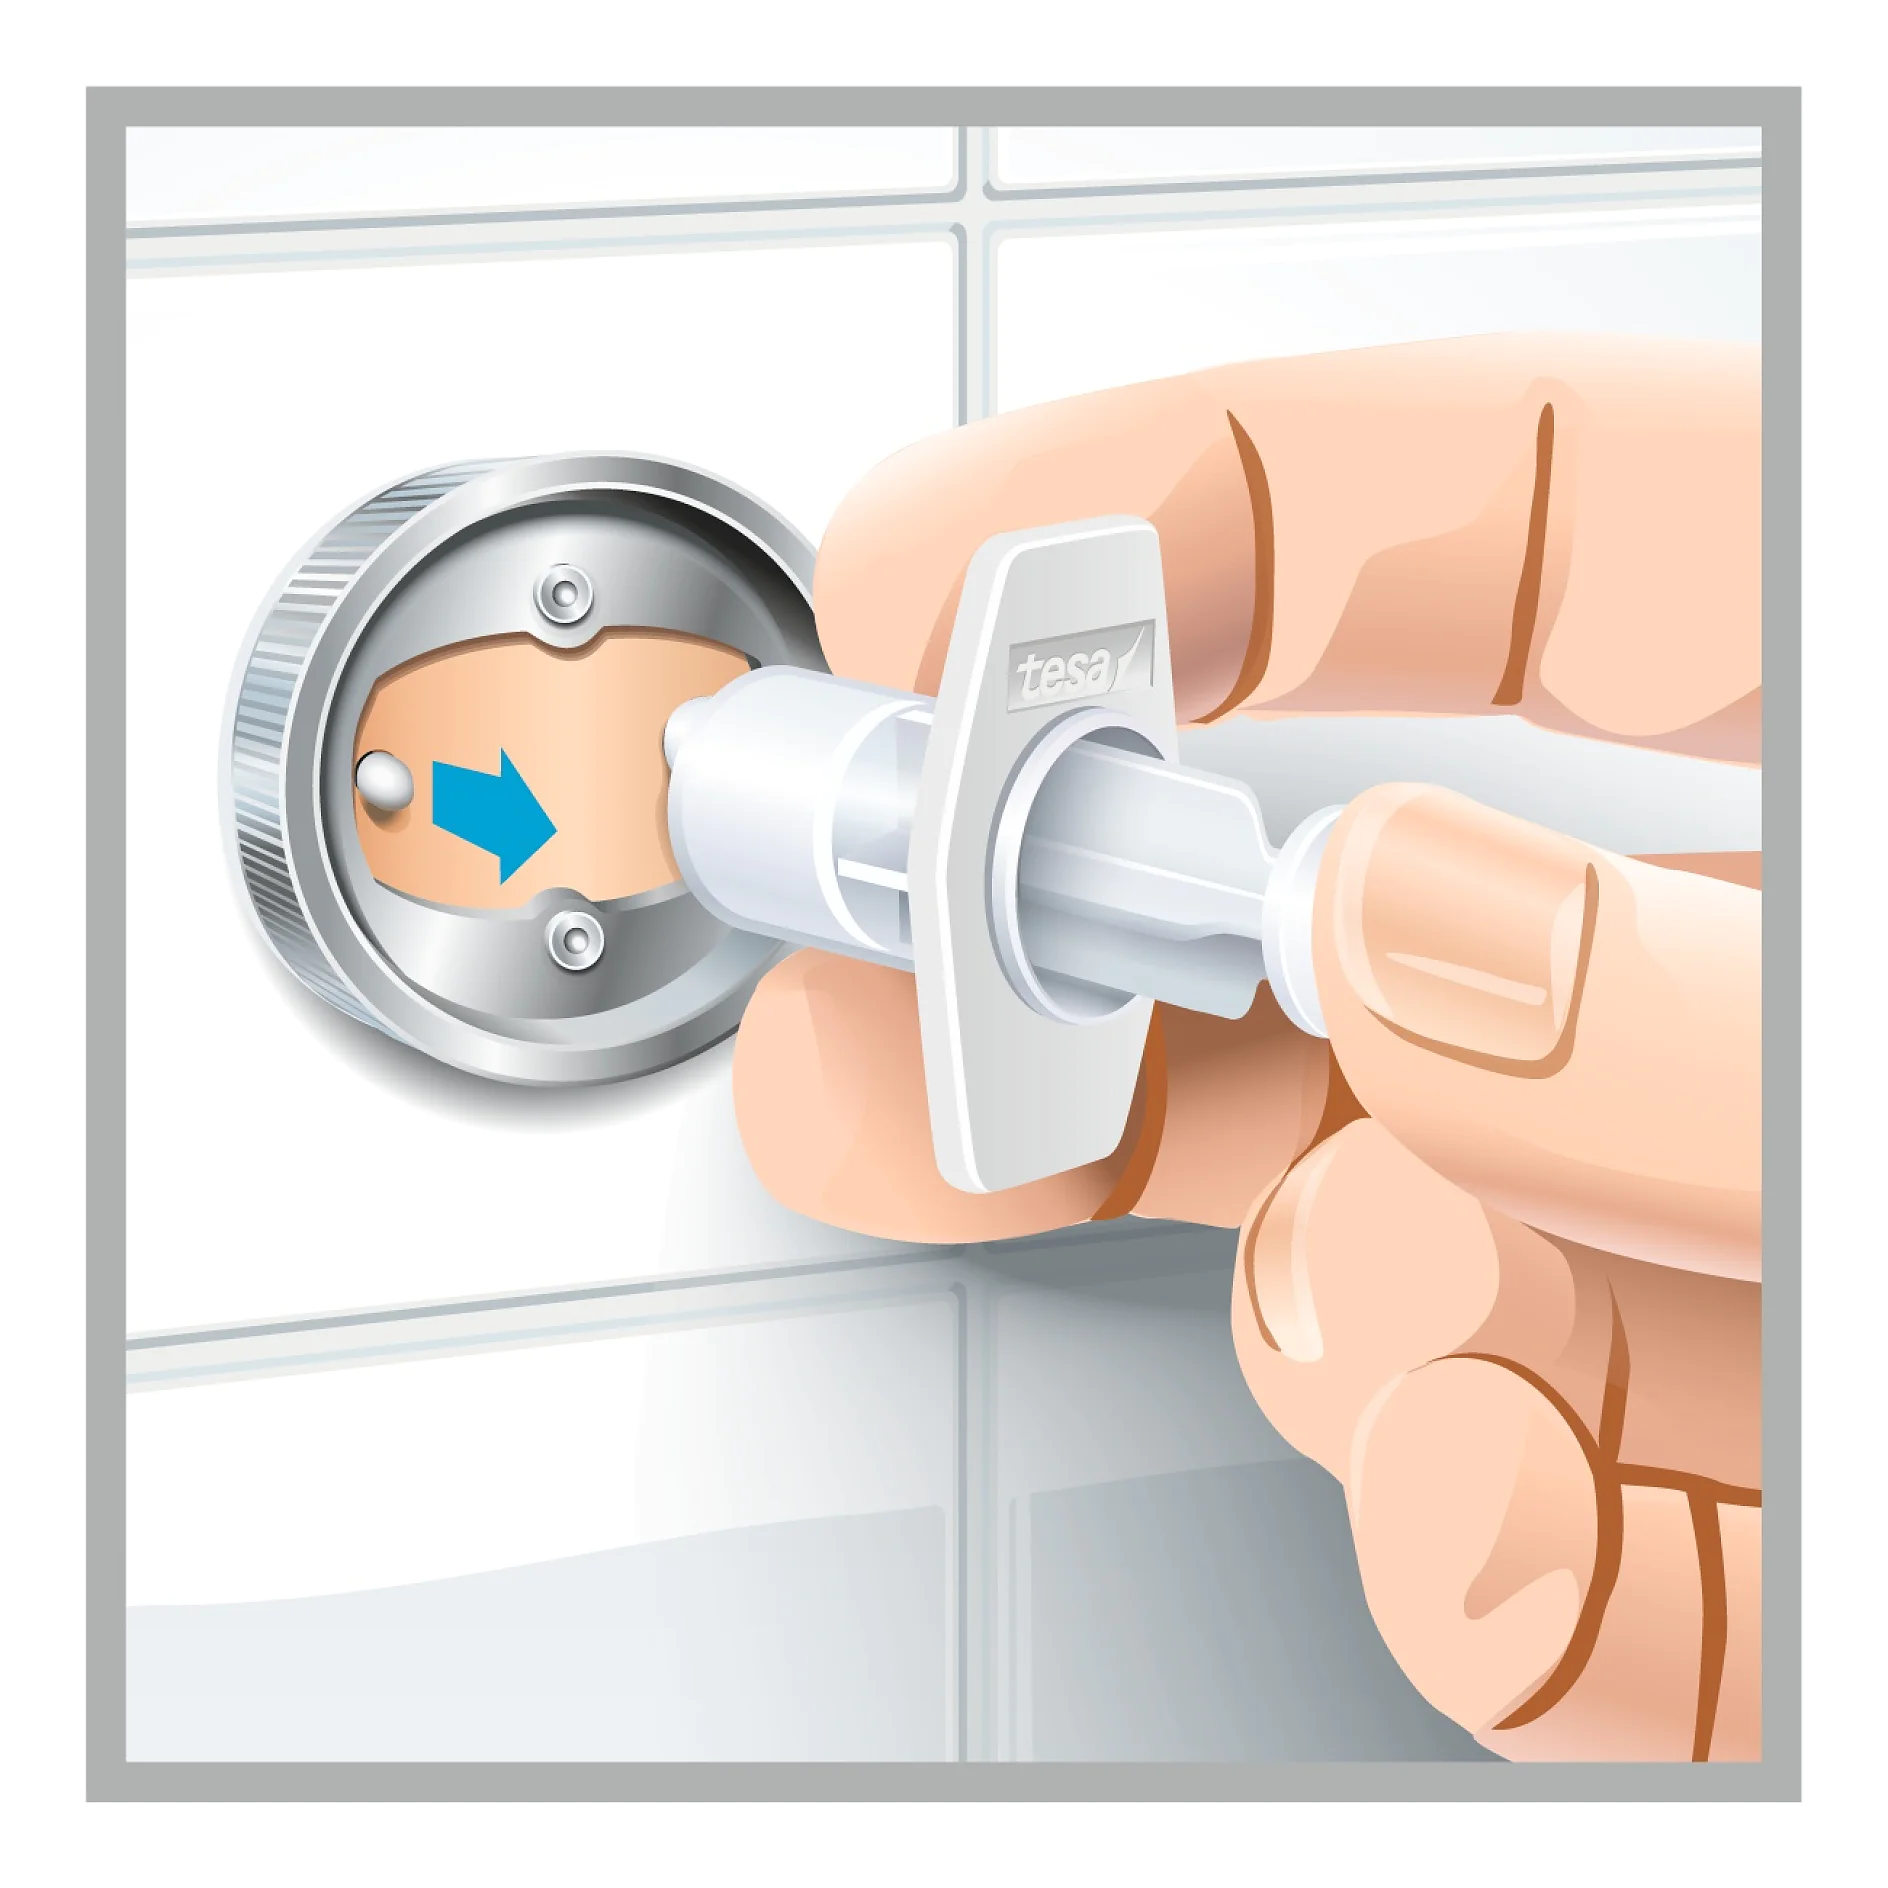
Illustration of a hand using a tool to remove a circular metallic fixture from a tiled wall. The fixture has a hole with an arrow pointing left, and the tool is being inserted into the fixture using tesa tape for securing. (This text has been generated by AI)

03Fill the adapter with the adhesive

Now hold the applicator in the larger opening of the adapter. Now carefully squeeze the adhesive out of the applicator and fill the ring with the adhesive mass until it appears at the smaller hole of the adapter.

Important: Please do not press or touch the adapter now! Cavities could be created that impair the holding force.

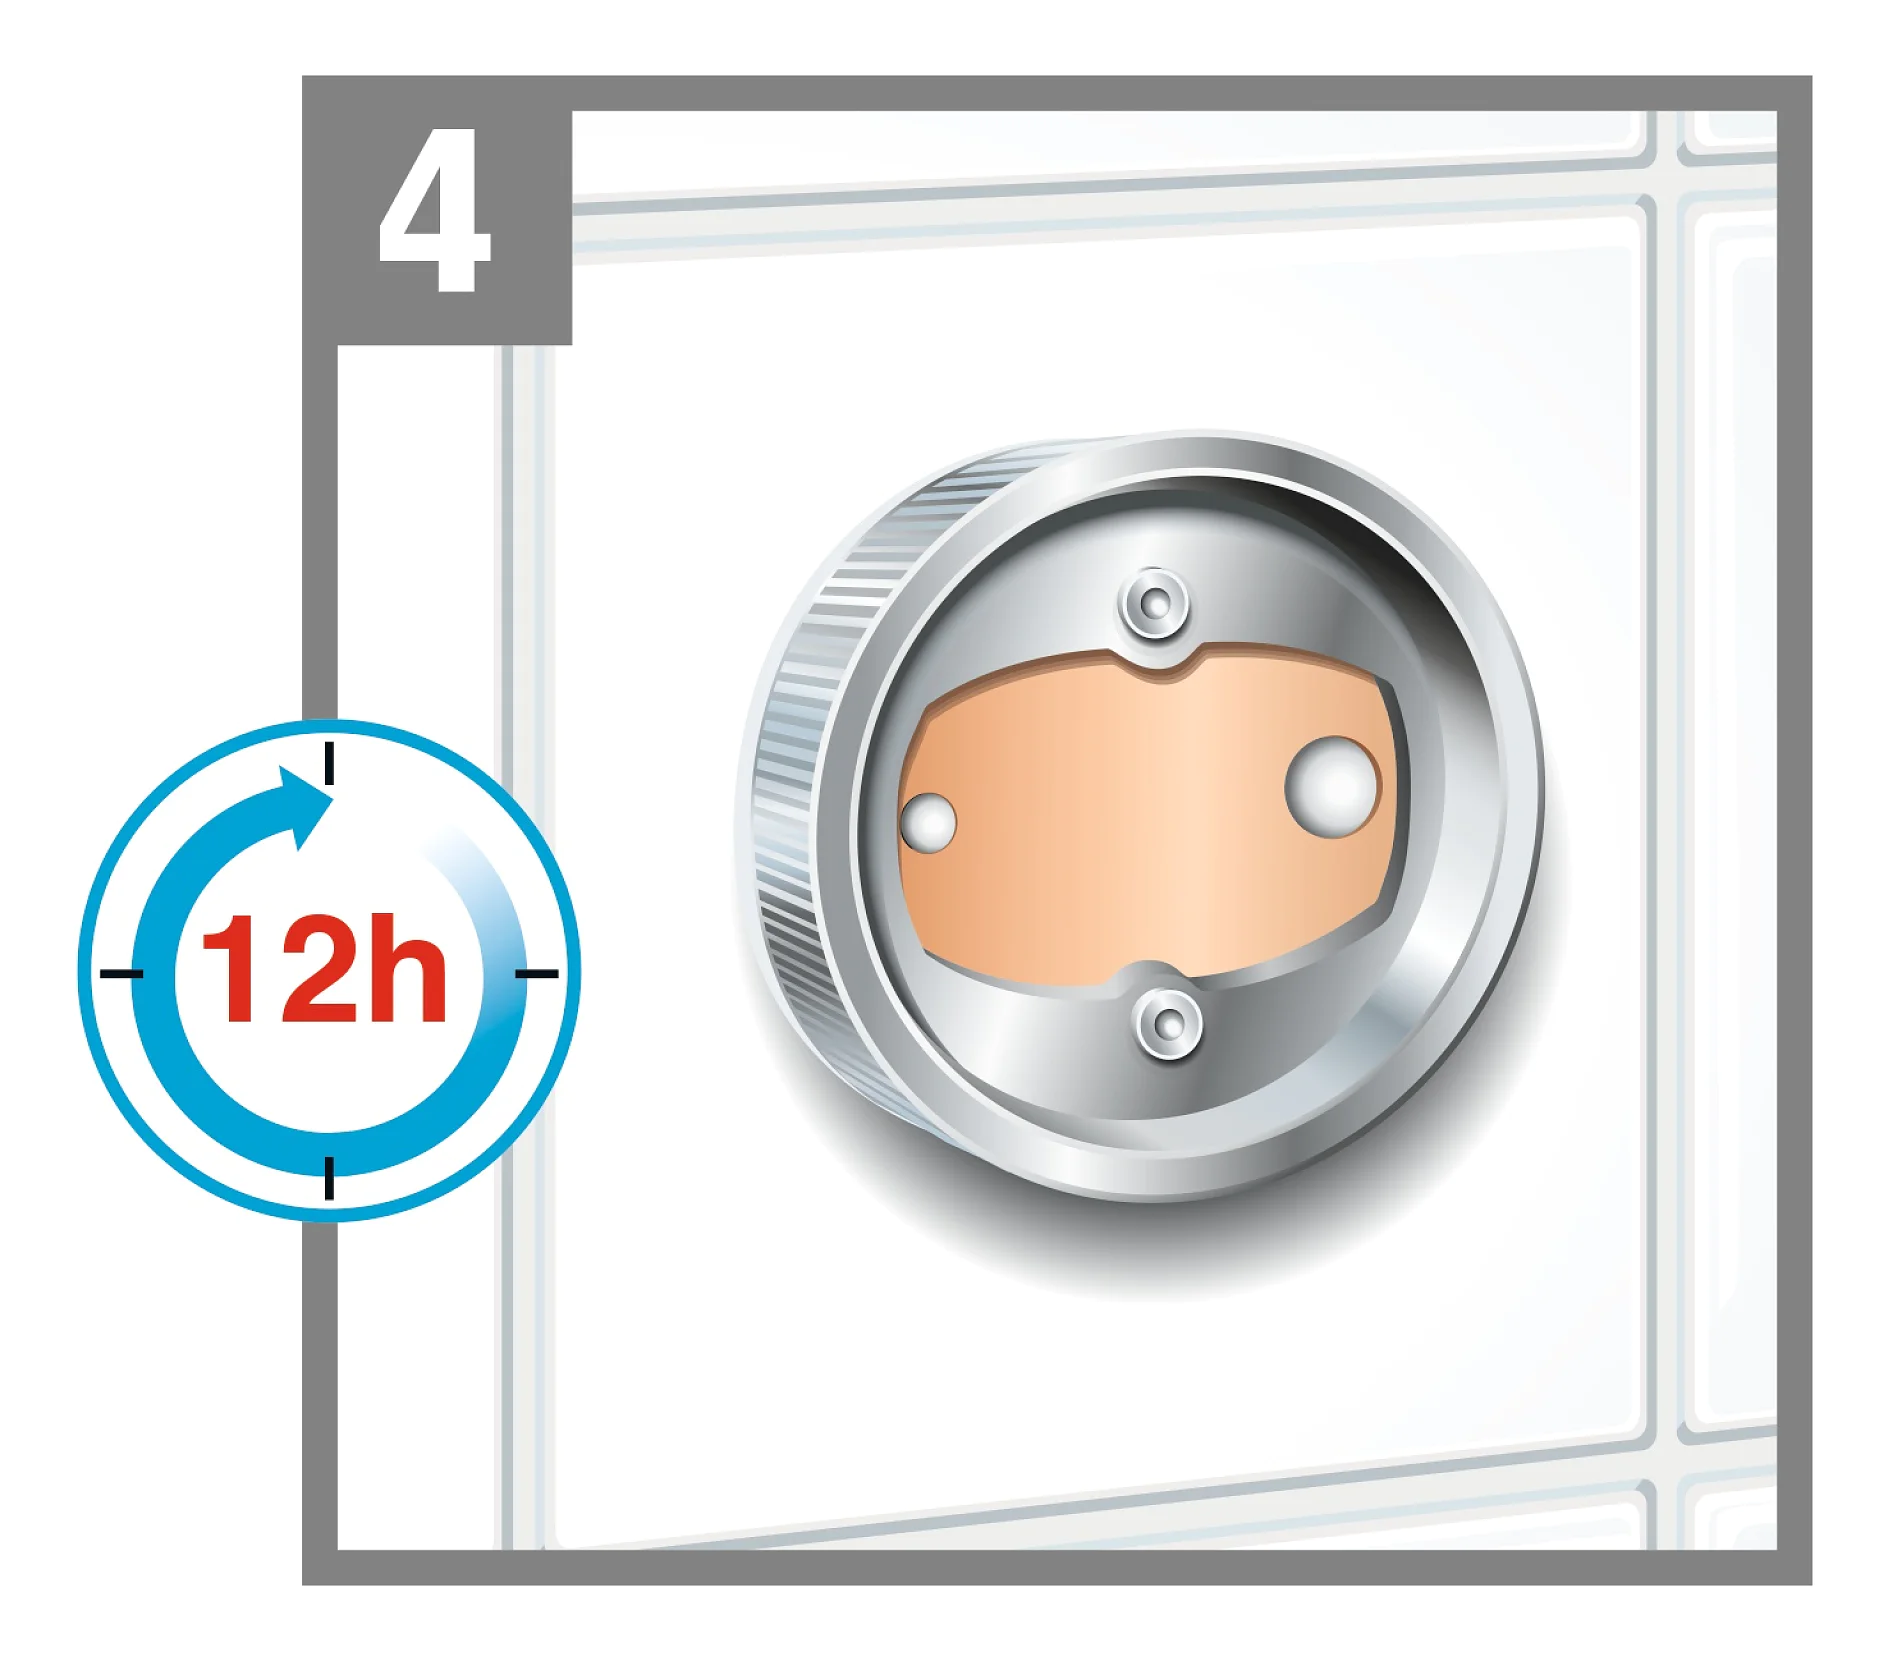
Illustration showing a wall-mounted round device with a metallic edge and two visible screws. A clock symbol with 12h in the center is positioned to the left, surrounded by an arrow. A gray number 4 is in the top-left corner, secured using tesa tape. (This text has been generated by AI)

04Let the glue cure

To ensure maximum holding power, please wait 12 hours. The adhesive is then completely cured.
If adhesive mass protrudes from the sides of the adapter, you can carefully remove it. 

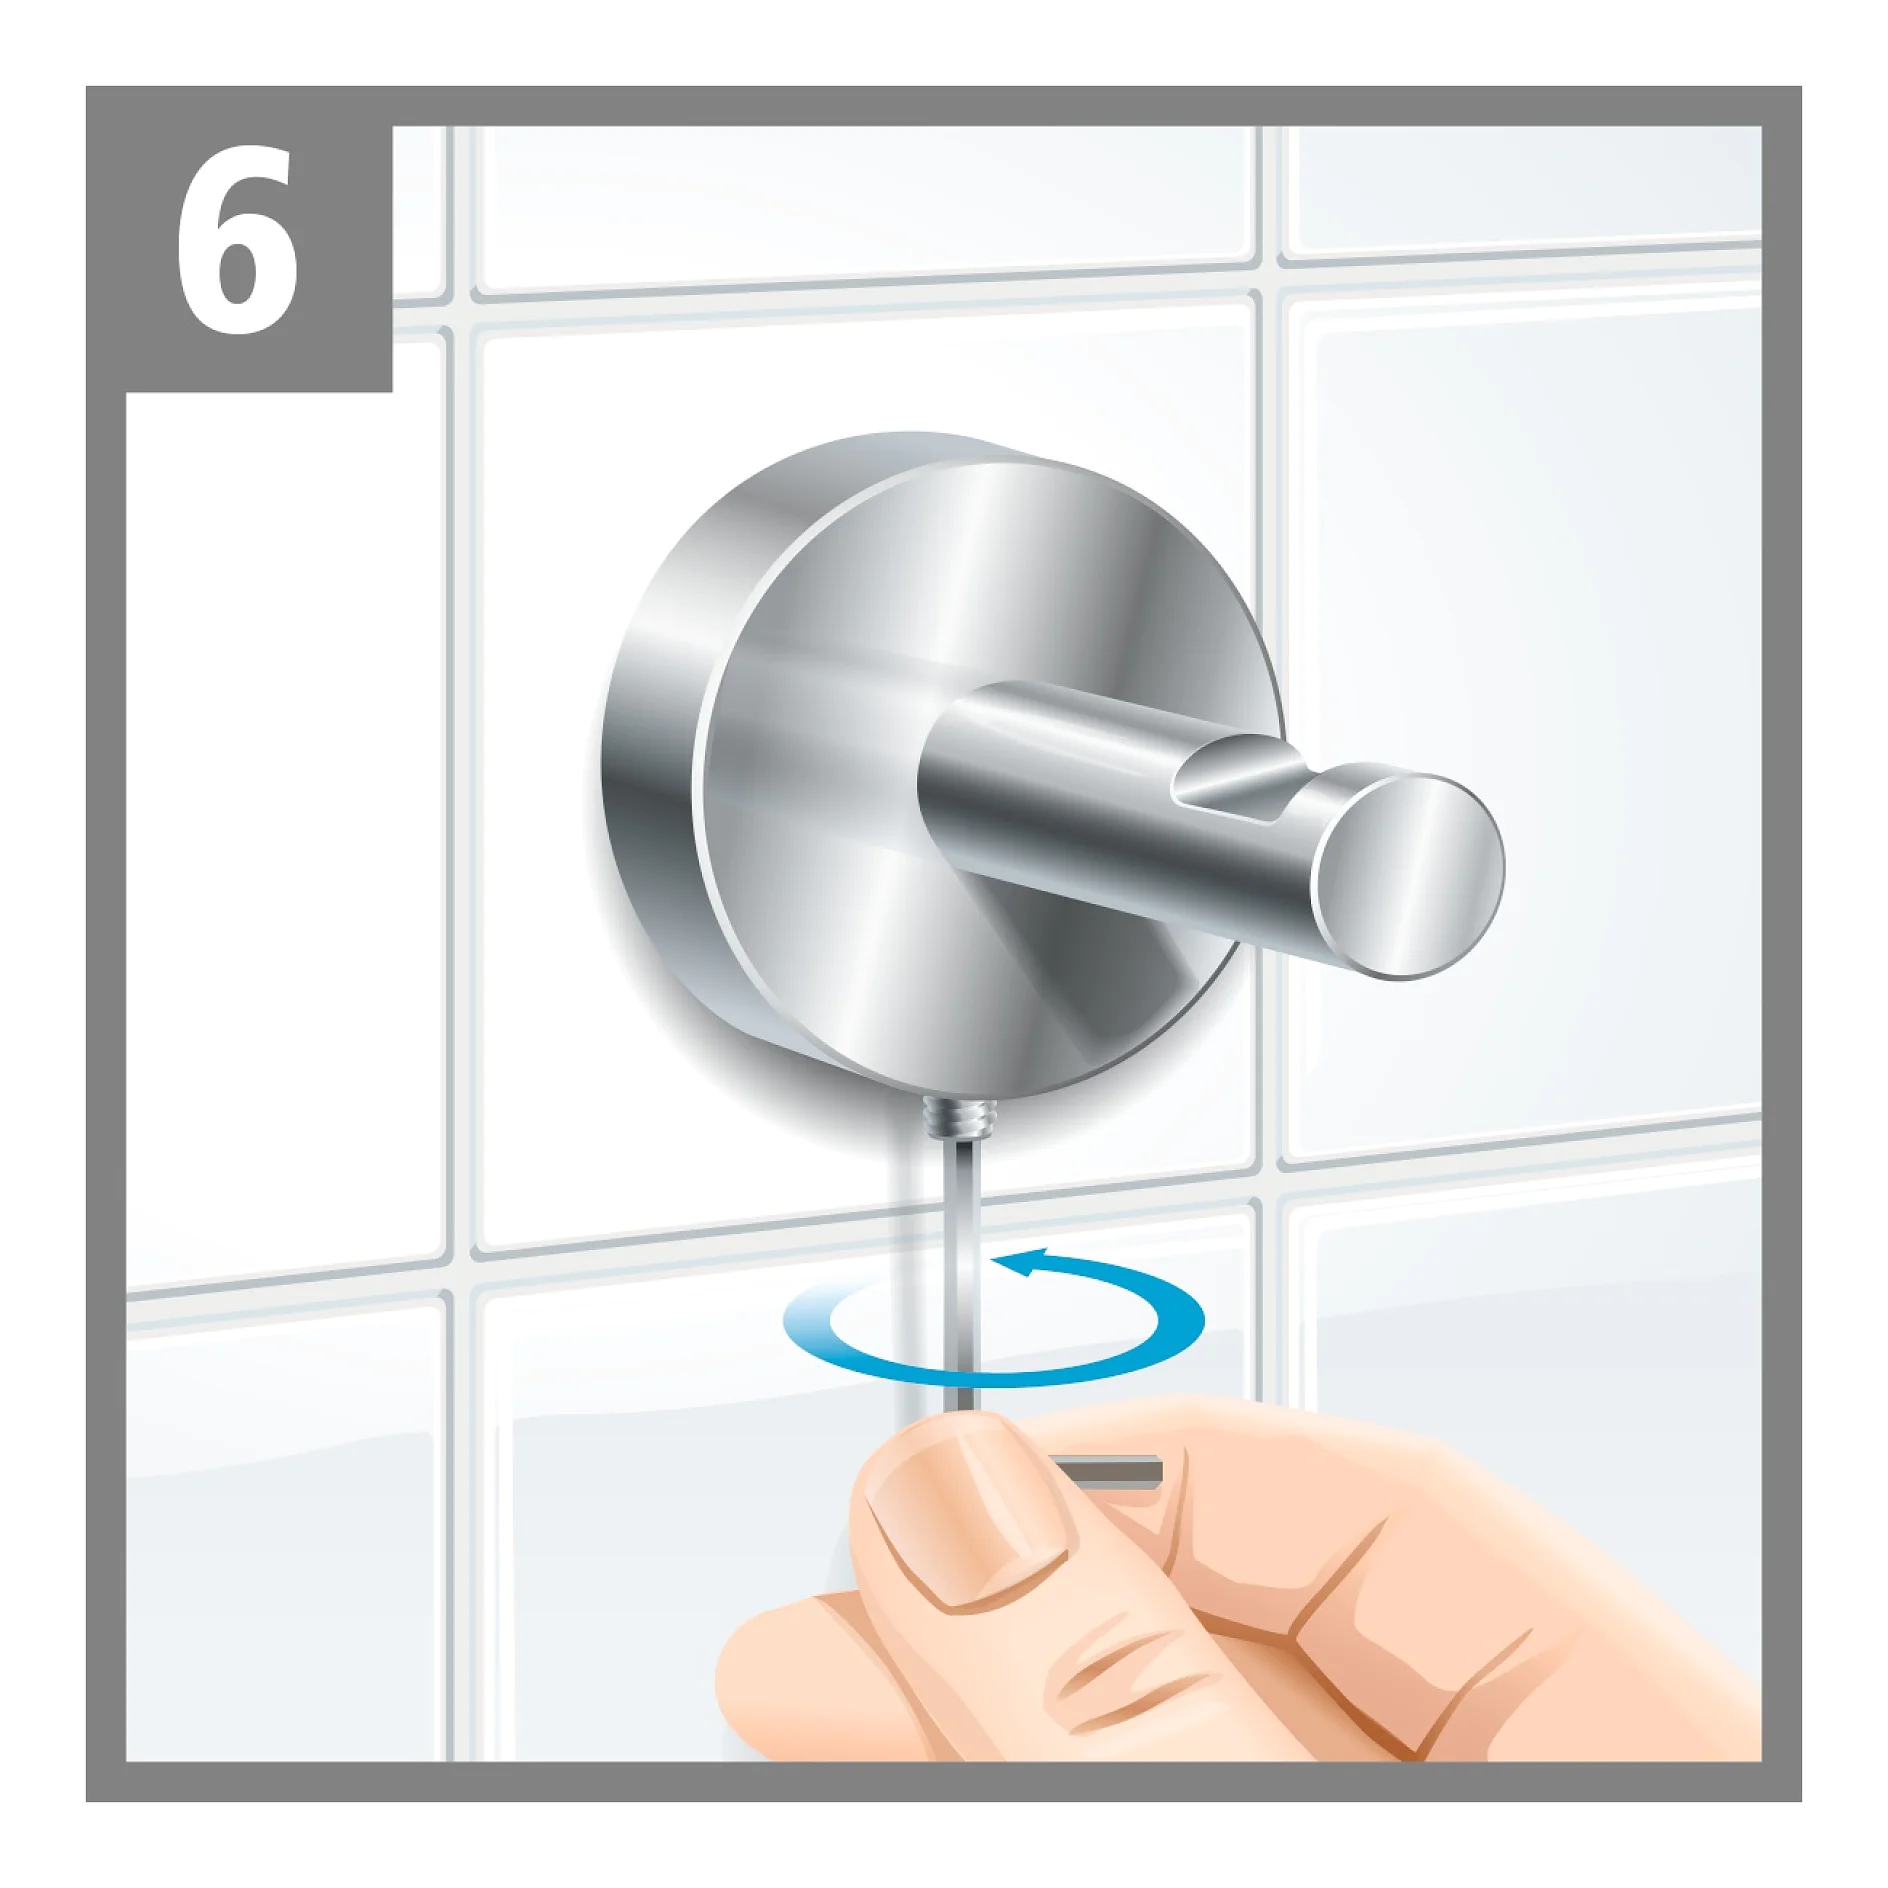
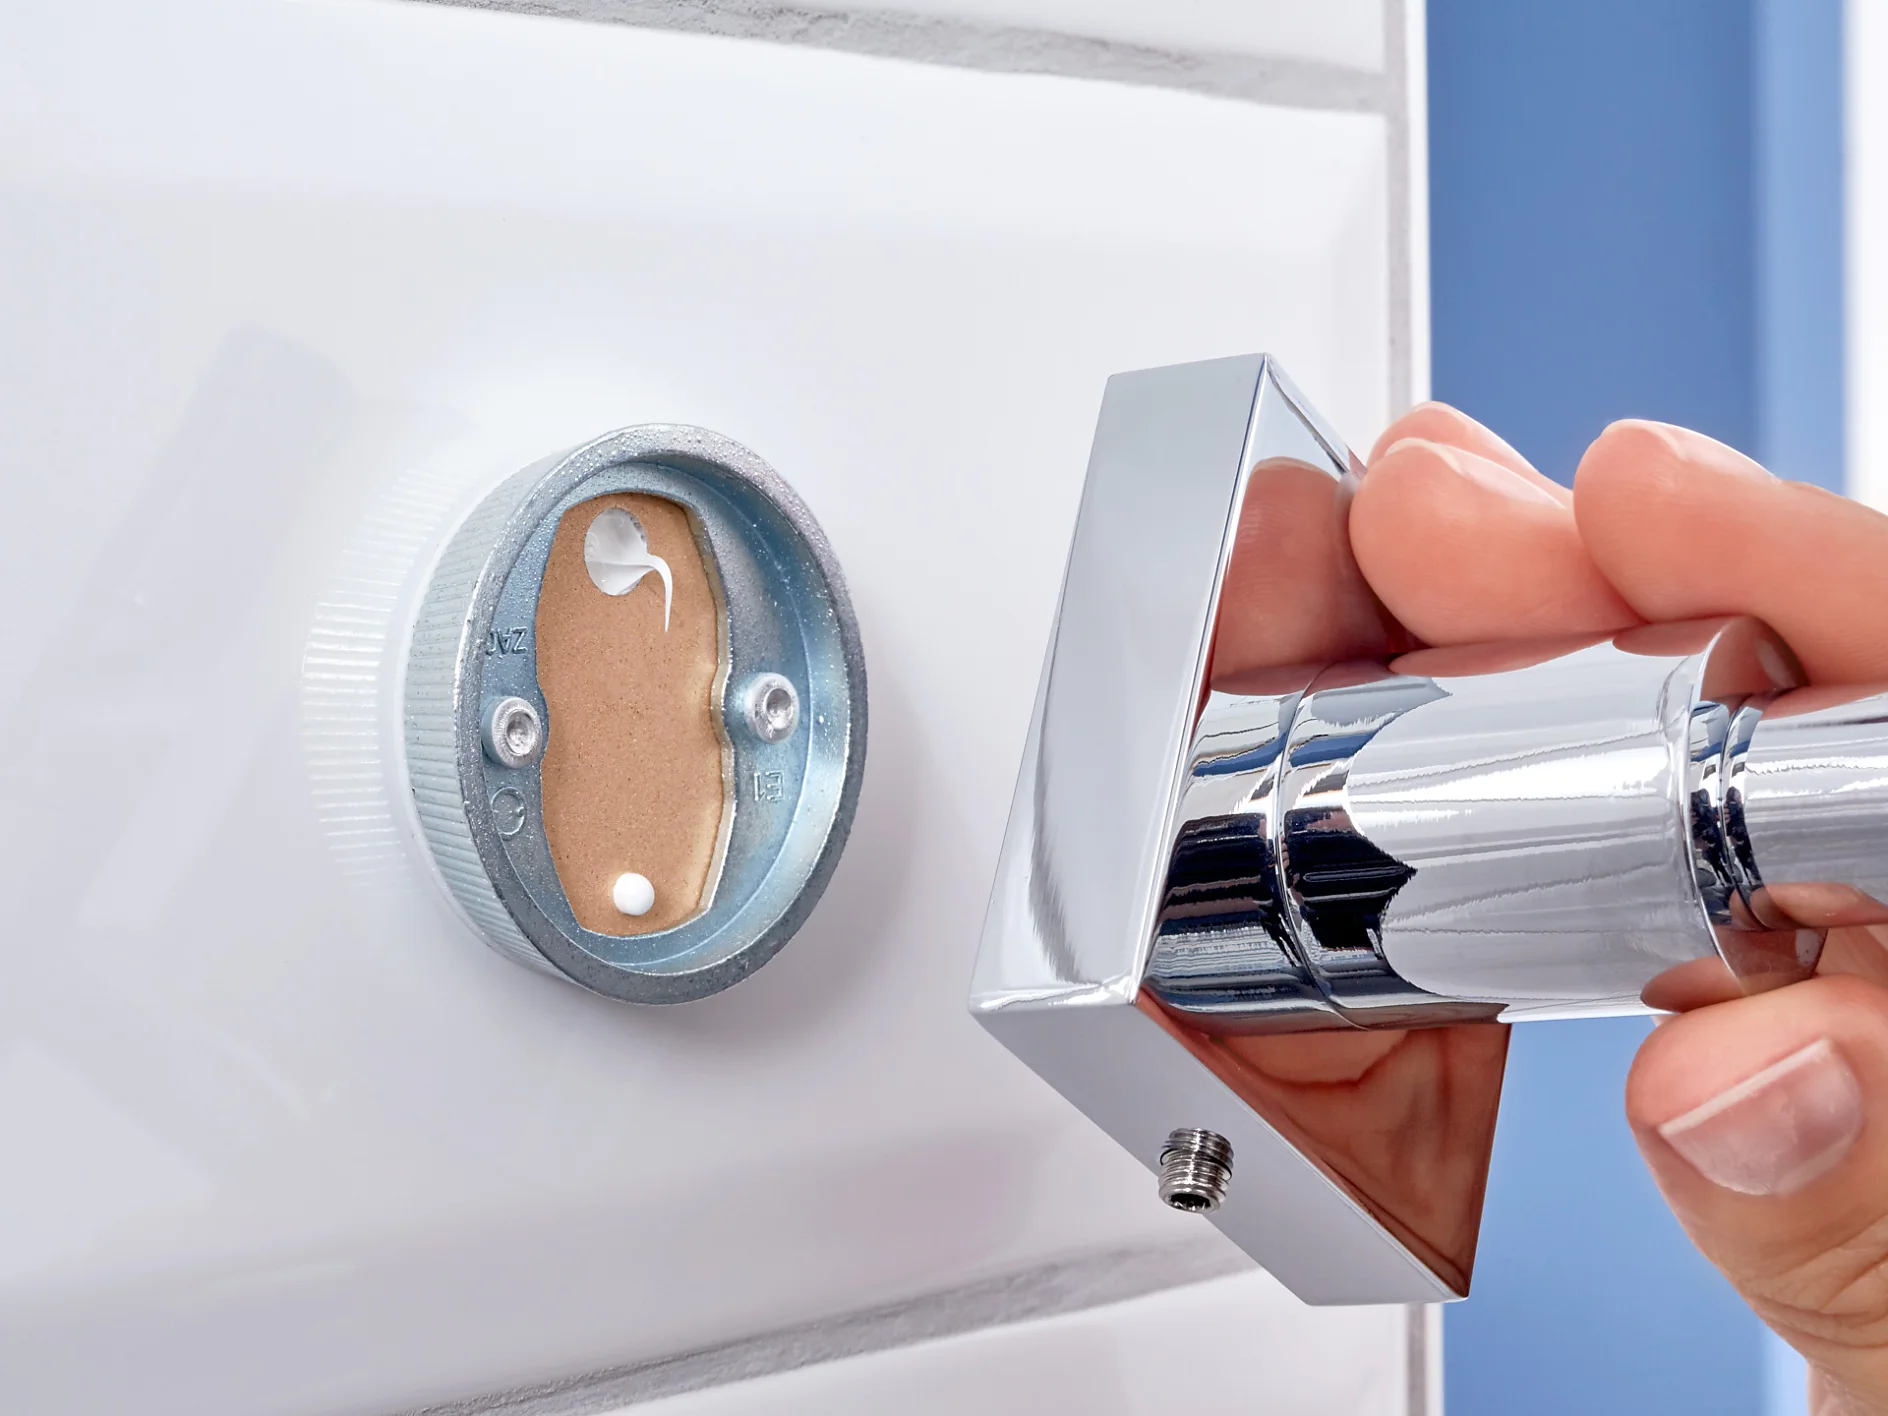
Illustration showing a hand using a screwdriver to tighten a set screw on a metal bathroom fixture mounted on white tiled wall. A number 6 is in the top left corner, indicating the step in a sequence. (This text has been generated by AI)

05Mount the bathroom accessory

Now attach the bathroom accessory to the adapter by fixing the accessory with the tiny screw.

EASY-OFF

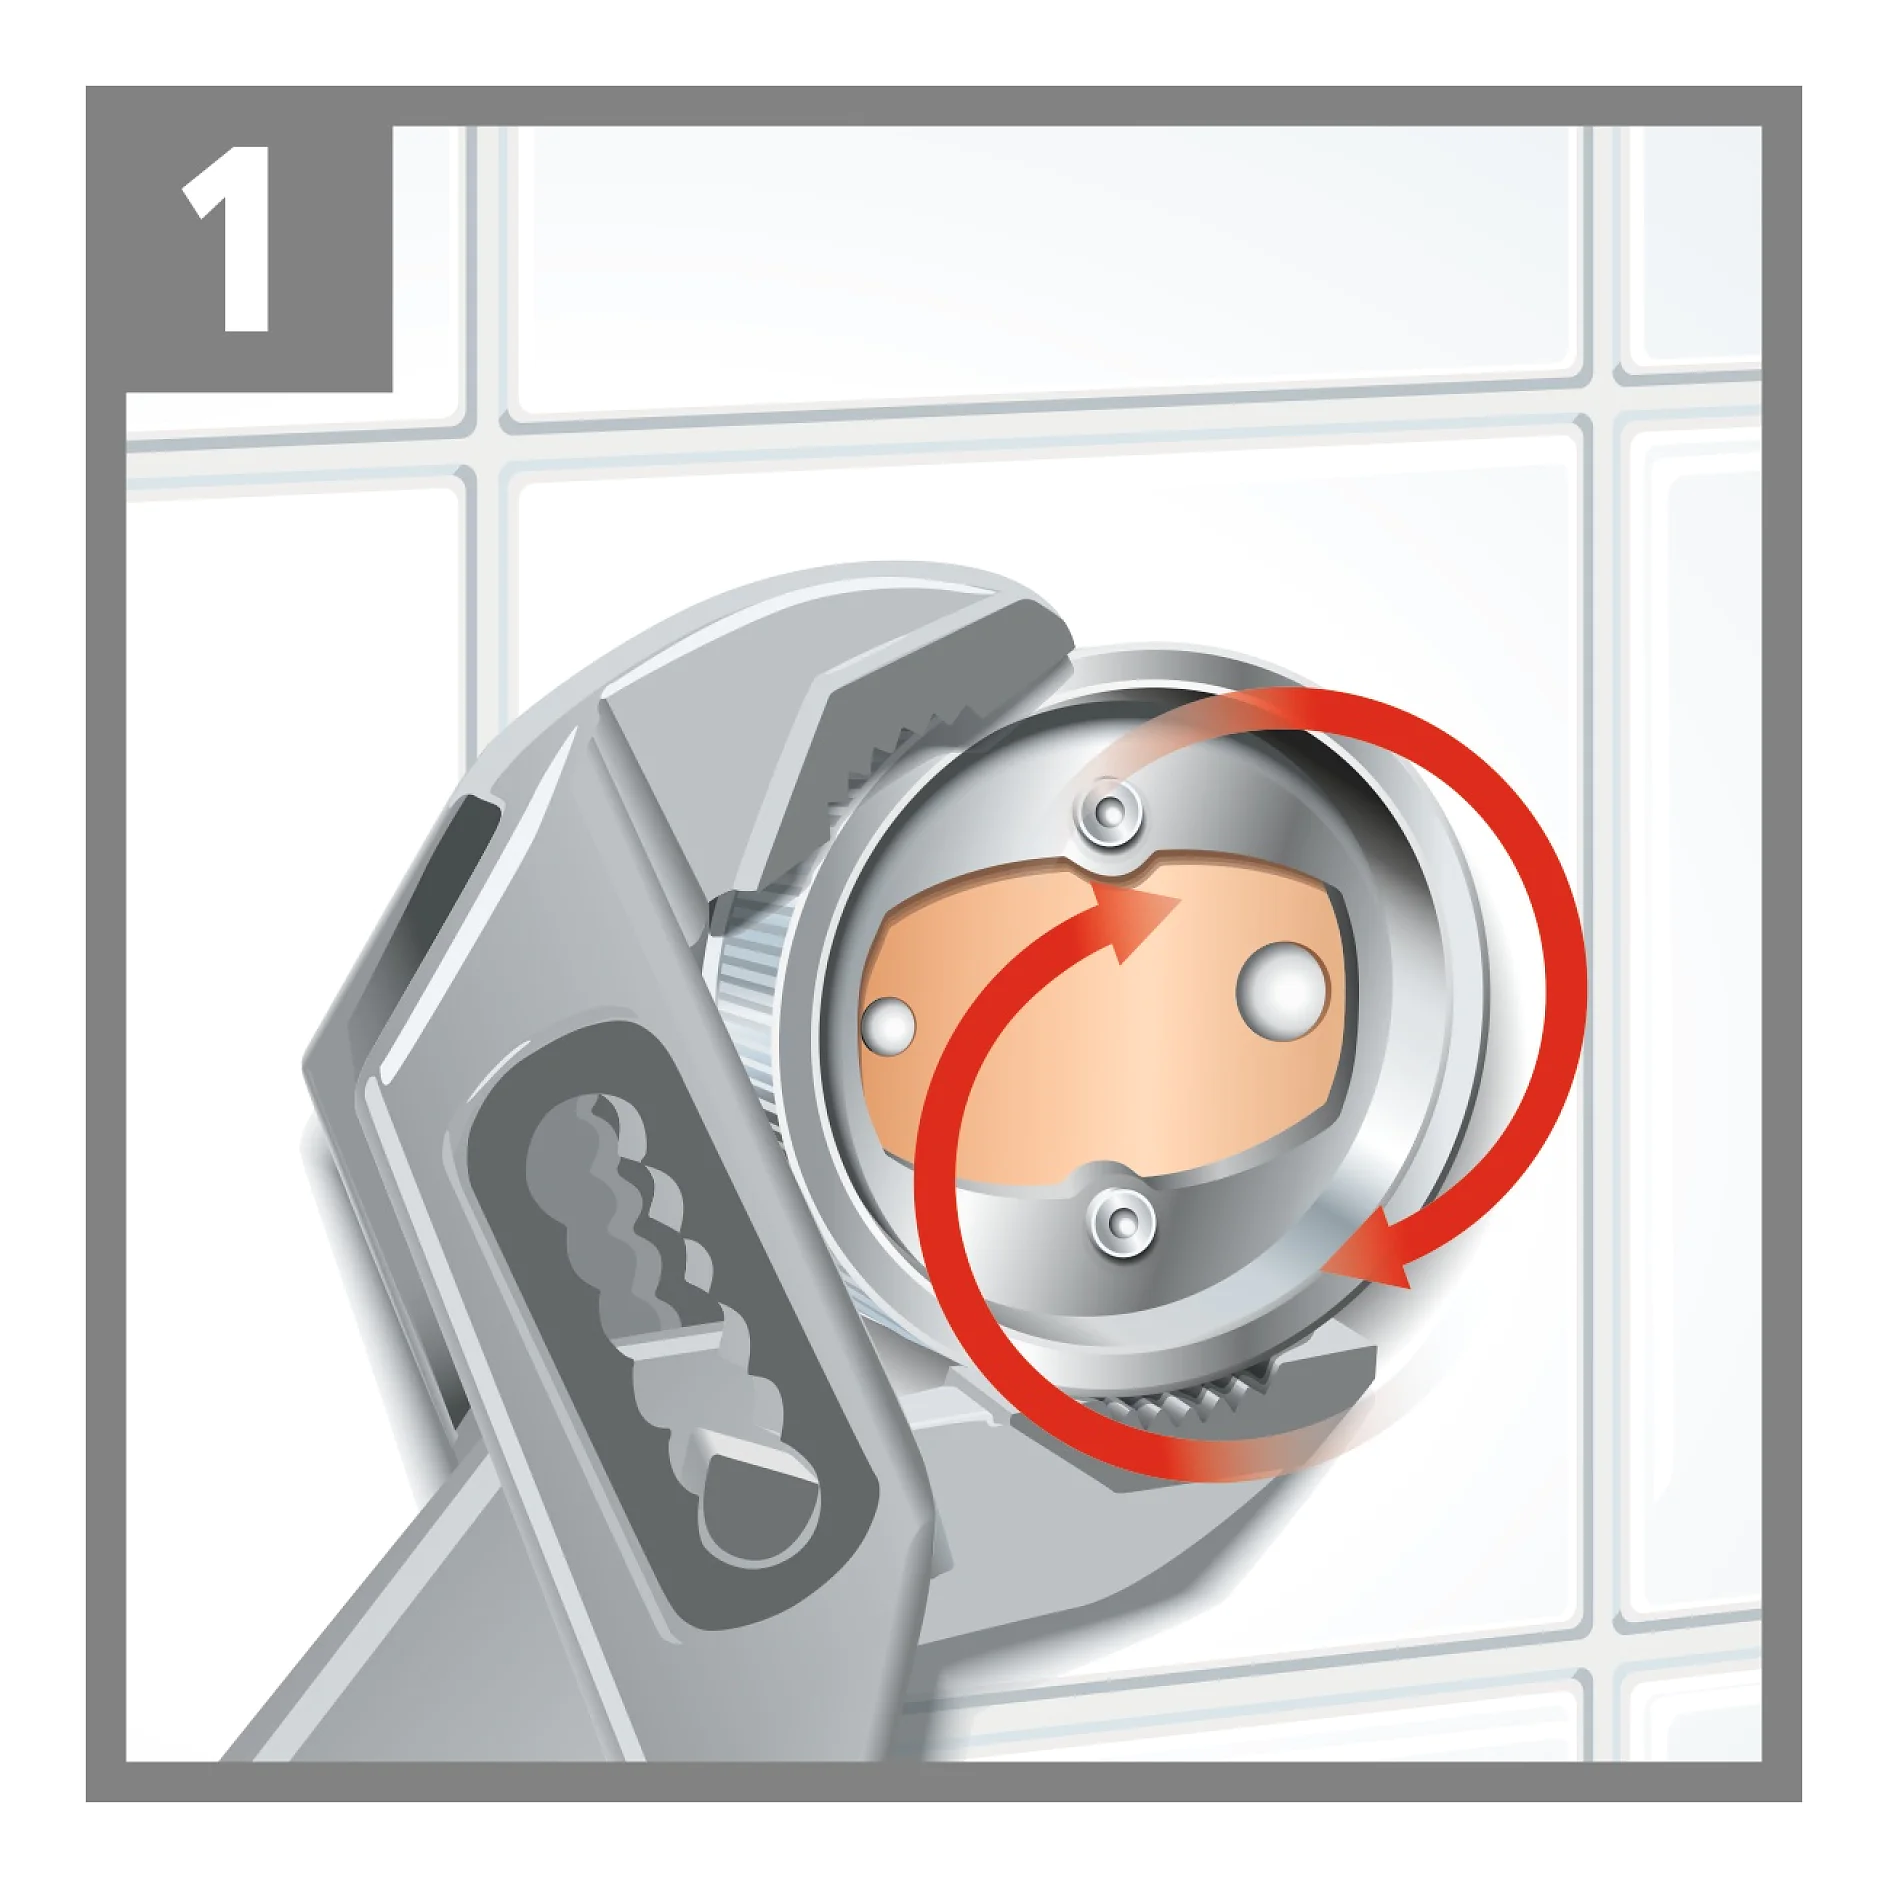
An adjustable wrench is being used to turn a round metal object, possibly a plumbing fixture. Two red arrows indicate a counterclockwise rotation. The background shows a tiled surface. (This text has been generated by AI)

01Remove the accessory

The disassembly of the adhesive adapter is as easy as the assembly! First unscrew the bath accessory from the adapter.
Now grasp the adapter ring with a pipe wrench and simply turn it clockwise carefully from the wall.

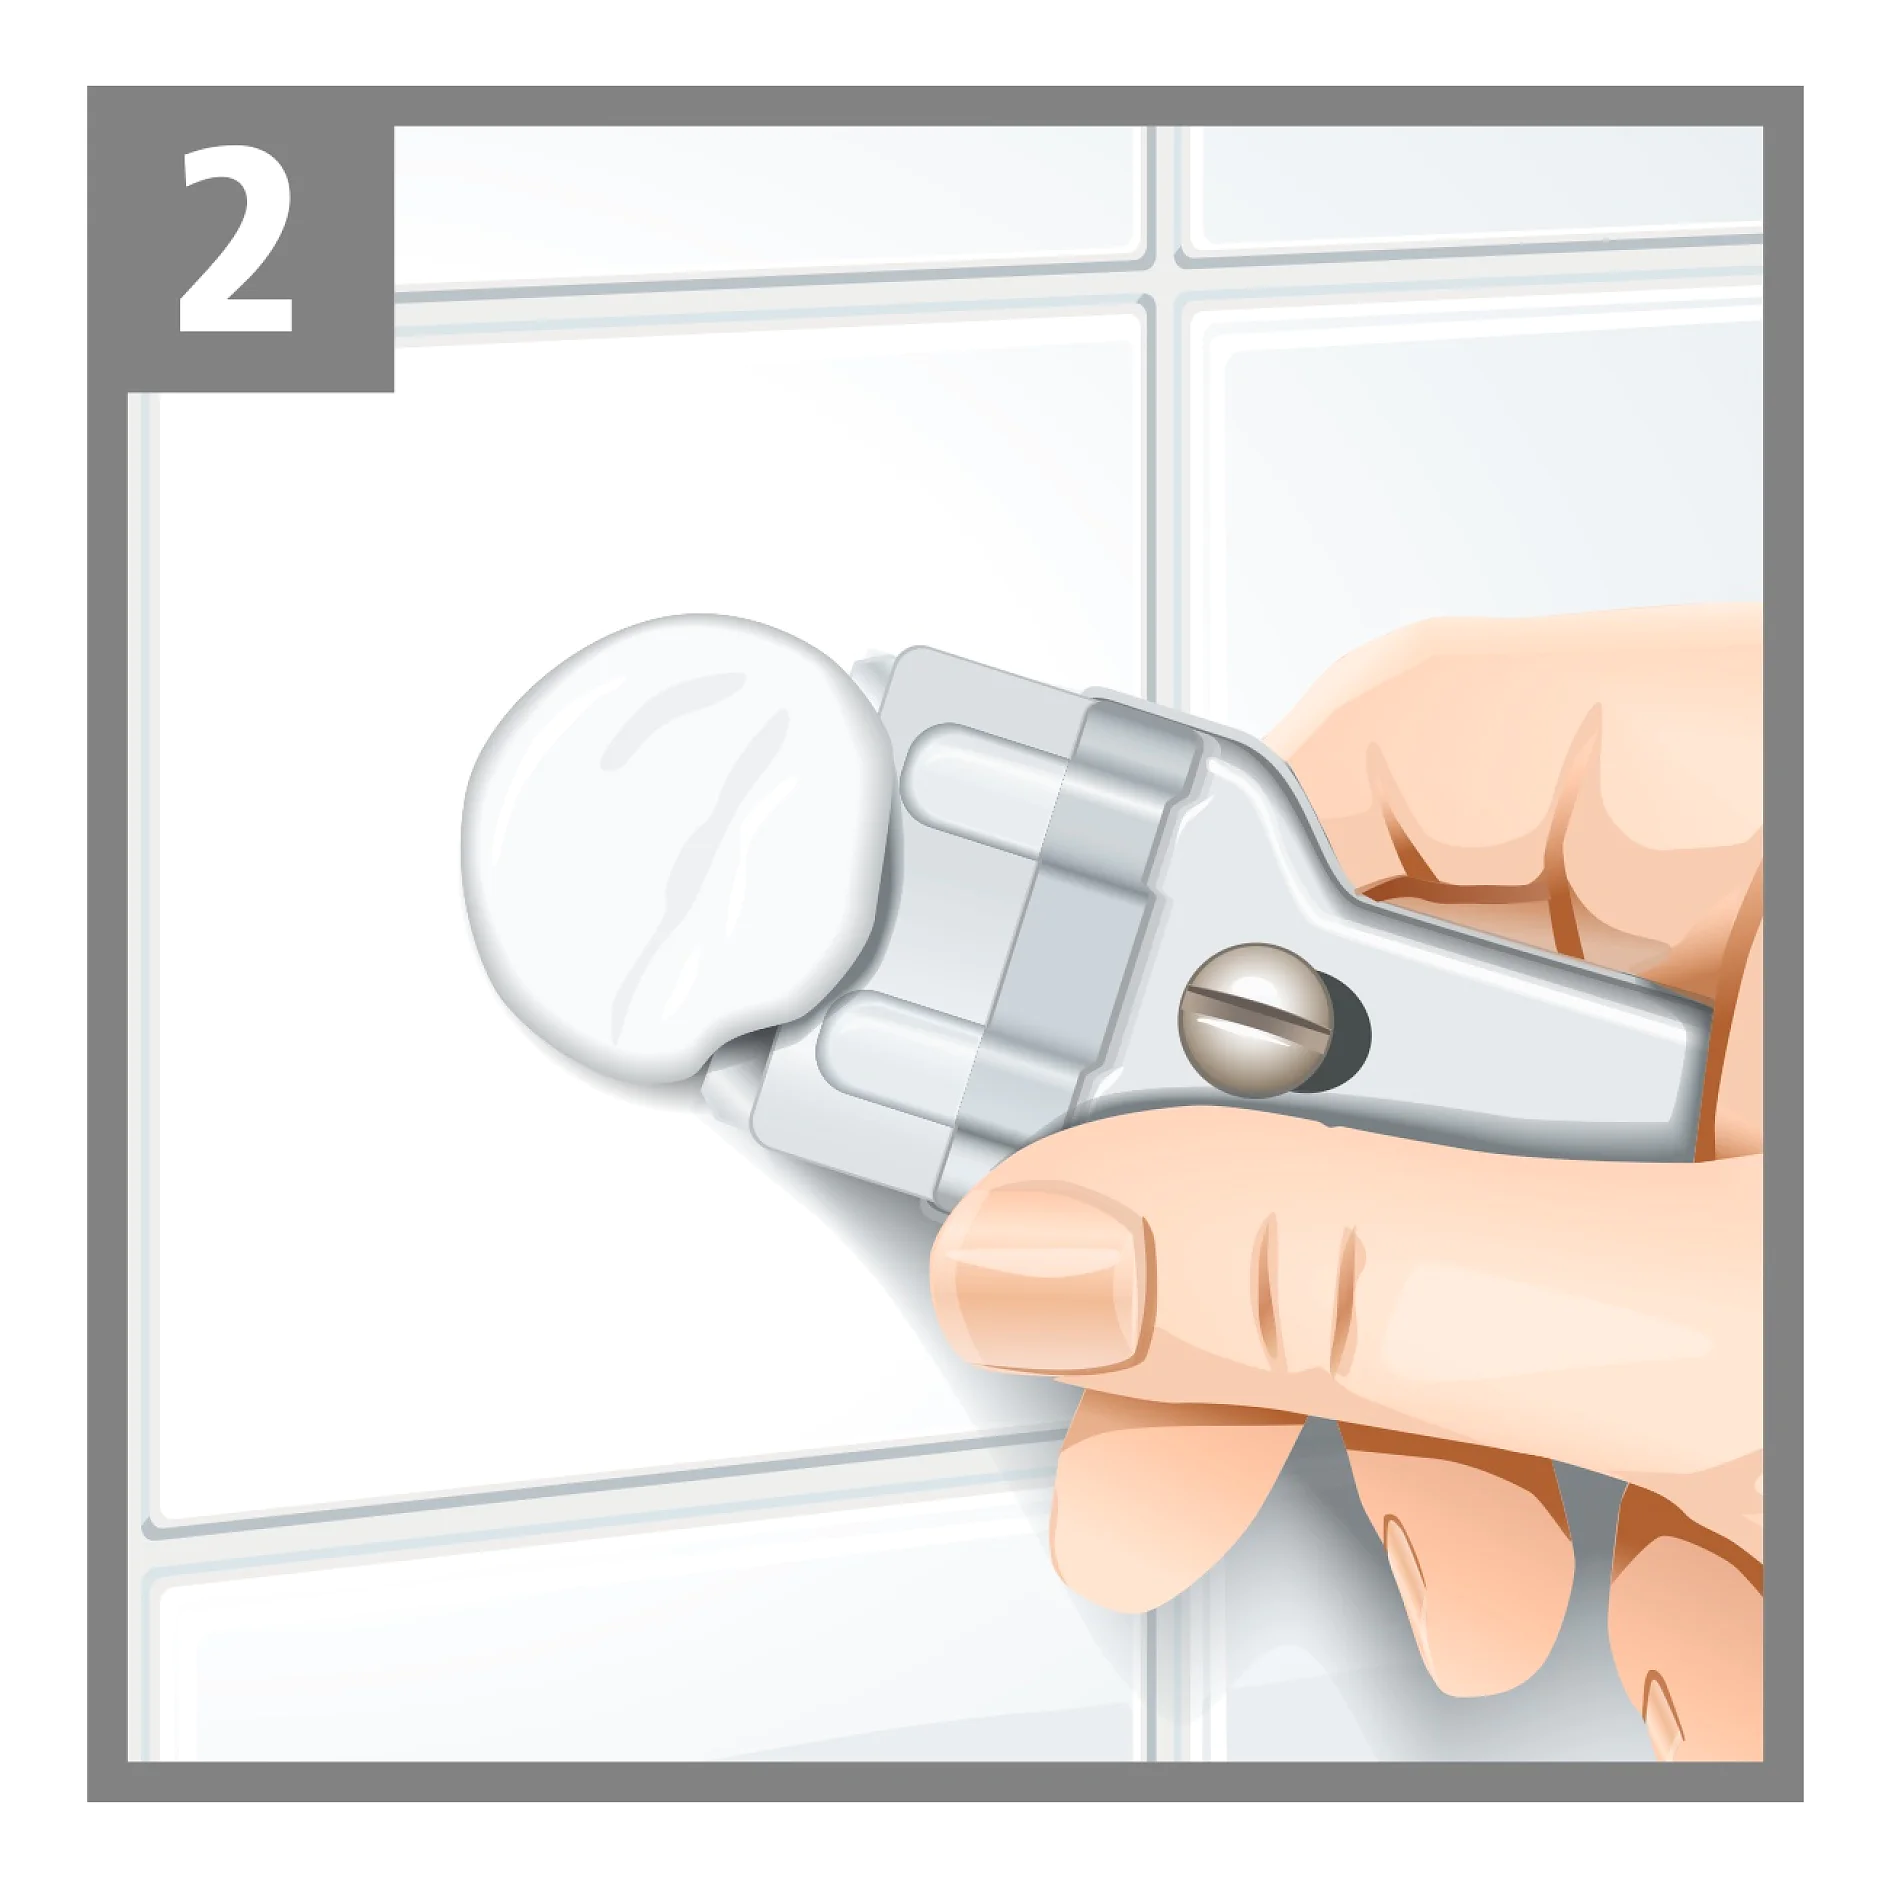
A hand holds a caulking tool applying a bead of white caulk to a white tiled surface. The tool is positioned at an angle, and the tiles have visible grout lines. A number 2 is in the upper left corner, and tesa tape is used to achieve clean edges. (This text has been generated by AI)

02Remove adhesive residue easily

If adhesive residue remains on the surface, you can gently scrape it off with a thin spatula or scraper.

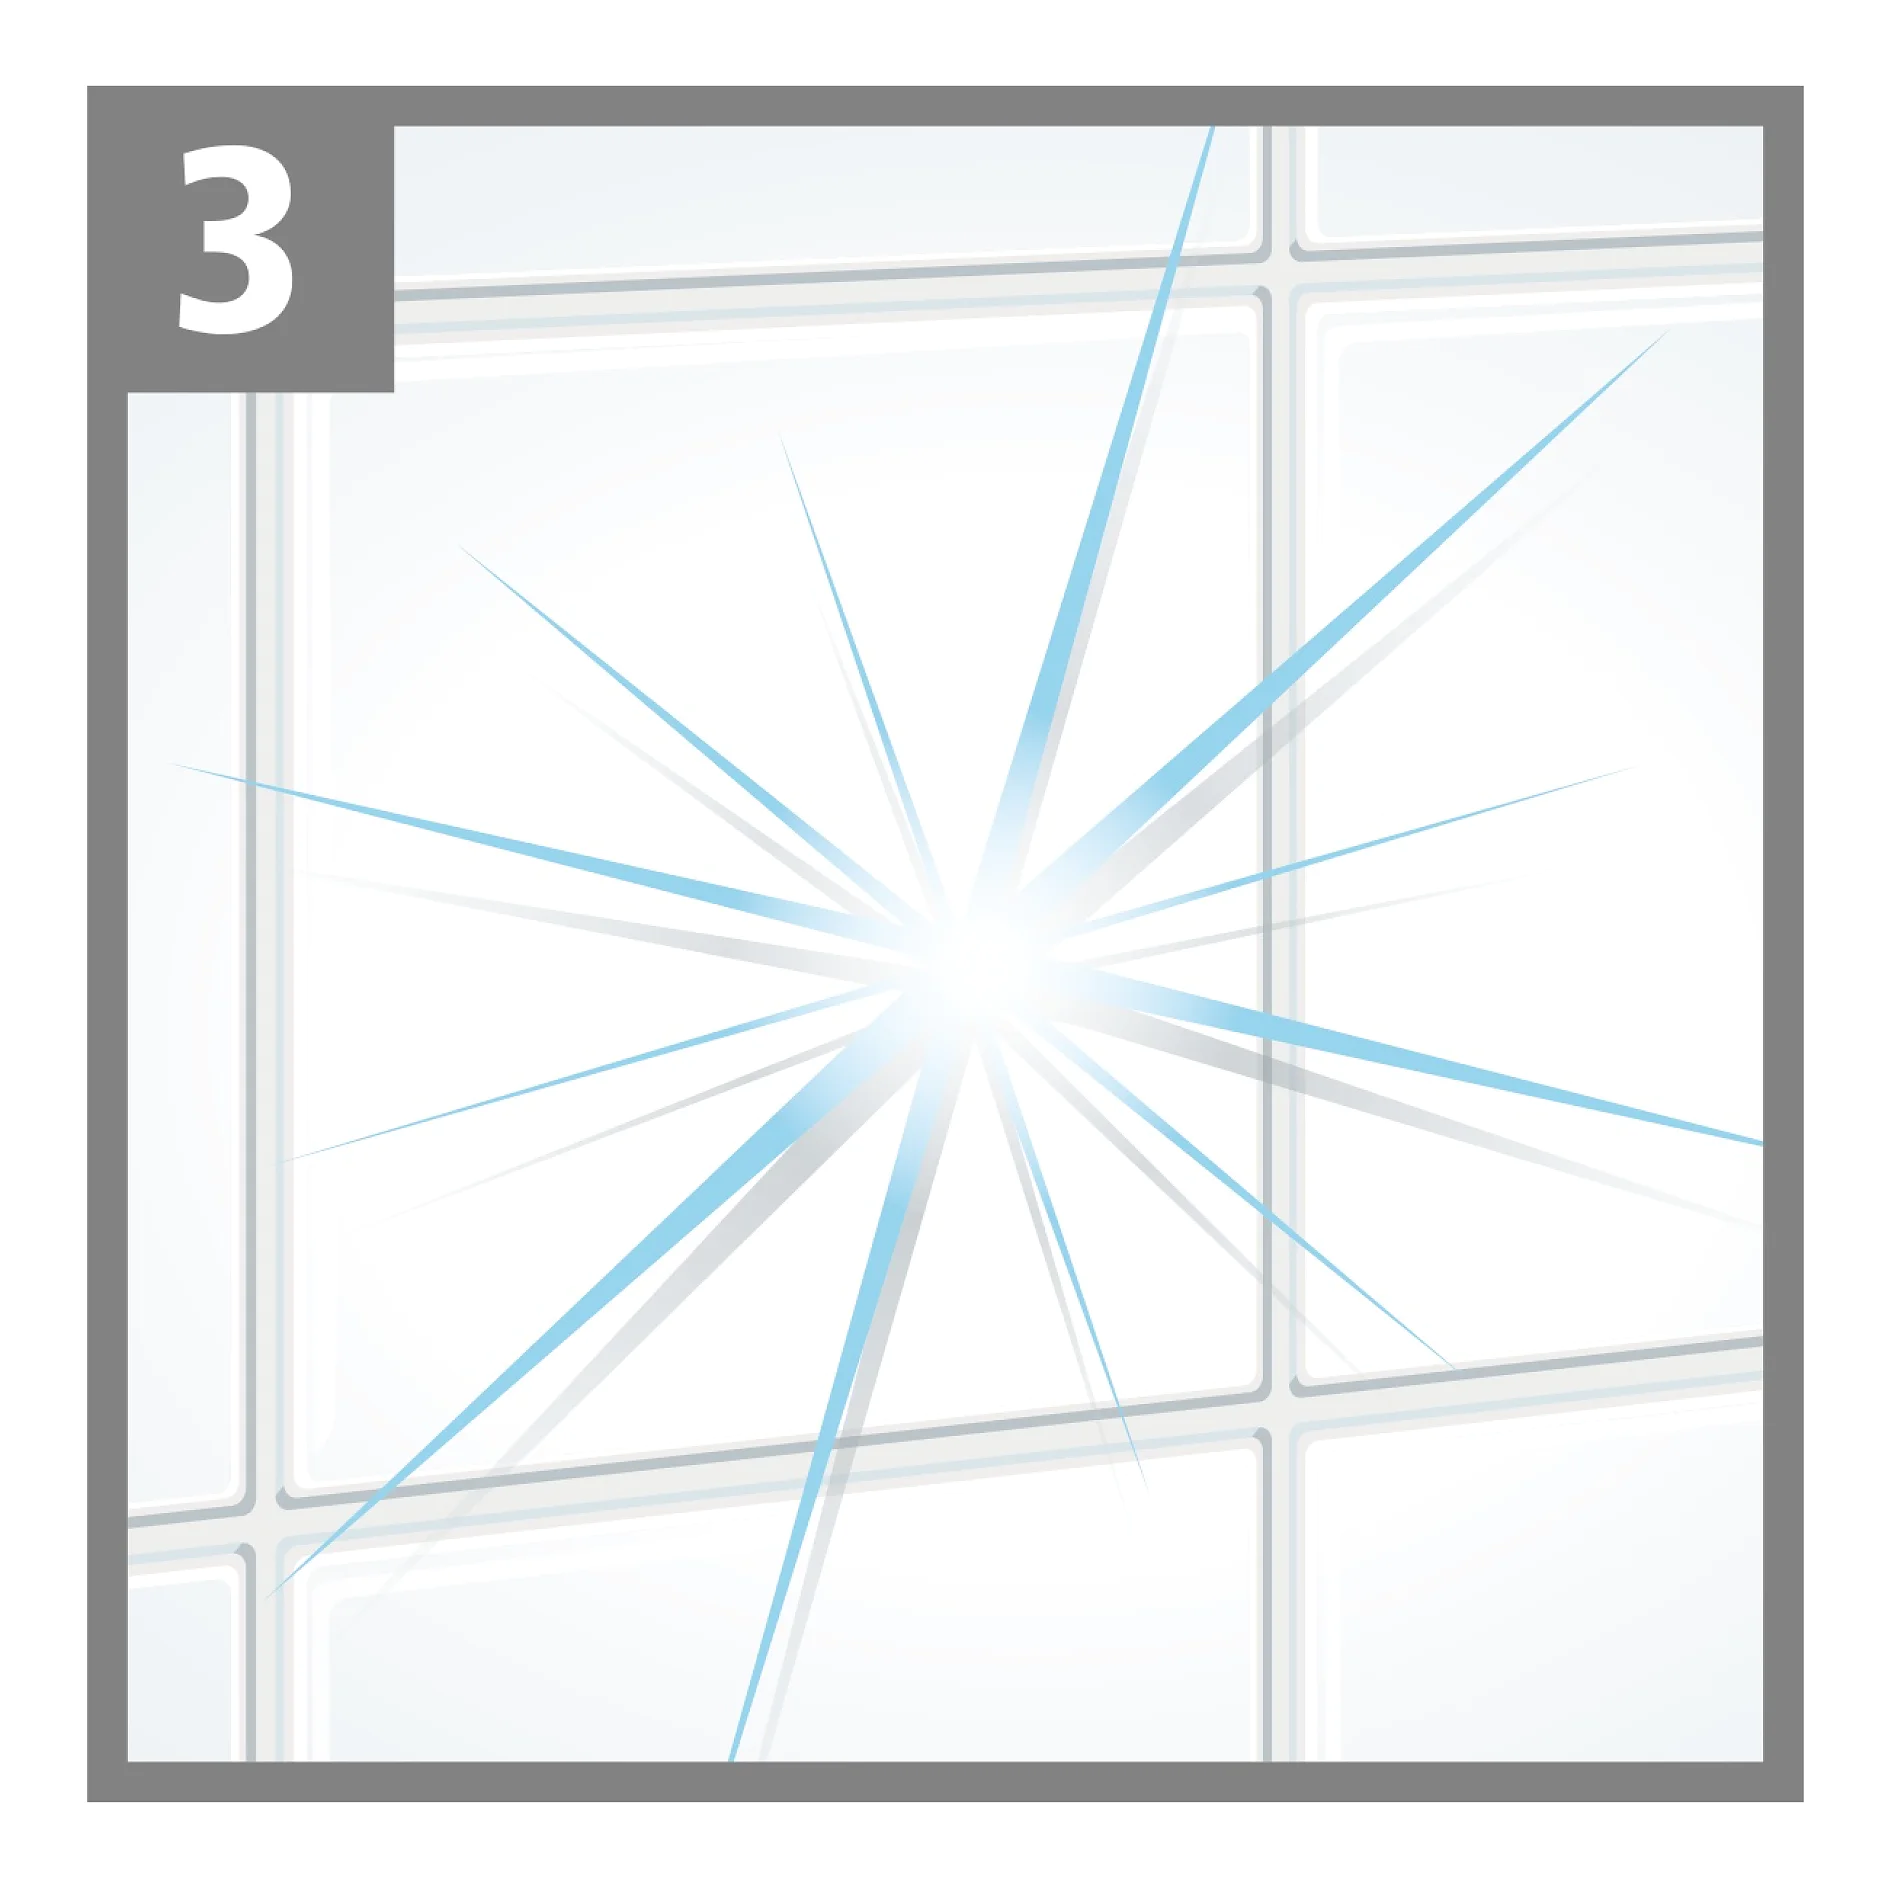
Illustration of a rectangular area with a light gray border labeled tesa tape at the top left. The interior displays a grid of white squares resembling tiles with a blue starburst pattern in the center, suggesting a shiny or reflective surface. (This text has been generated by AI)

03Finish!

Voila! Your tiles are as clean as before and not damaged.

Note: You do not have to dispose of the bathroom accessory, you can reuse it with a new adapter. So ideal if you want to redecorate your bathroom!

Pictures are boring? Watch our video tutorial instead...

This video tutorial is applicable to all bath accessories that are mounted with our Power.Kit technology.

What the tesa® Power.Kit is made of:

Let’s take a detailed look at the tesa® Power.Kit. What kind of components are included? How do they work together to conveniently combine reliable hold and easy removal?

Adapter

The adapter consists of a sinter-metal-plate (SMT) with 95% cooper, the rest being made of tin and wax. The SMT plate is permeable for air allowing shorter curing time. Furthermore the adhesive ring provides a border for the glue for easy pre-fixation. Finally the adapter comes with a massive zamac alloy ring to ensure easy application for the bathroom accessory.

Glue

the Power.Kit Glue is based on Silyl Modified Polymer. It requires a high amount of humidity for its chemical hardening process, which in turn means the surface in your bathroom are the best environment for it.

A hardware set is displayed, including a shiny silver wall hook labeled Your Choice, a round metal base labeled Reliable Hold, a multitool, an Allen key labeled Silent Mounting, and tesa tape labeled Clean Application. (This text has been generated by AI)
Adapter

The adapter consists of a sinter-metal-plate (SMT) with 95% cooper, the rest being made of tin and wax. The SMT plate is permeable for air allowing shorter curing time. Furthermore the adhesive ring provides a border for the glue for easy pre-fixation. Finally the adapter comes with a massive zamac alloy ring to ensure easy application for the bathroom accessory.

Glue

the Power.Kit Glue is based on Silyl Modified Polymer. It requires a high amount of humidity for its chemical hardening process, which in turn means the surface in your bathroom are the best environment for it.

Need a new Power.Kit Adapter? Here are all of them:

Not sure which adapter you need?

Expertly mount your items to the wall without extra tools or drilling holes – simply rely on theall in one tesa® Power.Kit technology.

Power.Kit Adapters & Adhesives

Easily find your fitting Power.Kit Adapter with our easy to read tables.

Unfortunately there is not one adapters that fit all. Therefore, we have created an overview about which adapter suits to which product.

ALL TOO COMPLICATED? OUR INTERACTIVE ADVISORS CAN HELP YOU OUT IN NO TIME!

FAQ'S about our Power.Kit Technology:

Our adhesive system is indeed capable of withstanding great loads while it can also be removed easily. The reason for this is that the consistent elastic single-component adhesive is highly resistant to permanent tension and shear forces such as those applied during normal use – for instance a wet towel on a rail. However, the adhesive loses strength when subjected to rotary movements, which is what enables the Easy-Off removal function. After the removal of the adapter, the adhesive residues can easily be removed from smooth surfaces using a ceramic hob cleaner or glass scraper, while a little silicone remover and a coarse brush will be needed on rough surfaces.

It is of course possible to use the tesa® Power.Kit technology to attach all kinds of objects – therefore we offer the tesa® Adhesive Screw as part of our tesa® Smart Mounting System. It is based on the tesa® Power.Kit technology and gives you the opportunity to freely mount objects of your choice. (Please be aware of load capacities and special instructions.) However, the tesa bath accessory products which are tailored specifically to the tesa® Power.Kit adapters ensure that the adapters are well-hidden and well-integrated into the object.