Self-Adhesive Wallpaper by rasch® & tesa®
Quick, easy, clean: more beautiful walls in no time with self-adhesive wallpaper from rasch® & tesa®
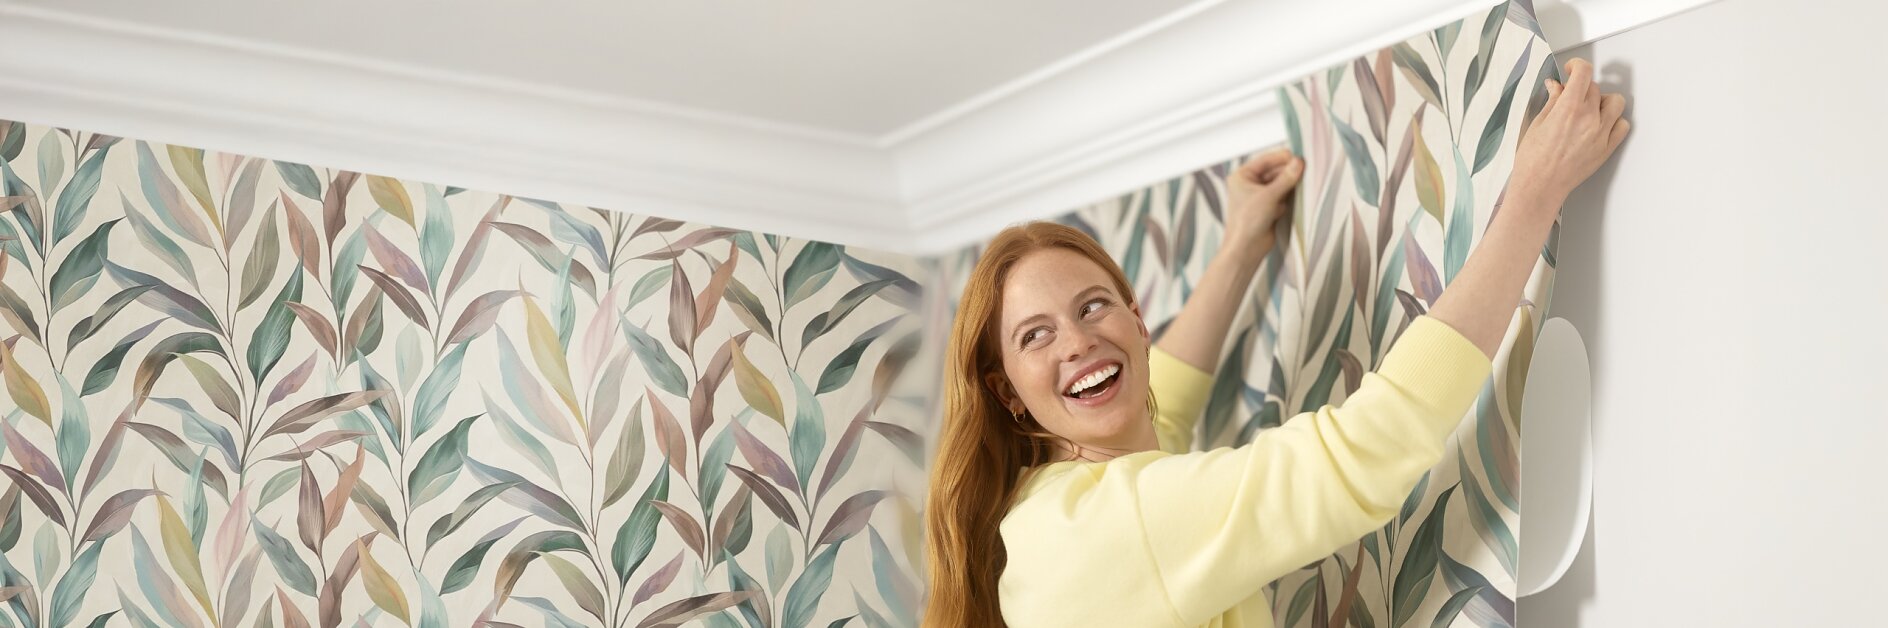
Quick, easy, clean: more beautiful walls in no time with self-adhesive wallpaper from rasch® & tesa®

Self-Adhesive Wallpaper: Tropical Banana Leaves
Self-adhesive wallpapers are the perfect solution for anyone looking to quickly, cleanly, and stylishly enhance their spaces. This innovative type of wallpaper combines practical advantages with an impressive variety of designs – from subtle textures to striking motifs. Whether you want to cover a single wall or redesign an entire room, self-adhesive wallpapers make wallpapering easier than ever before.
Our self-adhesive wallpapers are made from high-quality fleece material, known for its stability and durability. This material remains dimensionally stable and is resistant to temperature fluctuations or humidity. This means that self-adhesive wallpapers are perfect for all rooms – from the living room to the bathroom. Additionally, the breathable structure ensures a pleasant room climate, making them particularly suitable for children's rooms or bedrooms.
Self-adhesive wallpapers boast a range of benefits that make them the ideal choice for DIY enthusiasts and design lovers:

Self-Adhesive Wallpaper: Magnolias in Watercolor-Look
Self-adhesive wallpapers are more than just a practical solution – they are a design statement. From minimalist patterns to photorealistic motifs, they offer countless possibilities to individually design your spaces. Whether exotic, floral, or geometric patterns – our online shop offers a wide selection that leaves nothing to be desired.
Self-adhesive wallpapers are incredibly versatile – they are not only suitable for walls but also for creative projects in various rooms:

Self-Adhesive Wallpaper: Brick & Stone Look
To make the self-adhesive wallpaper stand out optimally, here are some design tips:
With self-adhesive wallpapers, every wall becomes a canvas for your creativity. Find your favorite design, and start your next project – simple, clean & with a guaranteed wow effect!
Our self-adhesive wallpapers can be repositioned during application. If you notice that a strip is crooked, you can peel it off and reapply it.
Yes, our wallpapers can be removed without leaving any residue. Simply start at a corner and gently peel it off – perfect if you want to stay flexible.
Absolutely! Since they are easy to apply and remove, self-adhesive wallpapers are ideal for temporary designs – without leaving any marks.
We recommend using scissors, a utility knife, a level, and a wallpaper smoother. For these wallpapers, no paste or similar adhesive is needed, as you might be used to with traditional wallpapers.
For self-adhesive wallpaper to adhere properly, the surface must be clean, dust-free, grease-free, and dry. It’s best to clean the surface beforehand using a dry cloth or a soft brush.
Porous and/or highly absorbent surfaces should be primed before applying the wallpaper.
| Type | Conventional Wallpaper | Self-adhesive Wallpaper by tesa & rasch |
|---|---|---|
| Application | Requires paste & tools | Self-adhesive, no additional tools needed |
| Preperation | Umfangreiche Vorbereitung notwendigExtensive preperation necesarry | Peel off the protective film & apply directly |
| Cleanliness | Paste can cause dirt | Clean application without paste |
| Flexibility | Difficult to reposition | Easy to reposition at the beginning of the application |
| Removal | Can leave residues | Removeable without residue |
| Suitability for rental apartments | Less suitable due to possible residues | Ideal for temporary designs |
| Material | Various materials, often very thin | High-quality fleece material, thicker textured wallpaper |

Self-Adhesive Wallpaper: Exotic Leopards
Photo wallpapers offer impressive visual effects and can transform rooms into true works of art. However, compared to self-adhesive wallpaper from tesa, there are some crucial differences that make the tesa variant the better choice. While photo wallpapers often require paste and extensive preparations, the self-adhesive wallpaper from tesa scores with easy application. Simply peel off the protective film and press the wallpaper onto the wall – without paste, dirt, or additional tools.
Another advantage of the self-adhesive wallpaper from tesa is its flexibility. It can be easily repositioned if it doesn't sit perfectly on the first try. Additionally, it is removable without residue, making it ideal for rental apartments. Photo wallpapers, on the other hand, are often more difficult to remove and leave residues.
The self-adhesive wallpaper from tesa also impresses with its high-quality fleece structure, which is dimensionally stable and durable. It is suitable for all rooms, including damp areas like bathrooms and kitchens. With a variety of designs, it offers as many design possibilities as photo wallpapers, but with significantly less effort and more comfort.
Choose the self-adhesive wallpaper from tesa and enjoy stress-free, clean, and flexible wall design.
I hope this translation helps! If you need any further assistance, feel free to ask.


