01Give the surface a clean
Use a brush to give the surface a good scrub to get rid of as much dirt and grit as you can.
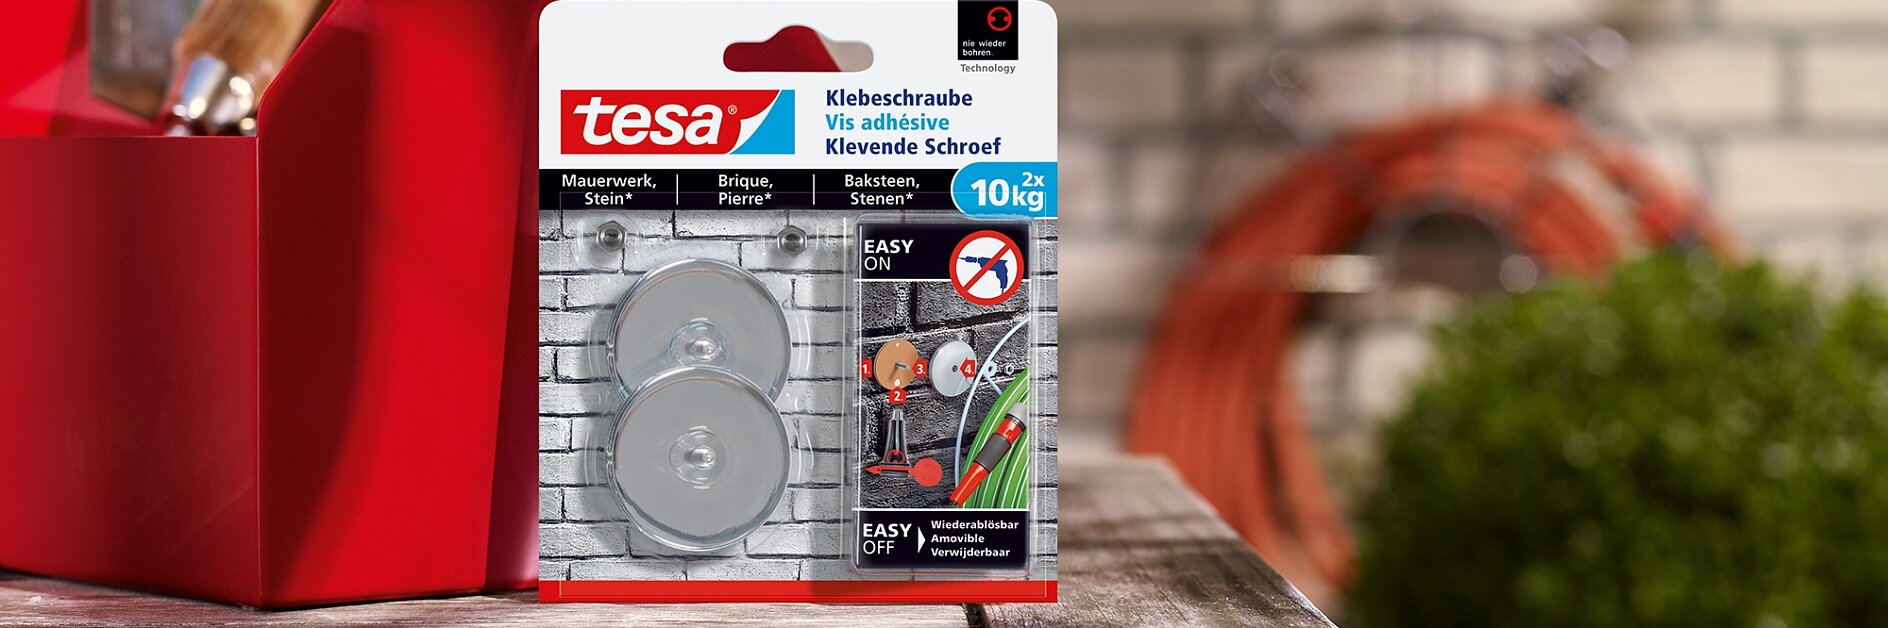
Reliable, simple, visible mounting on rough surfaces like brickwork and masonry.
Click through the tabs above this step-by-step video to see how quick and easy it is to get your projects – and your possessions – off the ground.
With Adhesive Screws, it’s never been easier to mount your gear on interior or exterior walls. You don’t need a drill and there’s no noise or mess – the process is simple, silent and completely reversible.

Use a brush to give the surface a good scrub to get rid of as much dirt and grit as you can.

Remove the protective foil from the base of each screw to reveal the adhesive rims.

Push the Adhesive Screws onto the surface in the position you want them (find the smoothest, most even spot you can). You don’t need to press too hard – just hard enough so they stay in place.
Pierce the tube’s nozzle with the tool provided and slide it over the other end of the tube.

Push the nozzle into the larger hole on the base of each screw and twist the key until the formula starts coming out of the smaller hole. You don’t need to press down on the screws - simply wait for 12 hours while the nie wieder bohren. Technology goes to work.

Once the adhesive has set, tap the silver covers into place. The screws are now ready to take the strain.

These super-strong Adhesive Screws are perfect for any mounting job up 10kg –and two screws will hold double that. So they’re great for garden hoses, but you could also use them to hang the rest of your gardening tools, too.

nie wieder bohren. Technology has been developed to be super powerful when it comes to load bearing, but not when it comes to resisting torsion. This means that removing a screw is simplicity itself. All you need to do is take an adjustable wrench, get a firm grip on the screw mount, and gently but firmly twist the screw away from the surface.