01Clean the surface
Use a brush to remove as much dust, grime or grease from your surface as possible as these will inhibit the glue’s effectiveness.
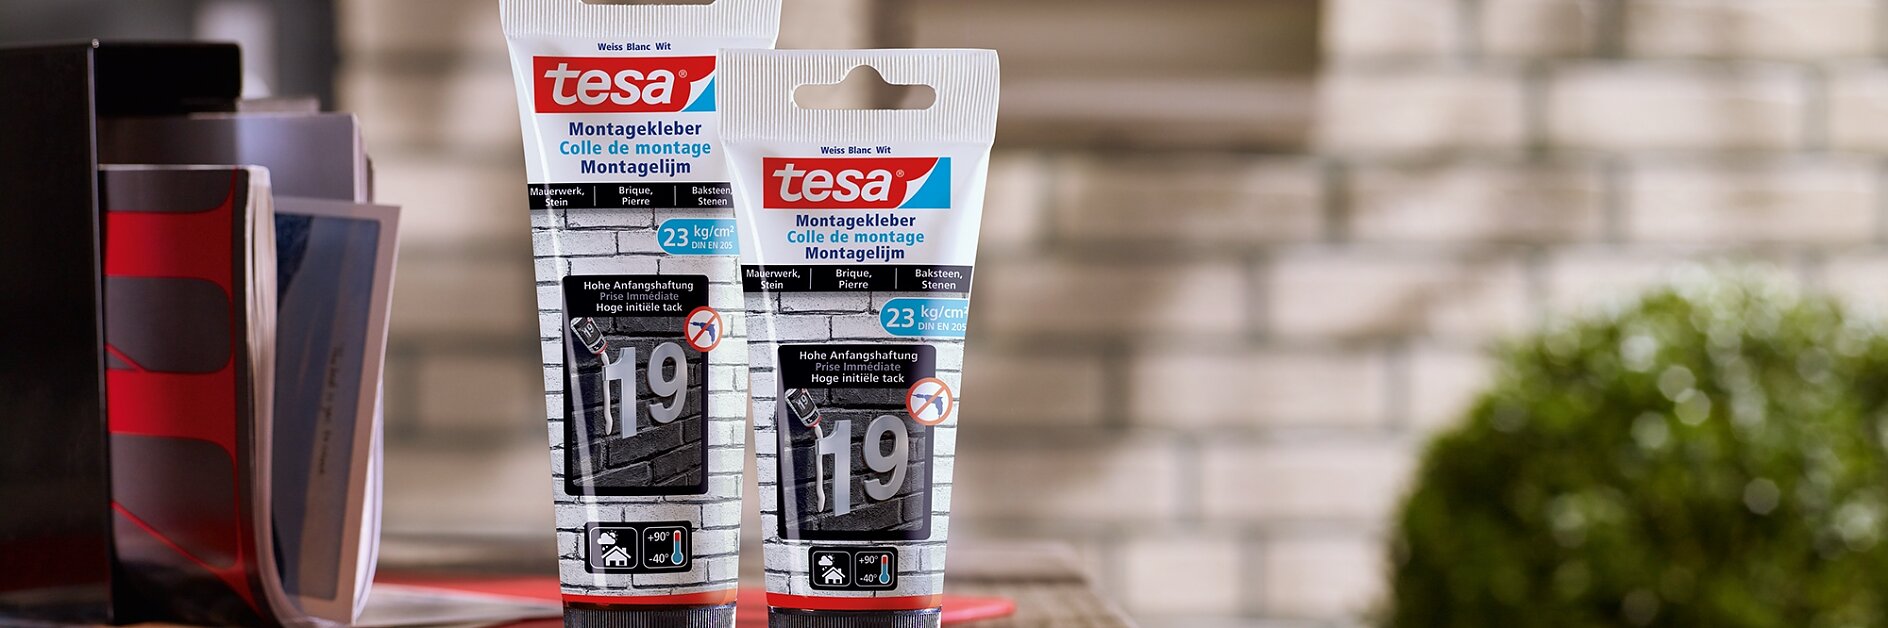
The smart and permanent way to mount objects on rough and solid outdoor surfaces.
Click through the tabs above this step-by-step video to see how quick and easy it is to get your projects – and your possessions – off the ground.
This Mounting Glue is not only seriously strong (holding 23kg/cm²; according to DIN EN 205), it’s also weatherproof, handles any temperature from -40°C to 90°C. It is made to provide a reliable, permanent hold on rough and solid surfaces like brick walls, even outside. No drills, no noise, no mess, no stress.
Not suitable for any non-stick materials or natural/artificial stone, bitumen, PE, PP, PTFE or acrylic.
Use a brush to remove as much dust, grime or grease from your surface as possible as these will inhibit the glue’s effectiveness.
Apply the glue in dots or lines either to the surface or to the object you’re mounting, which ever is the rougher. Make sure you leave enough space between them – around 10cm - for the glue to dry.
Simply press the object – in this case a mailbox – to the surface. As the glue has yet to harden, you can now adjust the object so it’s in precisely the right position, and then use a cloth to wipe away any residual glue that has seeped out around the edges.
Whatever you’re mounting, whether it’s mailbox, a light fixture or a shelf, press down firmly across the entire surface to get as close a bond as possible, then leave it (supported if necessary) for at least 48 hours. Heavier items need to be supported. Depending on the material, the final strength is reached after up to 3 weeks.