01
Collect all items and let's start!
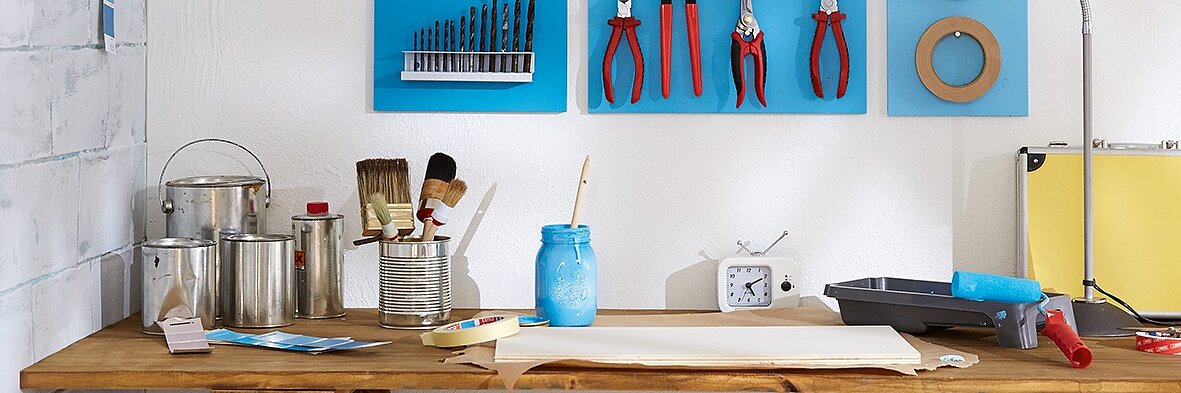
Do you waste all your DIY time looking for your tools? If so, this easy-to-make tool wall could be the answer. It's well organised and even looks good. Actually, almost too good for the basement or the hobby room...
Collect all items and let's start!
Paint the wood panels on both sides, using an undercoat as a base layer.
Evenly distribute the tools and holders on the panels and slightly mark their positions with a pencil.
Place nails where you want to hang tools.
Clean the tool holder with alcohol- or silicone-free glass cleaner then apply tesa Powerbond® ULTRA STRONG on the reverse.
Press firmly for five seconds.
Remove protective films.
Press firmly for five seconds.
Place the boards against the wall and mark their desired position with a pencil. The panels should fixed 3 cm apart from one another.
Once the boards are complete, remove any dust from the wall where you're planning to mount them.
Alternately attach five tesa Powerbond® ULTRA STRONG strips – in full length and in approx. 20 cm strips – vertically on the wall and press firmly for five seconds.
Remove protective films.
Press the boards on the wall holding for five seconds.
