
Recommended surfaces:


Not recommended surfaces:


Easy application and removal in eight steps
Note: Please be sure to also look at the installation instructions included in the respective product packaging. In individual cases, there may be slight differences in installation.
EASY-ON – easy installation:
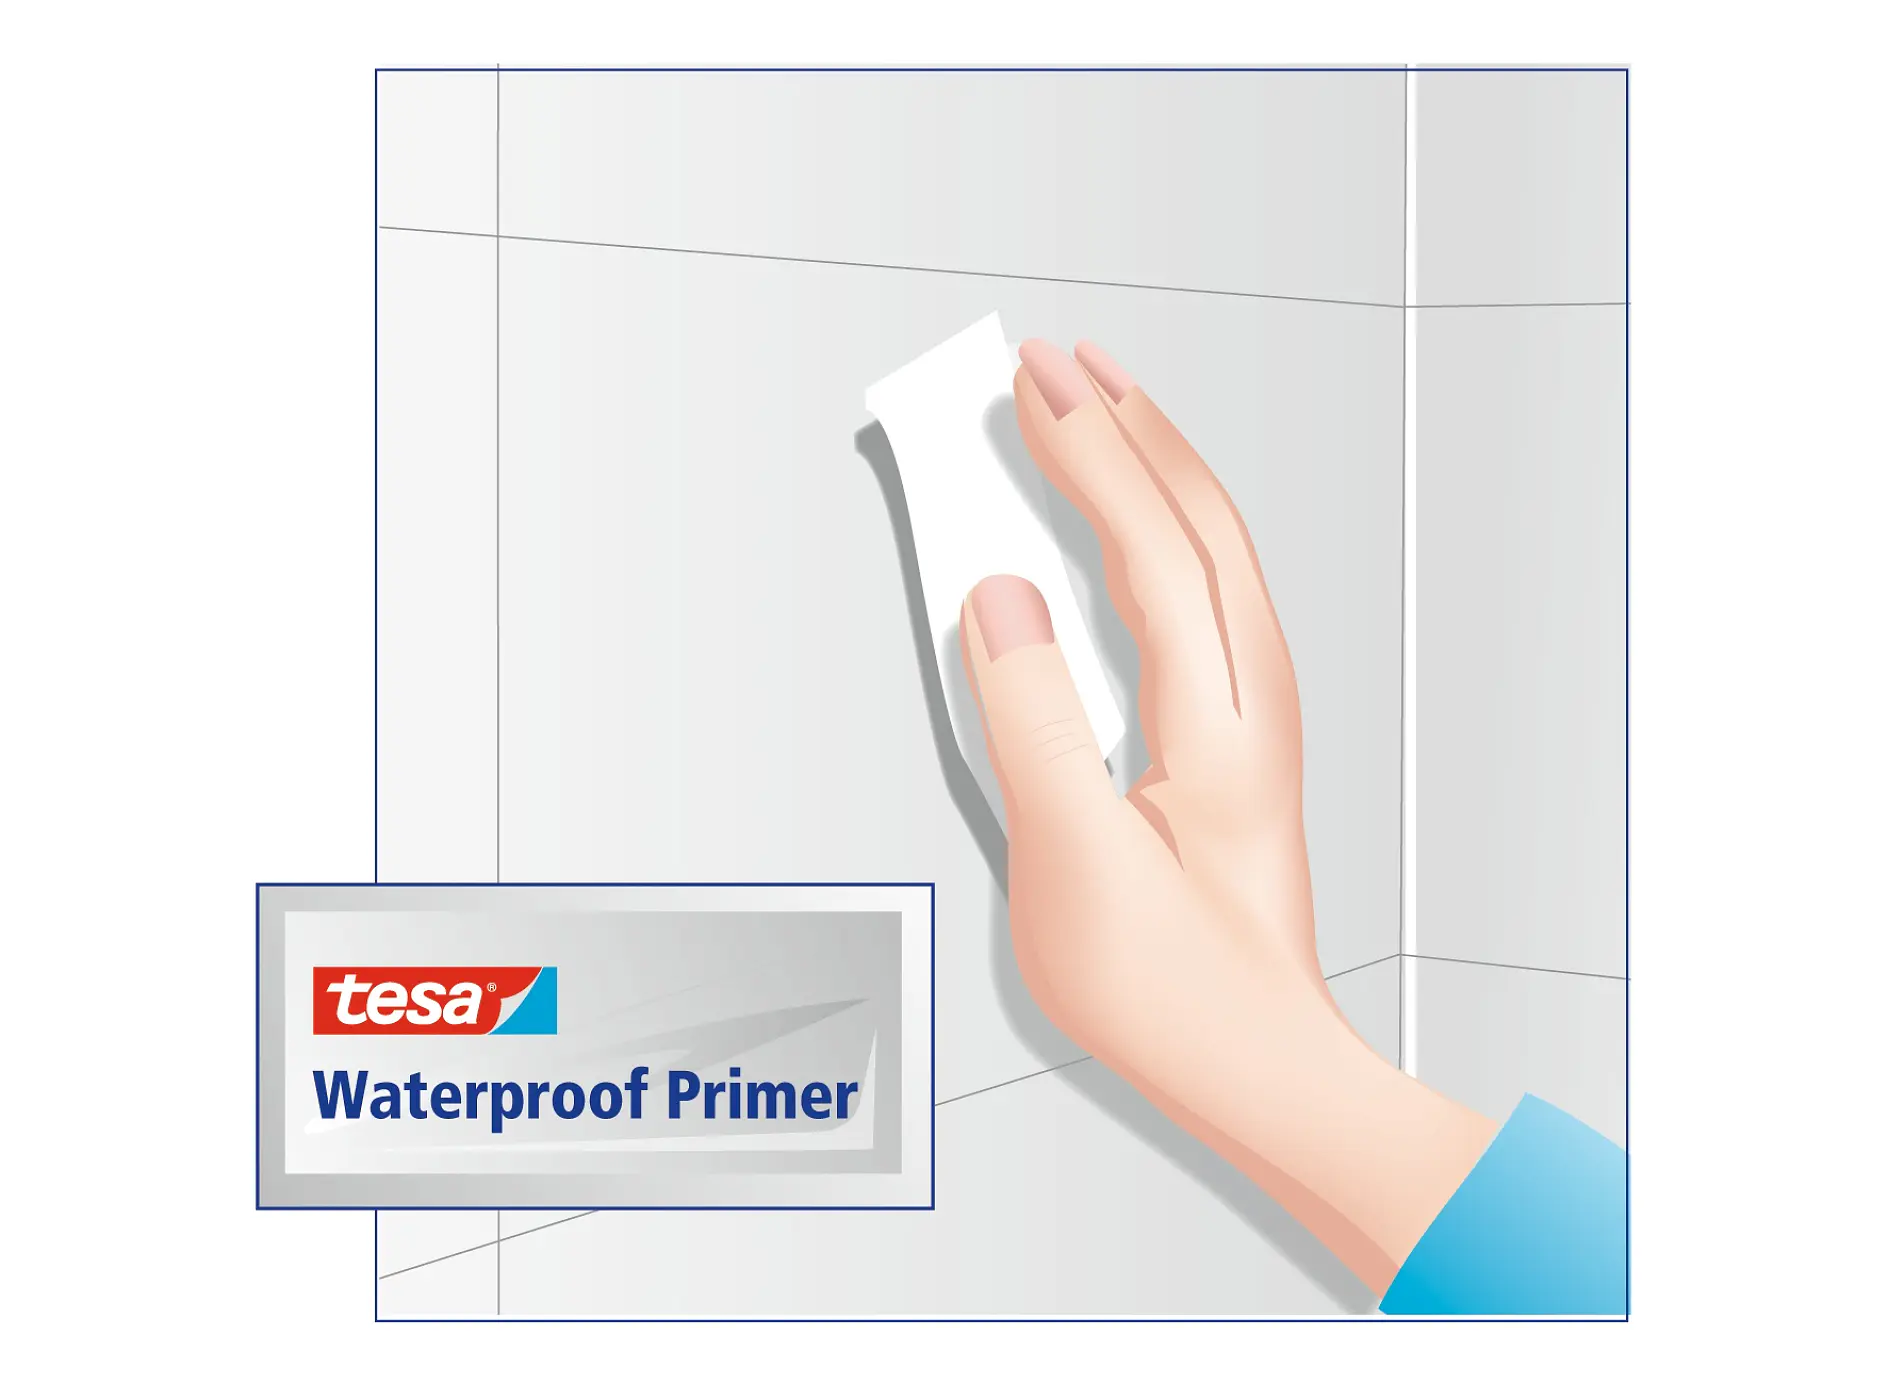
01Clean the surface very thoroughly
Once you have found the right place for installation, you should clean this area thoroughly. Only on surfaces that are dust-free, grease-free, limescale-free, and dry will the waterproof Powerstrips® achieve their maximum holding power.
Therefore, before use, first clean the surfaces with a damp, clean cloth. Please do not use any non-stick cleaning agent or silicone-based cleaners, as these substances impair the adhesive effect. Then use the included primer wipe and wipe the surface very thoroughly with it.
If you want to be on the safe side, wipe the area once more with a dry, soft, clean cloth.
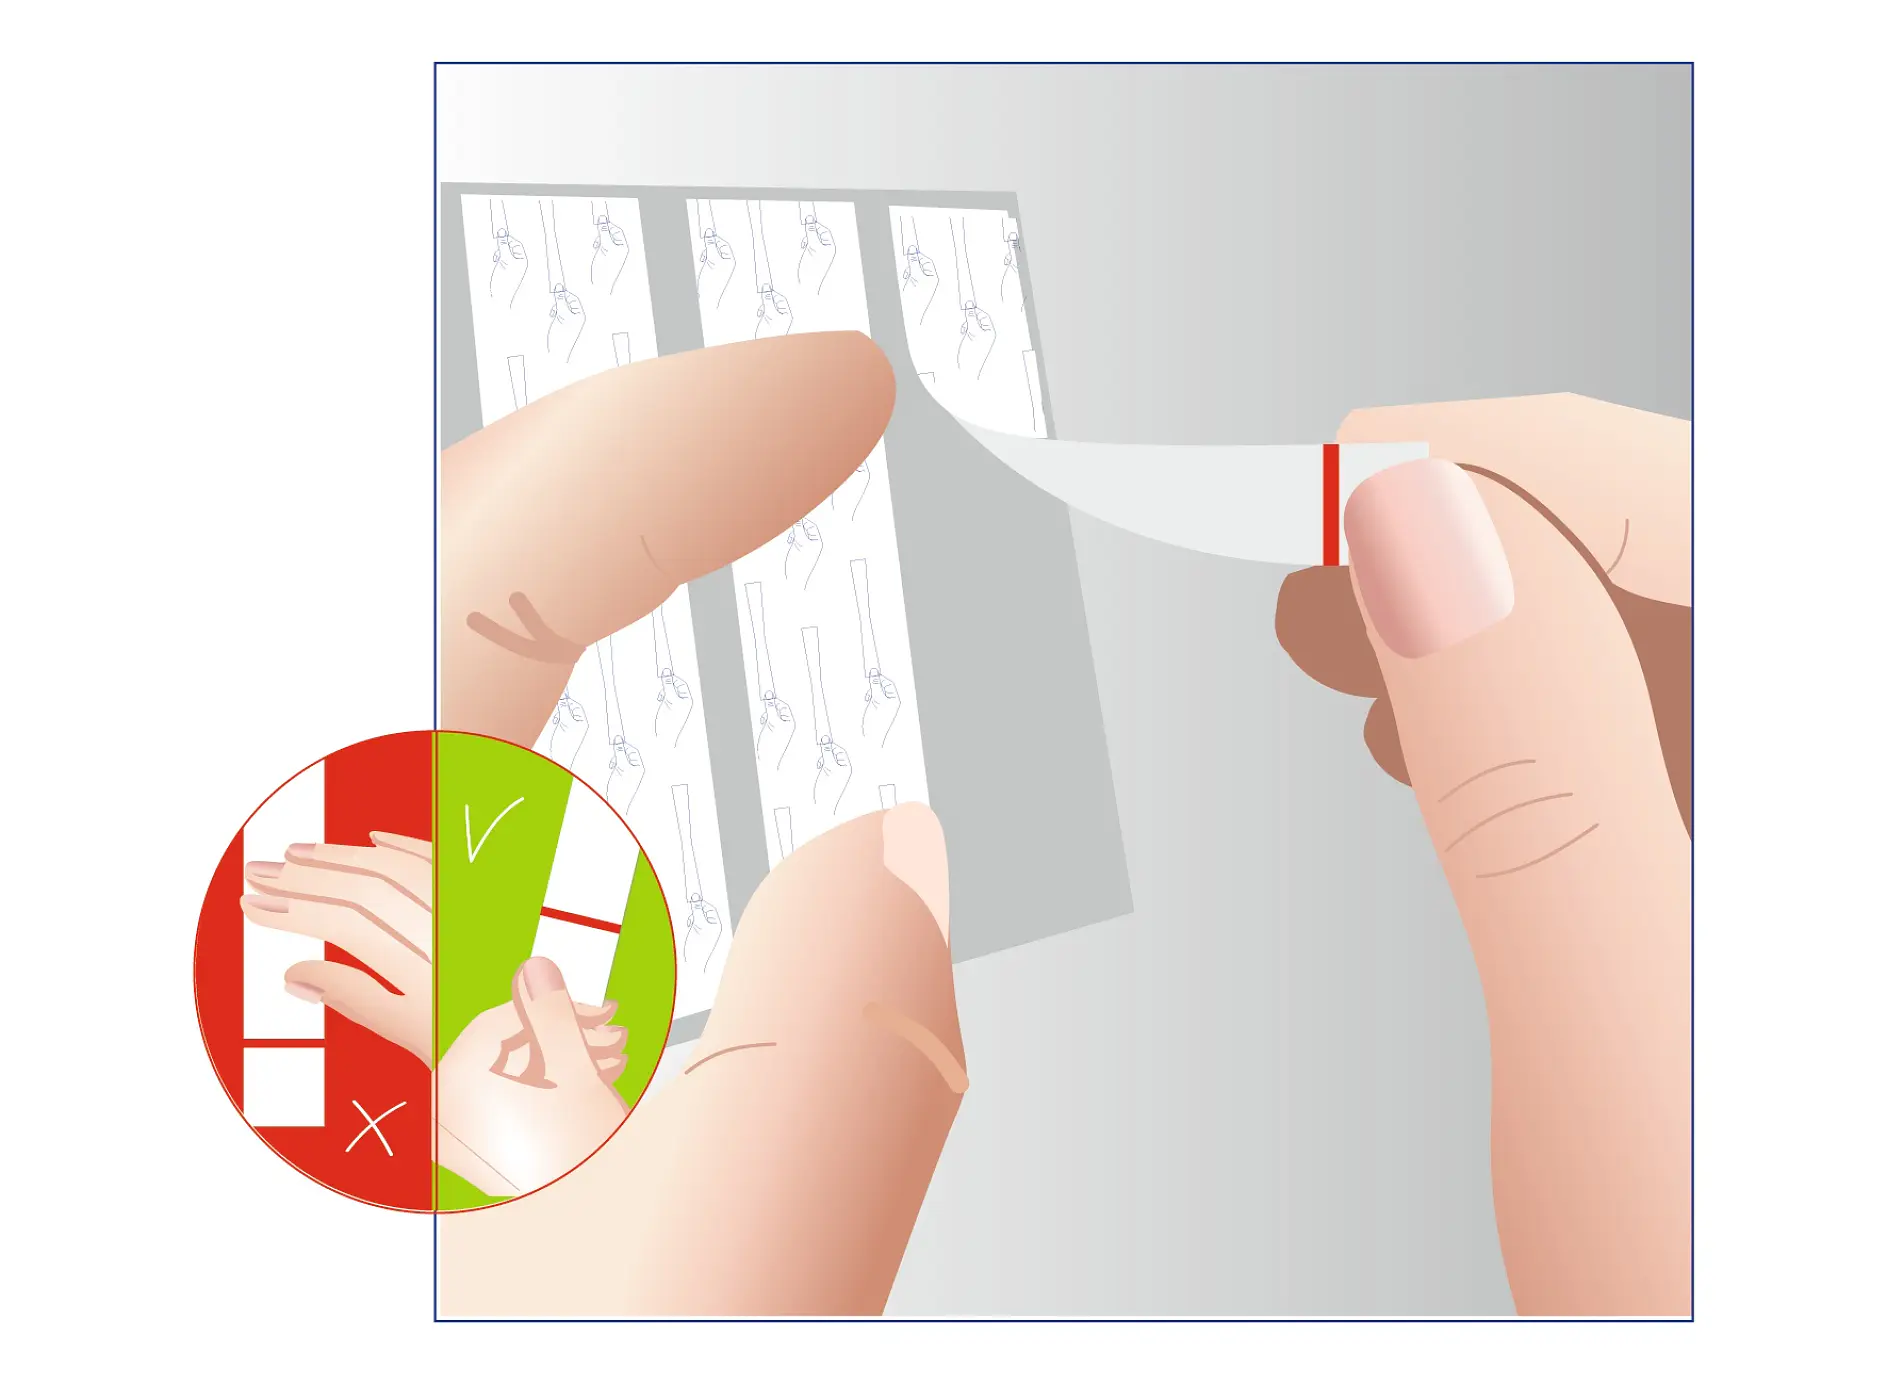
02Take the Powerstrips®
Remove the Powerstrips® from the paper sheet. Make sure you only touch the Powerstrips® on the marked grip areas. This is often below the red or blue marked line. Make sure you do not touch the sticky side of the Powerstrips®.
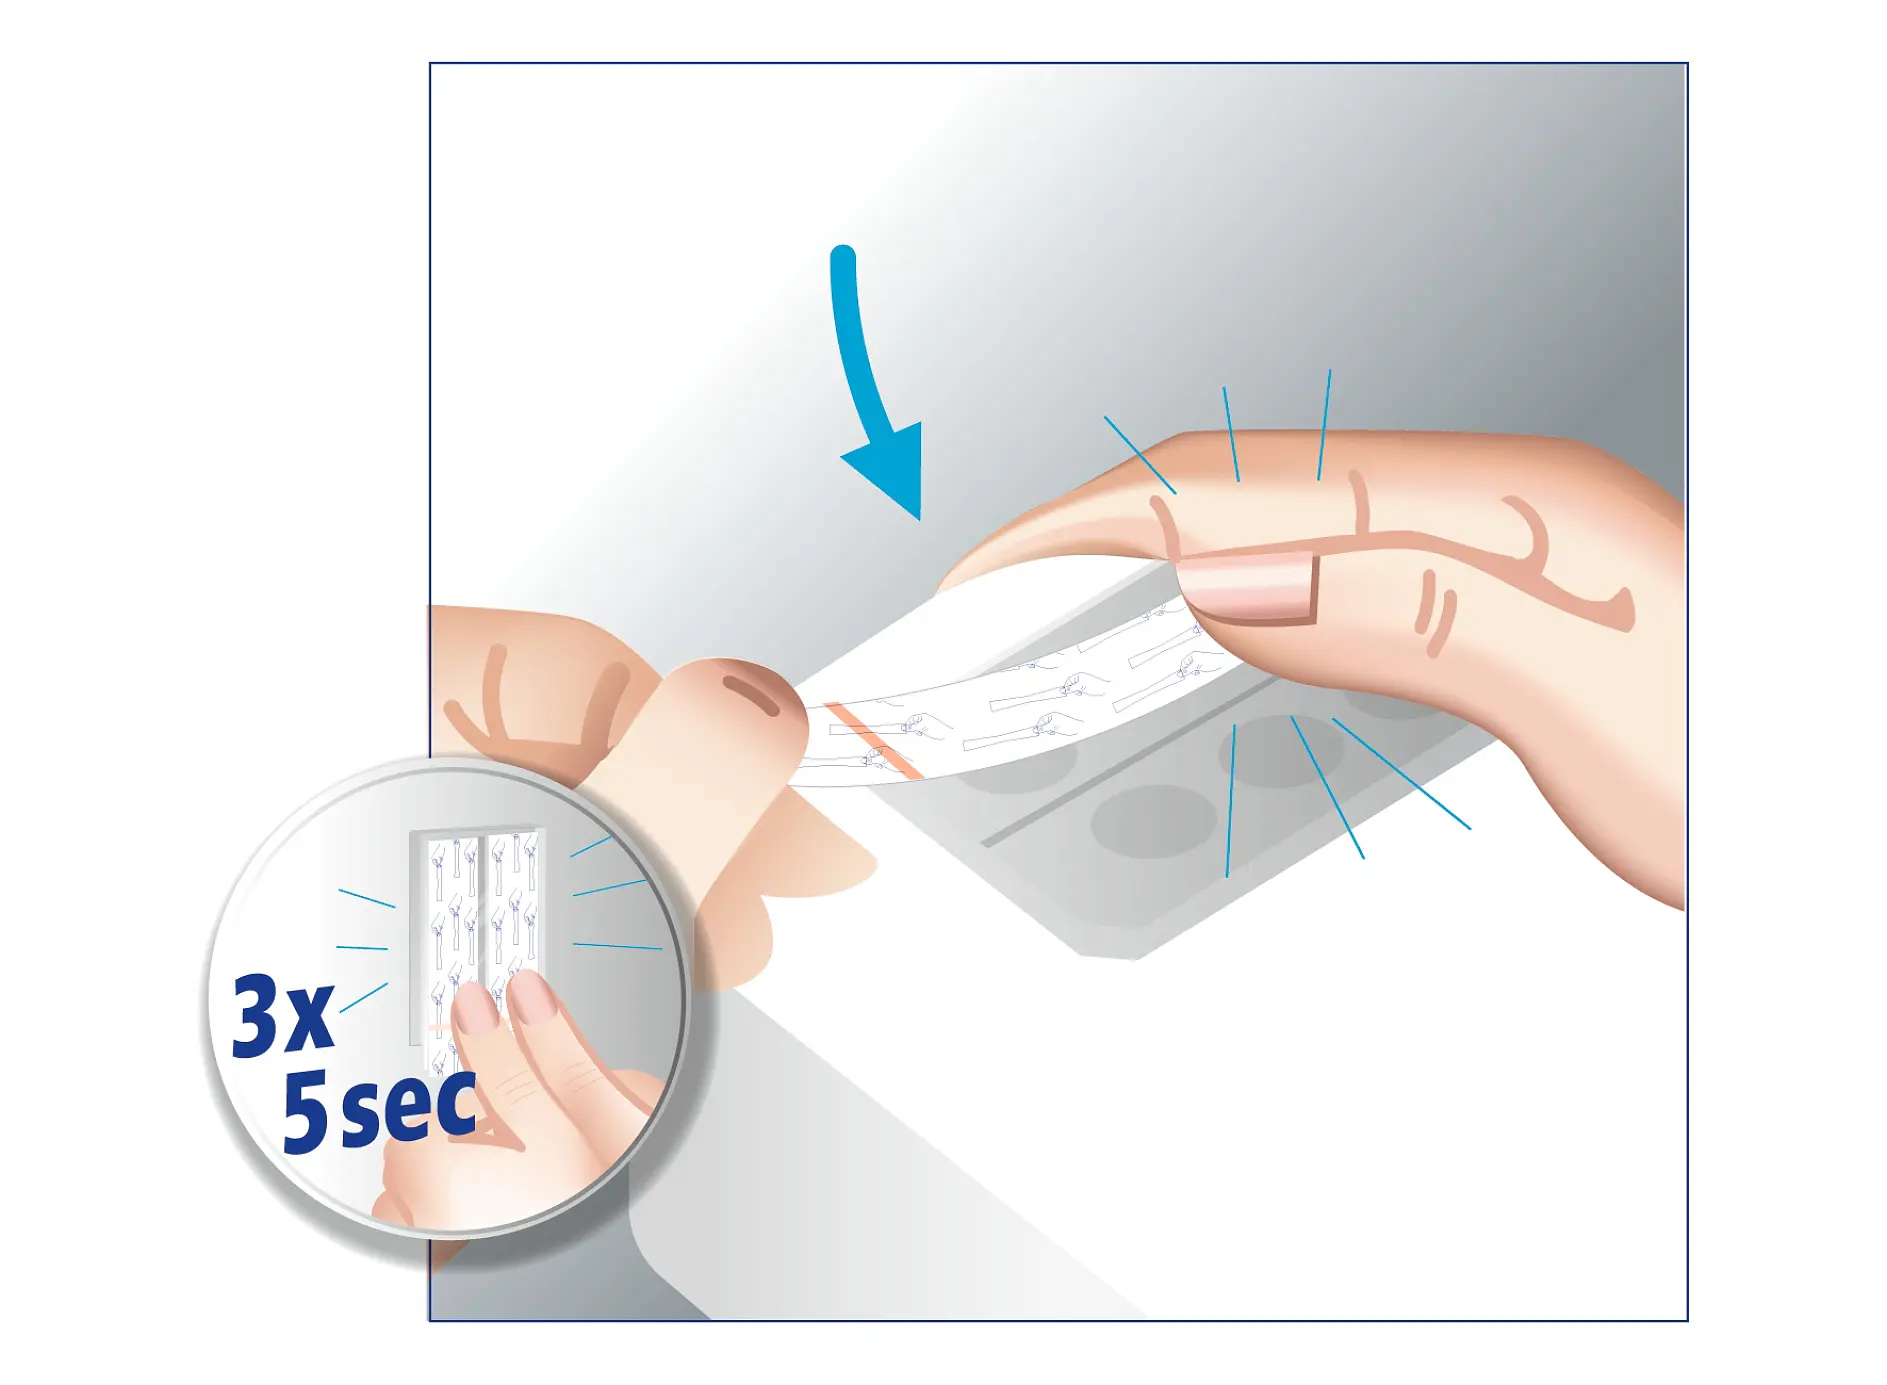
03Stick on the Powerstrips®
Stick the Powerstrips® onto the designated spots on the bathroom accessory that you want to attach to the wall, so that the blue, peel-off side faces upward. Make sure you press firmly on the adhesive strips for five seconds so that they can develop their full holding power.
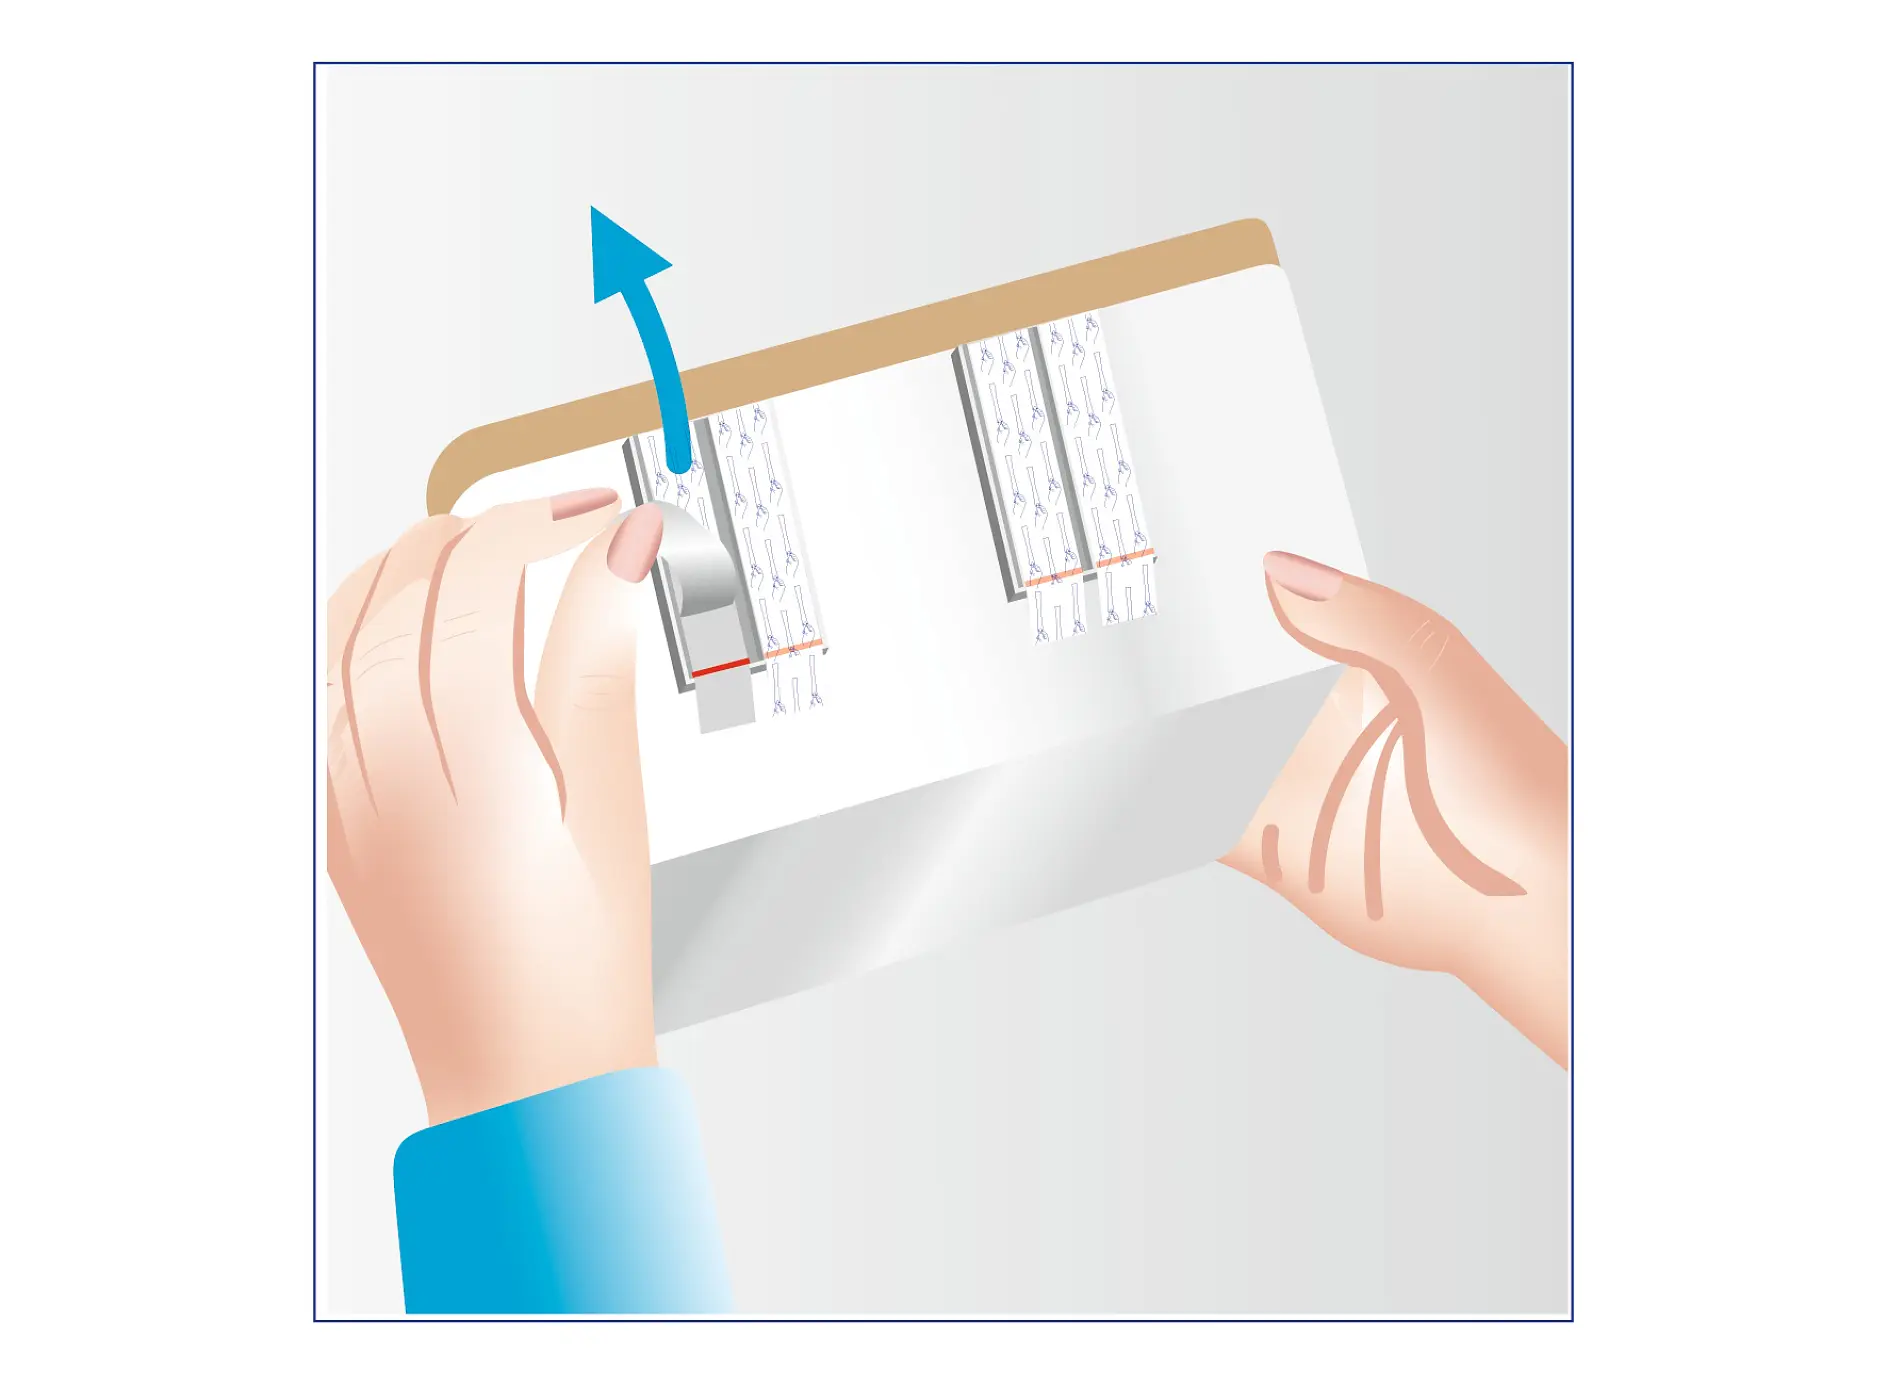
04Remove the protective film
Now remove the blue protective film and press your bathroom accessory with the waterproof Powerstrips® onto the spot where you want to attach it.
Info: Do not touch already exposed adhesive surfaces with your fingers. Otherwise, new grease could get onto the surface and reduce the load-bearing capacity.
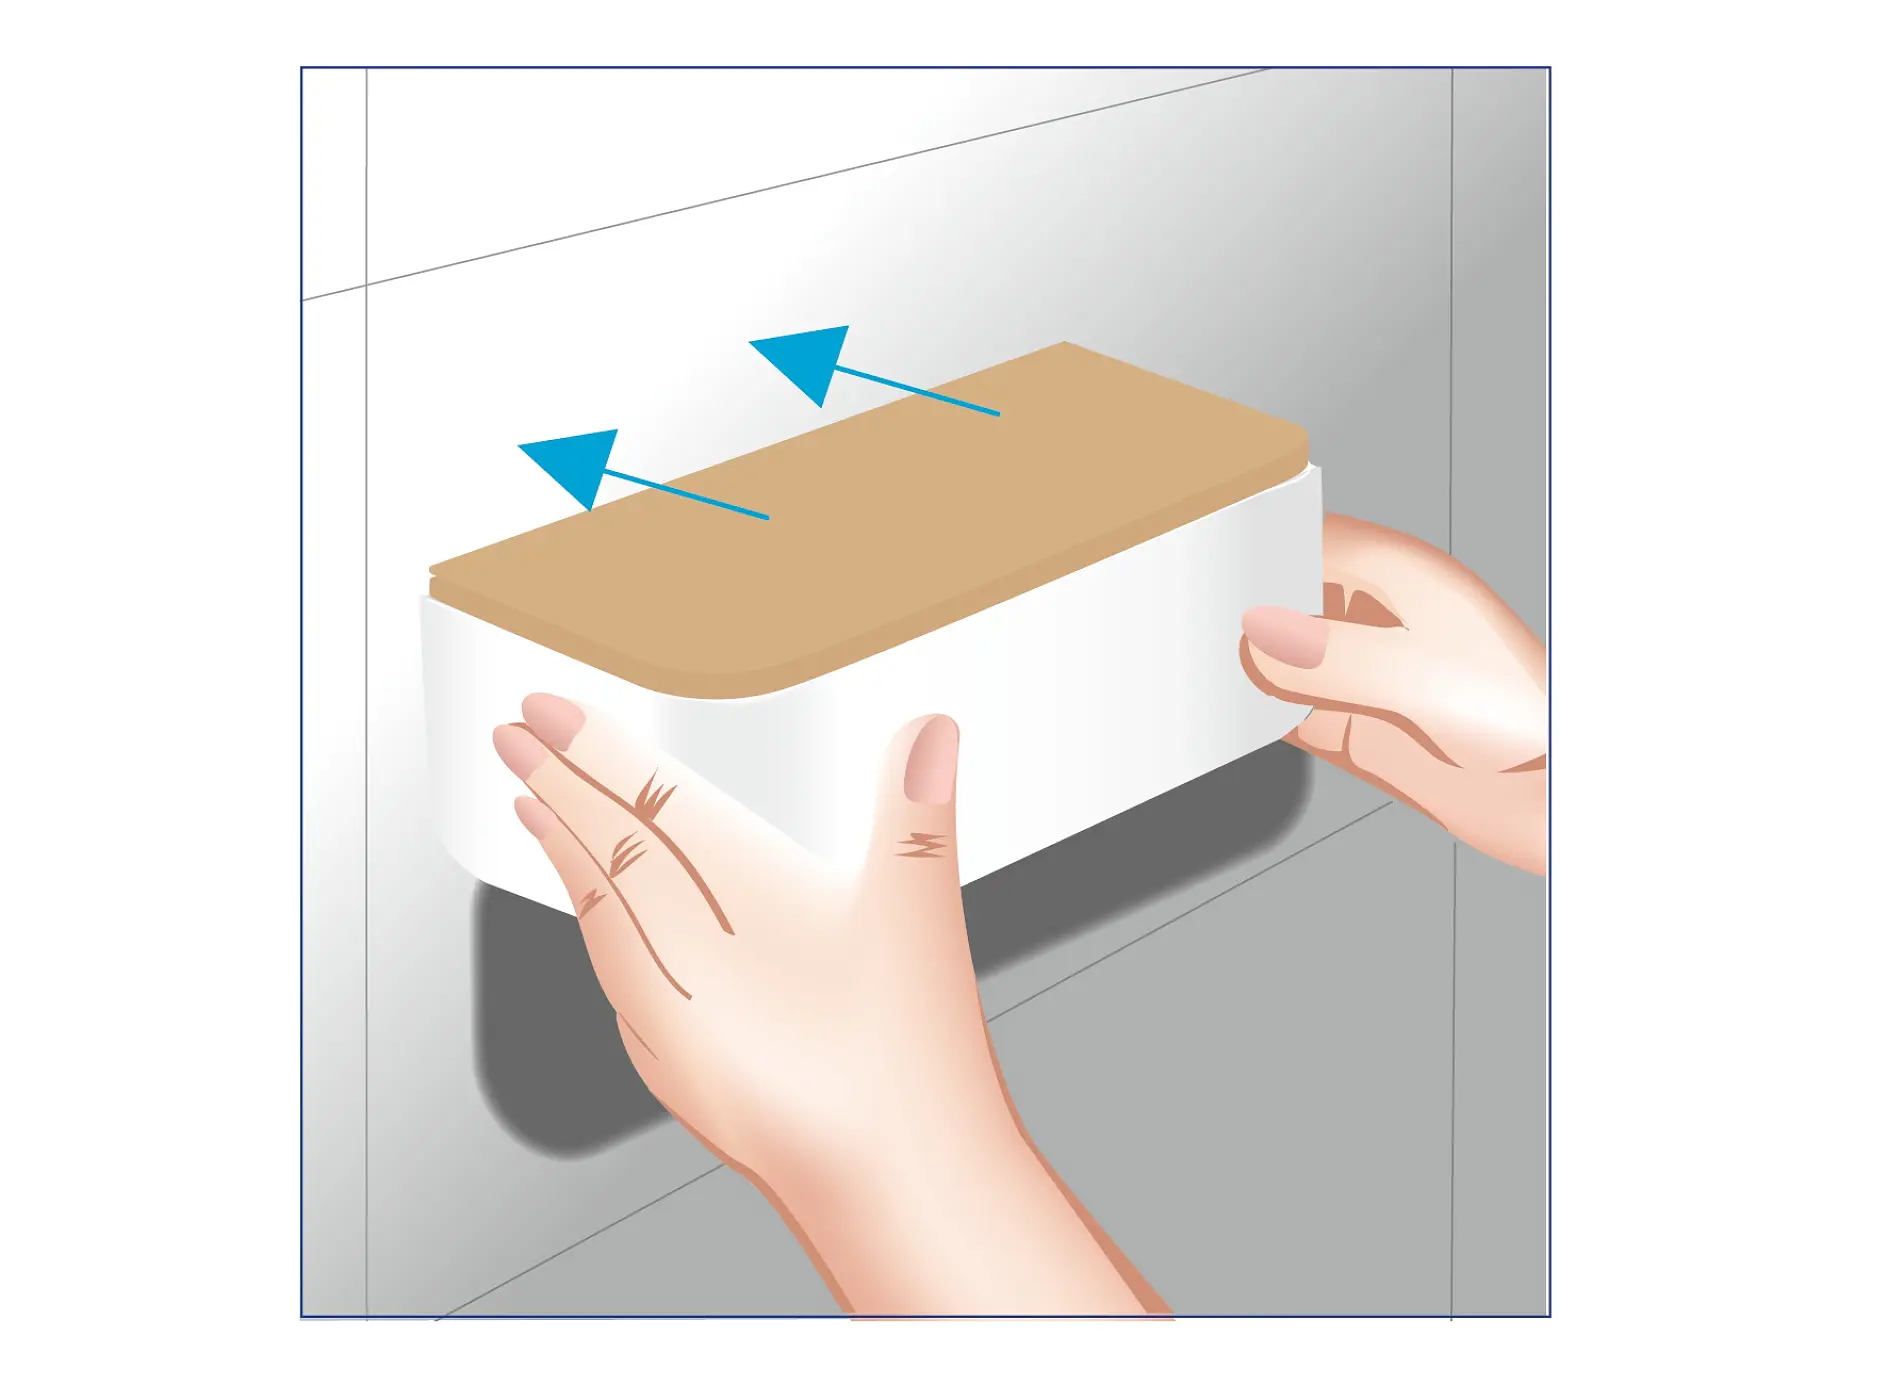
05Stick your bathroom accessory to the wall
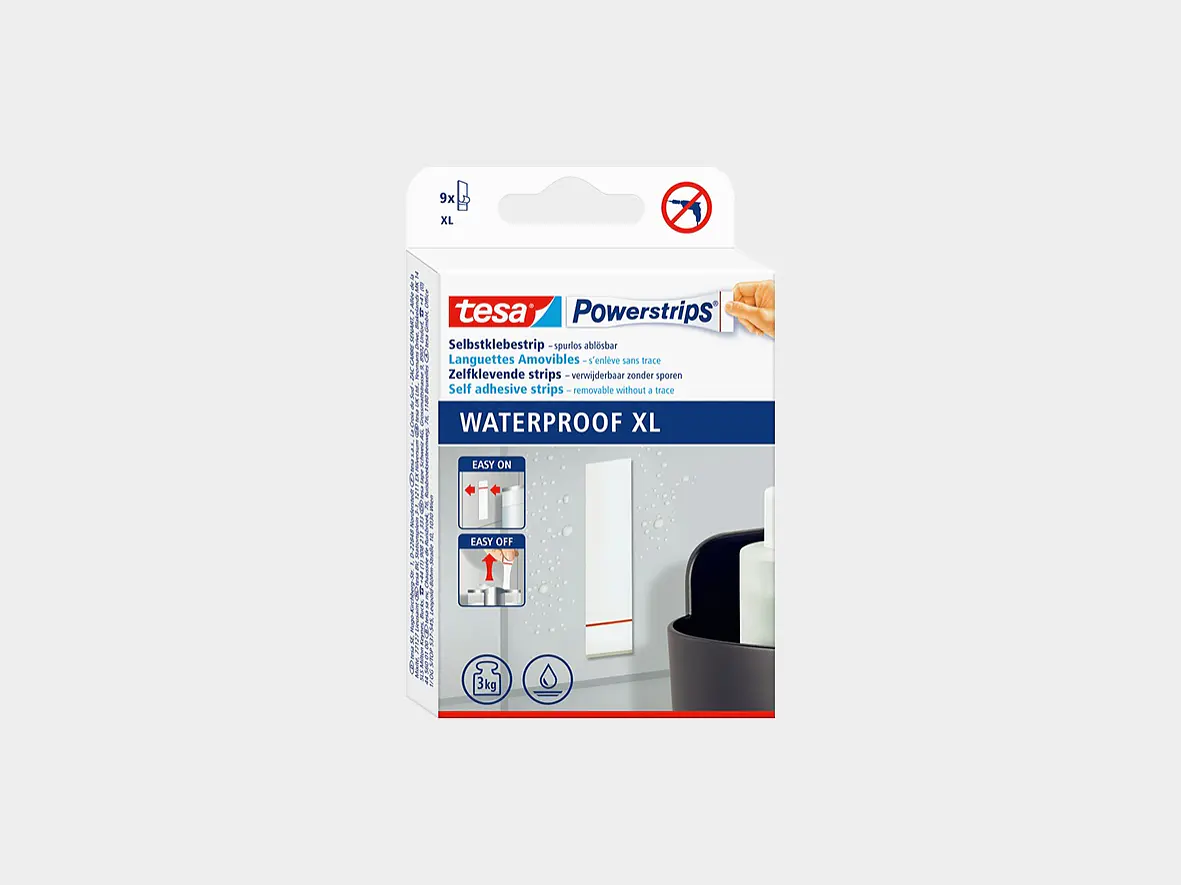
To guarantee the best hold, the tesa® Powerstrips Waterproof XL must be properly attached to the wall.
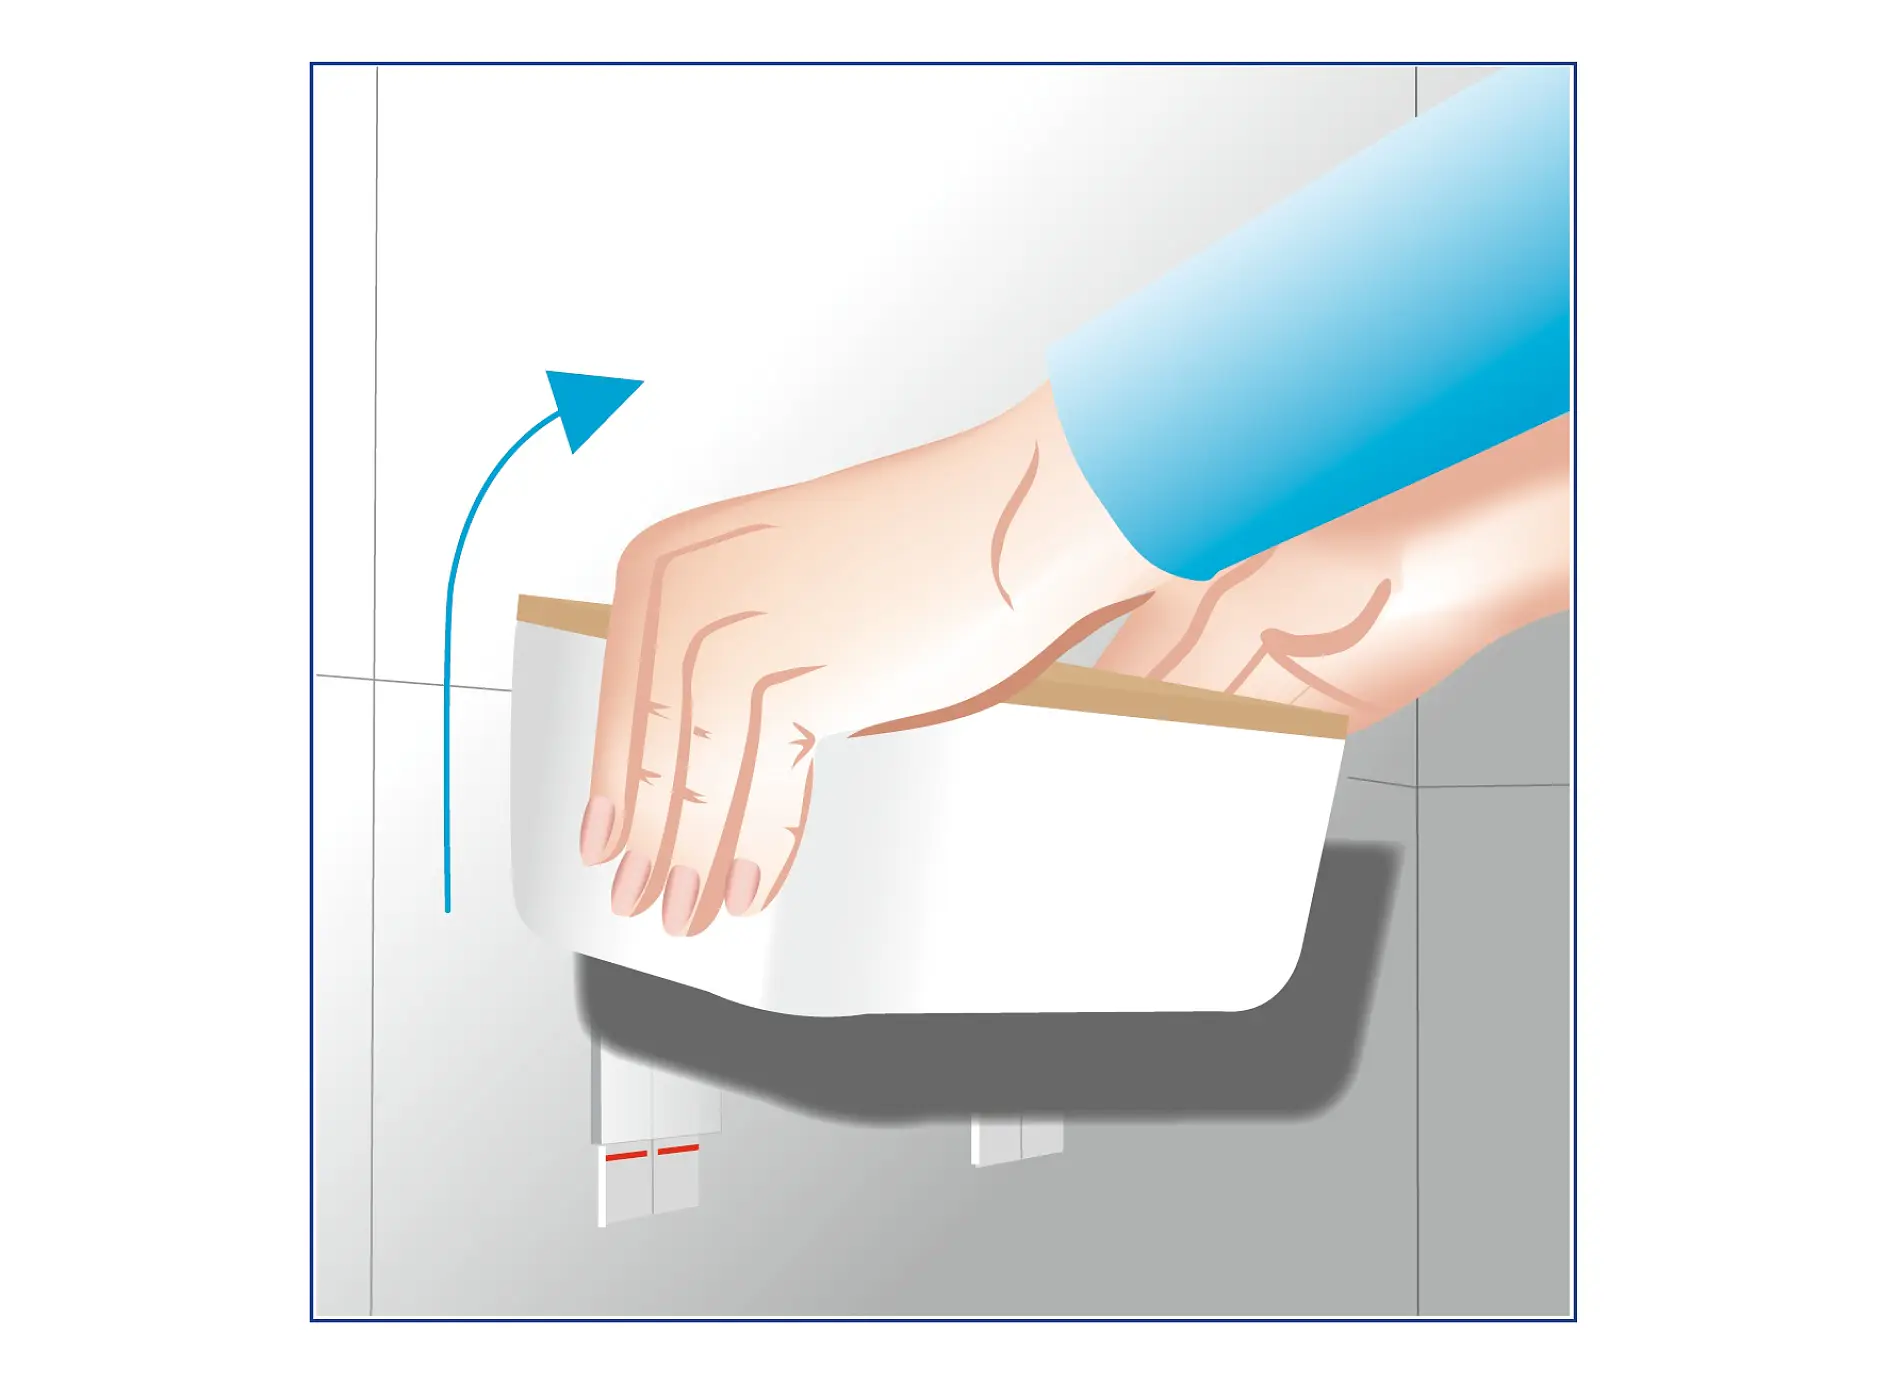
06Remove the bathroom accessory
Simply remove your bathroom accessory from the tesa® Lavaa or tesa® Baboo series from the wall without removing the Powerstrips® by pulling it parallel to the surface.
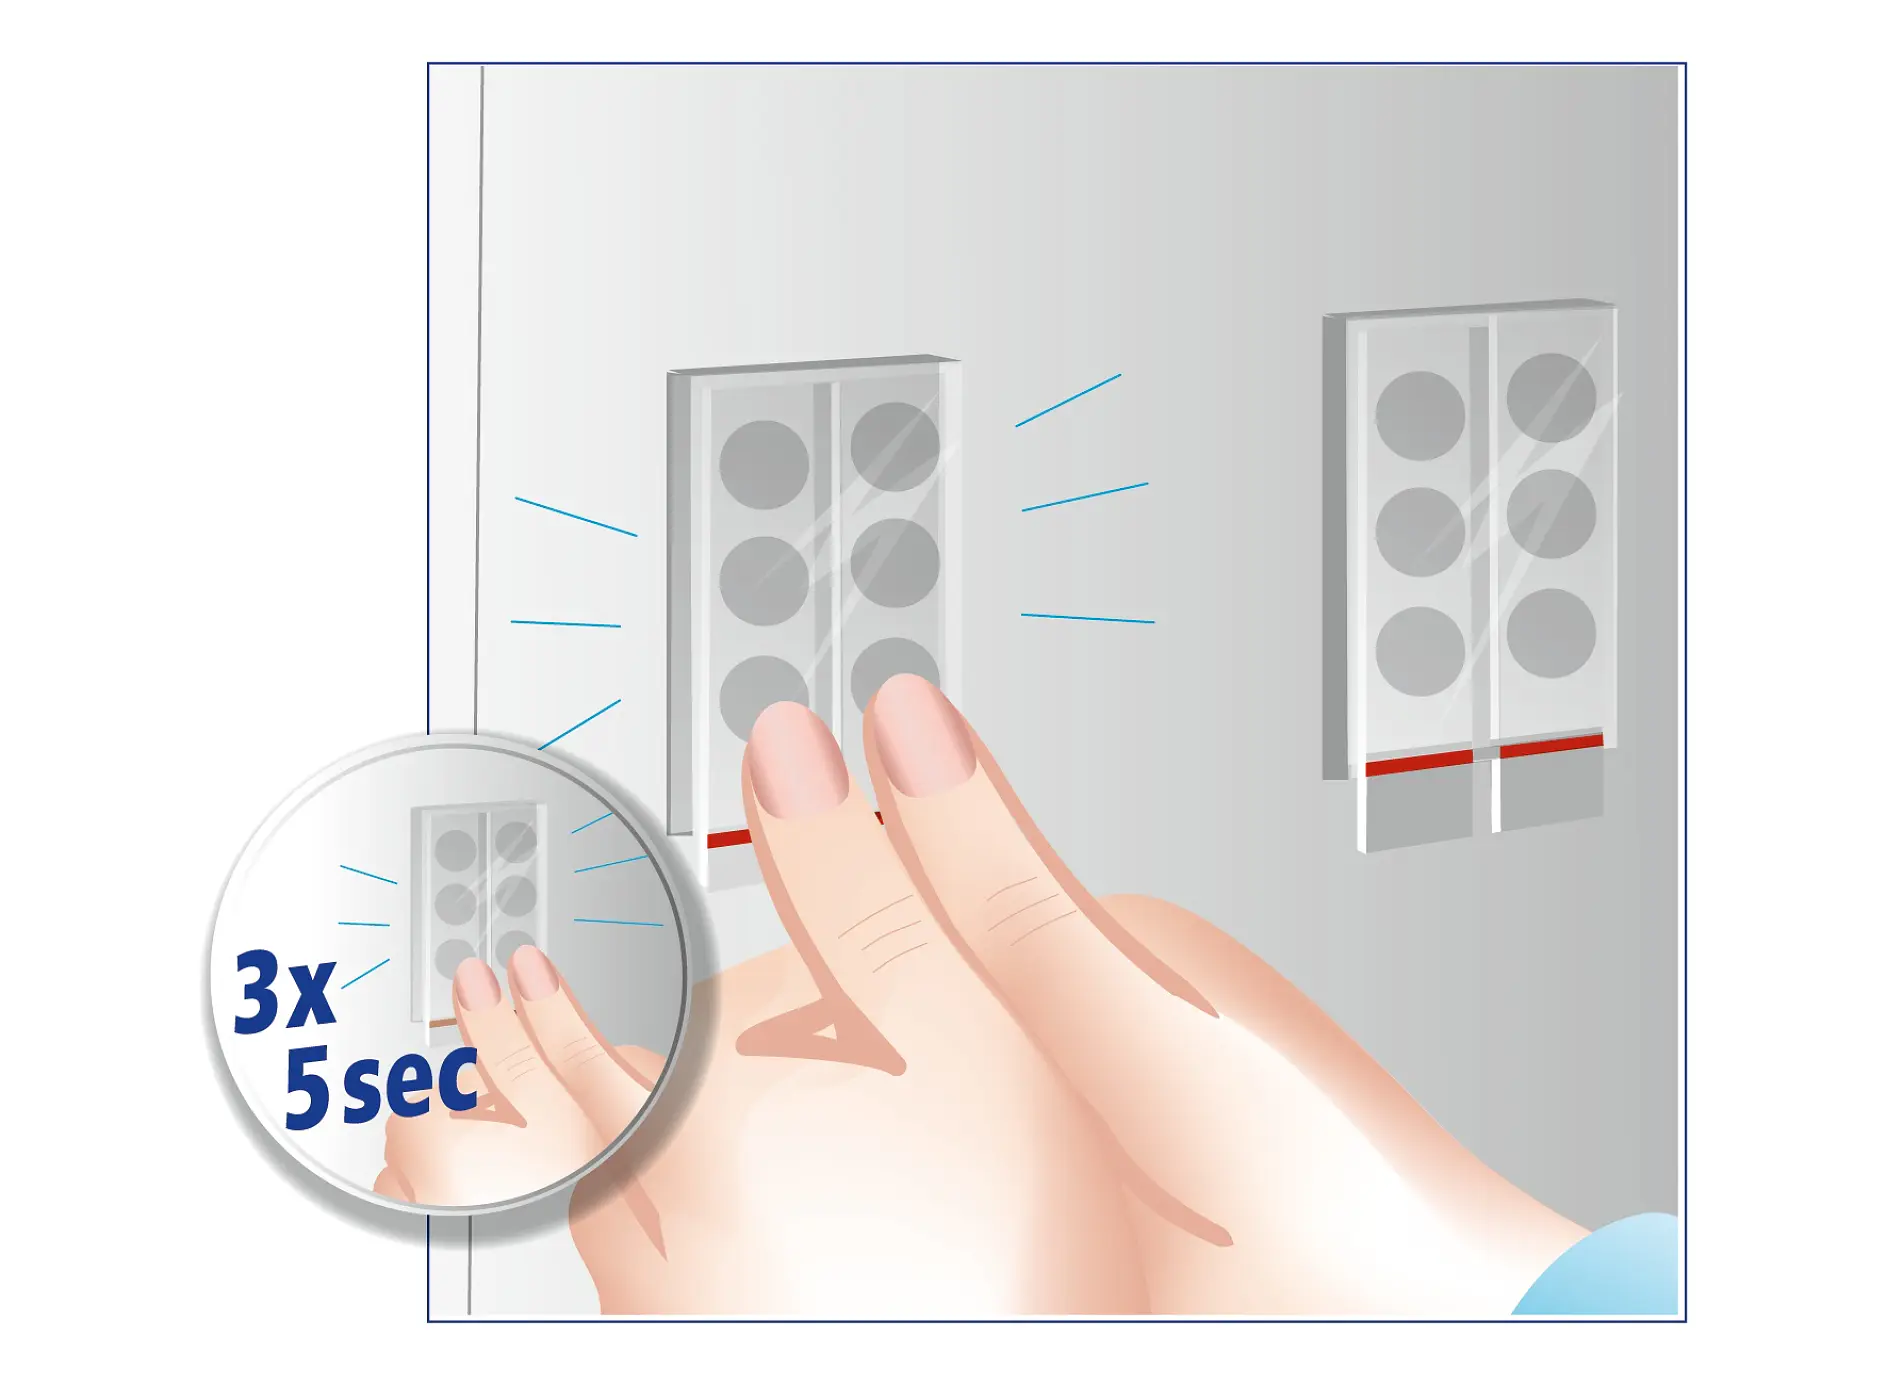
07Press the adhesive strip firmly
In the next step, press the adhesive strips firmly onto the surface for five seconds.
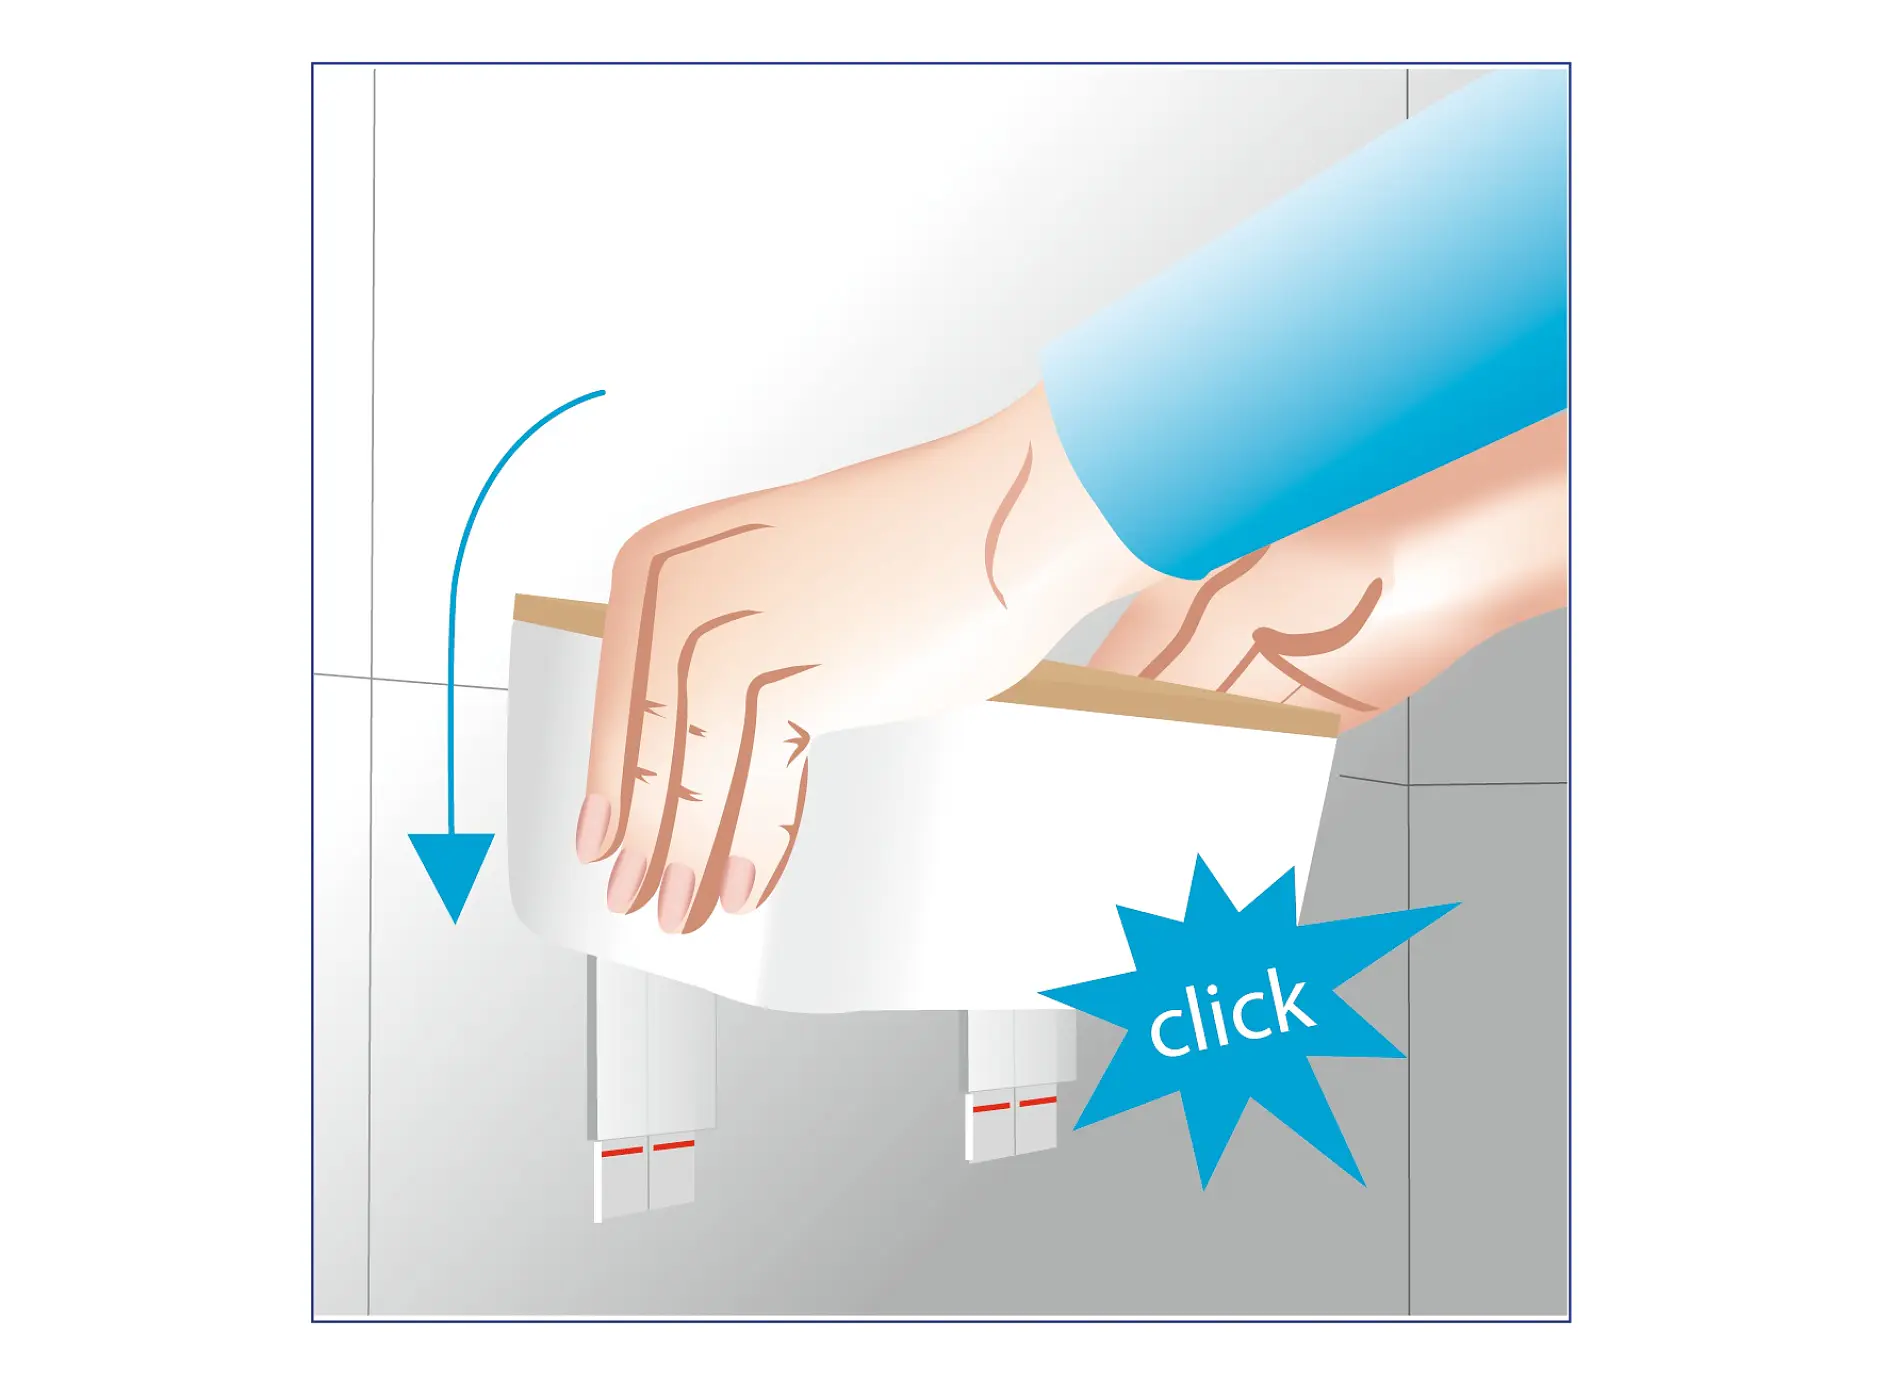
08Final step
Now you can slide your bathroom accessory back over the Powerstrips® and use your product as usual with full holding power - without drilling.
EASY-OFF - How to remove the Powerstrips®
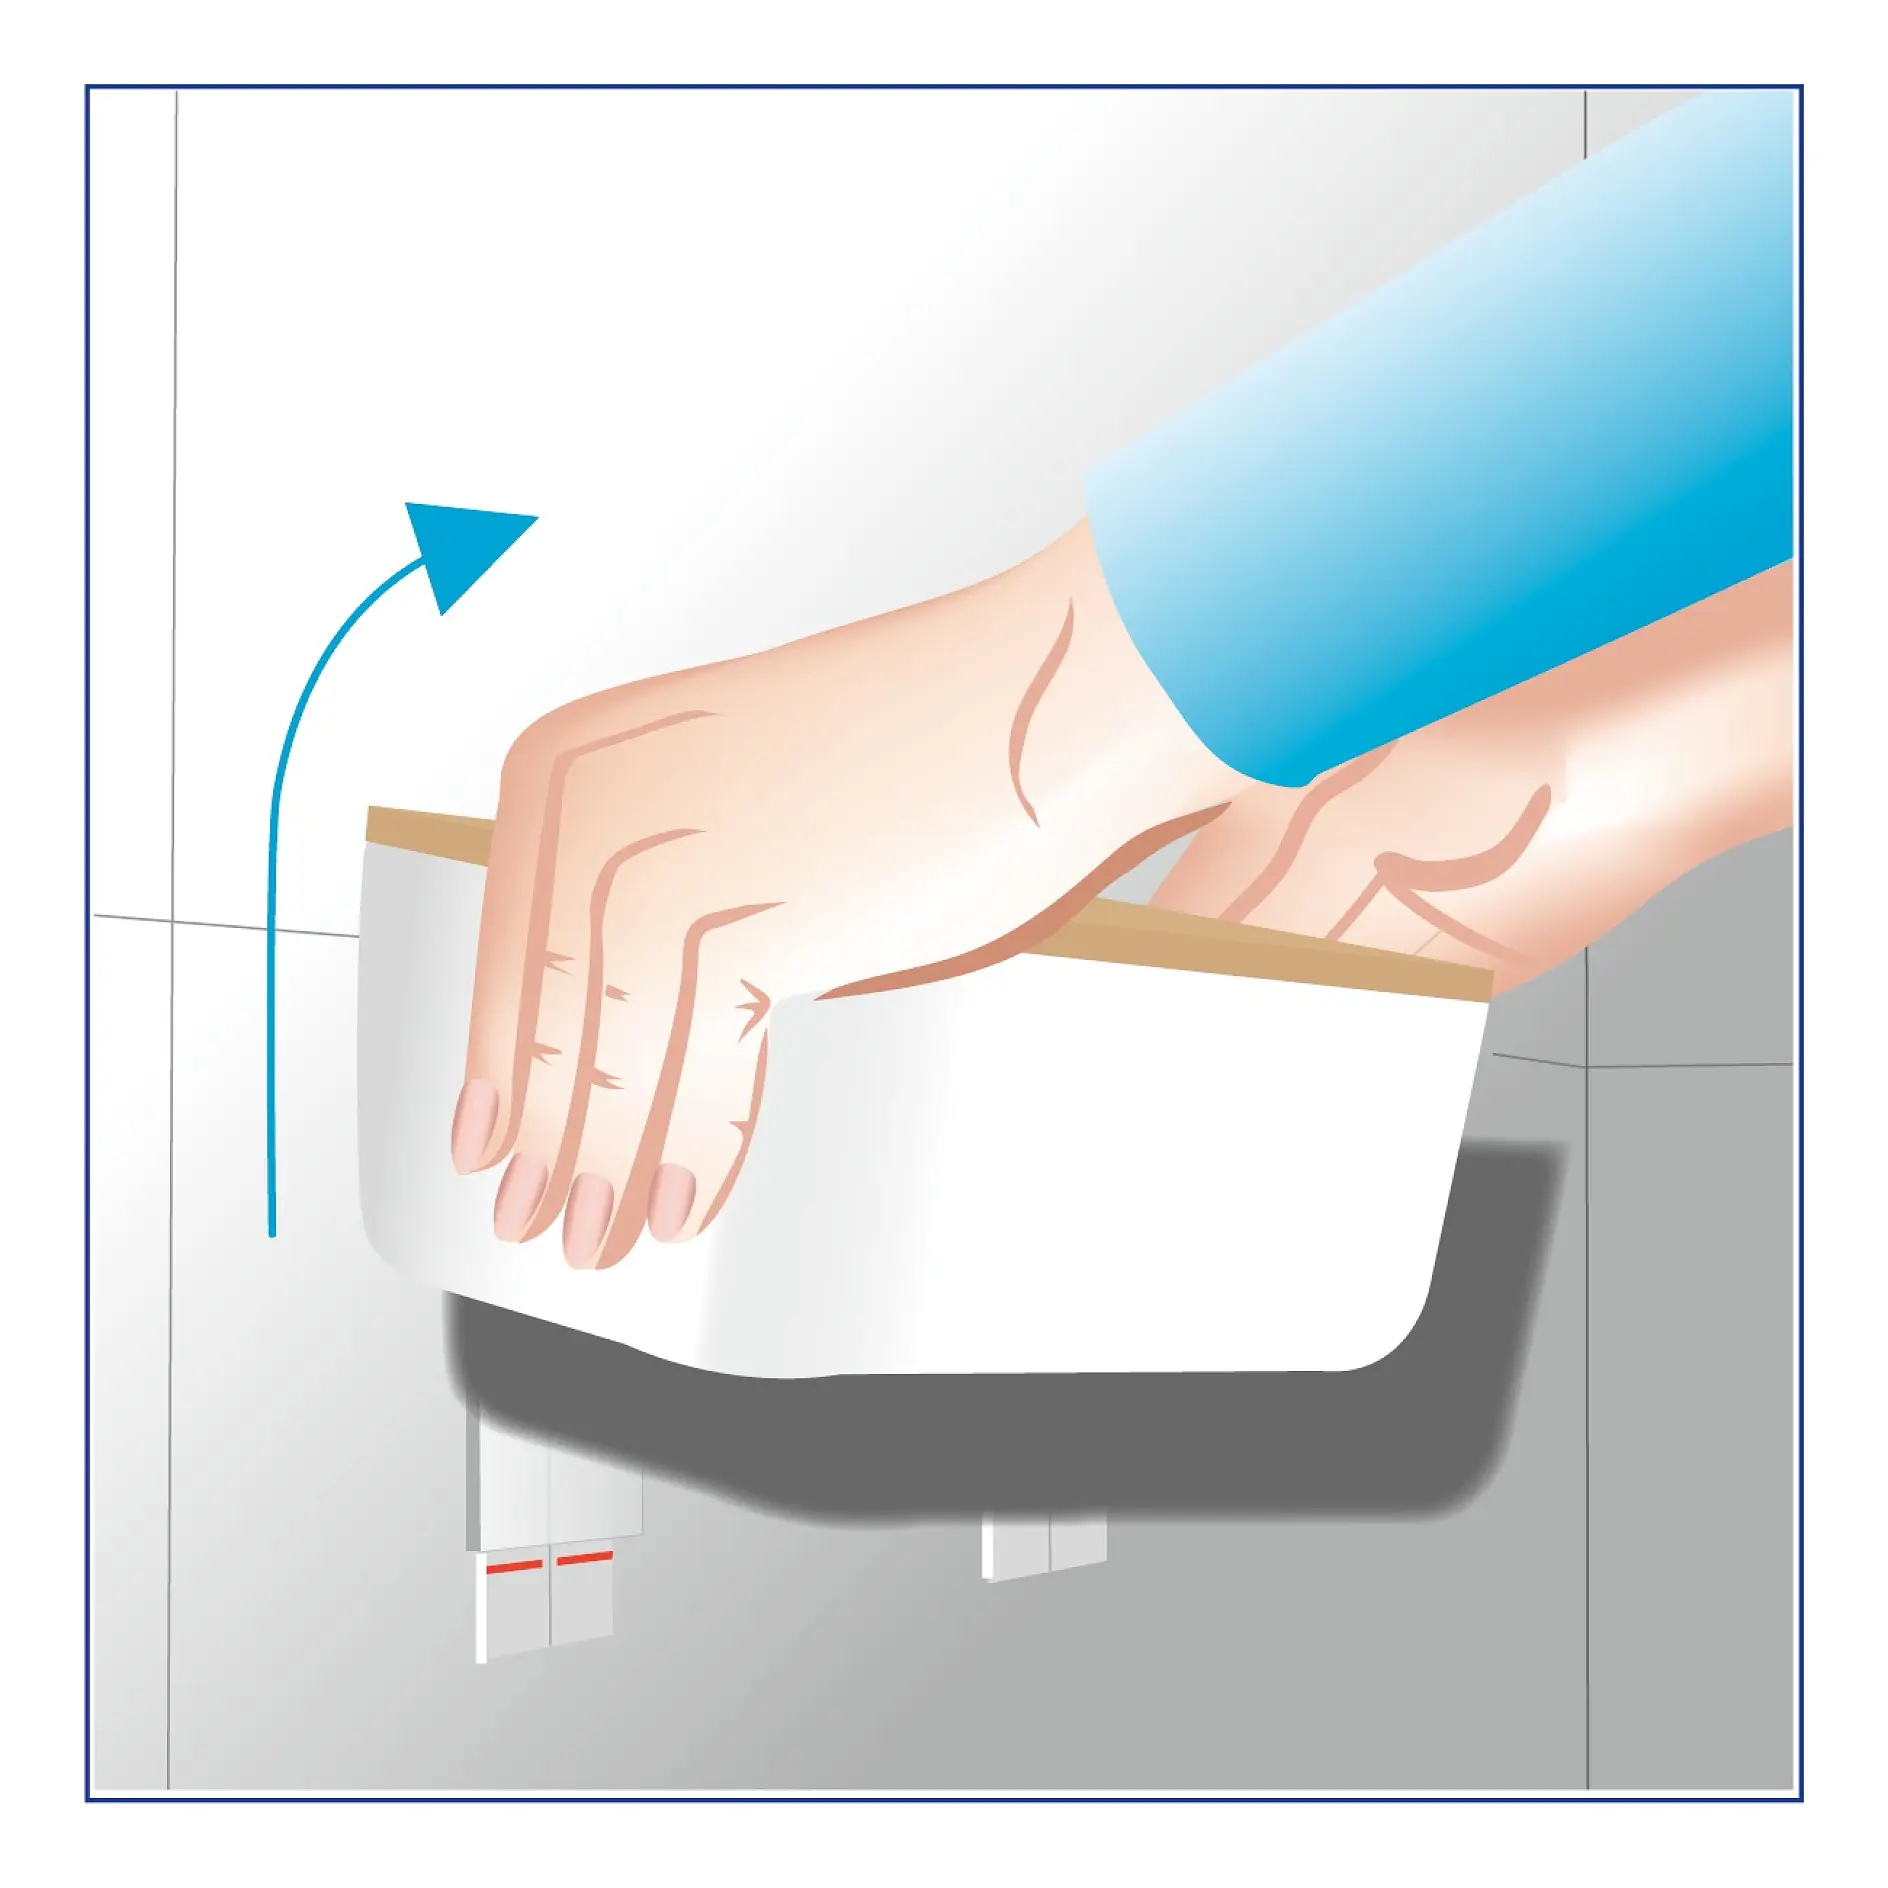
01Remove the accessory
Removing the Powerstrips® is just as easy as installing them! Pull your bathroom accessory off parallel to the surface so that all you see are the adhesive strips.
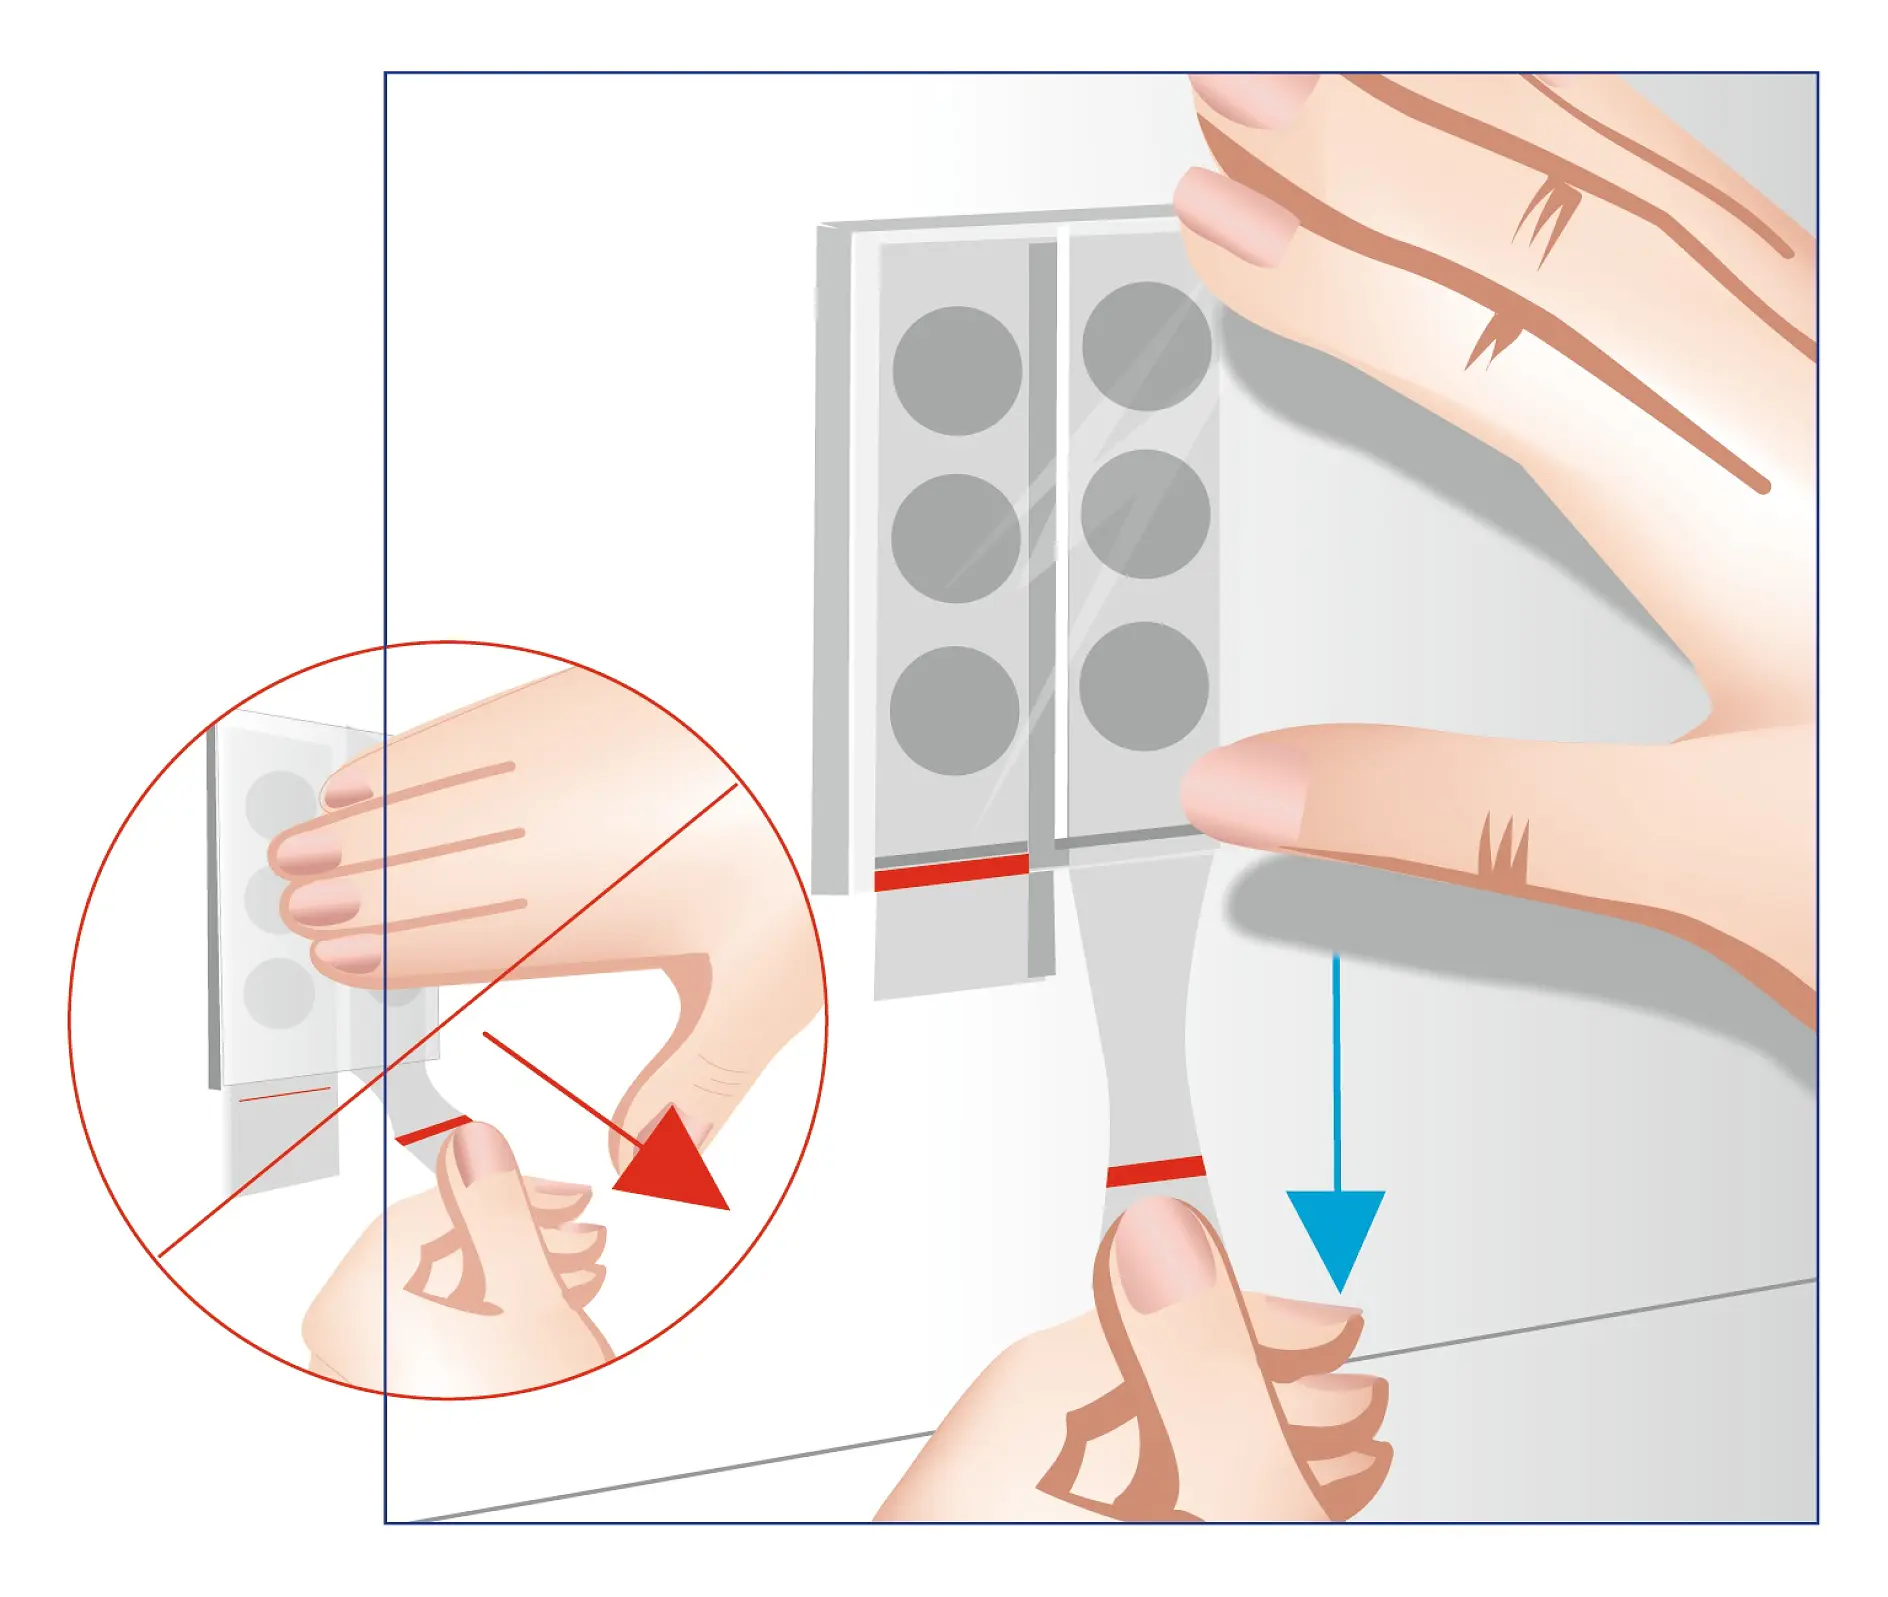
02Remove the Powerstrips®
They can be removed again without leaving any residue. To do this, simply pull the Powerstrips® off slowly, parallel to the surface, as you remove them.
03No residue - perfect result
Voila! Your surface is as clean as before. You can reuse the transparent adapter plate and the bathroom accessory itself. Simply buy a Powerstrips Waterproofed XL refill pack.
Are pictures boring? Watch our video tutorial...
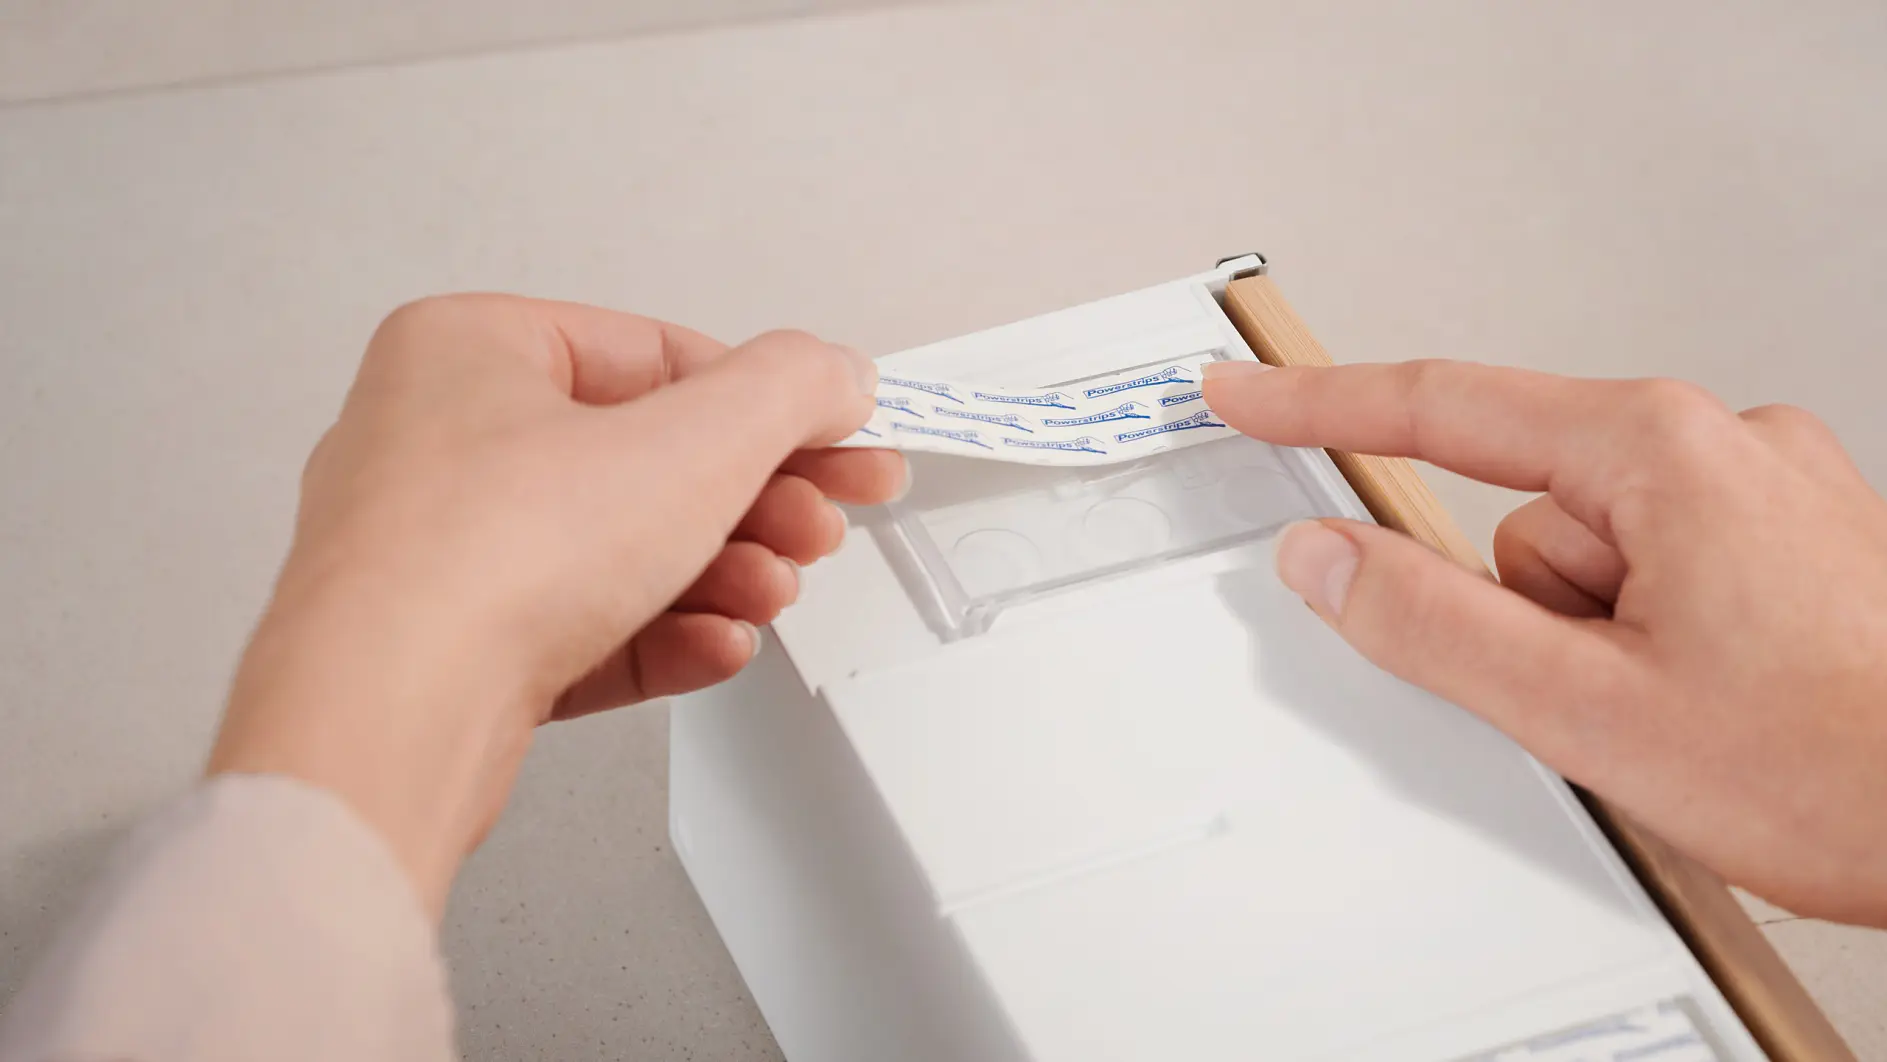
This video tutorial applies to all bathroom accessories that are installed using our Powerstrips® technology.
Questions about tesa Powerstrips® technology:

Last updated on 17 Nov 2026