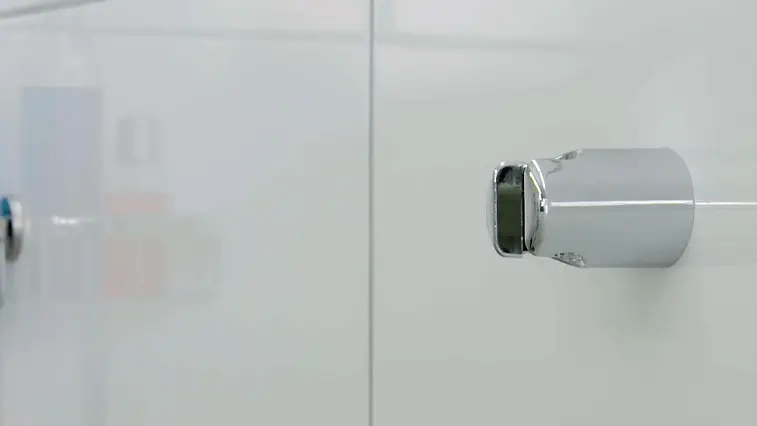
Find your adhesive shower head holder here:
4 reasons why tesa® works so well:



Install a shower head holder without drilling: Just stick it on!
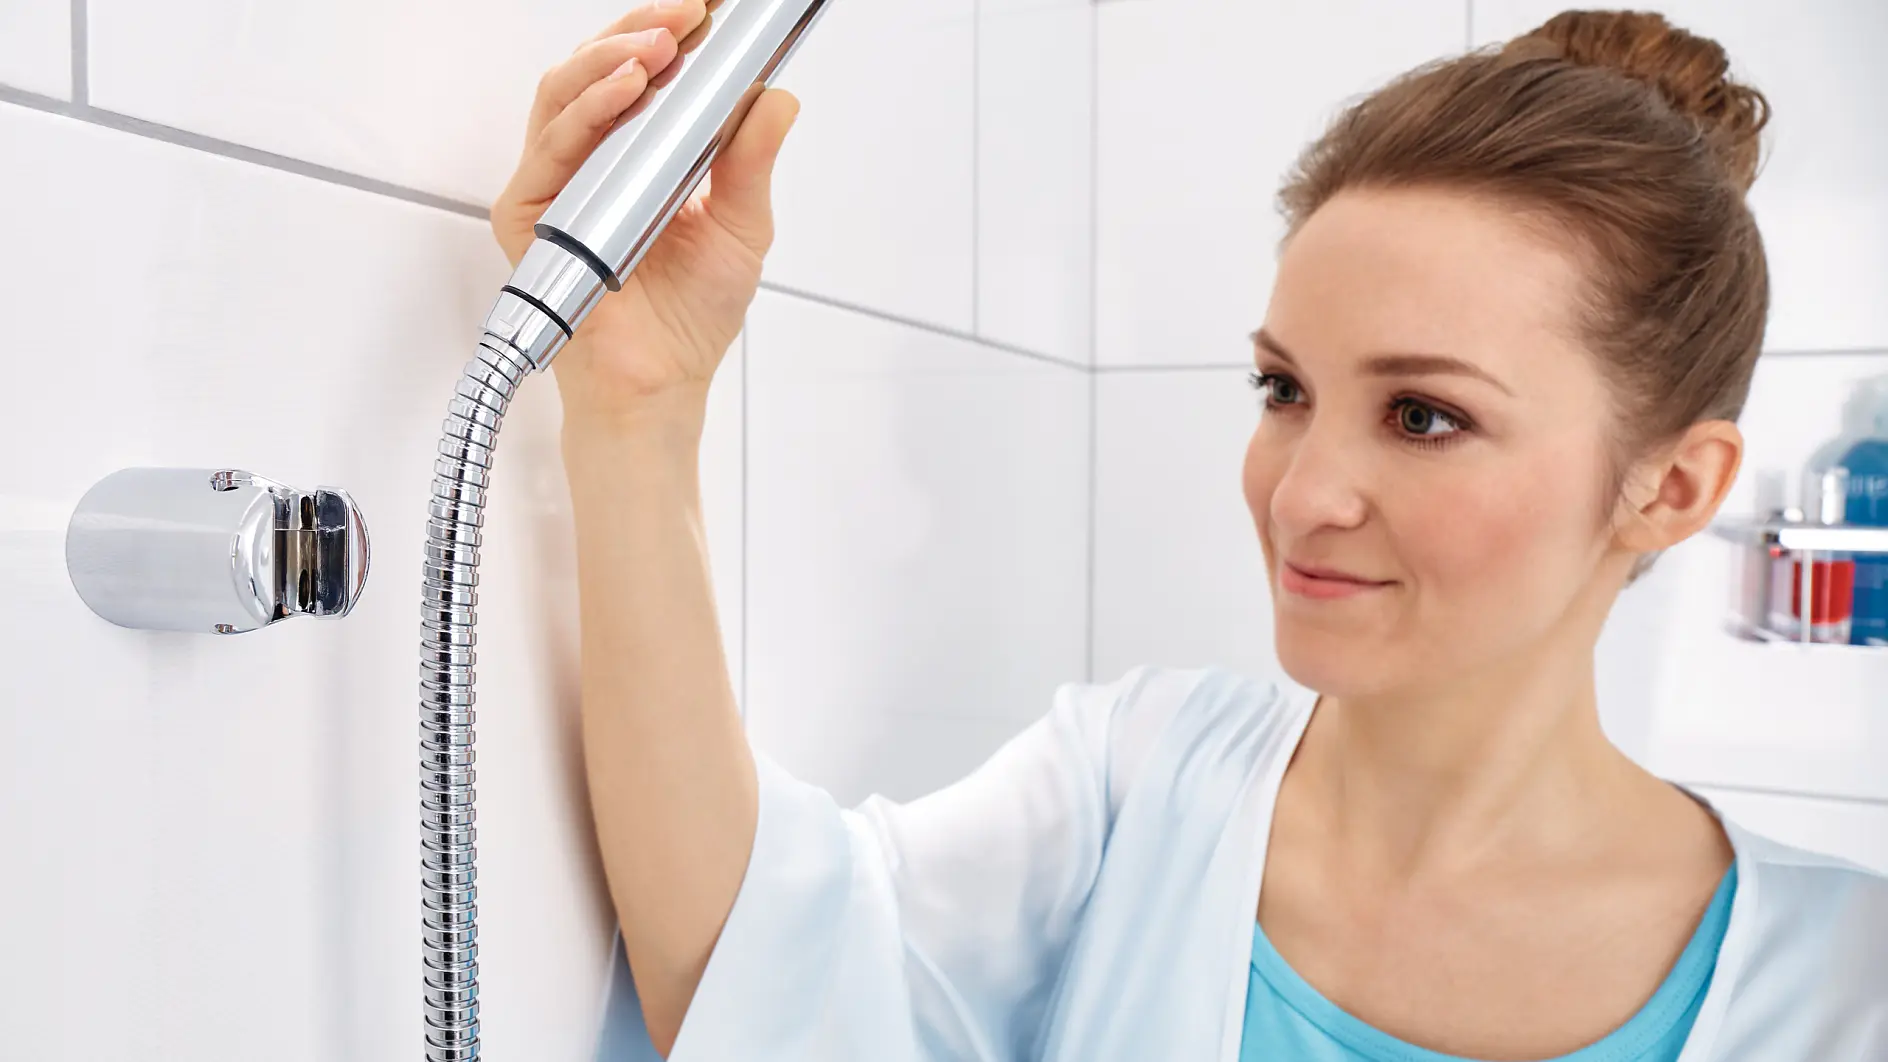
With a shower head holder, you can easily hang your shower head on the wall. That way you don’t have to worry about whether you’re placing the shower head over the tap or on the floor. Instead, the shower head has a fixed place on the wall.
With screws and wall plugs, installing bathroom accessories can quickly turn into a time-consuming and complicated DIY project. Forget the worries about drill holes & co. To help you install your shower head holder without drilling quickly and easily, we developed tesa® Power.Kit technology. With it, you can simply stick on your shower holder. If needed, the shower head holder can also be removed again easily and without leaving any residue. It’s never been easier to upgrade your own bathroom with practical accessories.
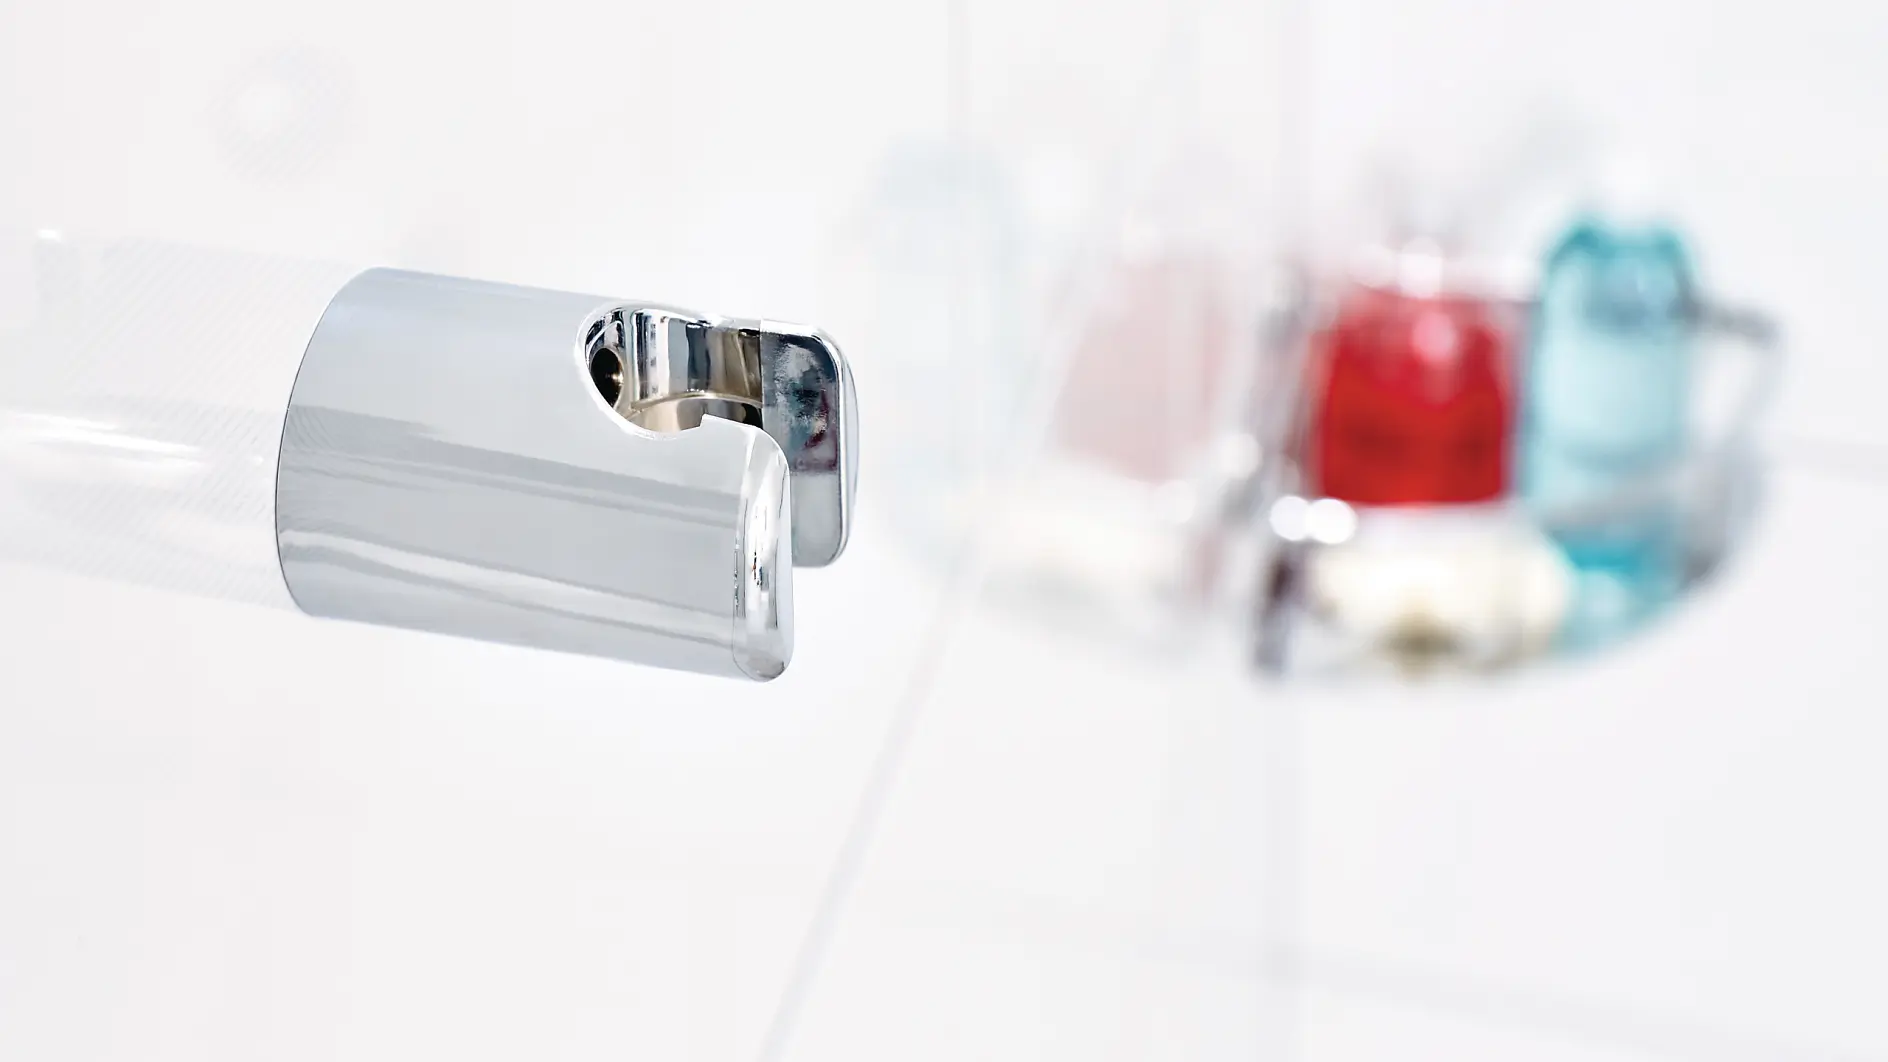
Easily hang the showerhead in the shower or bathtub
You can install the showerhead holder without drilling and use it both in the shower and in the bathtub. This makes it easy to tidy up the bathroom in no time. The showerhead no longer has to lie loose on the floor or be draped over the tap. Instead, you can stick the showerhead holder exactly where you want it and create a fixed place for the showerhead.
Forget drill holes in the bathroom with the adhesive showerhead holder
The legal situation and regulations in rental apartments are clear! If the landlord provides sufficient storage space in the bathroom, no additional holes may be drilled. This is partly because drilling can cause tiles to crack and be severely damaged. On the other hand, in the bathroom the risk of hitting a water or power line when drilling is very high.
With the showerhead holder without drilling, you can still set up your bathroom in a practical and attractive way. The practical tesa® Power.Kit technology ensures strong and reliable hold on almost all surfaces. In addition, you can attach your showerhead holder exactly where you want. This flexibility allows you to design your bathroom the way you like.
When you move, you don’t have to worry about touch-ups or time-consuming renovation work. You don’t need to patch drill holes; instead, you can simply remove the shower holder again easily and without leaving residue. Minor adhesive residue can be removed without any problems using rubbing alcohol or a scraper. With a new adapter (available separately), you can also attach your showerhead holder in your new home without drilling. Your wallet will be happy about that too.
Securely and safely attach your shower holder without drilling with the tesa® adhesive solution
Thanks to tesa® Power.Kit technology, your imagination when renovating and furnishing your bathroom has (almost) no limits. The practical adhesive solution can be securely and safely attached to the wall with an adapter. Once the adhesive has dried and cured, you can simply place the matching bathroom accessory on it and screw it tight. This lets you furnish and design your bathroom exactly the way you want - without drilling.
The advantages of an adhesive showerhead holder
Attaching your shower holder without drilling offers many advantages. We’ve summarised the most important benefits of an adhesive showerhead holder:
- No drill holes in tiles and grout
- No fine dust exposure from drilling
- No risk of damaging water or electrical lines
- No noise disturbance for neighbours
- Child’s-play application of the adhesive thanks to the adapter
- Secure hold even with water contact
- Removes without residue
- Suitable for all common showerheads
- A fixed place for your showerhead in the shower and bathtub
How to install your showerhead holder in the bathroom without drilling - step-by-step instructions
You can install your shower head holder without drilling, without any prior DIY experience, and without special tools. All you need is a clean cloth and rubbing alcohol to thoroughly clean the surface beforehand. This is important so that the tesa® Power.Kit Technology can later develop its full adhesive strength.
In addition, the adhesive must dry for a total of 12 hours. We therefore recommend that you start installation in the evening and attach the shower head holder the next morning. This allows the adhesive solution to cure overnight, and you can enjoy your new bathroom accessory the next day.
In addition to these step-by-step instructions, every package in the tesa® Power.Kit Technology series also includes a richly illustrated guide.
- Select the position of the shower head holder: Choose the spot where you want to attach your shower head holder. You can mount the shower holder not only in the shower, but also on the bathtub. This way, the shower head always has a fixed place.
- Clean the surface thoroughly: For the tesa® adhesive solution to adhere strongly and reliably to the surface, the surface must be free of dust, grease, limescale, and other residues. For basic cleaning, you can use a clean, soft cloth. Please do not use any non-stick cleaning agent or silicone-based cleaners, as these substances impair the adhesive effect. After basic cleaning, you can clean again with rubbing alcohol. If a cleaning cloth is included with your accessory, please use it.
- Remove the protective film from the adapter ring: Take the adapter ring out of the package and remove the film from the adhesive surface on the back.
- Place the adapter ring in the desired position: Place the adapter ring in the desired position and press it firmly onto the tile.
- Apply the adhesive solution: Now everything is prepared and the tesa® Power.Kit Technology can be used. Open the applicator with the corresponding key and insert the opening into the larger hole in the adapter ring. Using the key, press adhesive into the adapter until some adhesive comes out of the adapter’s smaller opening. Now the back of the adapter is completely filled with adhesive and creates a secure bond with the tile surface.
- Let the adhesive dry and cure for 12 hours: At this point, you need patience. The adhesive must cure for twelve hours. Do not touch the adapter during this time and do not check its firmness under any circumstances.
- Attach and tighten the shower head holder: After the waiting time, simply place your shower holder onto the adapter and tighten the screw with an Allen key.
From now on, your shower head holder is ready for use and can bear full loads. If you ever want to reposition it, you can remove the adhesive again without leaving any residue using a scraper or a brush. Or you can use the adapter elsewhere with our other adhesive bathroom accessories.
Attach a shower head holder without drilling on (almost) all surfaces
To attach the shower holder without drilling, all common surfaces in showers or the bathtub are suitable. Most of the time, tiles, marble, or glass are installed here. To ensure your shower holder adheres securely and firmly, we have summarised the recommended surfaces for you.
No drilling: Simply stick it on!


Recommended surfaces for gluing the shower head holder:


Surfaces not recommended for gluing the shower head holder:


Maximum design freedom with our tesa® adhesive bathroom accessories
With tesa® Power.Kit Technology, you can design your bathroom to suit your wishes and requirements. All bathroom accessories can be mounted without drilling using the appropriate adapter. In addition to a shower head holder, you’ll find many other practical accessories for your bathroom. Discover towel holders, shower squeegees, toilet paper holders, as well as soap dispensers and numerous other products. Create your dream bathroom with shower head holders and other bathroom accessories from tesa®. No tools, no drilling, and no more ugly holes in walls and tiles.
Tip: By the way, tesa®’s adhesive solution is also available for other rooms in the house.
Be inspired by the variety of designs and order your bathroom fittings from us without drilling!




Last updated on 17 Nov 2026