Magnetic make-up board

Magnetic Make-Up Organiser

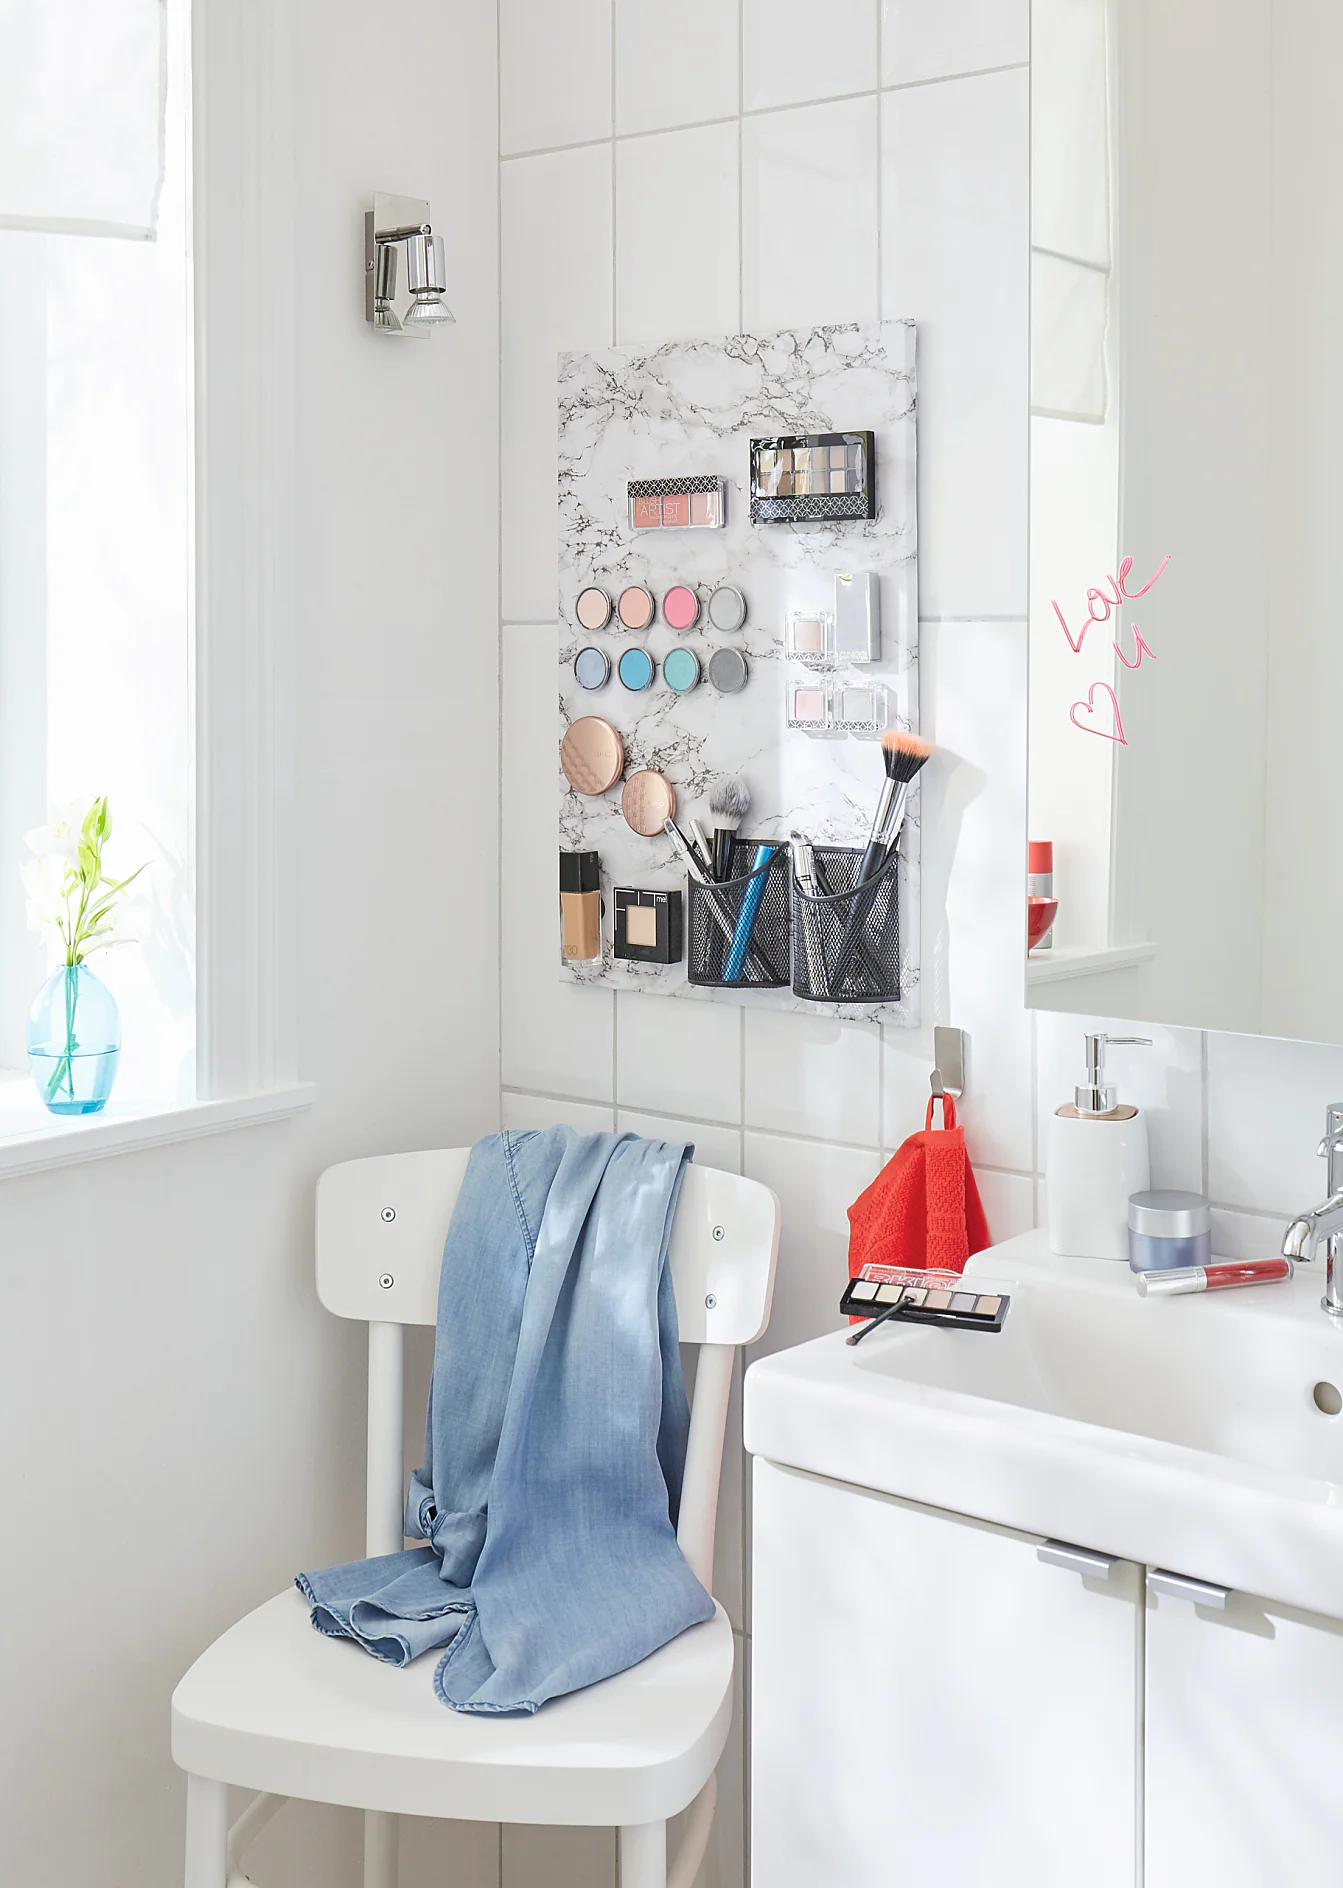
Never have to search for a piece of make-up again! This clever magnetic make-up organiser means you can see at a glance where all of your cosmetics are. It’s simple to make and you don’t need any tools.

Difficulty Level For ambitious hands
Duration 30

Video tutorial

MakeUpBoard V3.mp4

MakeUpBoard V3.mp4

tesa SE

We need:

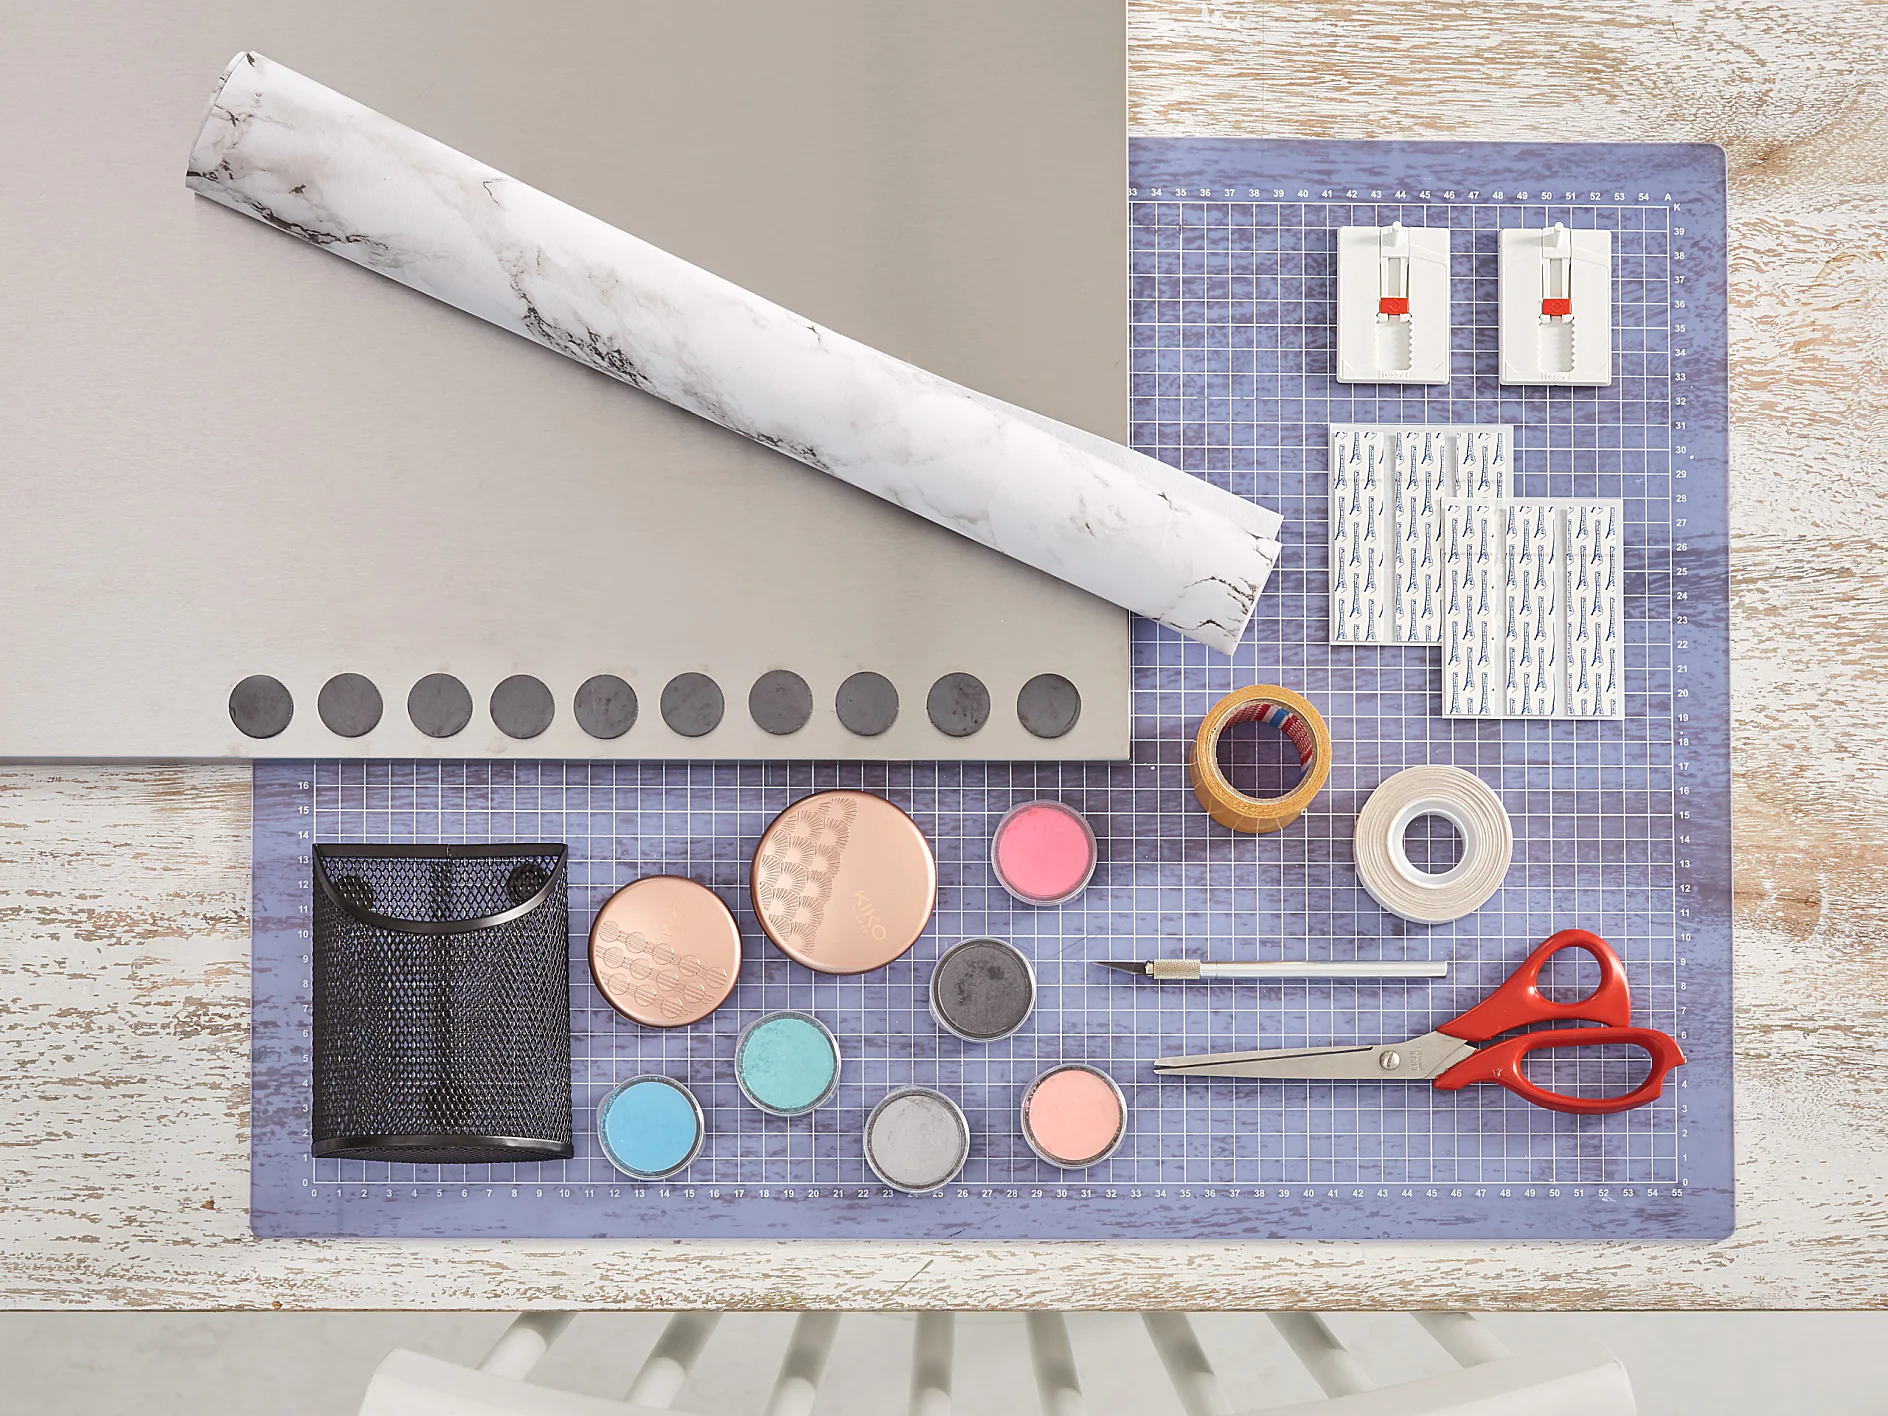
a magnetic board 40cm X 60cm X 1.5cm waxed cloth in a marble design 46cm X 66cm scissors disc magnets 25mm X 3mm cosmetic products small containers for pencils and brushes an art scalpel double-sided adhesive tape handicrafts tape tesa® adjustable adhesive nail tiles & metal 4kg x2

How it's done:

Overview of materials needed for a magnetic make-up board
01

We need: a magnetic board 40cm X 60cm X 1.5cm, waxed cloth in a marble design 46cm X 66cm, scissors, disc magnets 25mm X 3mm, cosmetic products, small containers for pencils and brushes, an art scalpel, double-sided adhesive tape, handicrafts tape, tesa® adjustable adhesive nail tiles & metal 4kg x2

Apply handicrafts tape
02

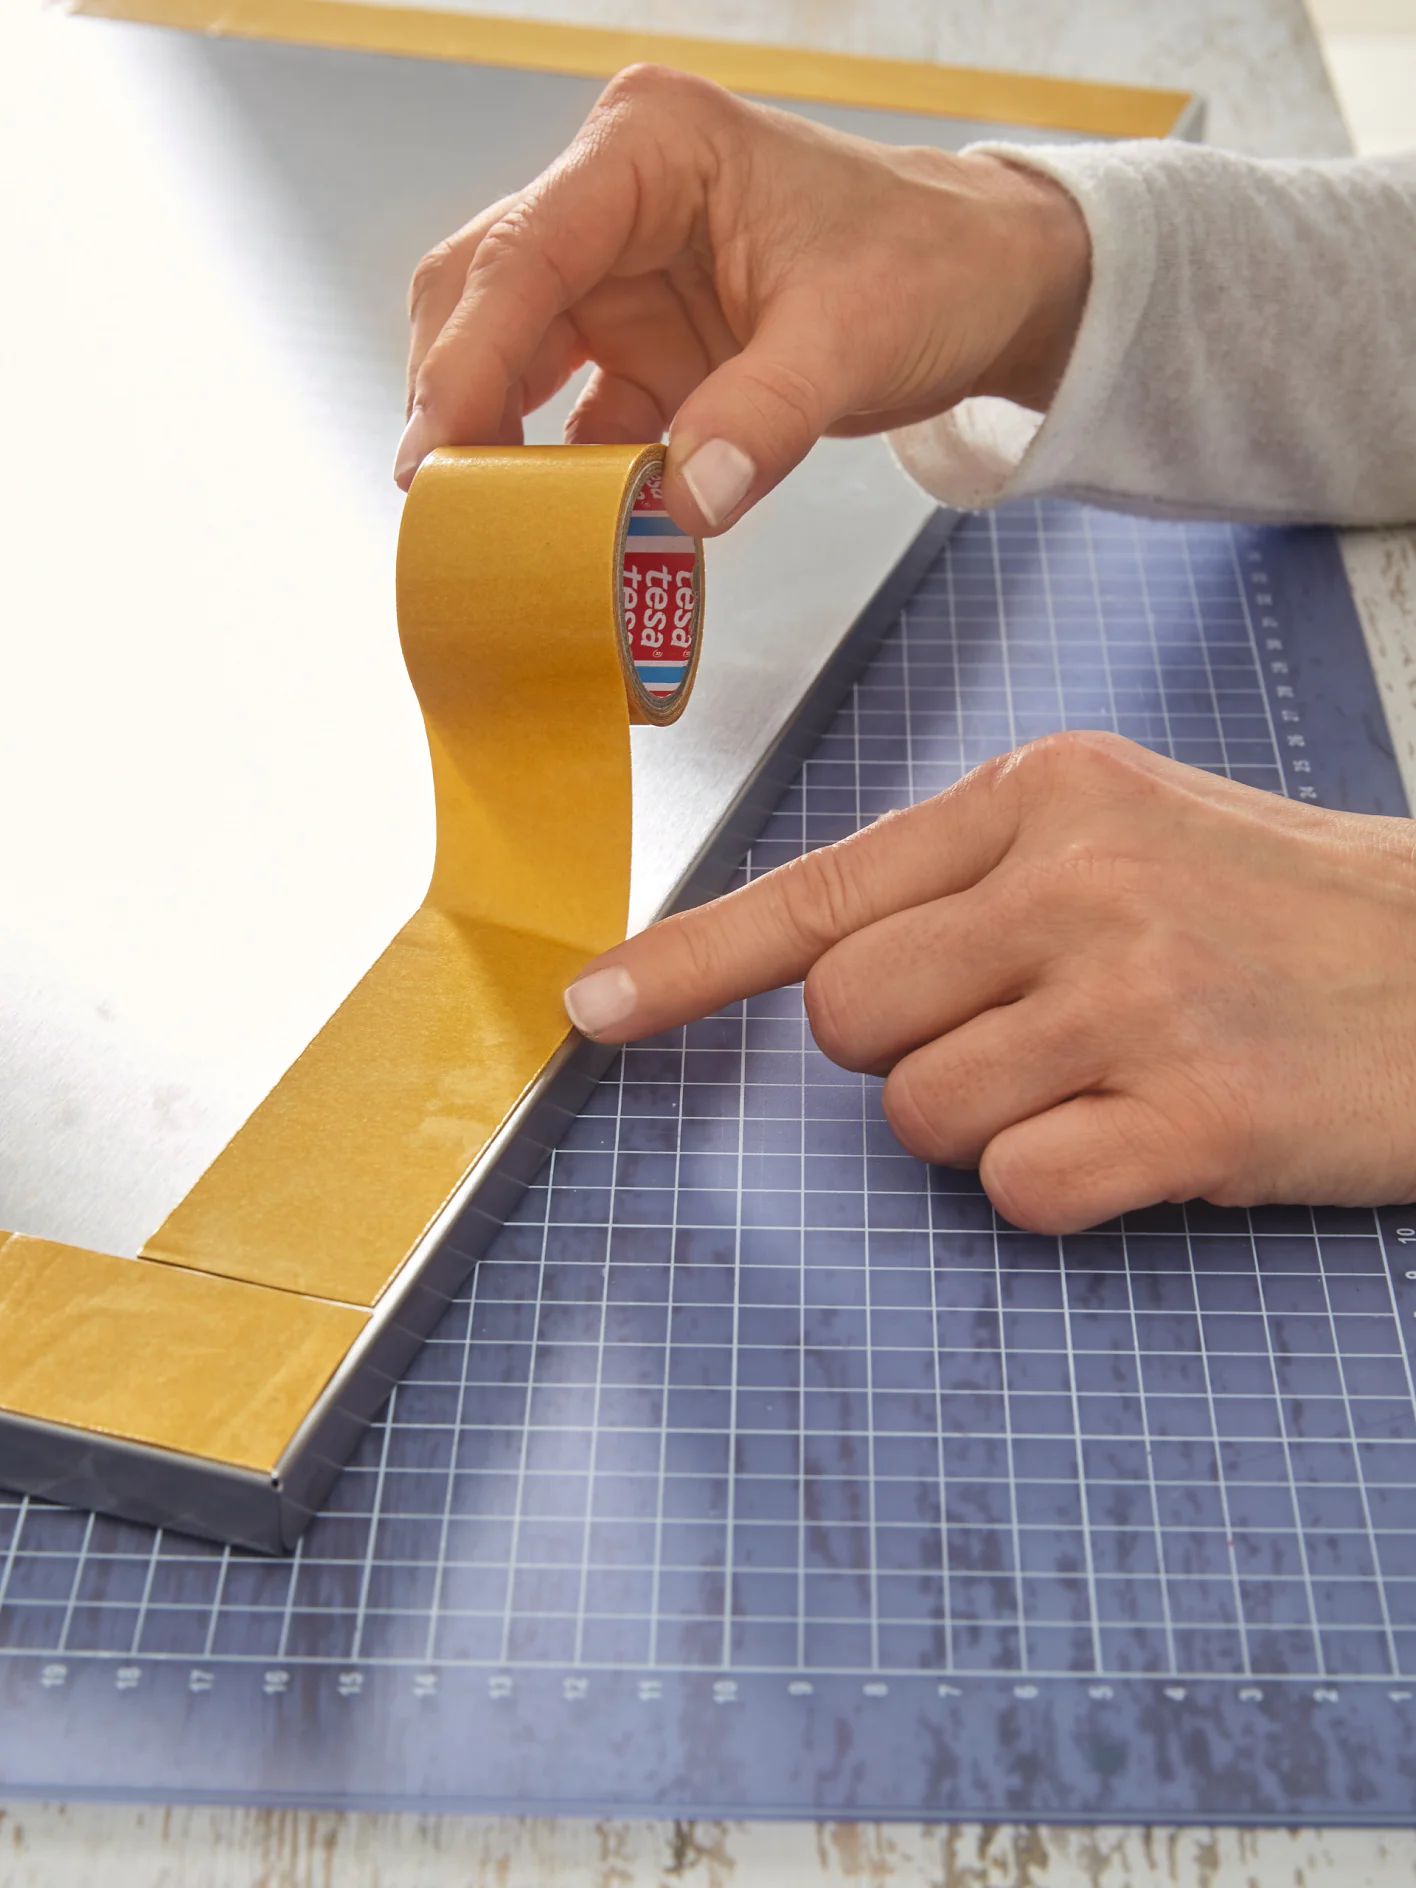
To begin with your make-up organiser, apply handicrafts tape around the edges of the front of the magnetic board.

Apply double-sided tape
03

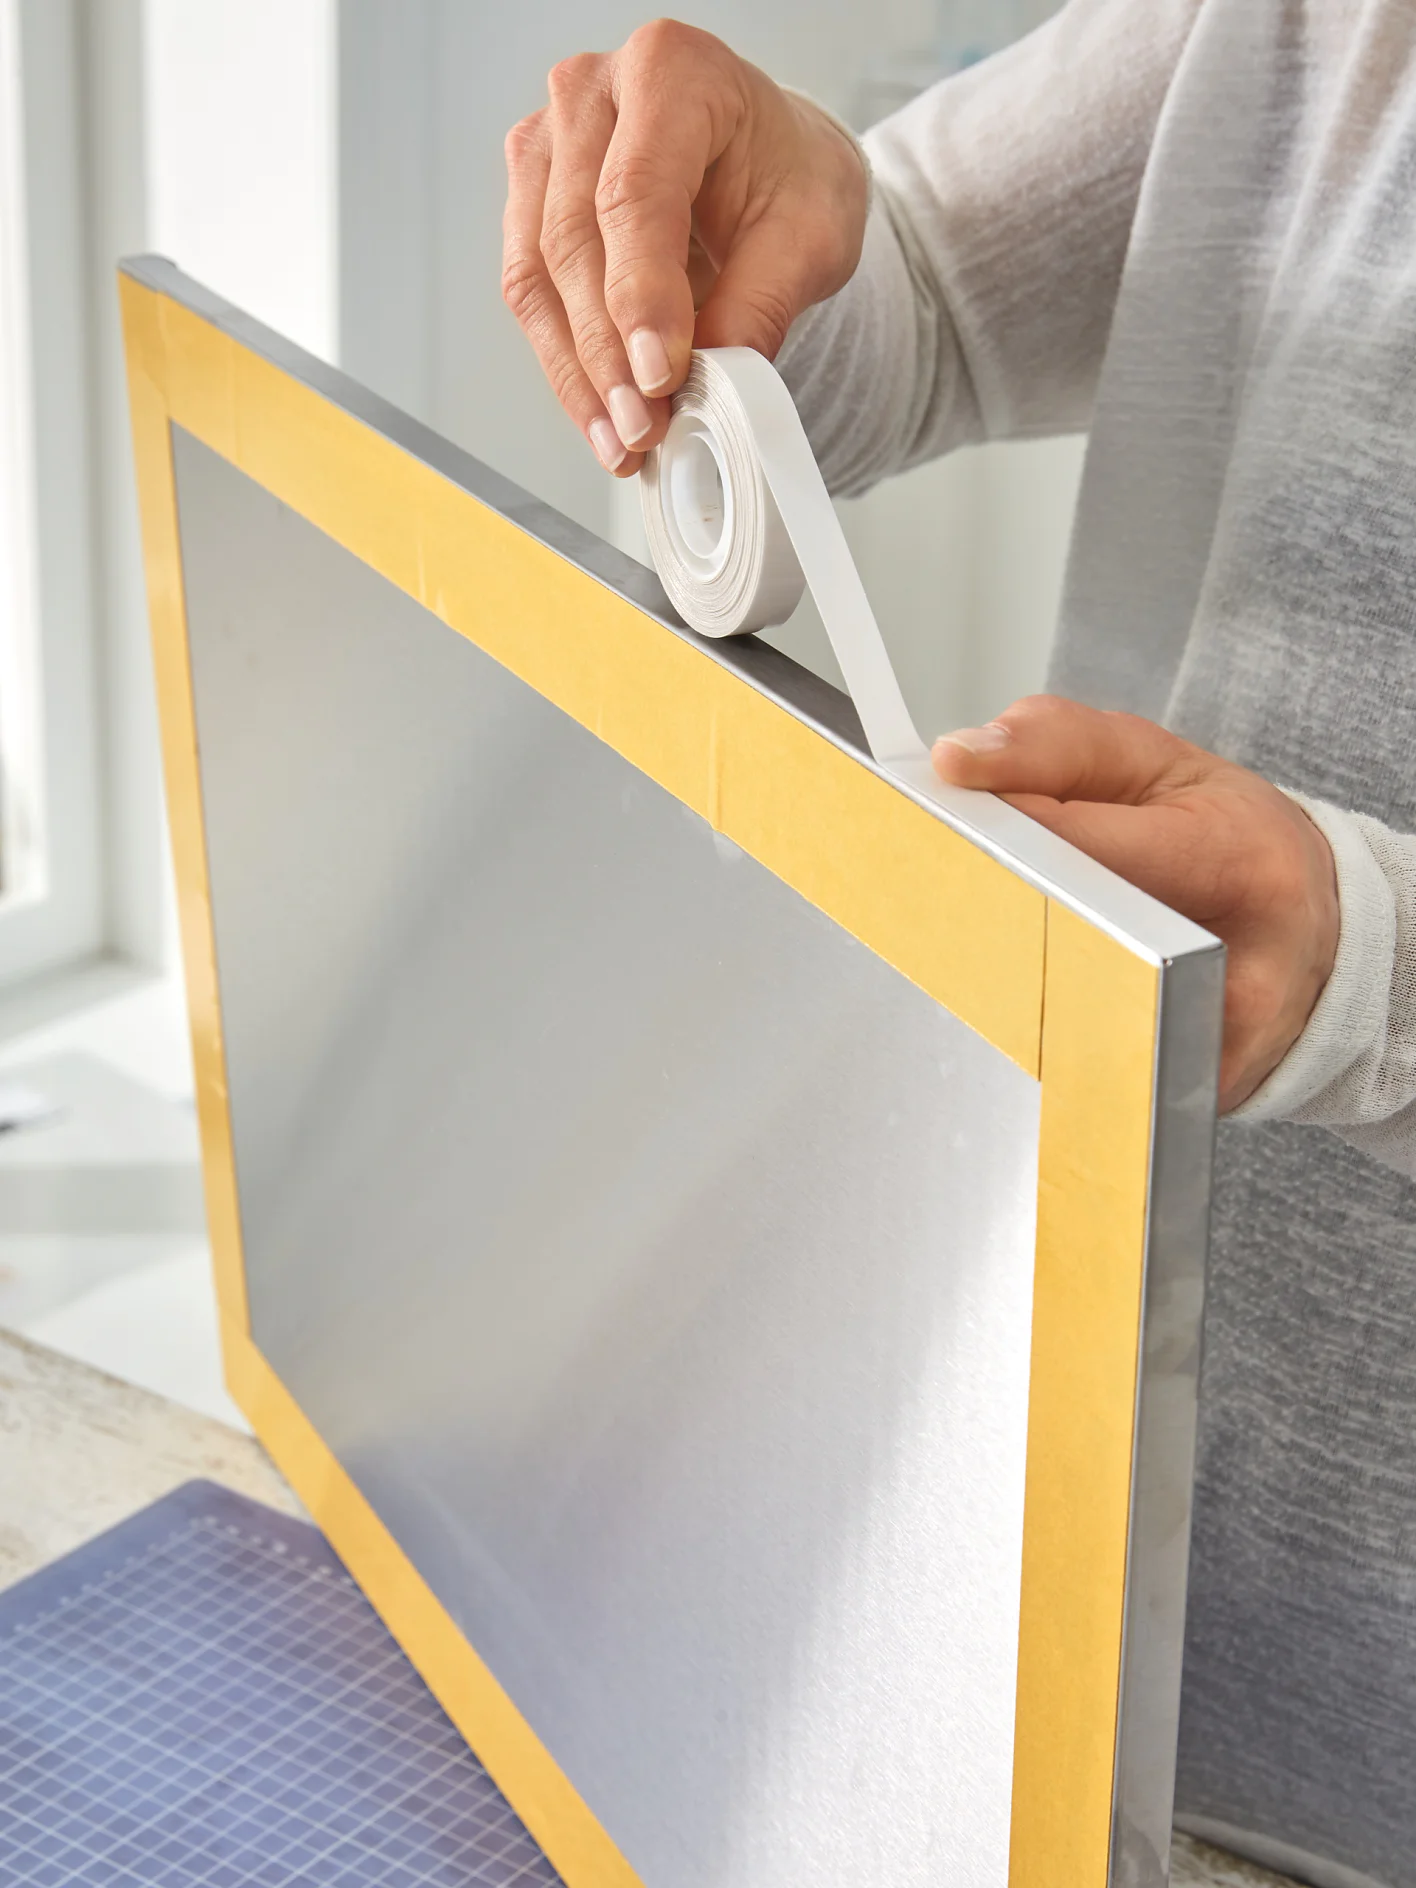
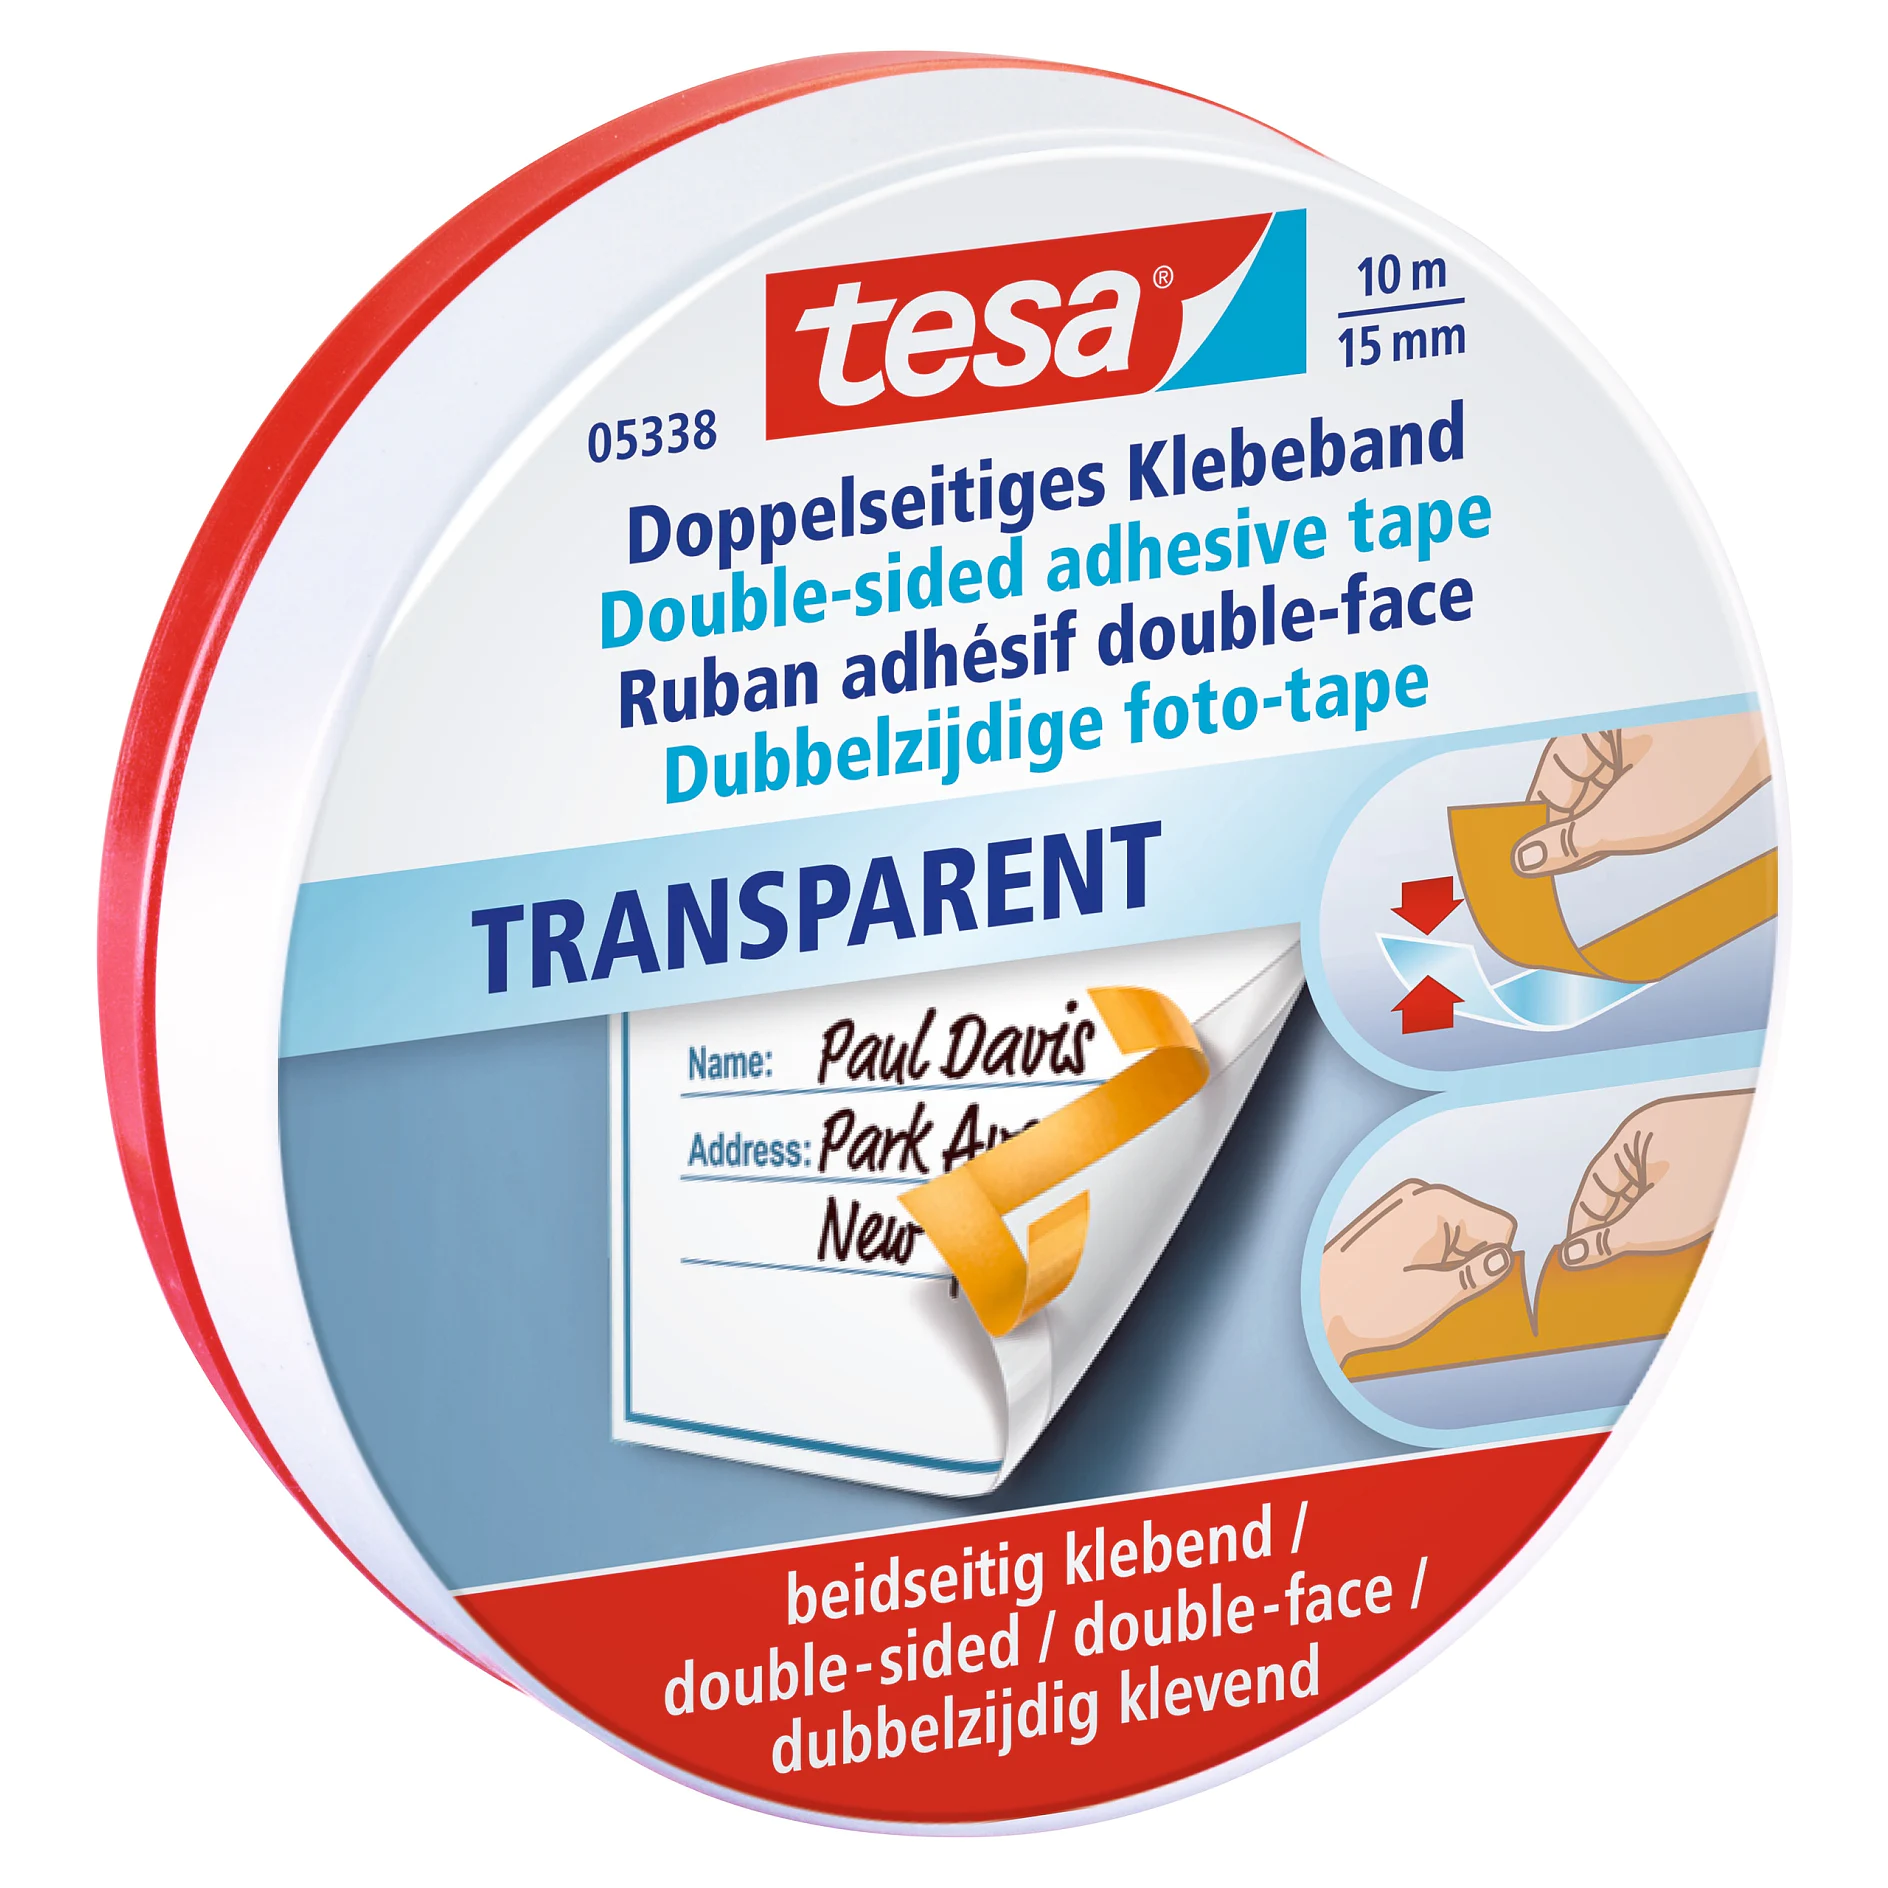
Apply the double-sided tape all around the edges of the magnetic board.

Stick on the marble patterned waxed cloth
04

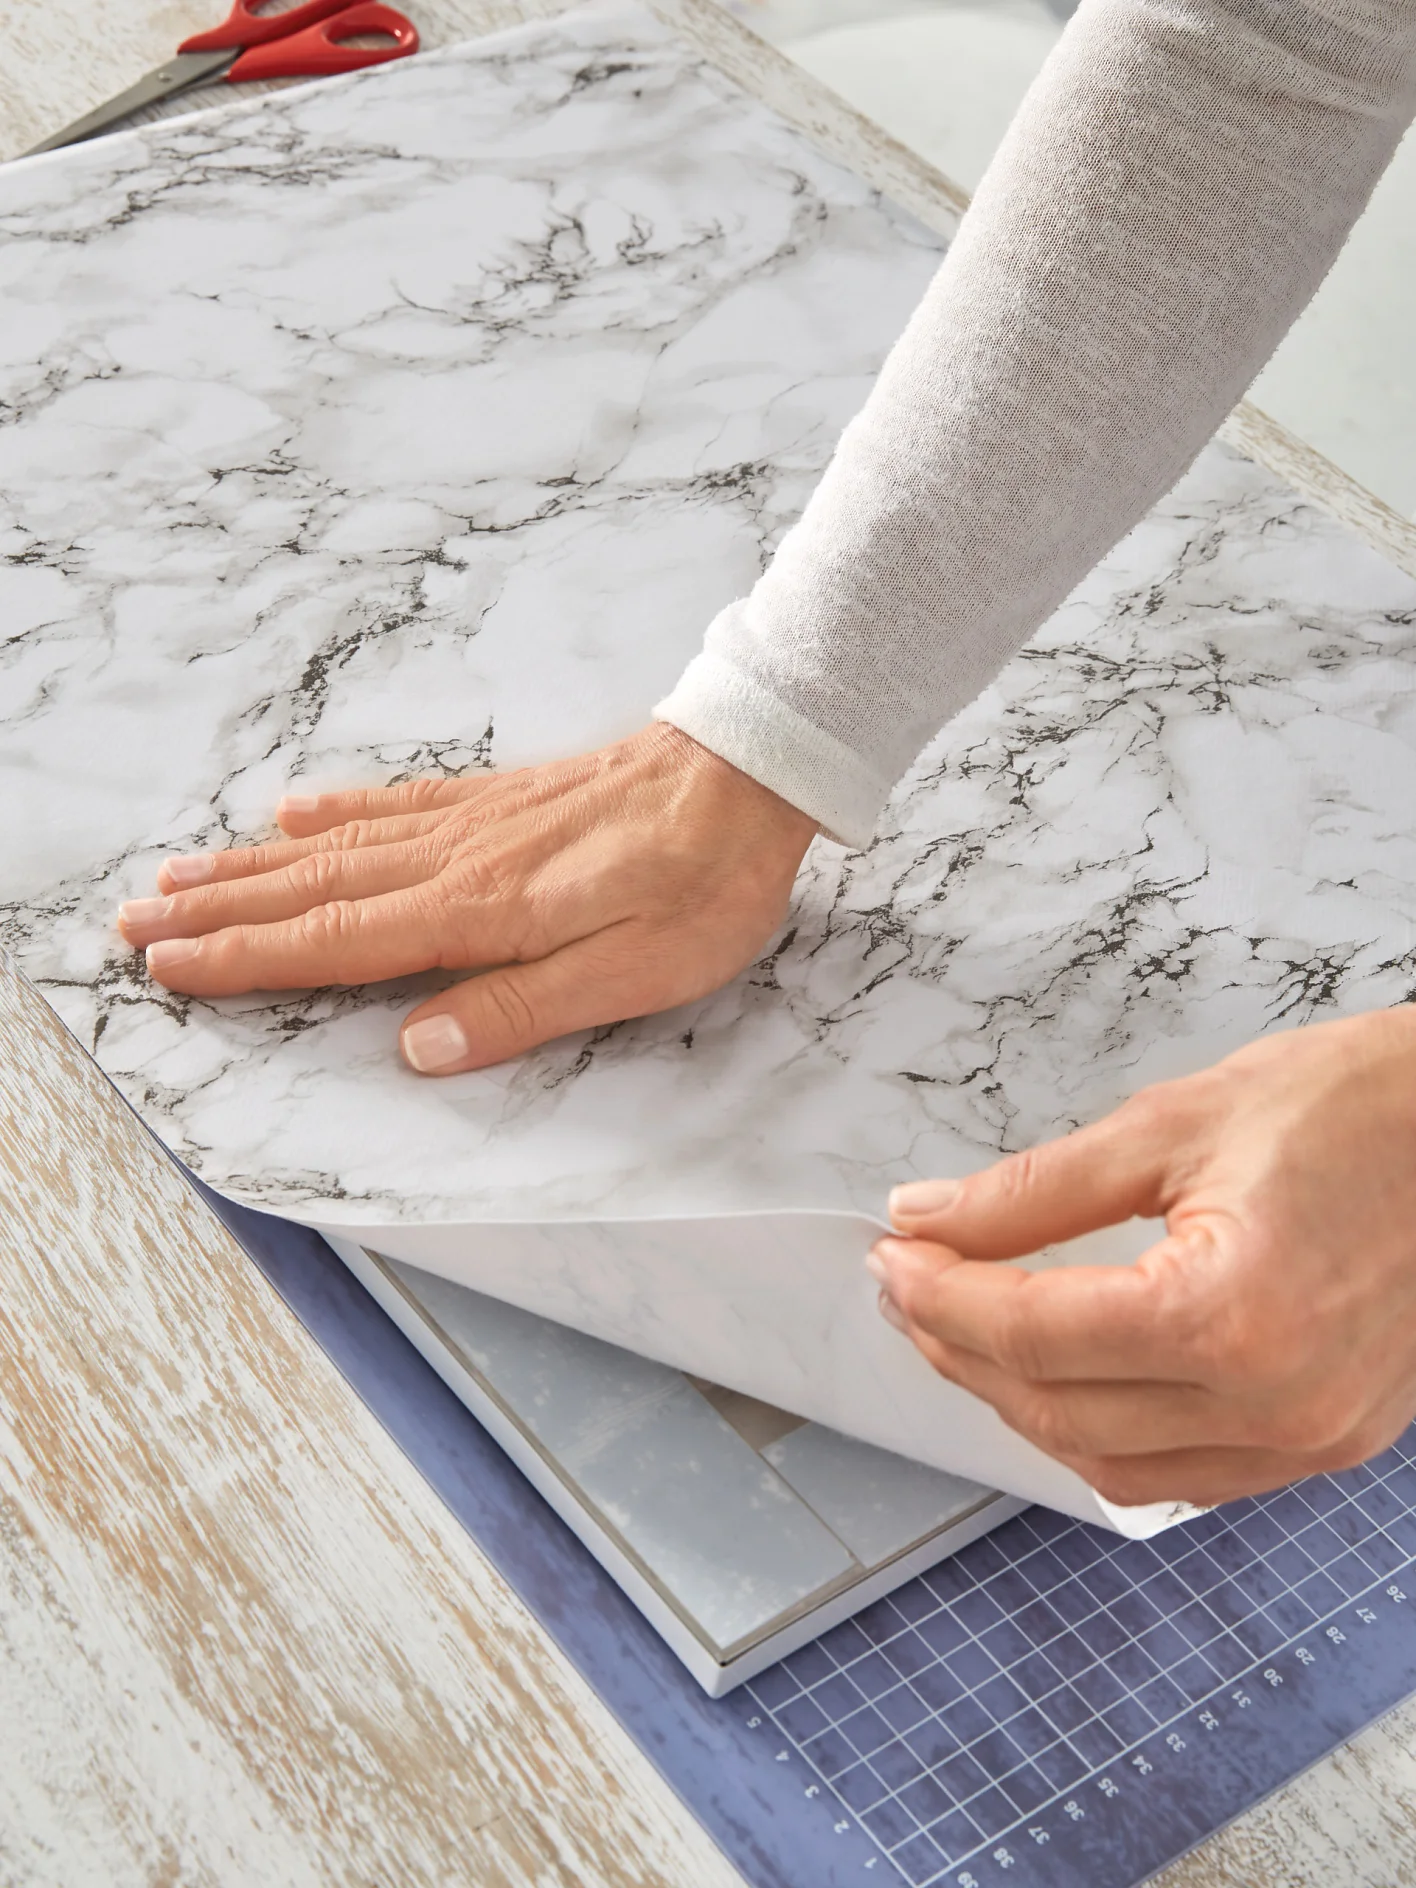
Peel off the backing from the handicrafts tape and stick the waxed cloth onto the magnetic board. Make sure there are no bubbles trapped under the cloth.

Trim off the corners
05

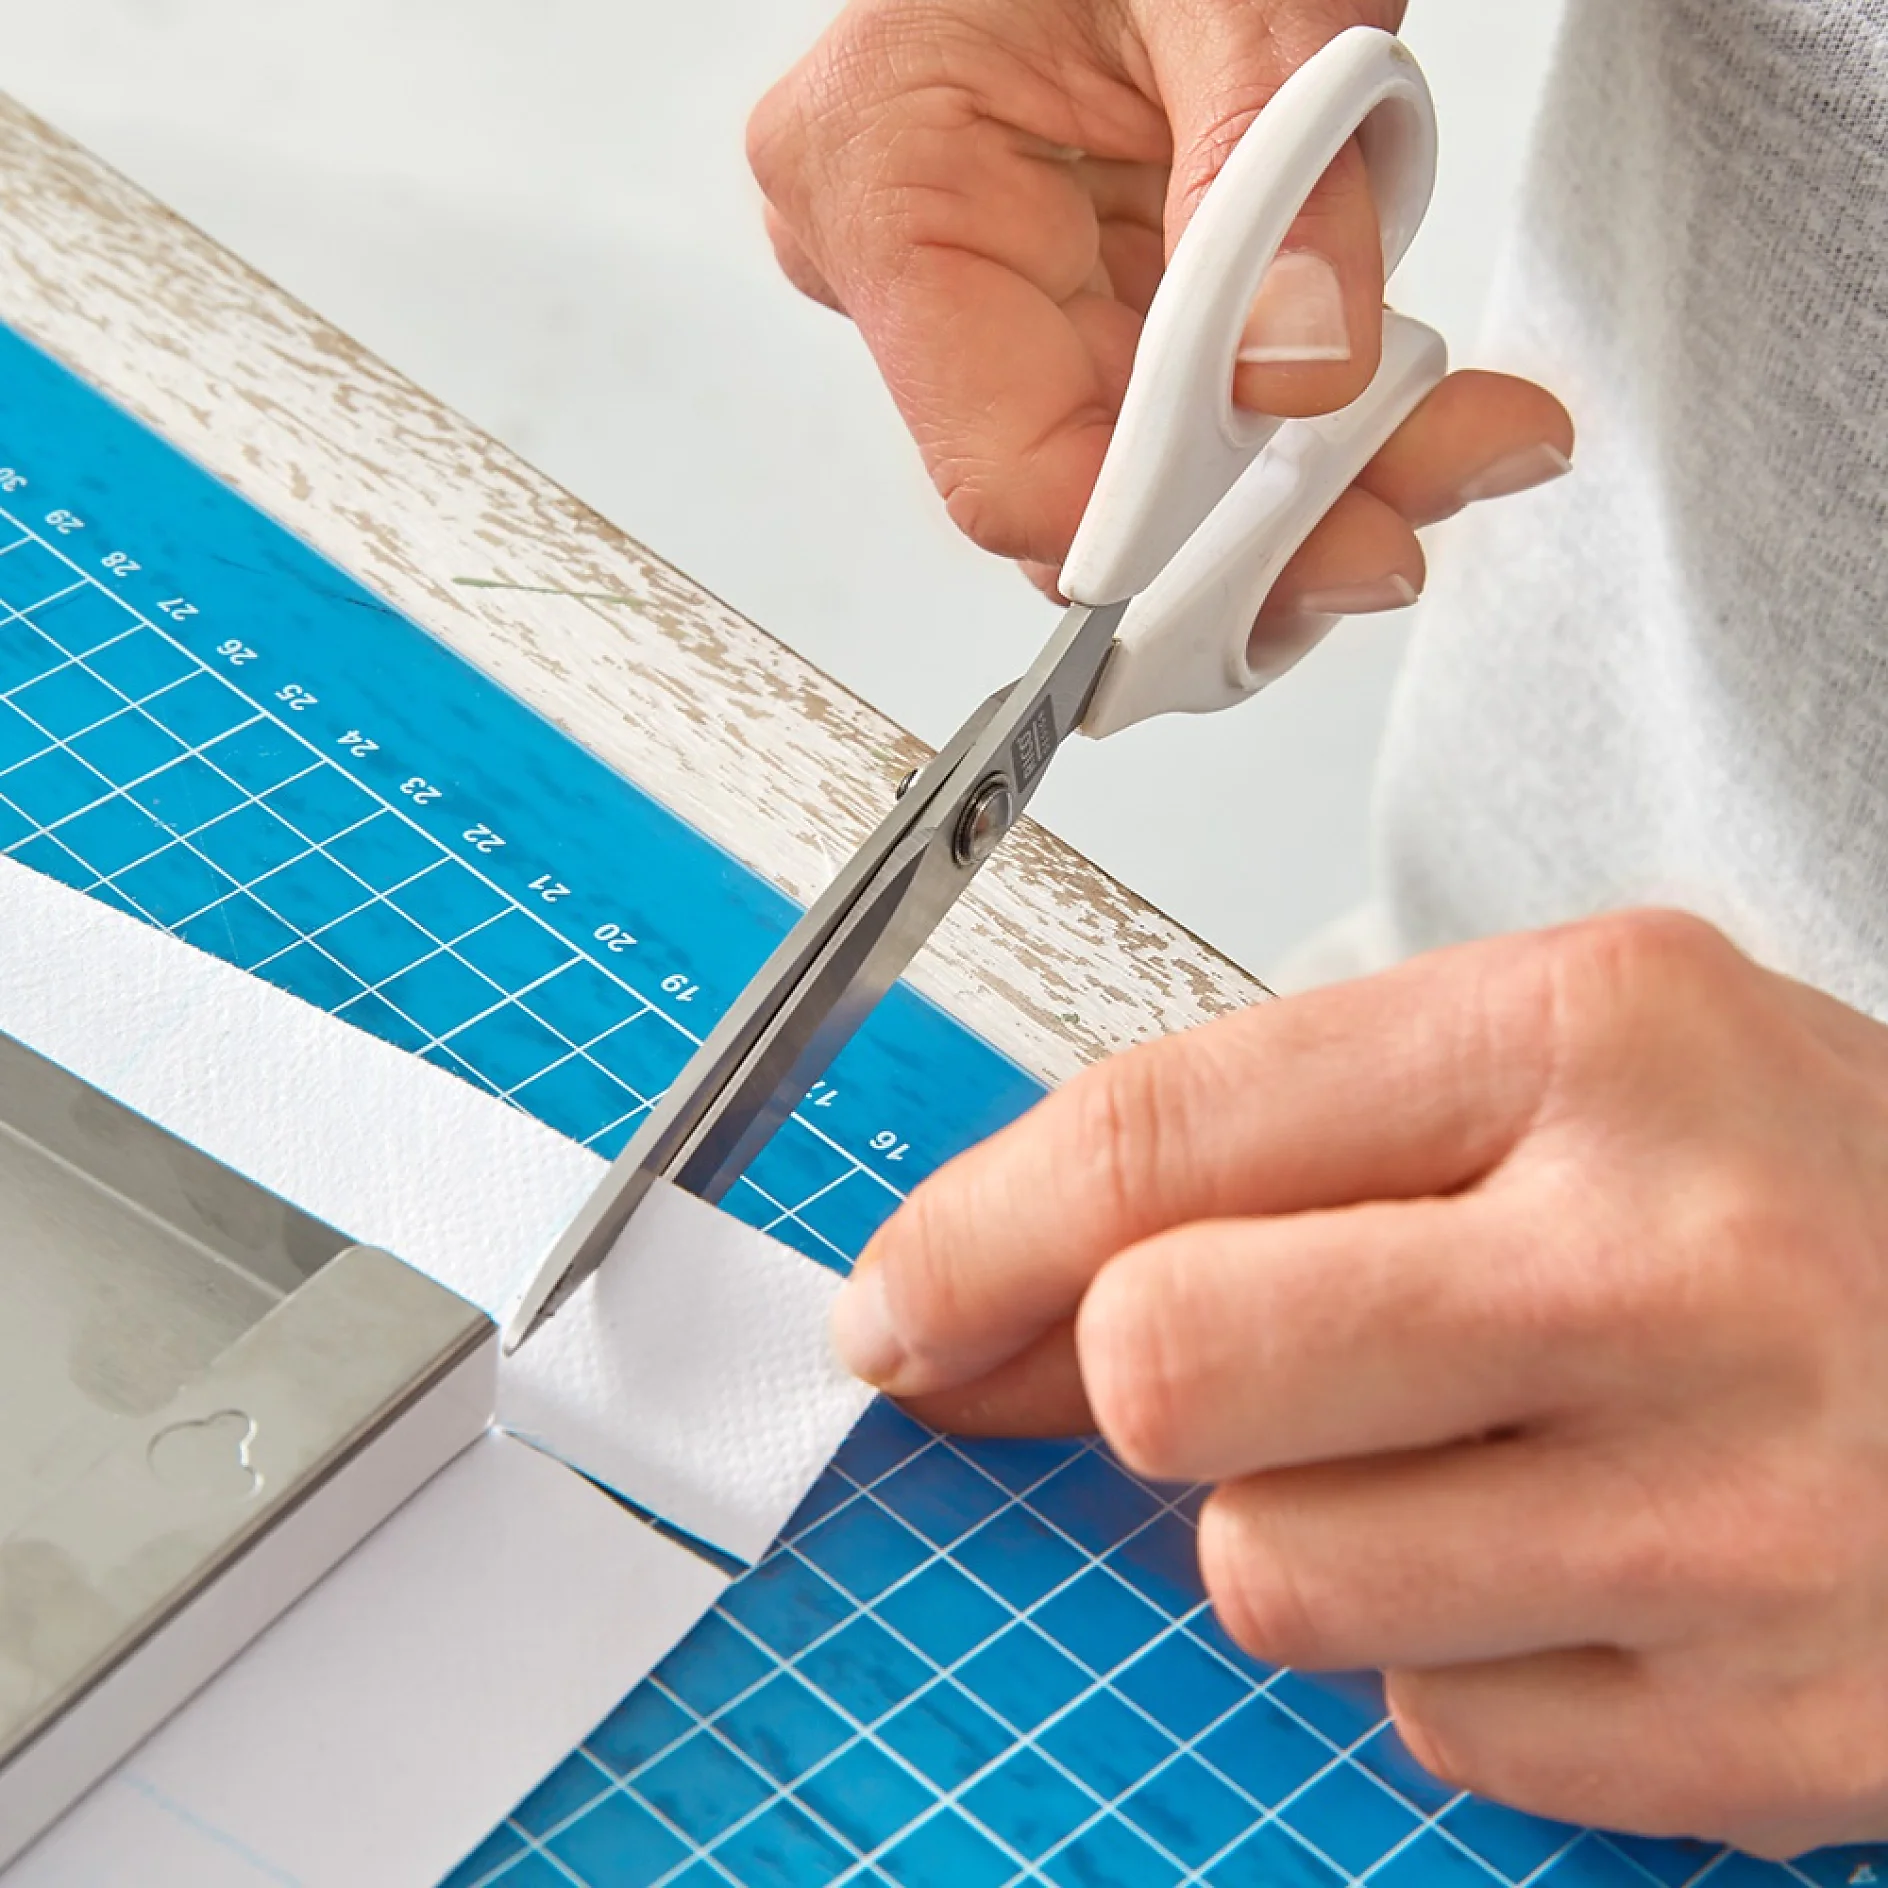
Turn the board over and use the scissors to trim off the corners of your make-up organiser.

Using double-sided tape when making a make-up organiser
06

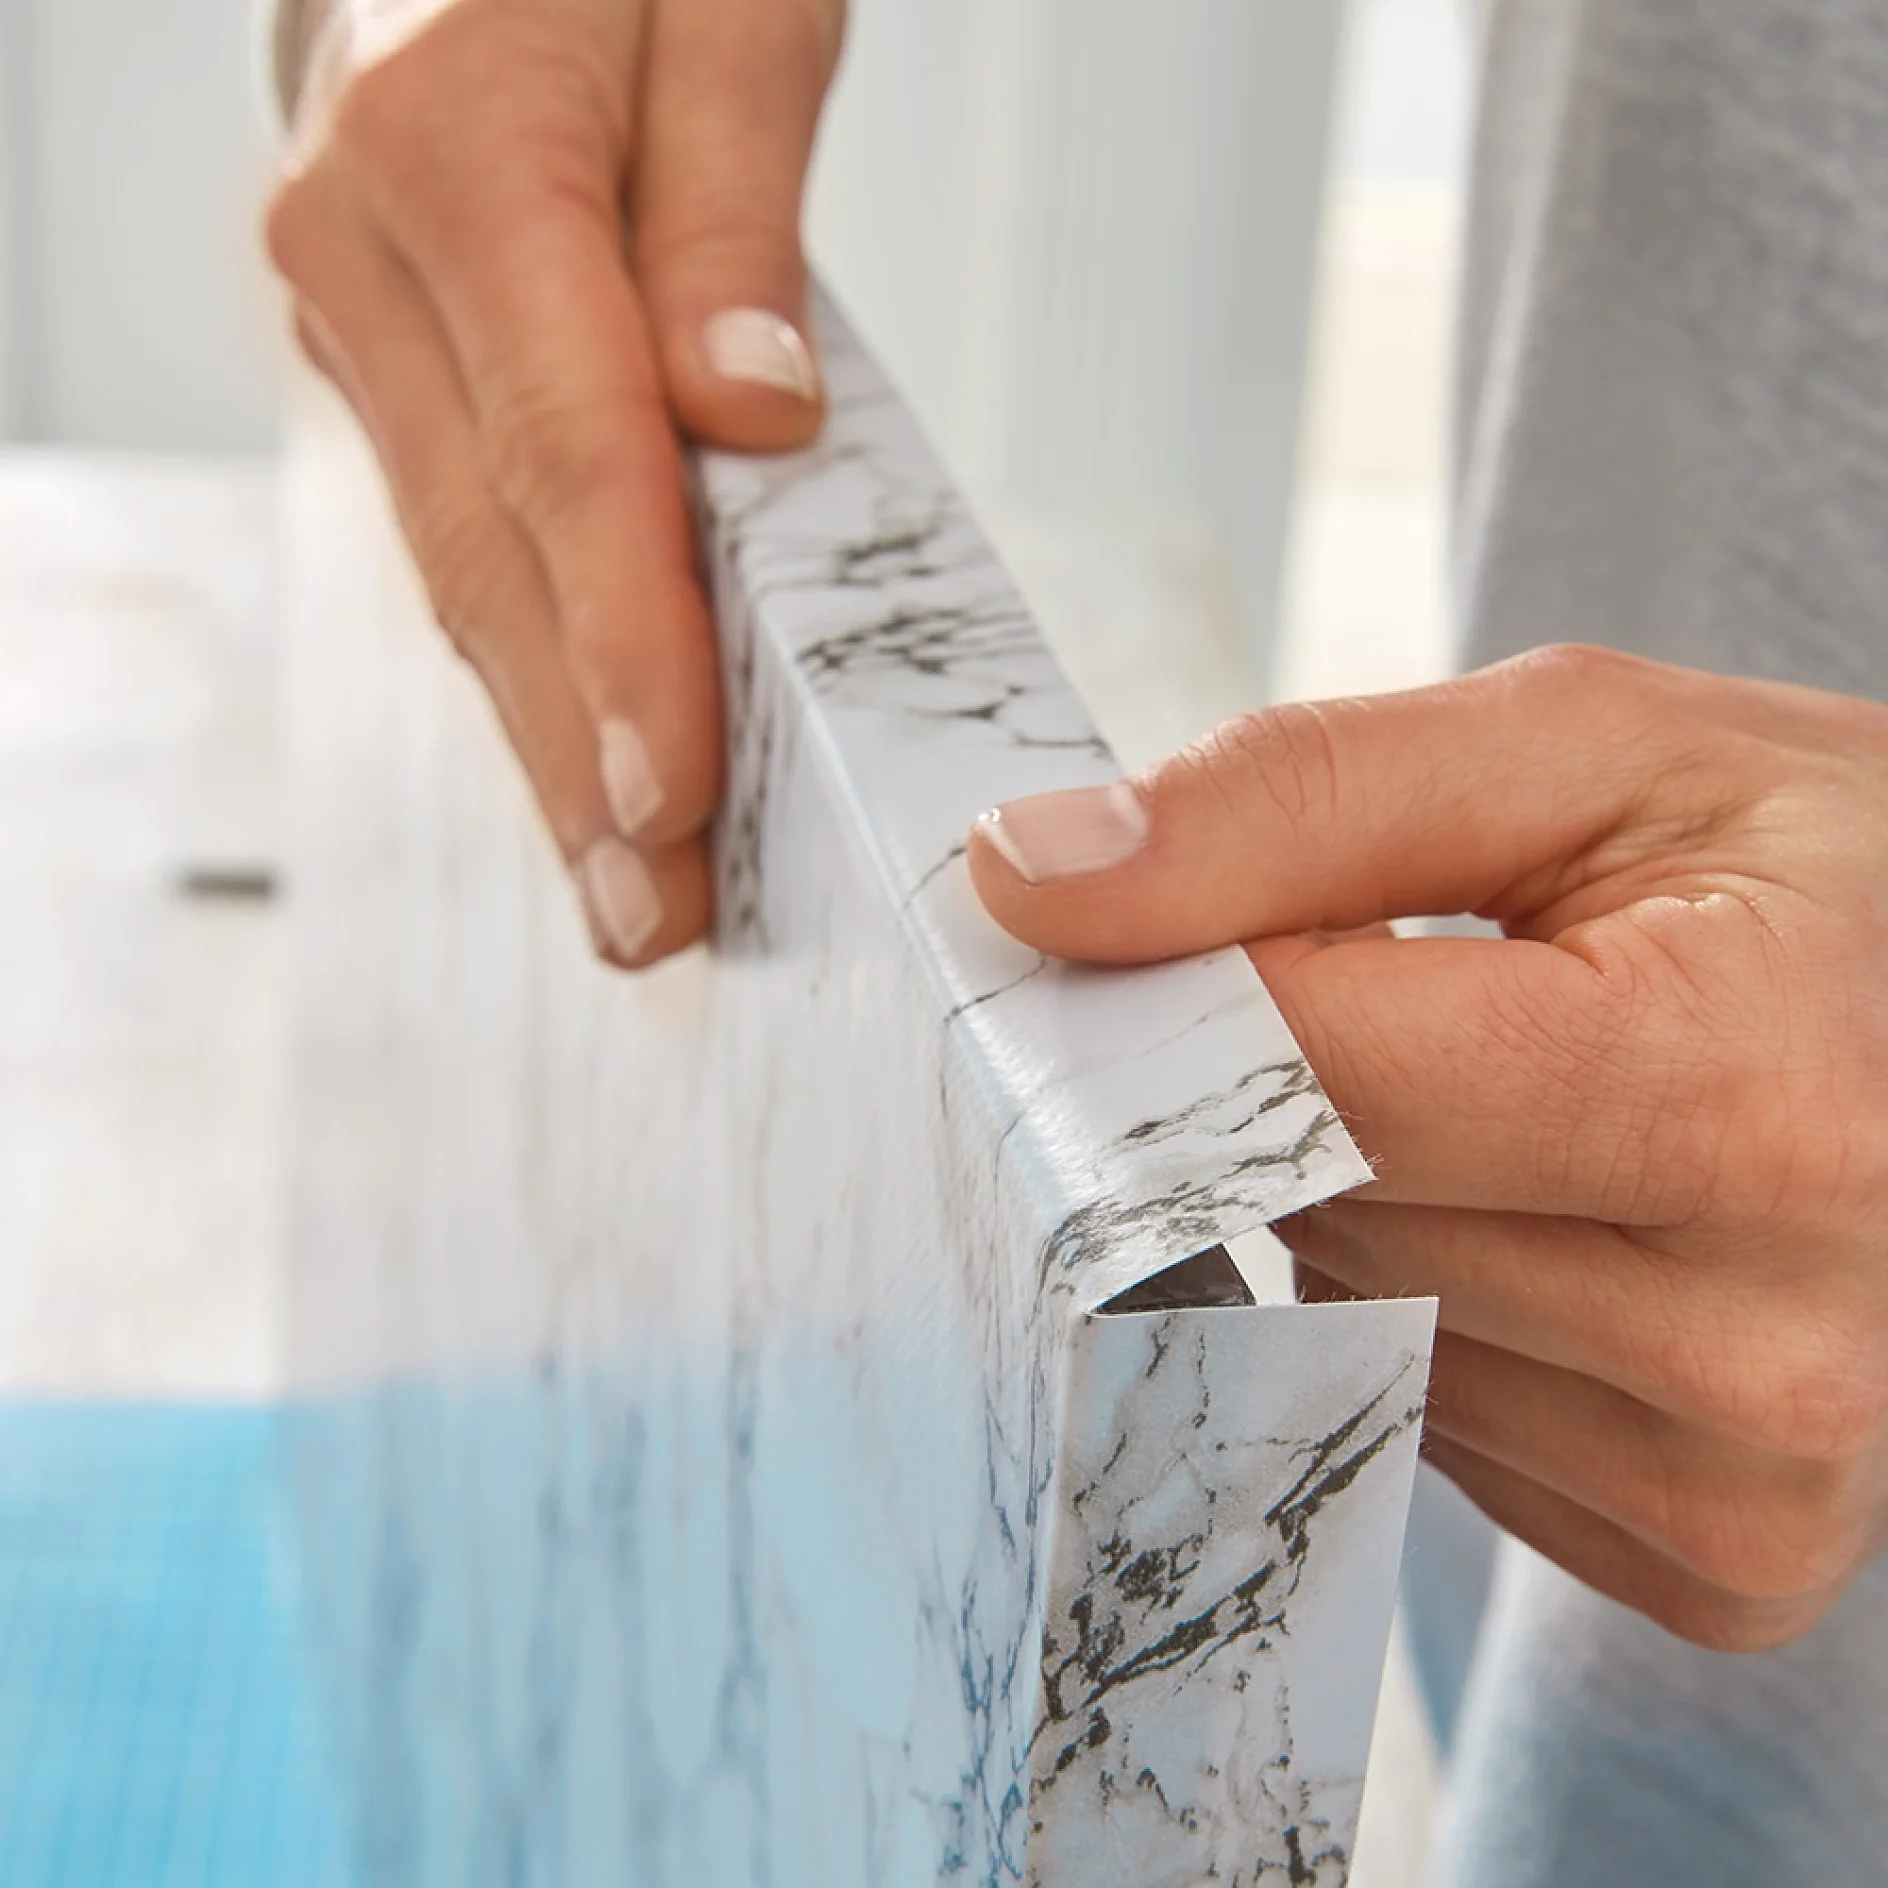
Next, peel the backing from the double-sided tape on the edges of the board and press the waxed cloth on to it firmly.

Trimming waxed cloth when making a make-up organiser
07

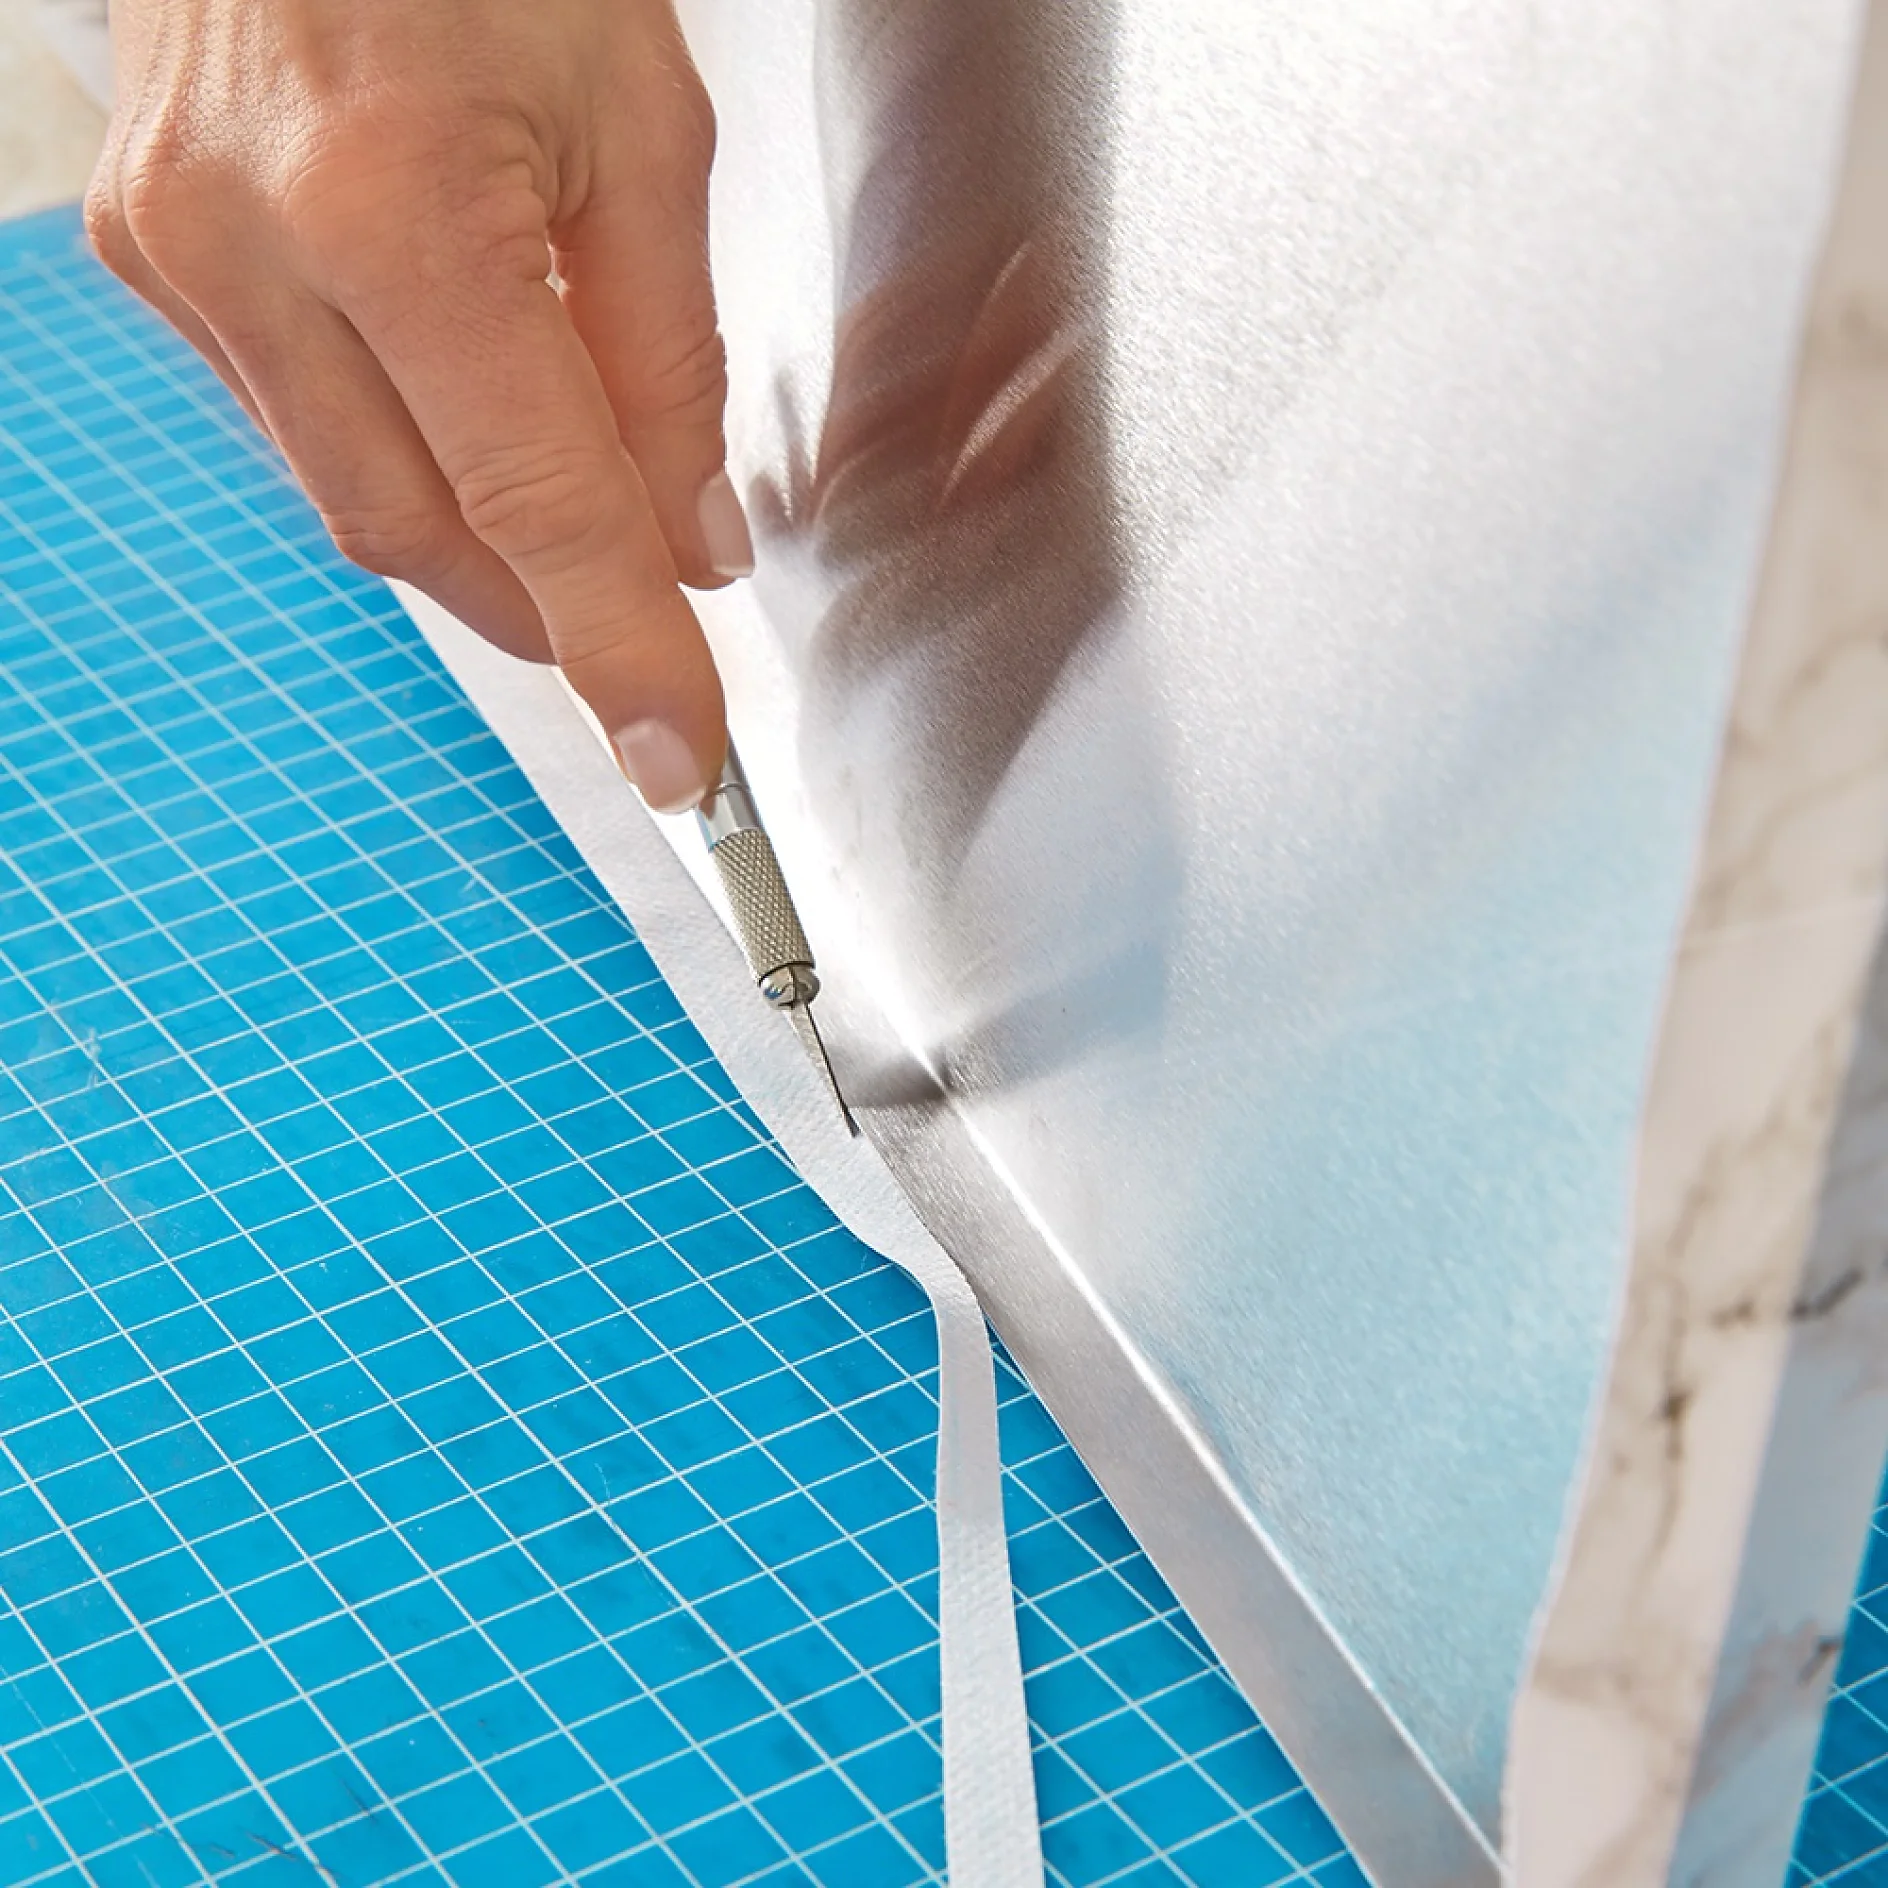
Use the scalpel to carefully trim away the excess waxed cloth around the edges.

Using handicrafts tape to make a make-up organiser.
08

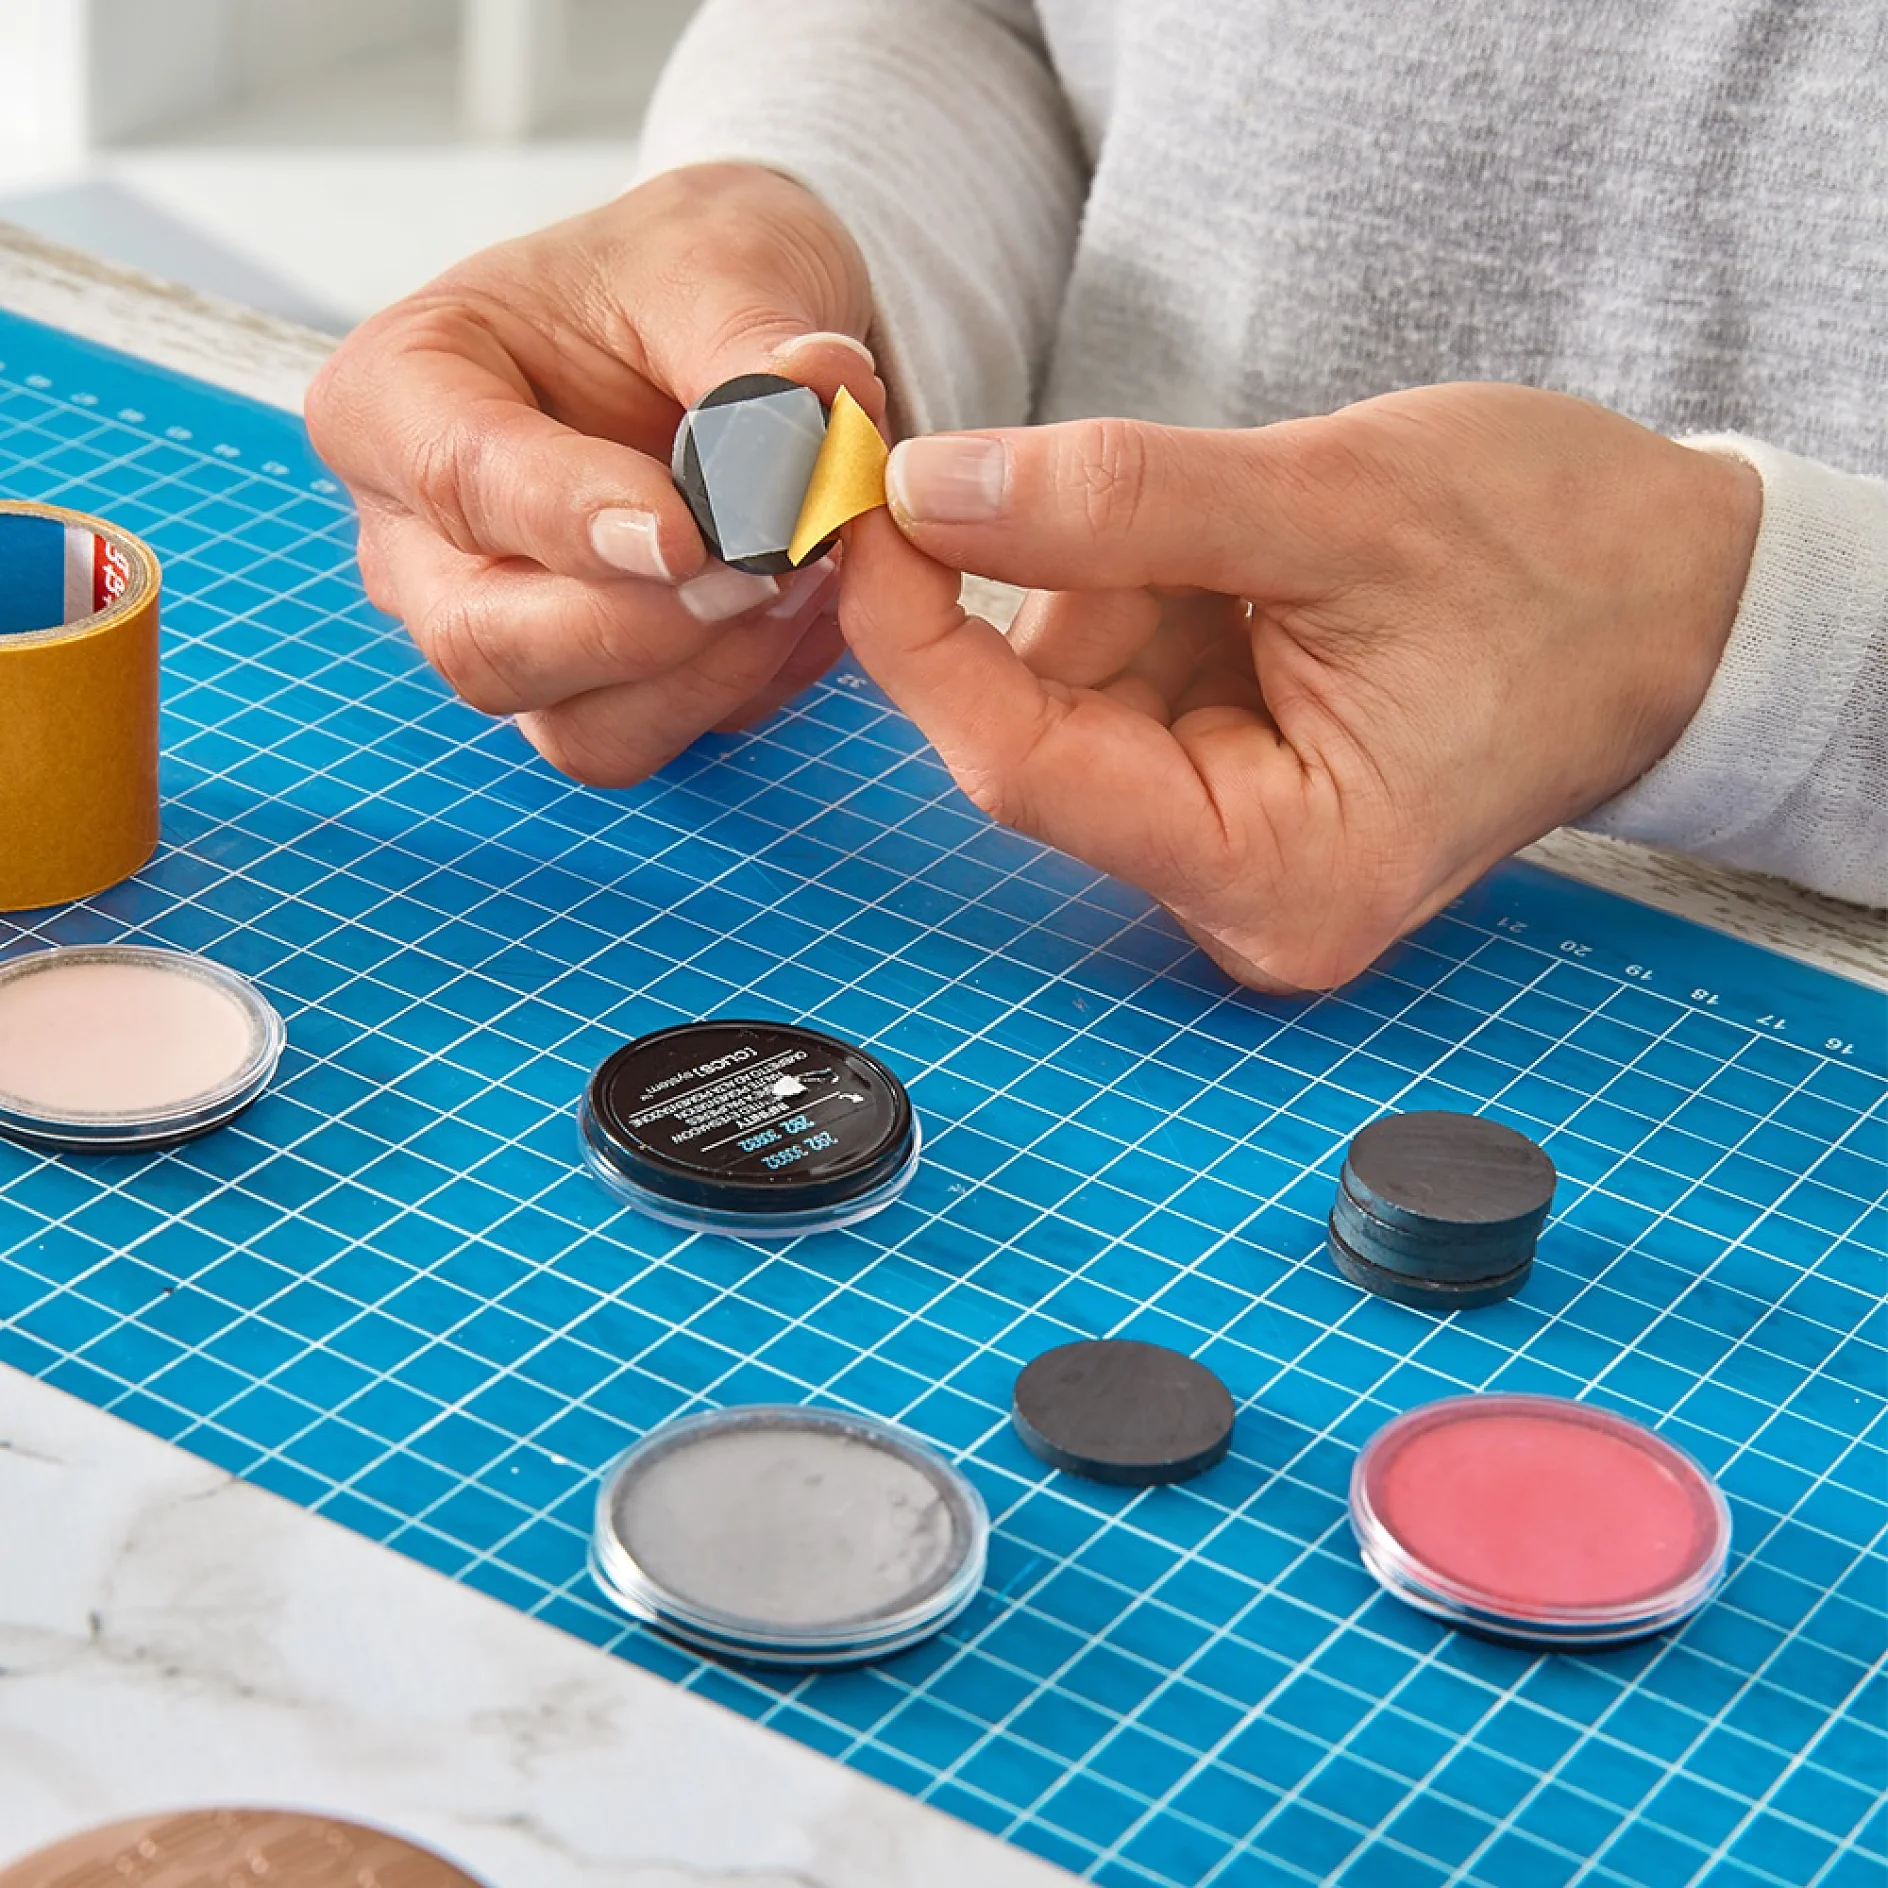
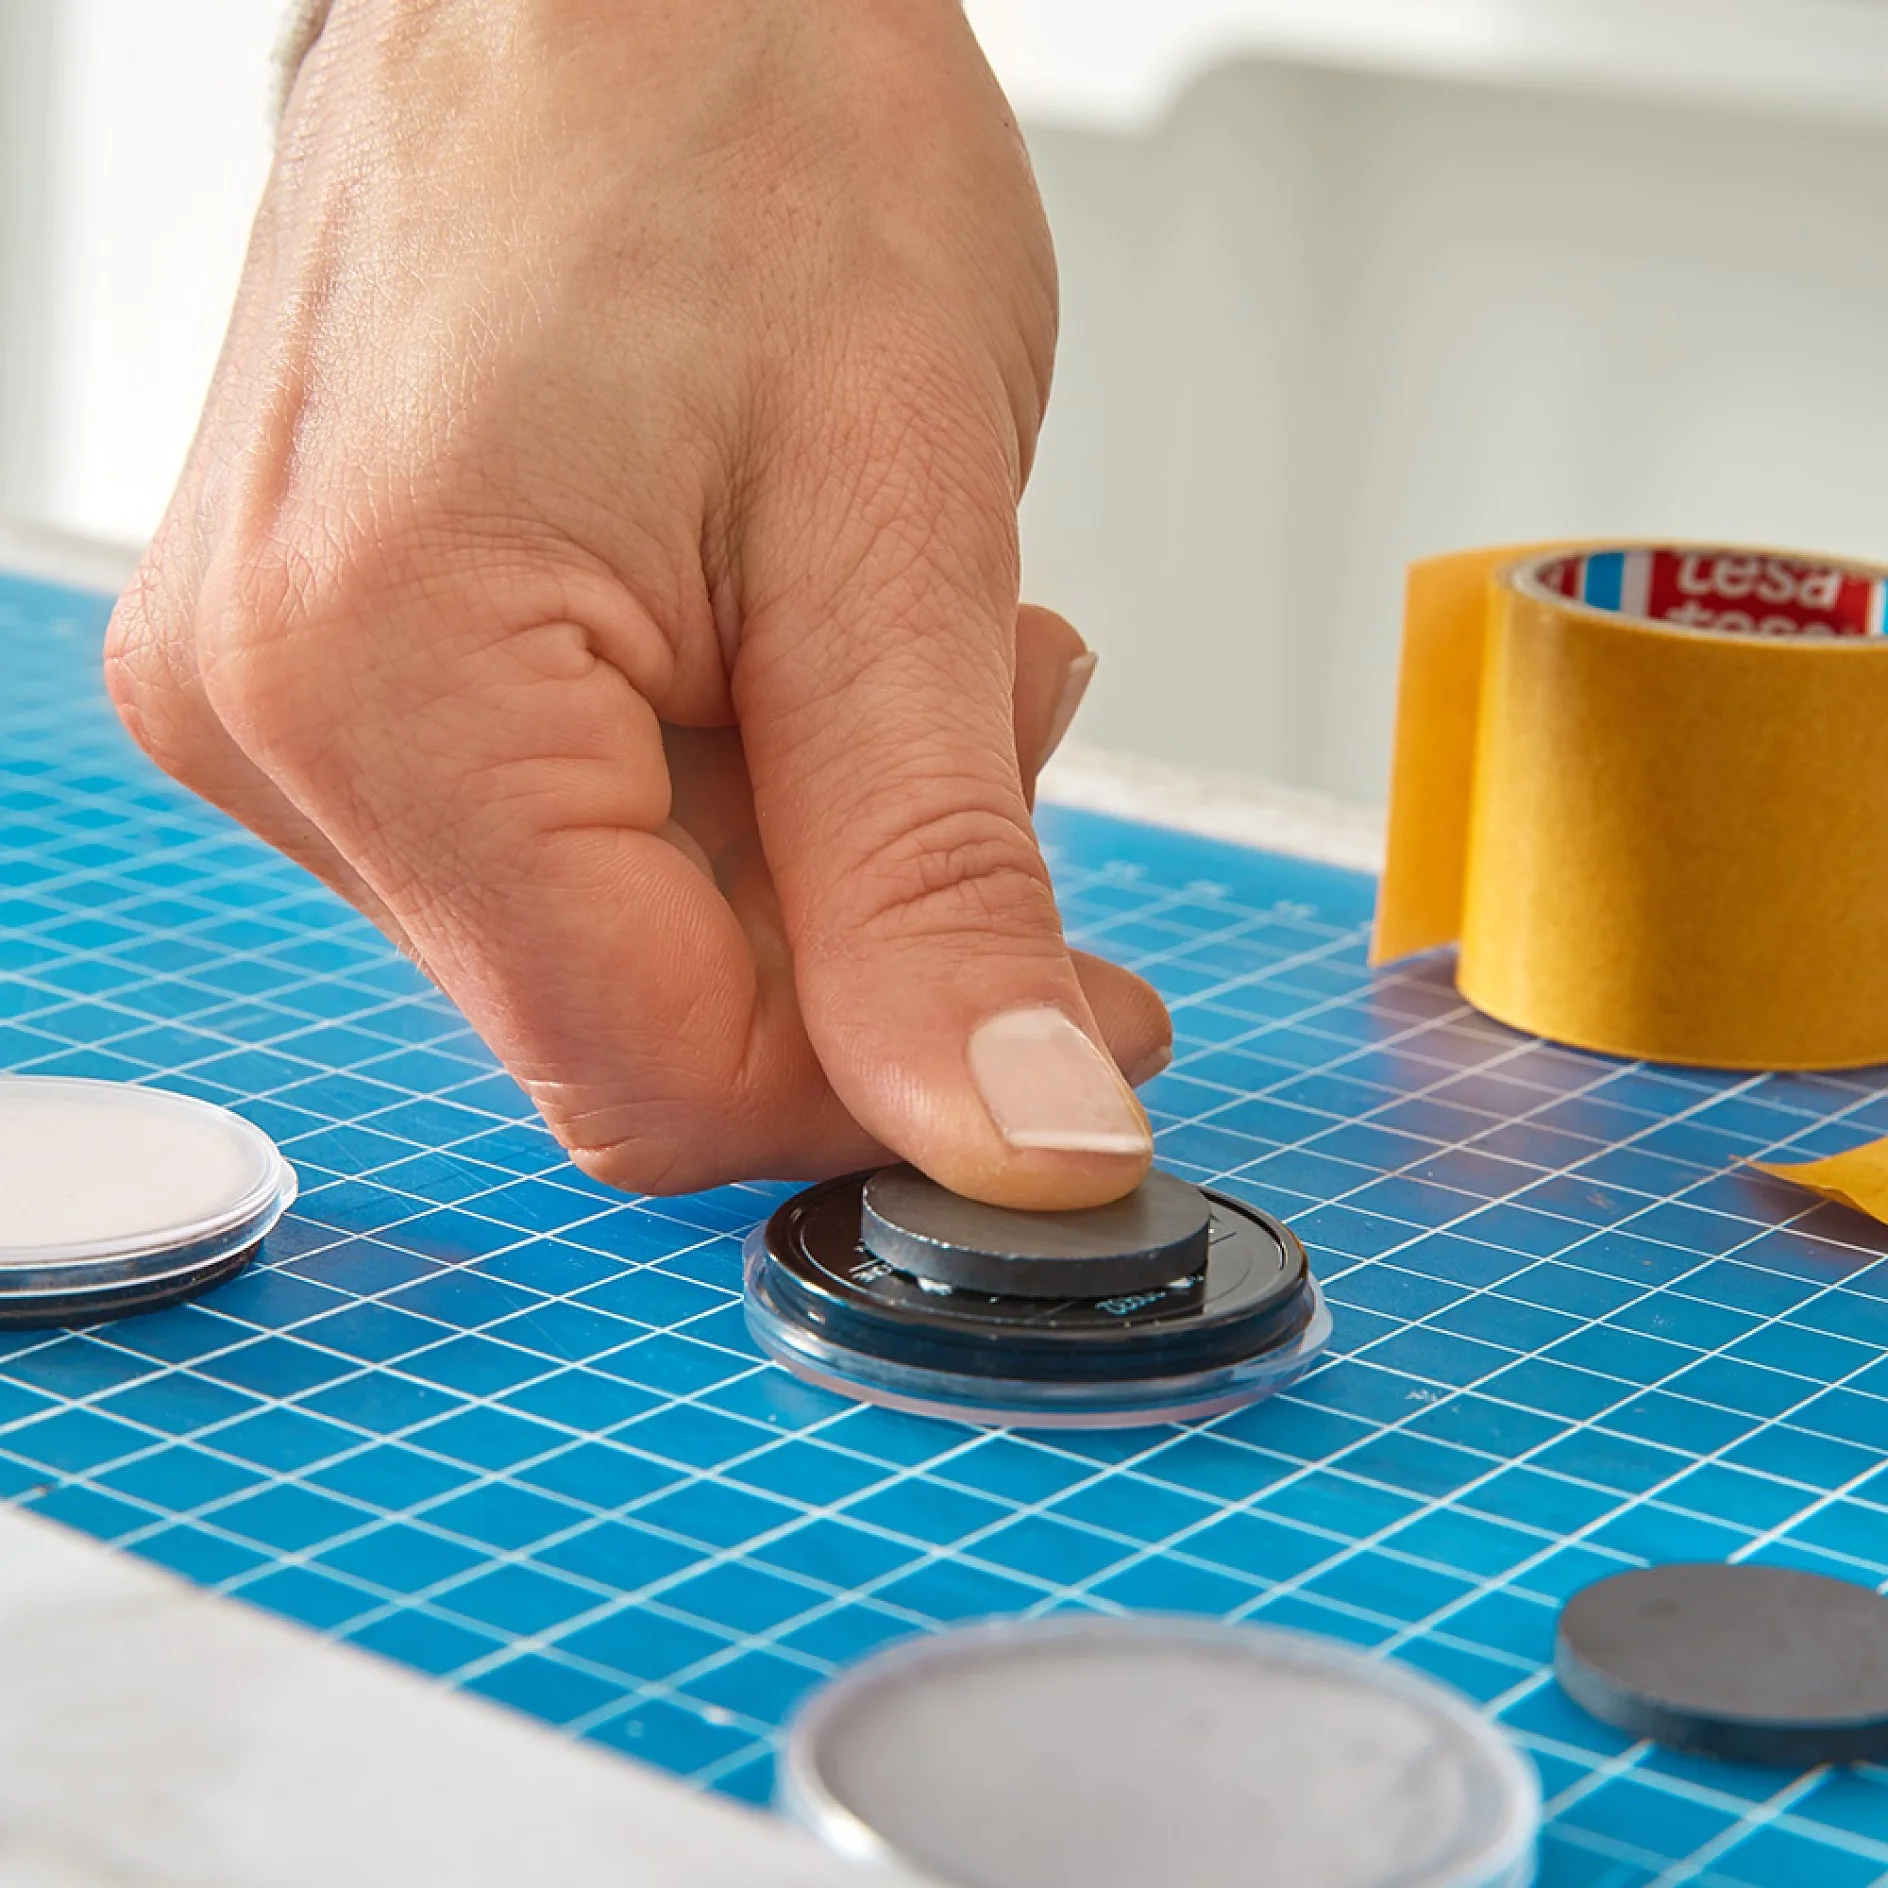
Use small pieces of handicrafts tape on the backs of the magnets and remove the protective film.

Mounting magnets on products when making a make-up organiser.
09

Firmly press the magnets on to the backs of the cosmetics. In the case of bigger items, you might need to use a few magnets.

Wall-mount the make-up organiser using tesa® Adjustable Adhesive Nail Tiles & Metal 4kg
10

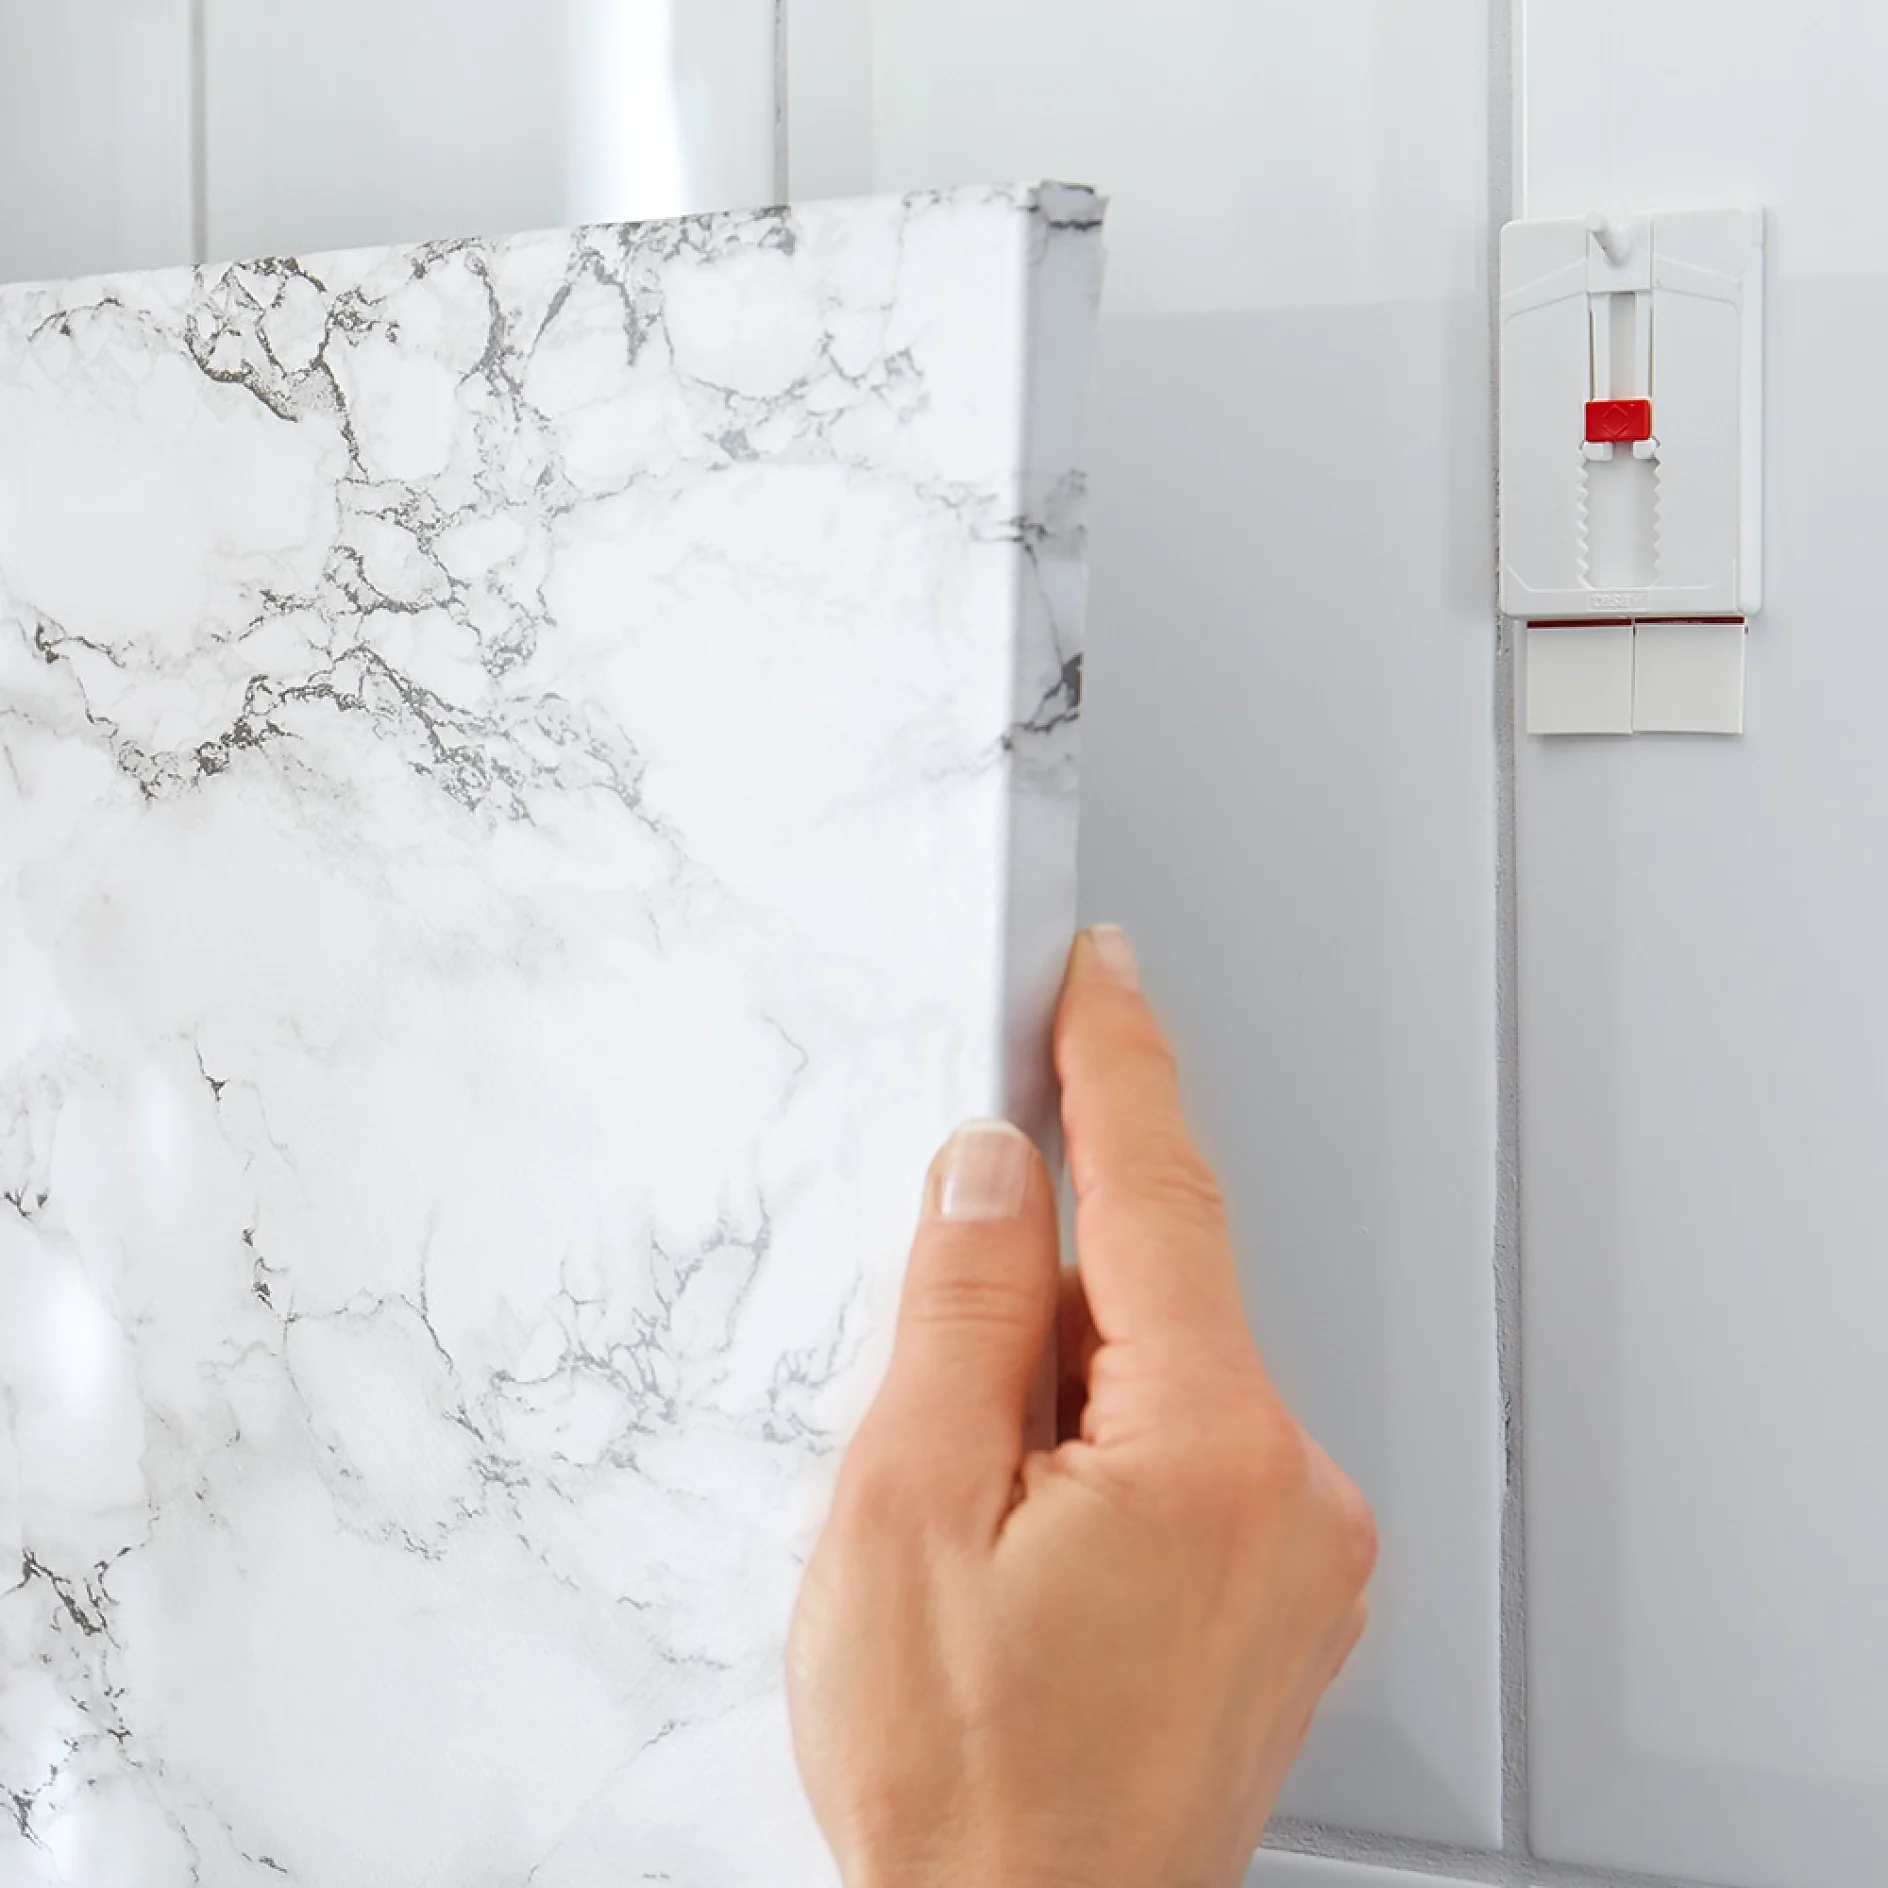
Following the instructions on the pack, apply the tesa® adjustable adhesive nail tiles & metal 4kg to your wall. Now you can simply hang your new make-up organiser directly on them.

Enjoy your magnetic make-up board for the bathroom!
11

Enjoy your make-up organiser!