Picture frame wall lights

Illuminated Wall Pictures

These picture lights make a fabulous focal point for your living room. Create something truly one of a kind without even having to get the tool-box out! The only problem? Your friends will soon start asking for you to make them one too.

Difficulty Level Leisurely inspiration
Duration 15

Video tutorial

These picture lights make a fabulous focal point for your living room. Create something truly one of a kind without even having to get the tool-box out! The only problem? Your friends will soon start asking for you to make them one too.

Illuminated Wall Pictures.mp4

tesa SE

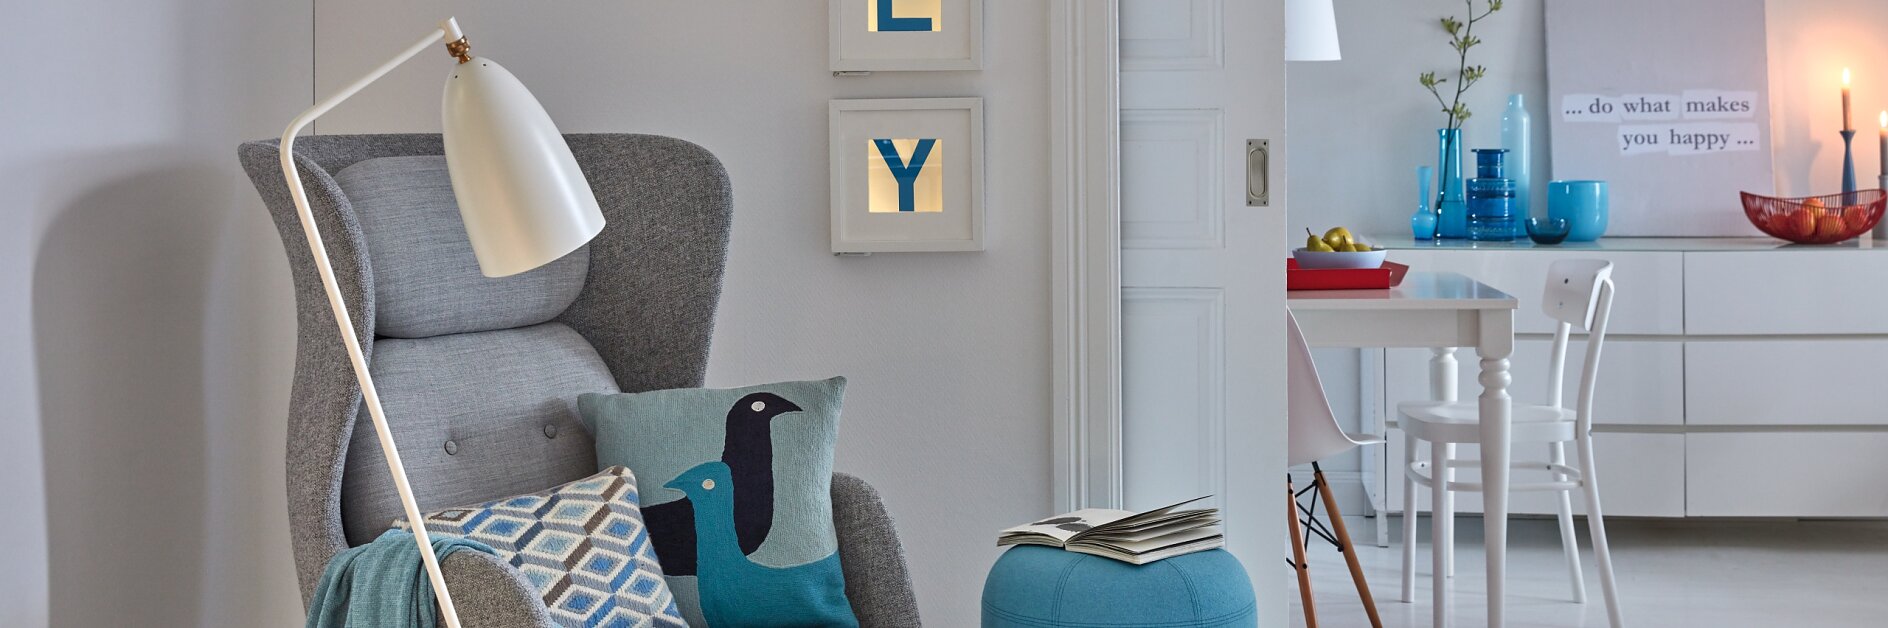
We need:

3 deep picture frames 25cm X 25cm (RIBBA from IKEA are perfect) blue cardboard black cardboard 3 X LED battery operated fairy light strings – 1 metre in length letter template scissors pencil ruler transparent paper tesa® adjustable adhesive nails for wallpaper & plaster 2kg transparent tape adhesive roller handicrafts tape

How it's done:

Applying glue with an adhesive roller to make a picture frame wall light.
02

Because the mount that comes with the picture frames is white, there’s a chance that light could seep through. Start off by creating a ‘black-out’ backing for the mount with a duplicate layer made from black card to block out the light. Fix it to the white mount using an adhesive roller.

Using an adhesive roller to make a picture frame wall light.
03

After cutting a piece to size, use an adhesive roller to glue the transparent paper background in place.

Cutting out the letters usinga scalpel.
04

Using your letter templates, carefully cut out the letter shapes using the scalpel. You might find that transparent tape is useful here to keep the letters in place.

Fixing the letters while making a picture frame wall light.
05

Fix the letters in the centre of the transparent paper.

Affixing a string of lights using tesa Easy Cut® Desk Dispenser Compact while making a picture frame wall light.
06

Next it’s time to fix the lights. Use transparent tape to attach the string of lights around the centre of the inside edge of the frame – as shown here.

Using handicrafts tape when making a picture frame wall light.
07

Now you can put everything of your picture frame wall lights together! The battery pack should hang out of the corner hole. Fix a small piece of handicrafts tape to the back of the battery pack and remove the backing from it.

Using handicrafts tape when creating your on/off switch
08

Now neatly fix the battery pack to the frame. This forms an on/off switch for each of the pictures.

Using tesa® adjustable adhesive nails for wallpaper & plaster 2kg to hang picture frame wall lights.
09

Following the instructions in the pack, apply a tesa® adjustable adhesive nails for wallpaper & plaster 2kg to the wall for each of the pictures. These allow for small height adjustments to be made, even after attachment. Now you can hang your Pictures with the frame wall lights and stand back and enjoy your creativity!

Enjoy your new illuminated wall pictures!
10

Make a real style statement with these cool lit wall pictures. Choose whatever word you like to create a unique design feature in your home.

tesa products required for this project