DIY Confetti Sachets
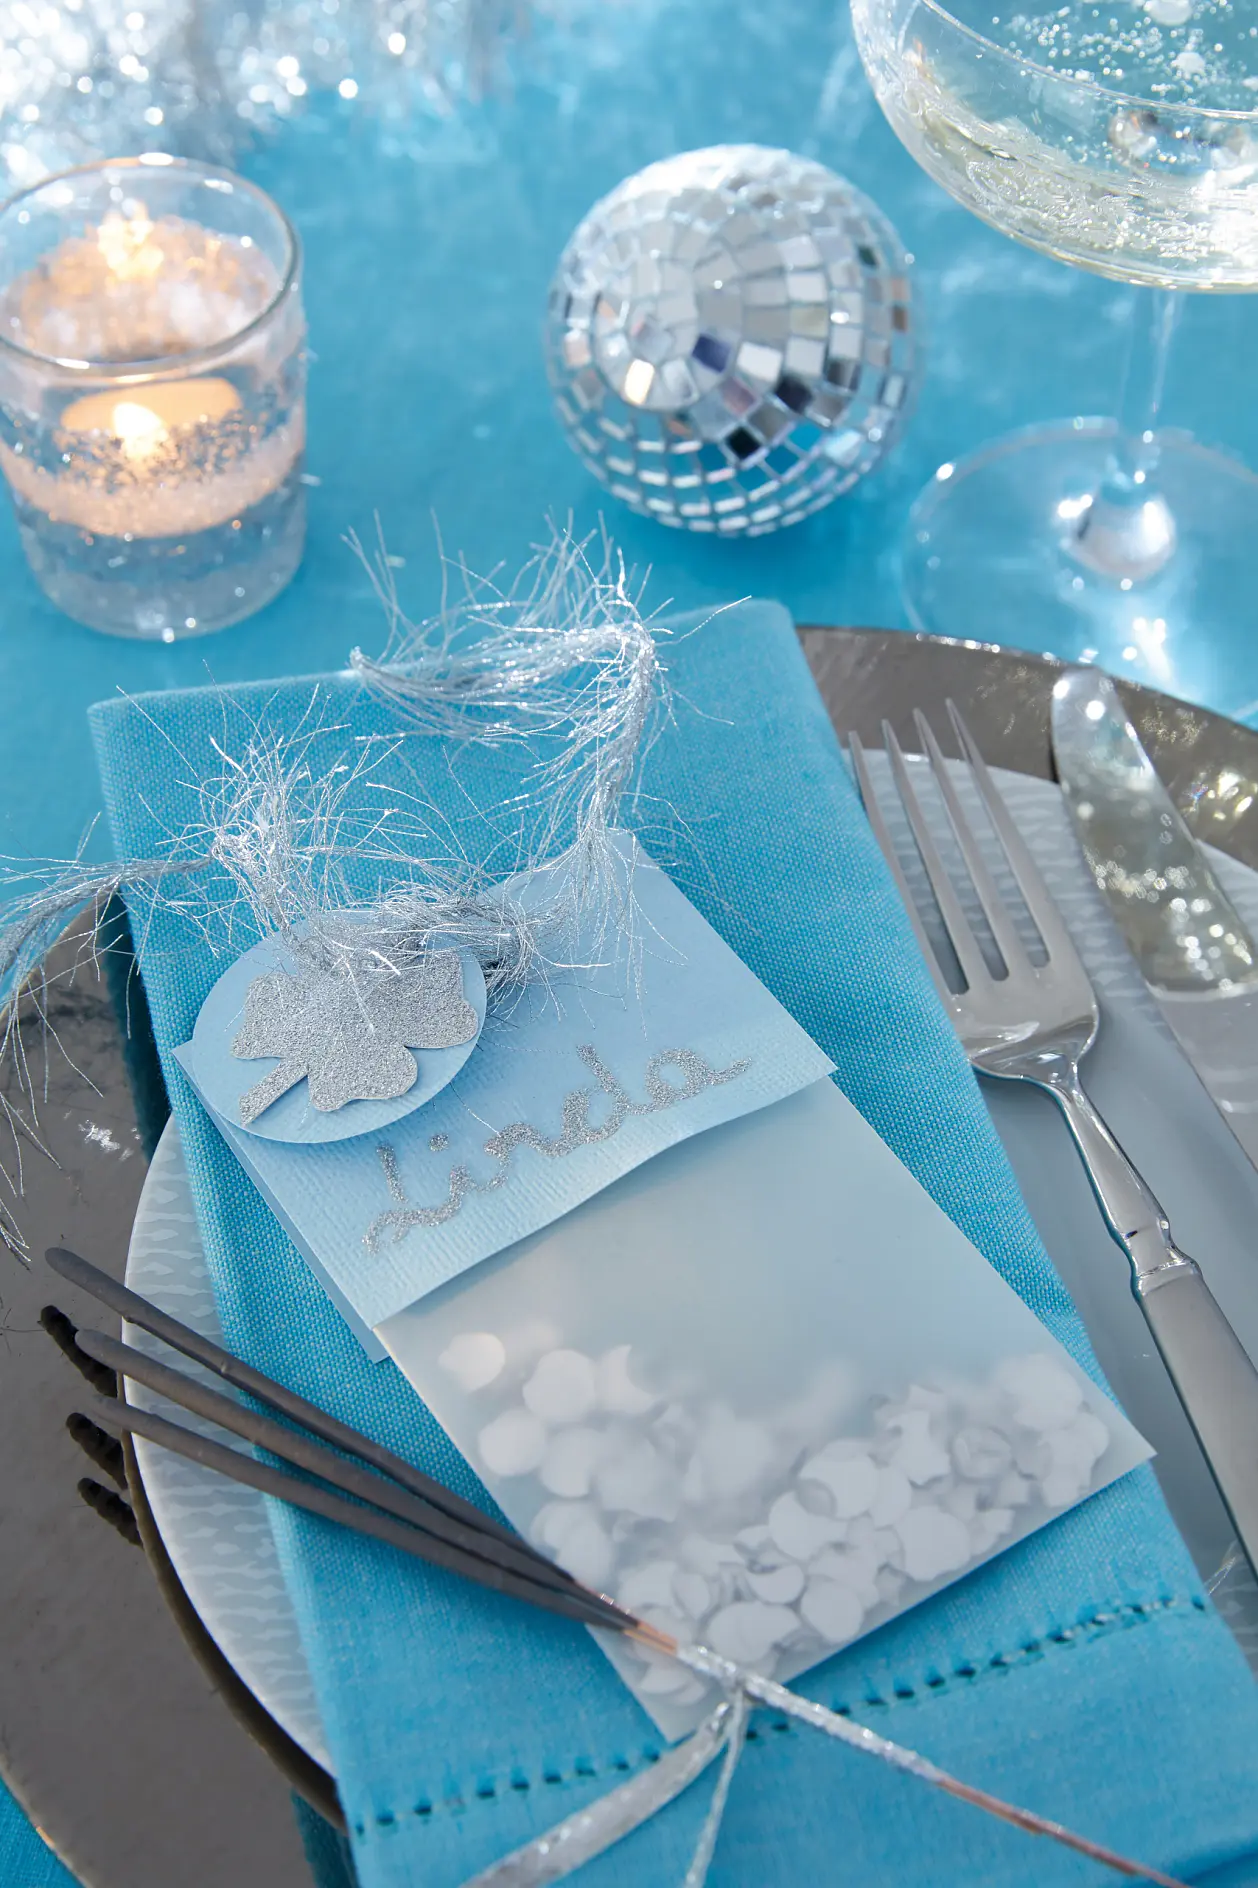
Place cards: Confetti for all guests! Once a year, we let paper snippets fly. They are packaged in small name tag sachets.
Difficulty Level
Leisurely inspiration
Duration
15
We Need:
Tracing paper
Turquoise cardboard
Glitter paper
Lucky clover template
Ruler
Pencil
Scissors
Puncher
Silver confetti
Motif puncher "circle" Ø 4,5 cm
Silver ribbon
tesa® double-sided adhesive tape
tesa® Glitter Deco in silver
How We Do It:
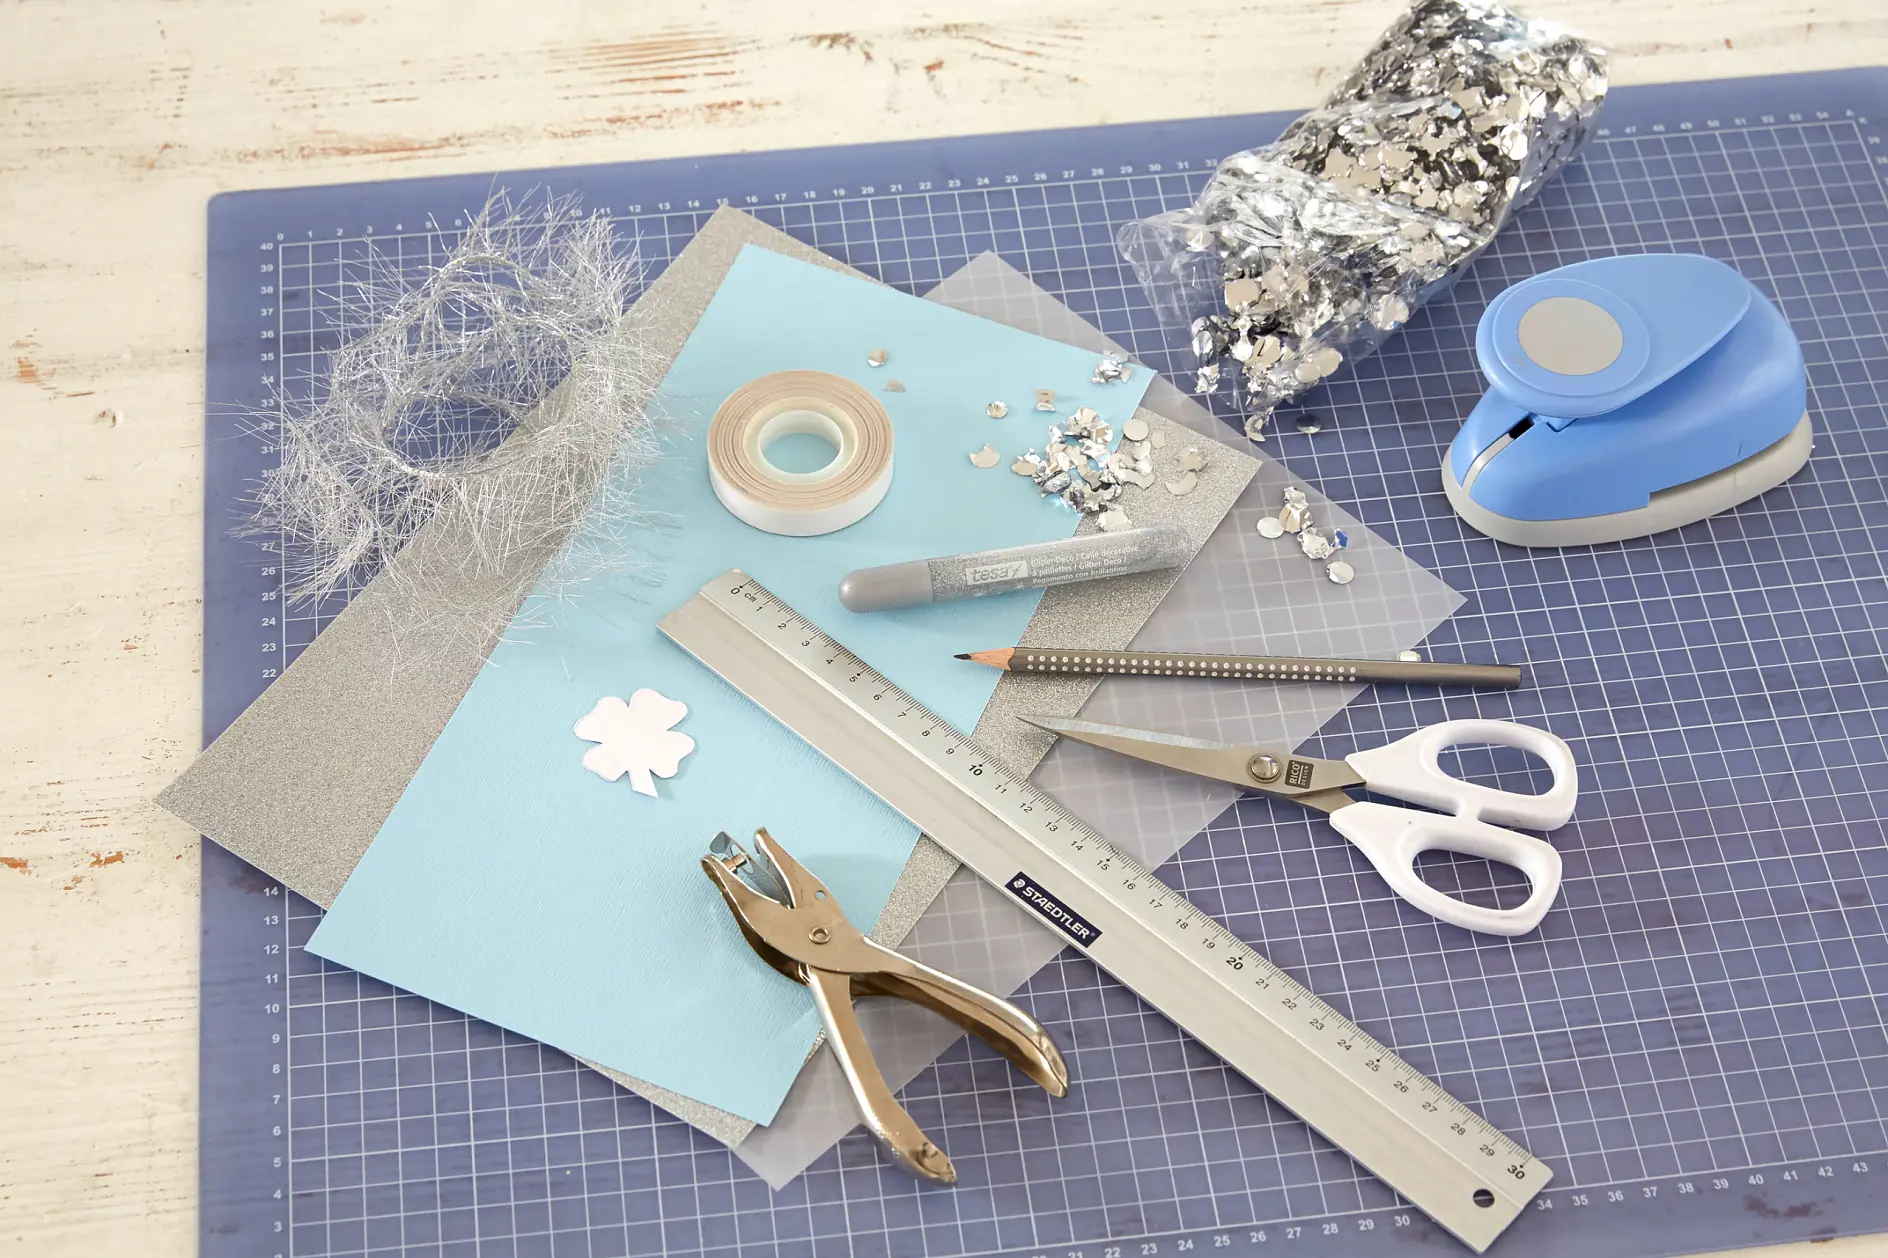
01What We Need:
We need tracing paper, turquoise cardboard, glitter paper, lucky clover template, ruler, pencil, scissors, puncher, silver confetti, motif puncher "circle" Ø 4,5 cm, silver ribbon, tesa® double-sided adhesive tape, and tesa® Glitter Deco in silver.
02
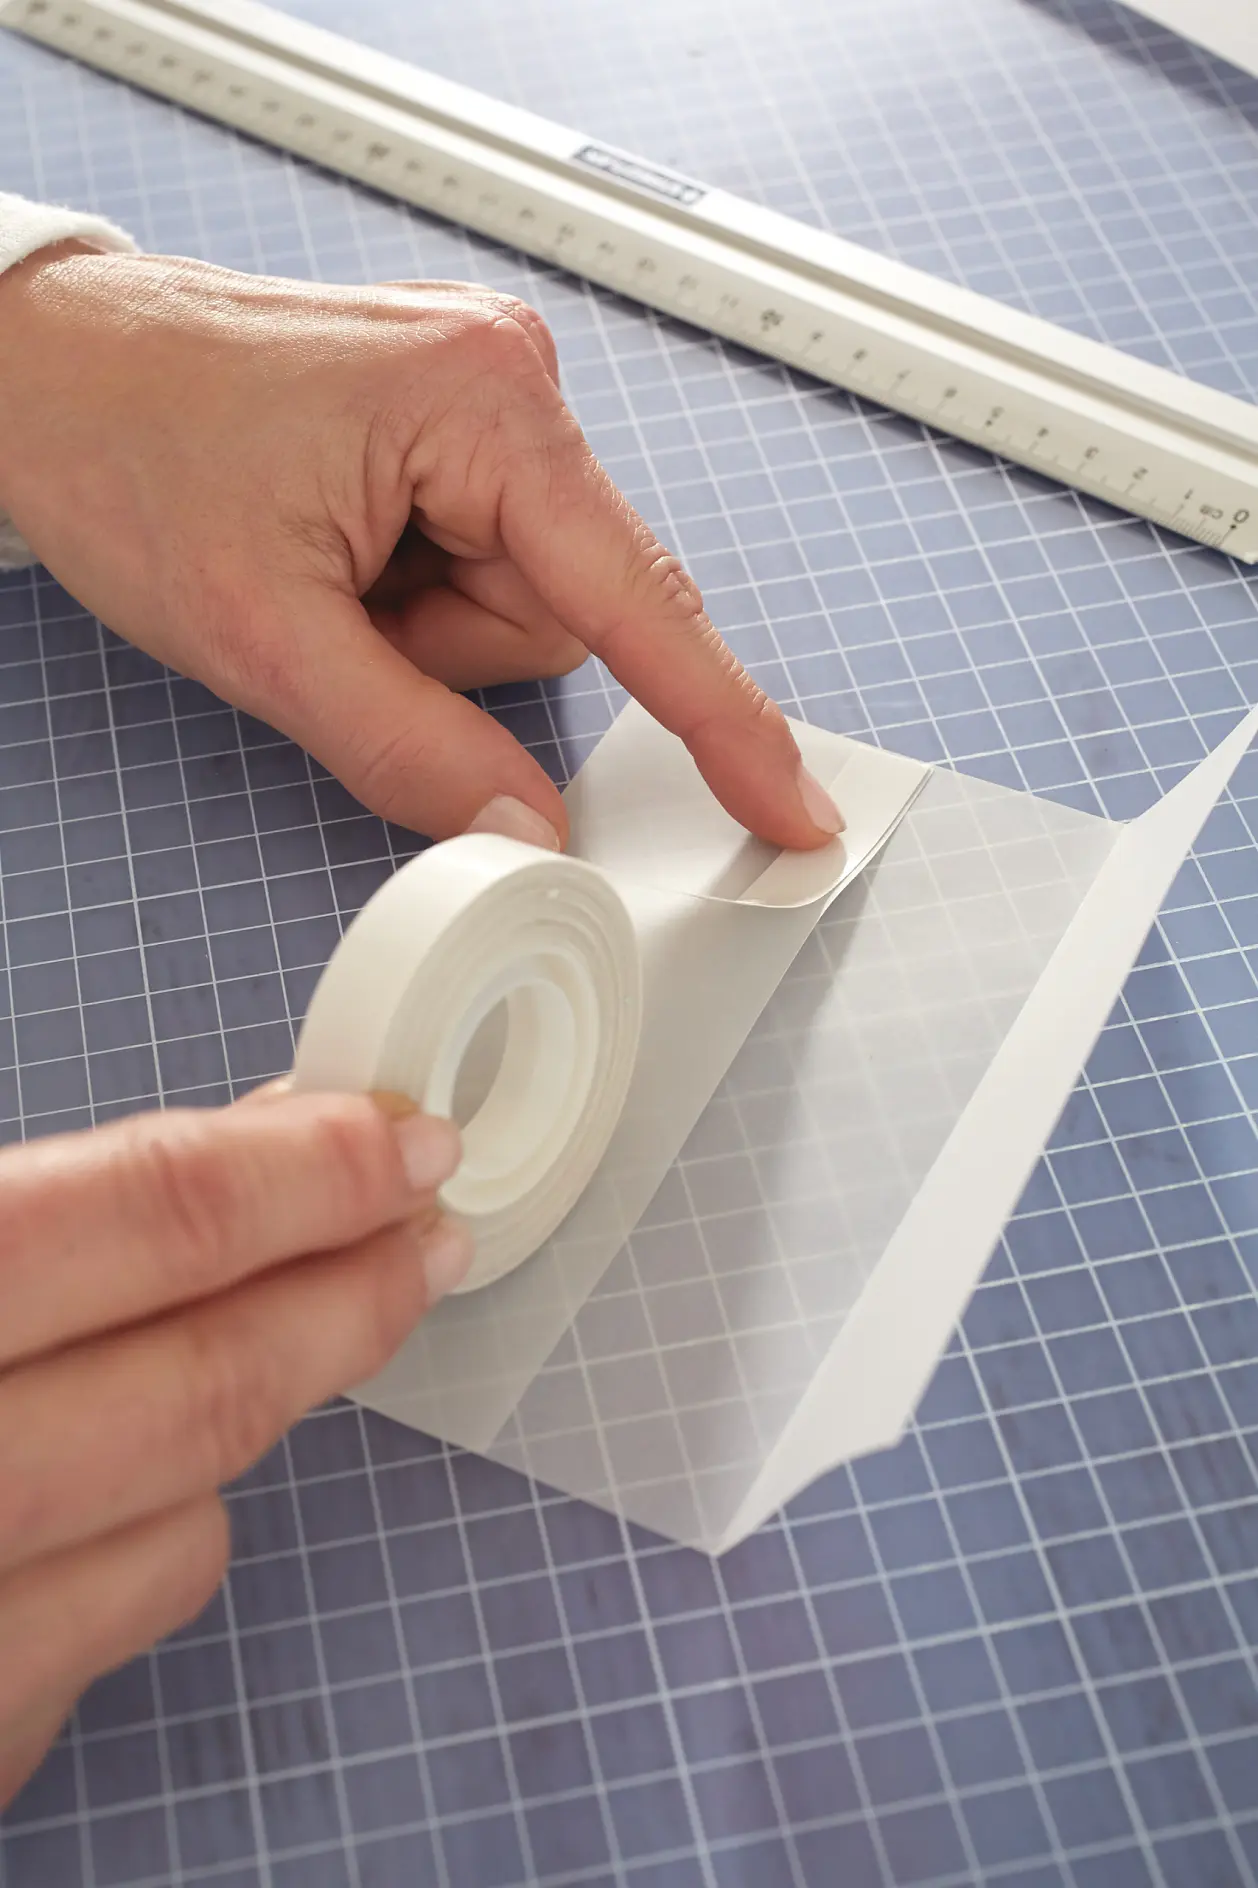
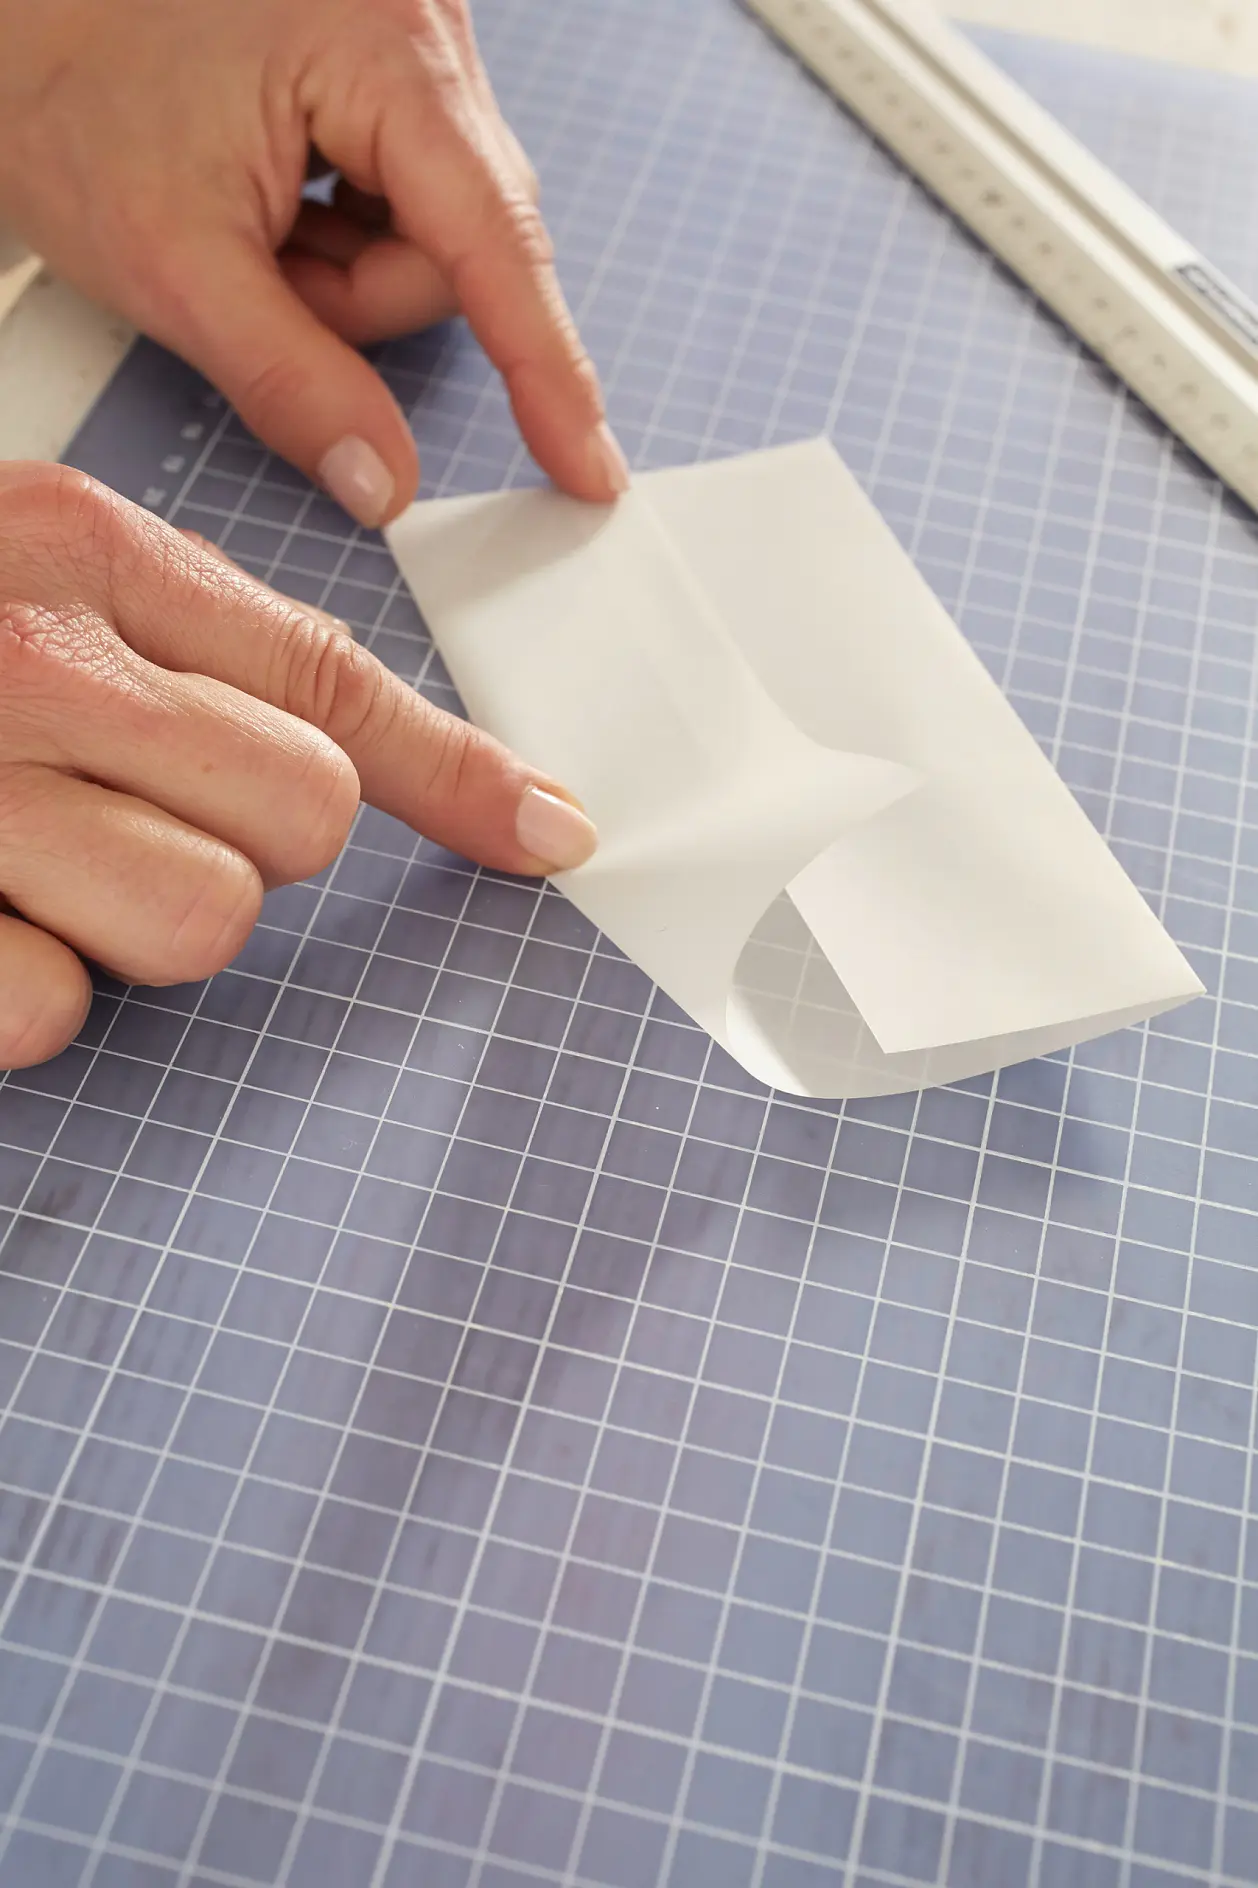
Cut the tracing paper. For each sachet, cut a 14.5 x 18 cm rectangle, which is folded as follows: The two 14.5 cm sides are folded 5 cm to the center. Finished dimension 14.5 cm x 8 cm.
03
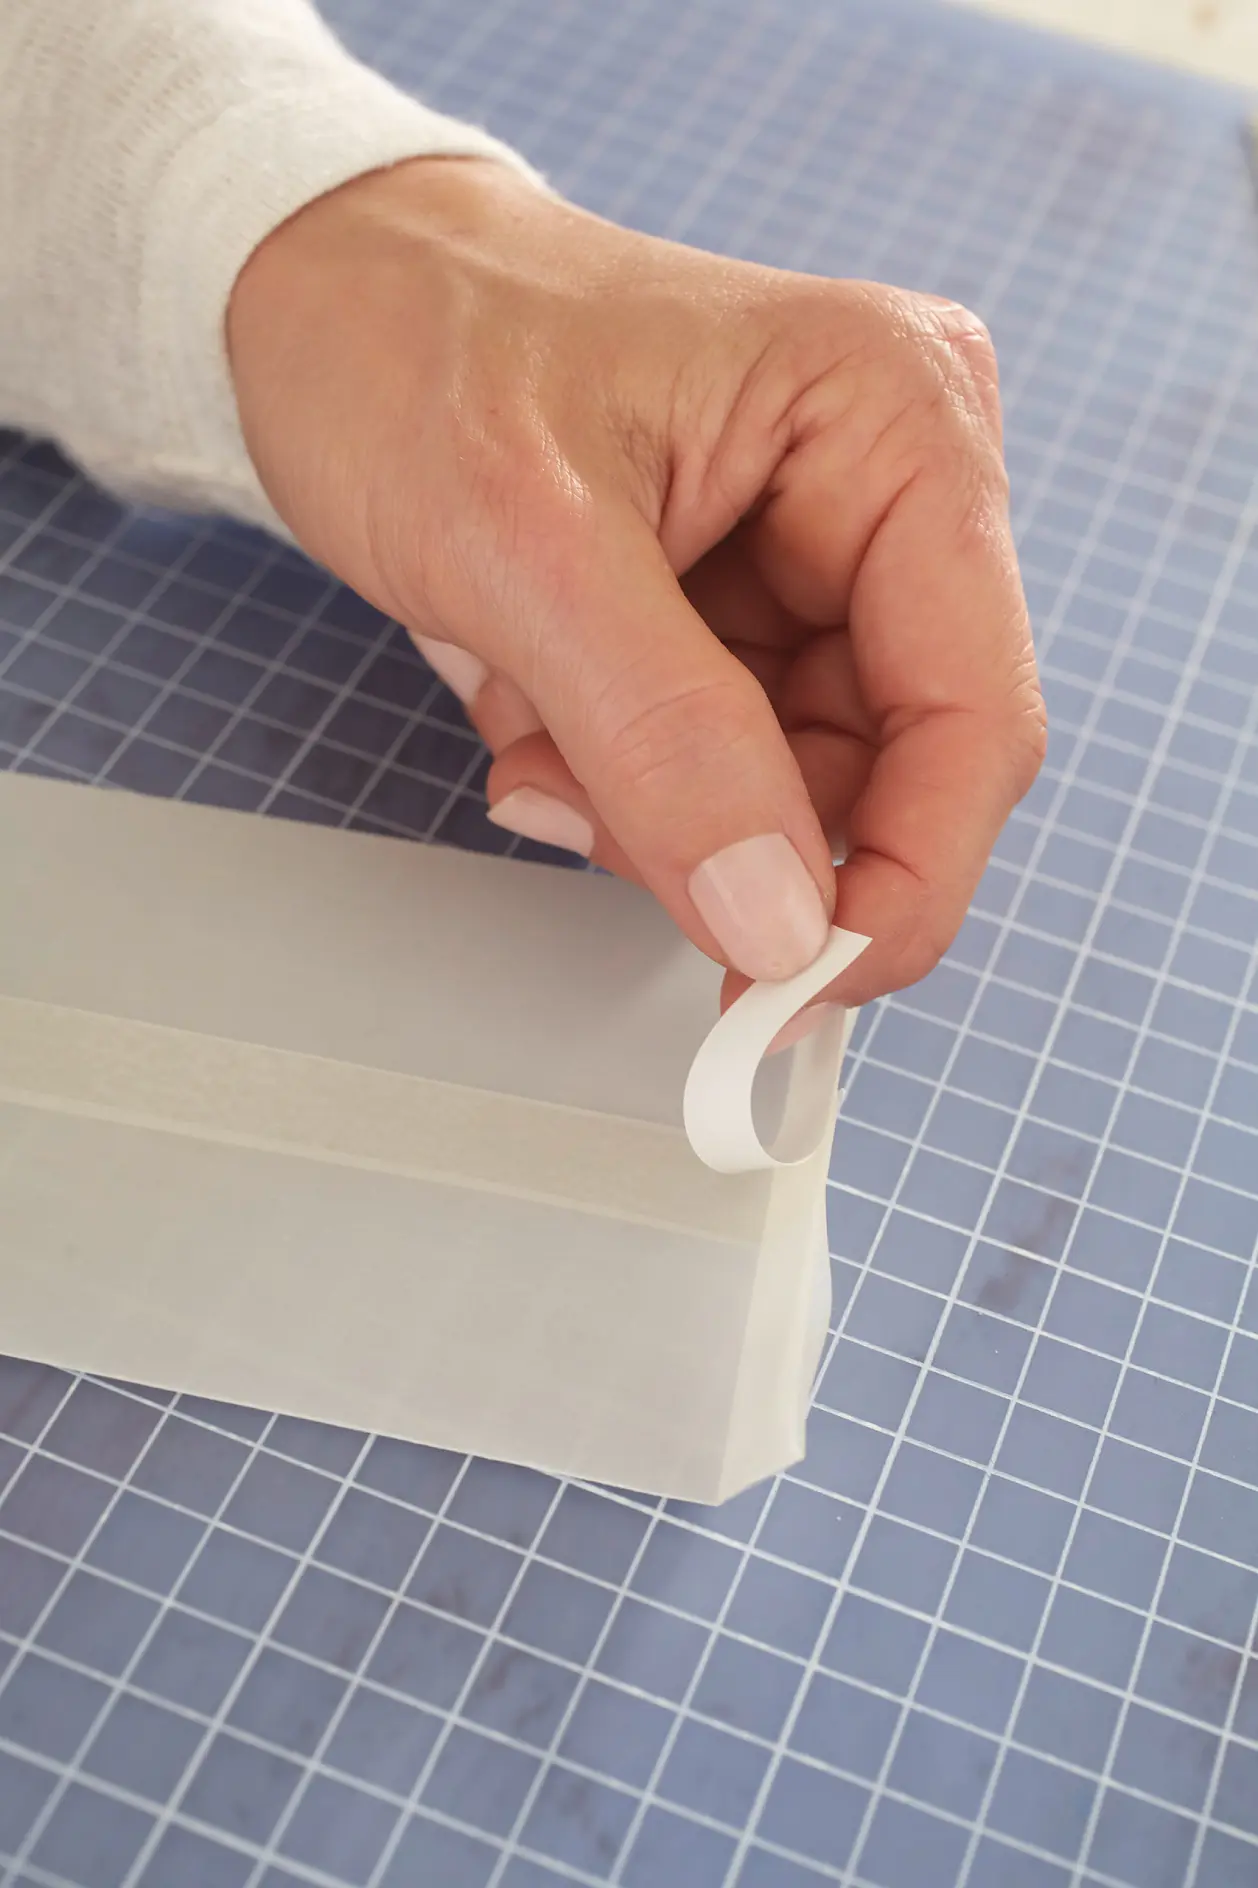
Apply a strip of tesa® double-sided adhesive tape on the outer side of one of the folded sides. Remove the protective film and stick the other side to it.
04
Fold 1.2 cm over one of the open edges; on this edge, apply a strip of tesa® double-sided adhesive tape, remove protective film and glue on. Fill the sachet with confetti.
05
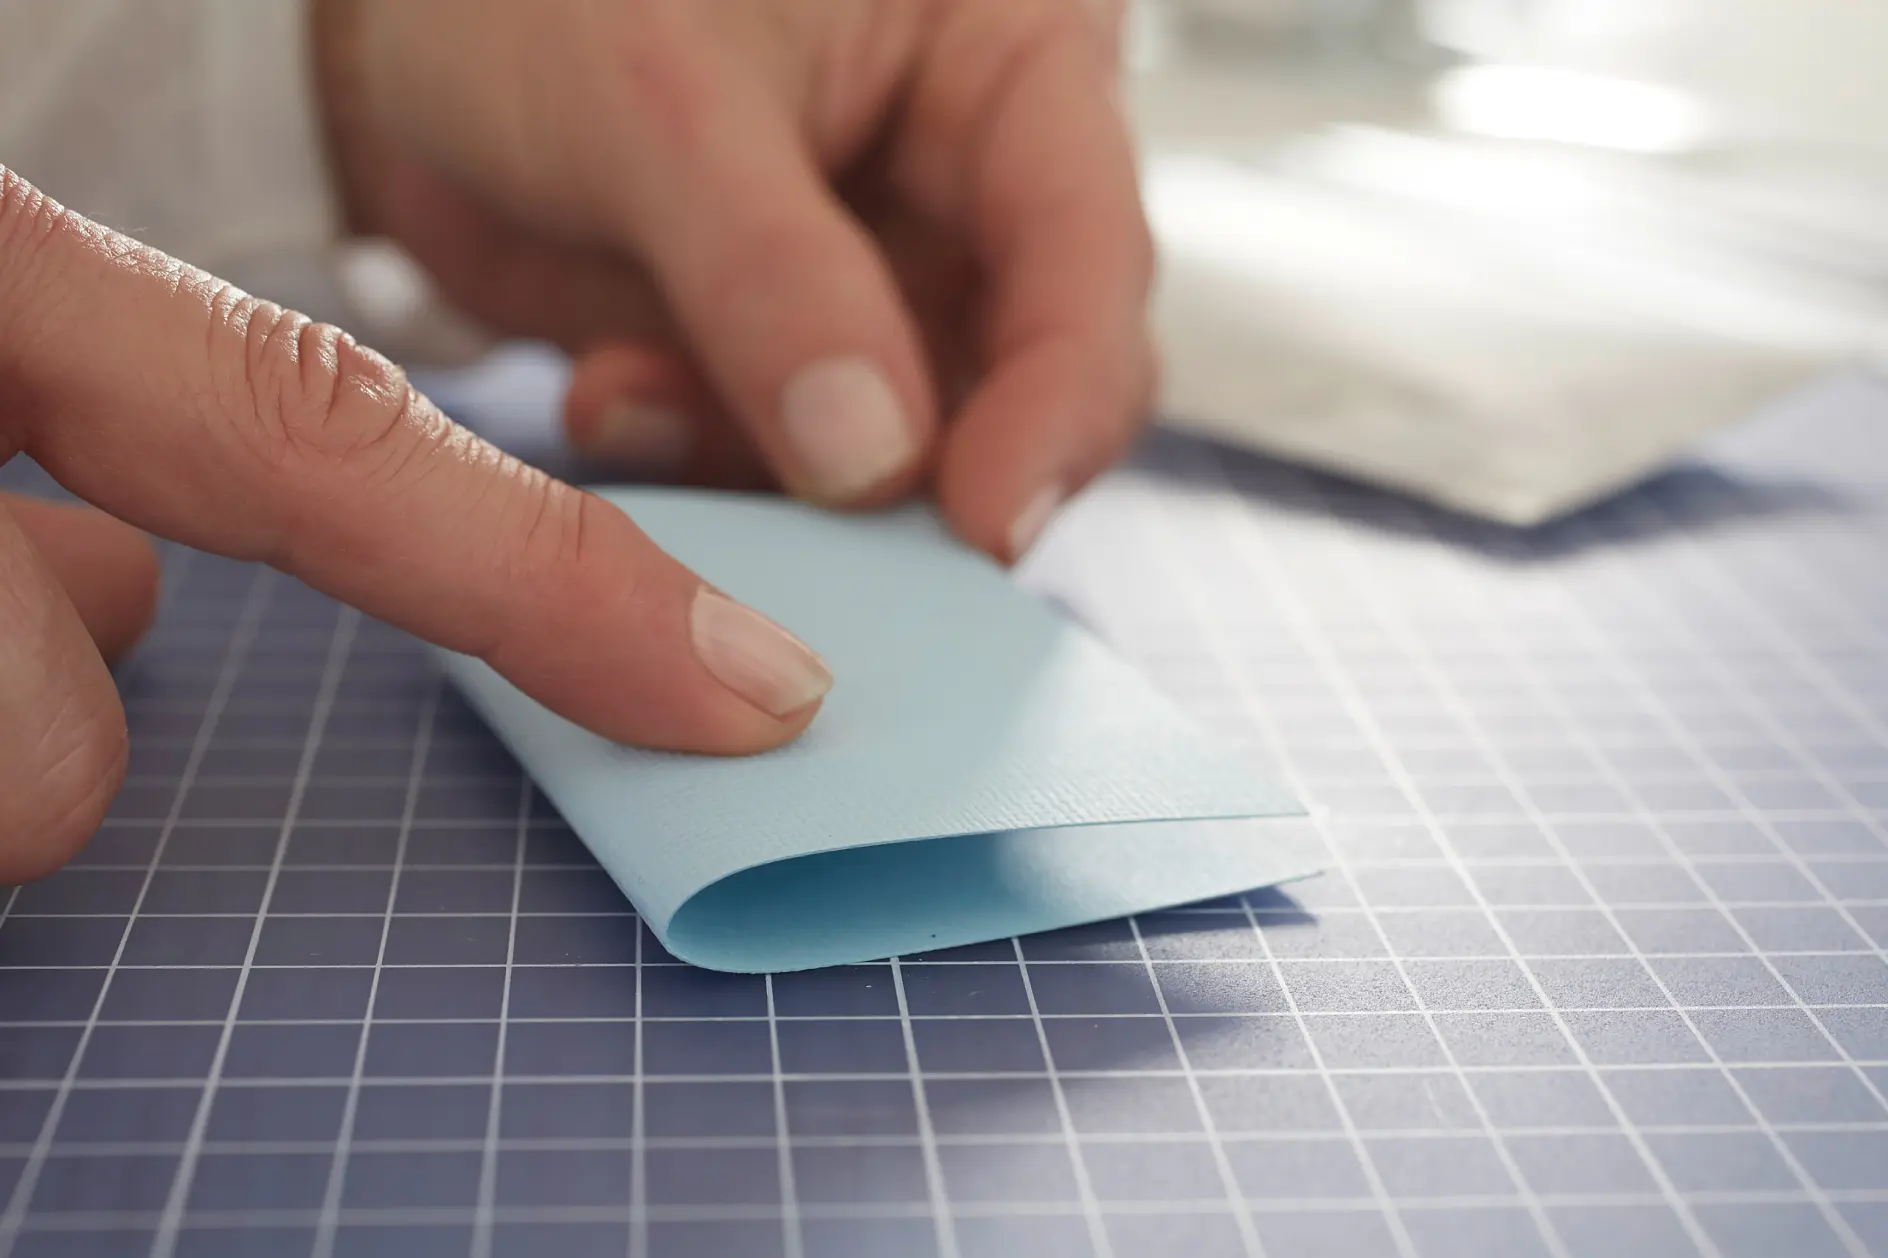
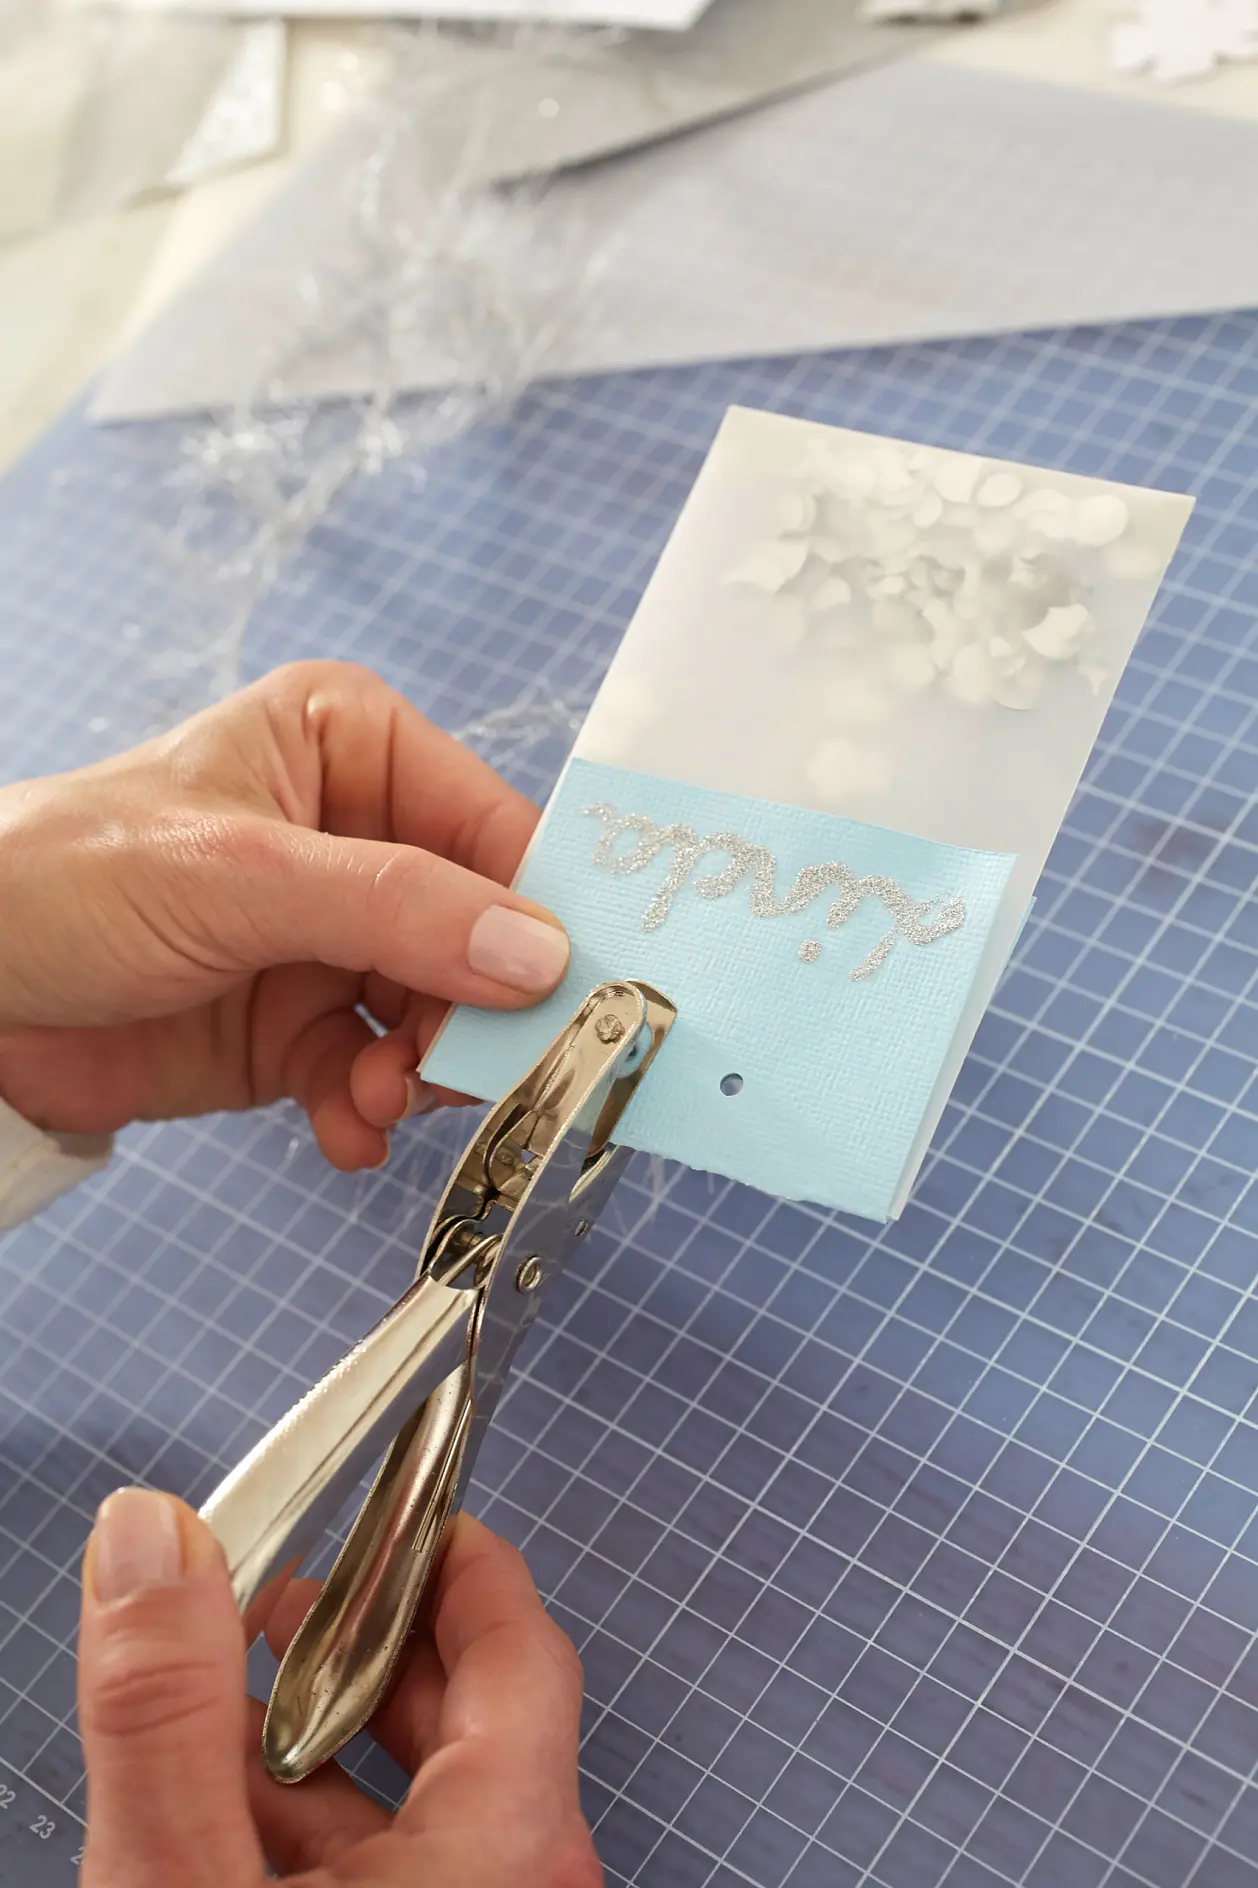
Cut an 8 x 12 cm rectangle from the cardboard, fold in the middle: 8 x 6 cm; use the tesa® Glitter Deco to write a name at the bottom. Leave to dry.
06
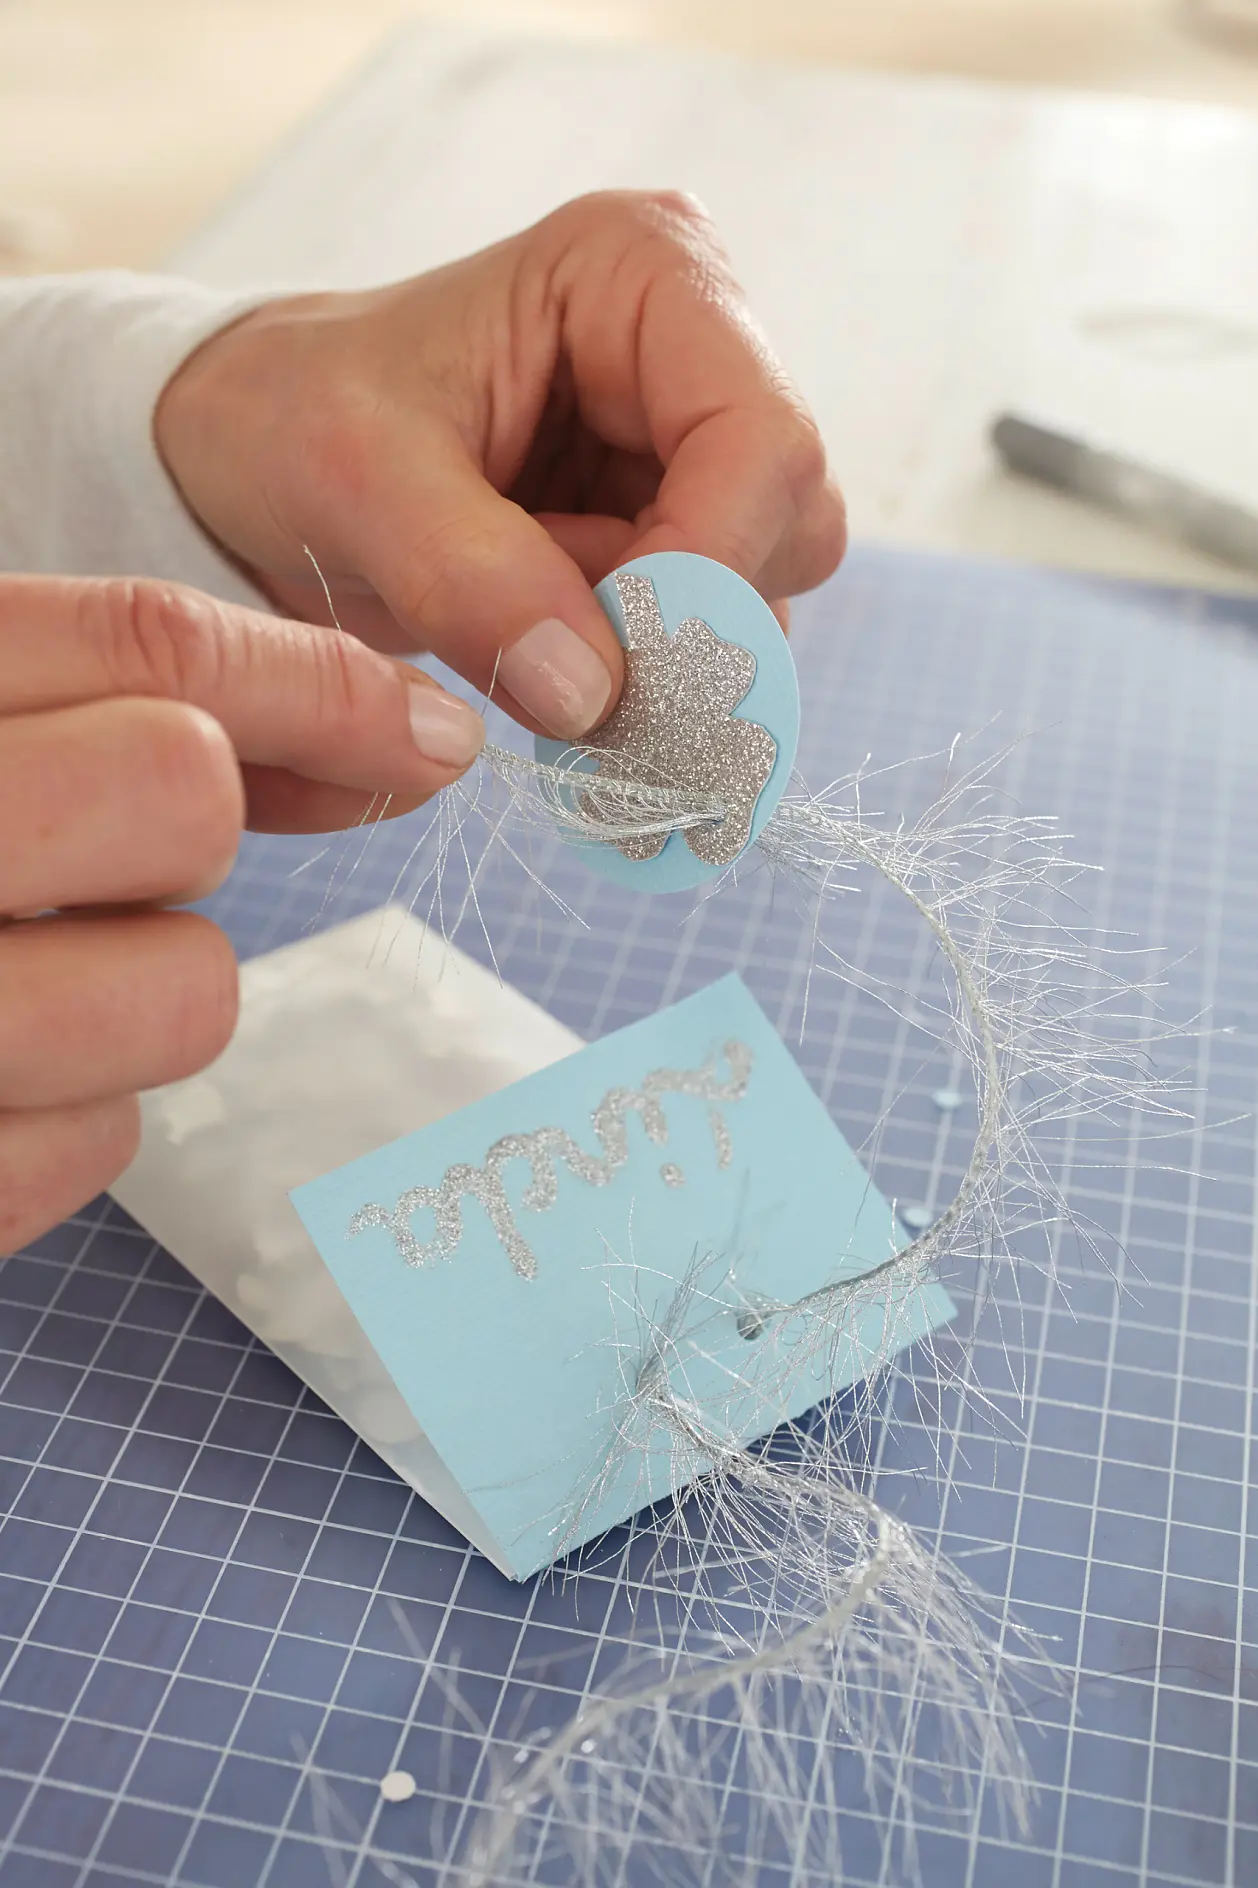
Now place the cardboard on the sachet filled with confetti and punch two holes through both. Run a string of silver ribbon through the holes.
07
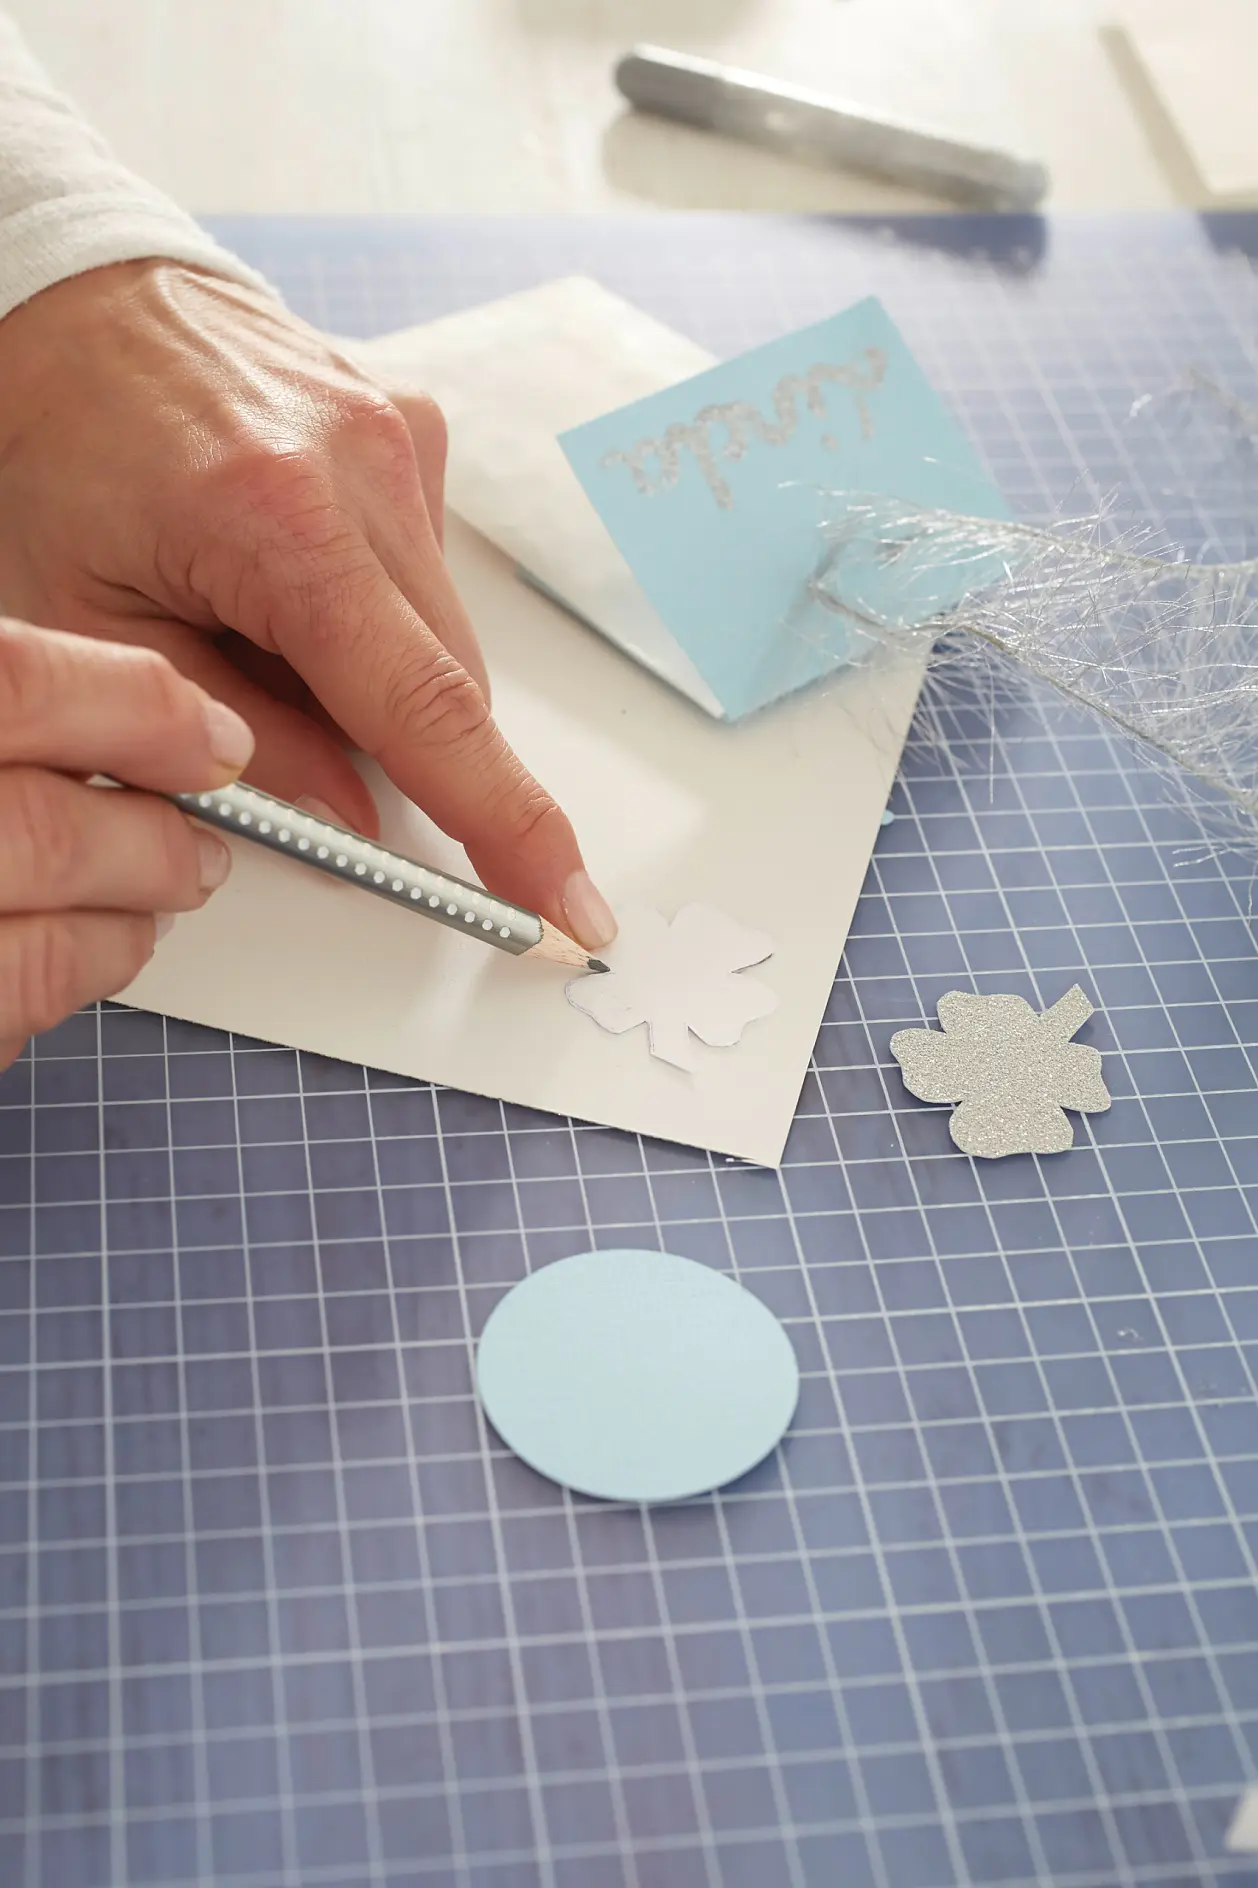
Transfer the lucky clover template on the glitter paper, cut out the clover. Punch a circle from the coloured cardboard. Position on each other and punch together.
08
Attach pendant to the sachet using the ribbon.
09
Enjoy your self-made confetti sachets at your party!
tesa products required for this project
Last updated on 19 May 2026