01
We need: a panel of plywood 45cm X 65cm X 1cm, painted white, wooden building blocks, a mirror tile, a small pen tray, a metre rule or yardstick, scissors, pencil, mounting tape for wallpaper & plaster, mounting glue for transparent & glass
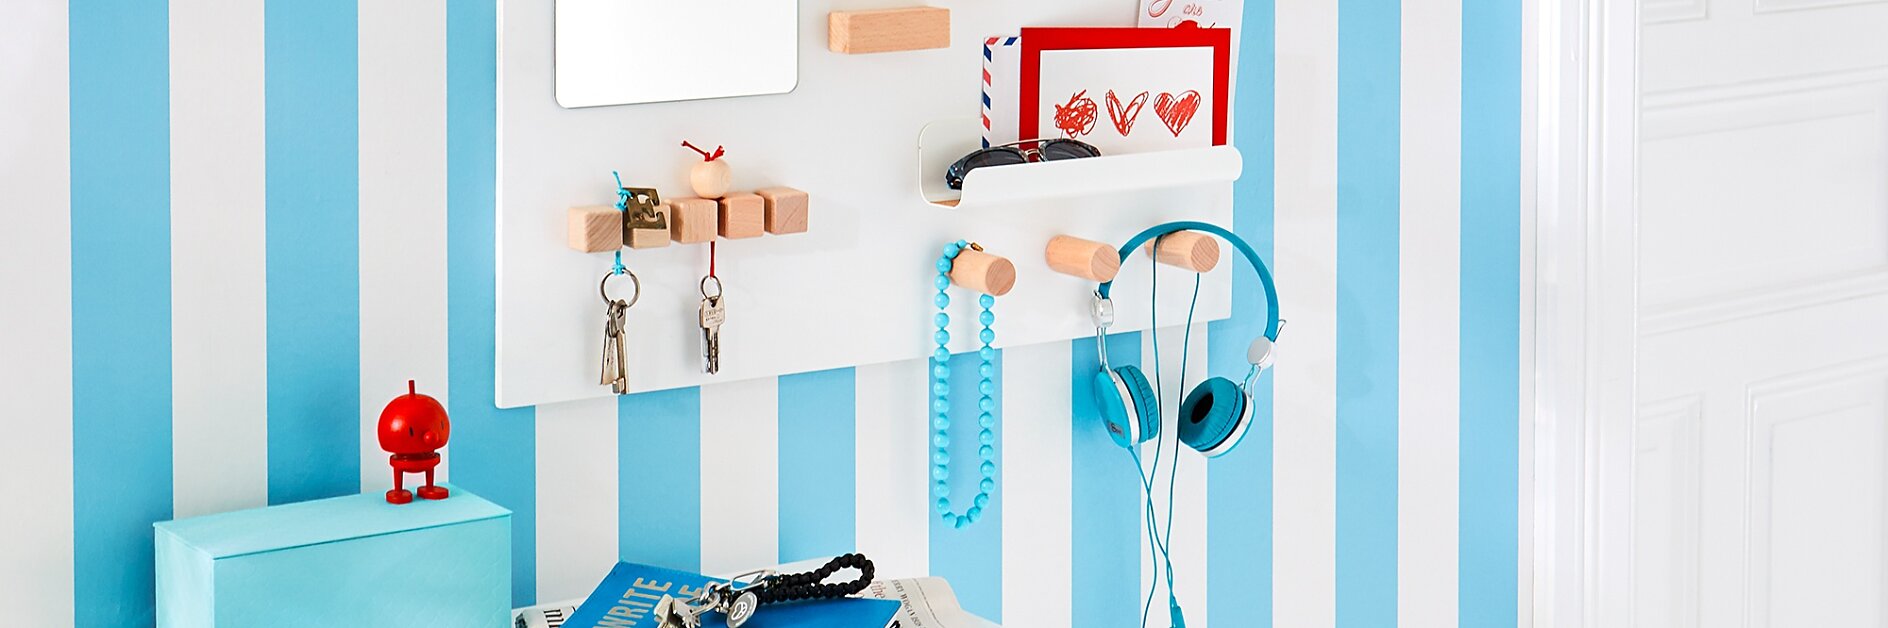
Are you always losing your keys? Make a change by creating this smart key holder for your wall. Incorporating spaces for other items too, plus a mirror for a last minute check. This neat little key holder for your hall or corridor wall will save you both time and energy when you leave home each day! No tools are required – so let’s get started.
Key Holder.mp4
tesa SE

We need: a panel of plywood 45cm X 65cm X 1cm, painted white, wooden building blocks, a mirror tile, a small pen tray, a metre rule or yardstick, scissors, pencil, mounting tape for wallpaper & plaster, mounting glue for transparent & glass

To get the best possible bond, give the back of the panel a wipe to get rid of any dust. Please use alcohol or silicone-free window cleaner.

Apply lengths of mounting tape to the back of the panel. Alternate full-length strips with 20cm length strips. Press them all along their length for a minimum of 5 seconds.

On the white side of the key holder board, place the mirror, building blocks and tray and decide where each thing should go.Then trace around them with a pencil.

Now carefully apply the mounting glue before gluing each element in its place. Press down lightly before allowing the glue to dry for 48 hours.

Once the mounting glue is completely dry, peel the backing from the mounting tape before pressing the key holder in place on the wall. Apply pressure for at least 5 seconds to get as close a bond as possible.

Keep your keys and other important items all in one place!

