Huge DIY Wall Calendar
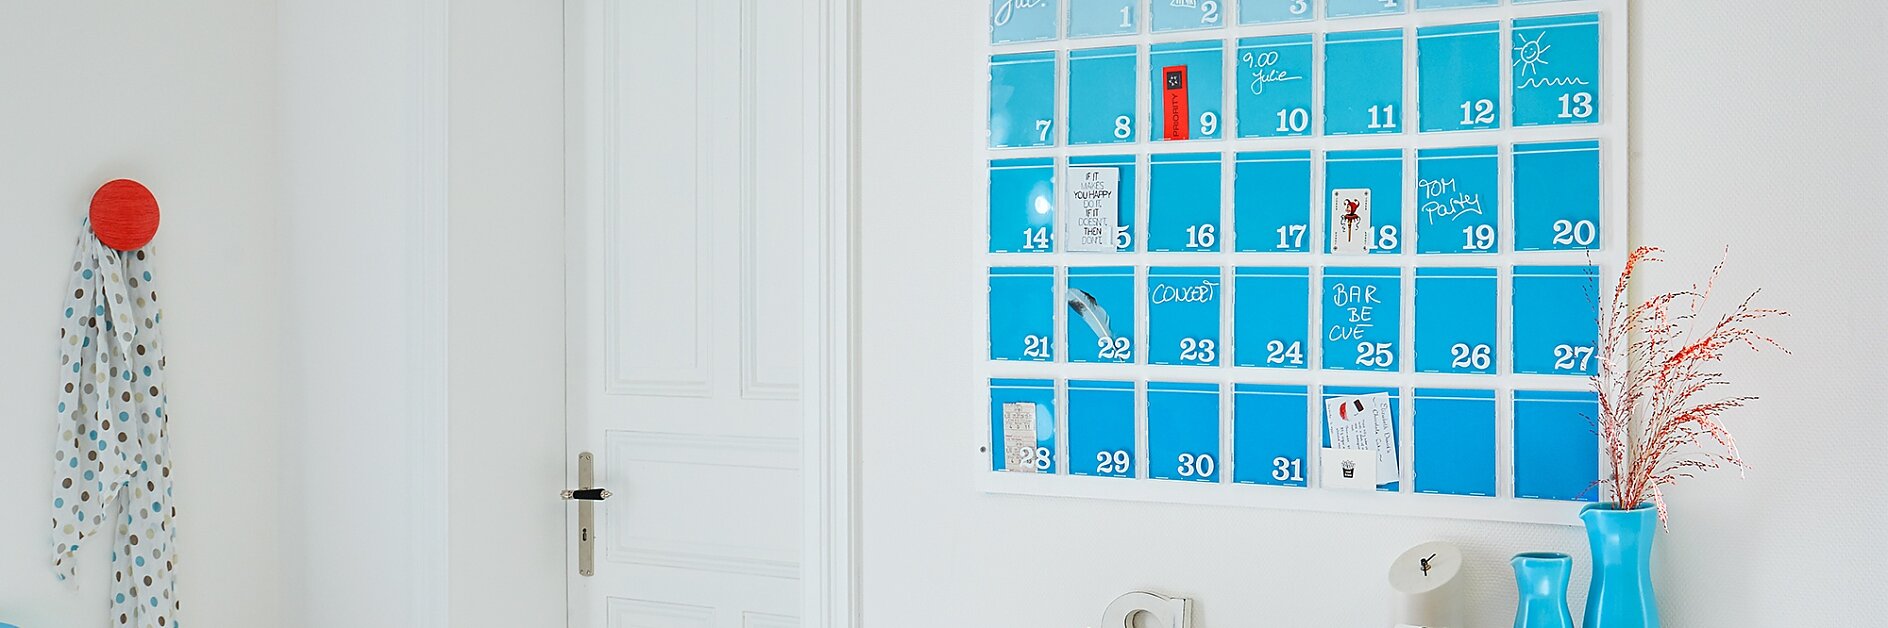
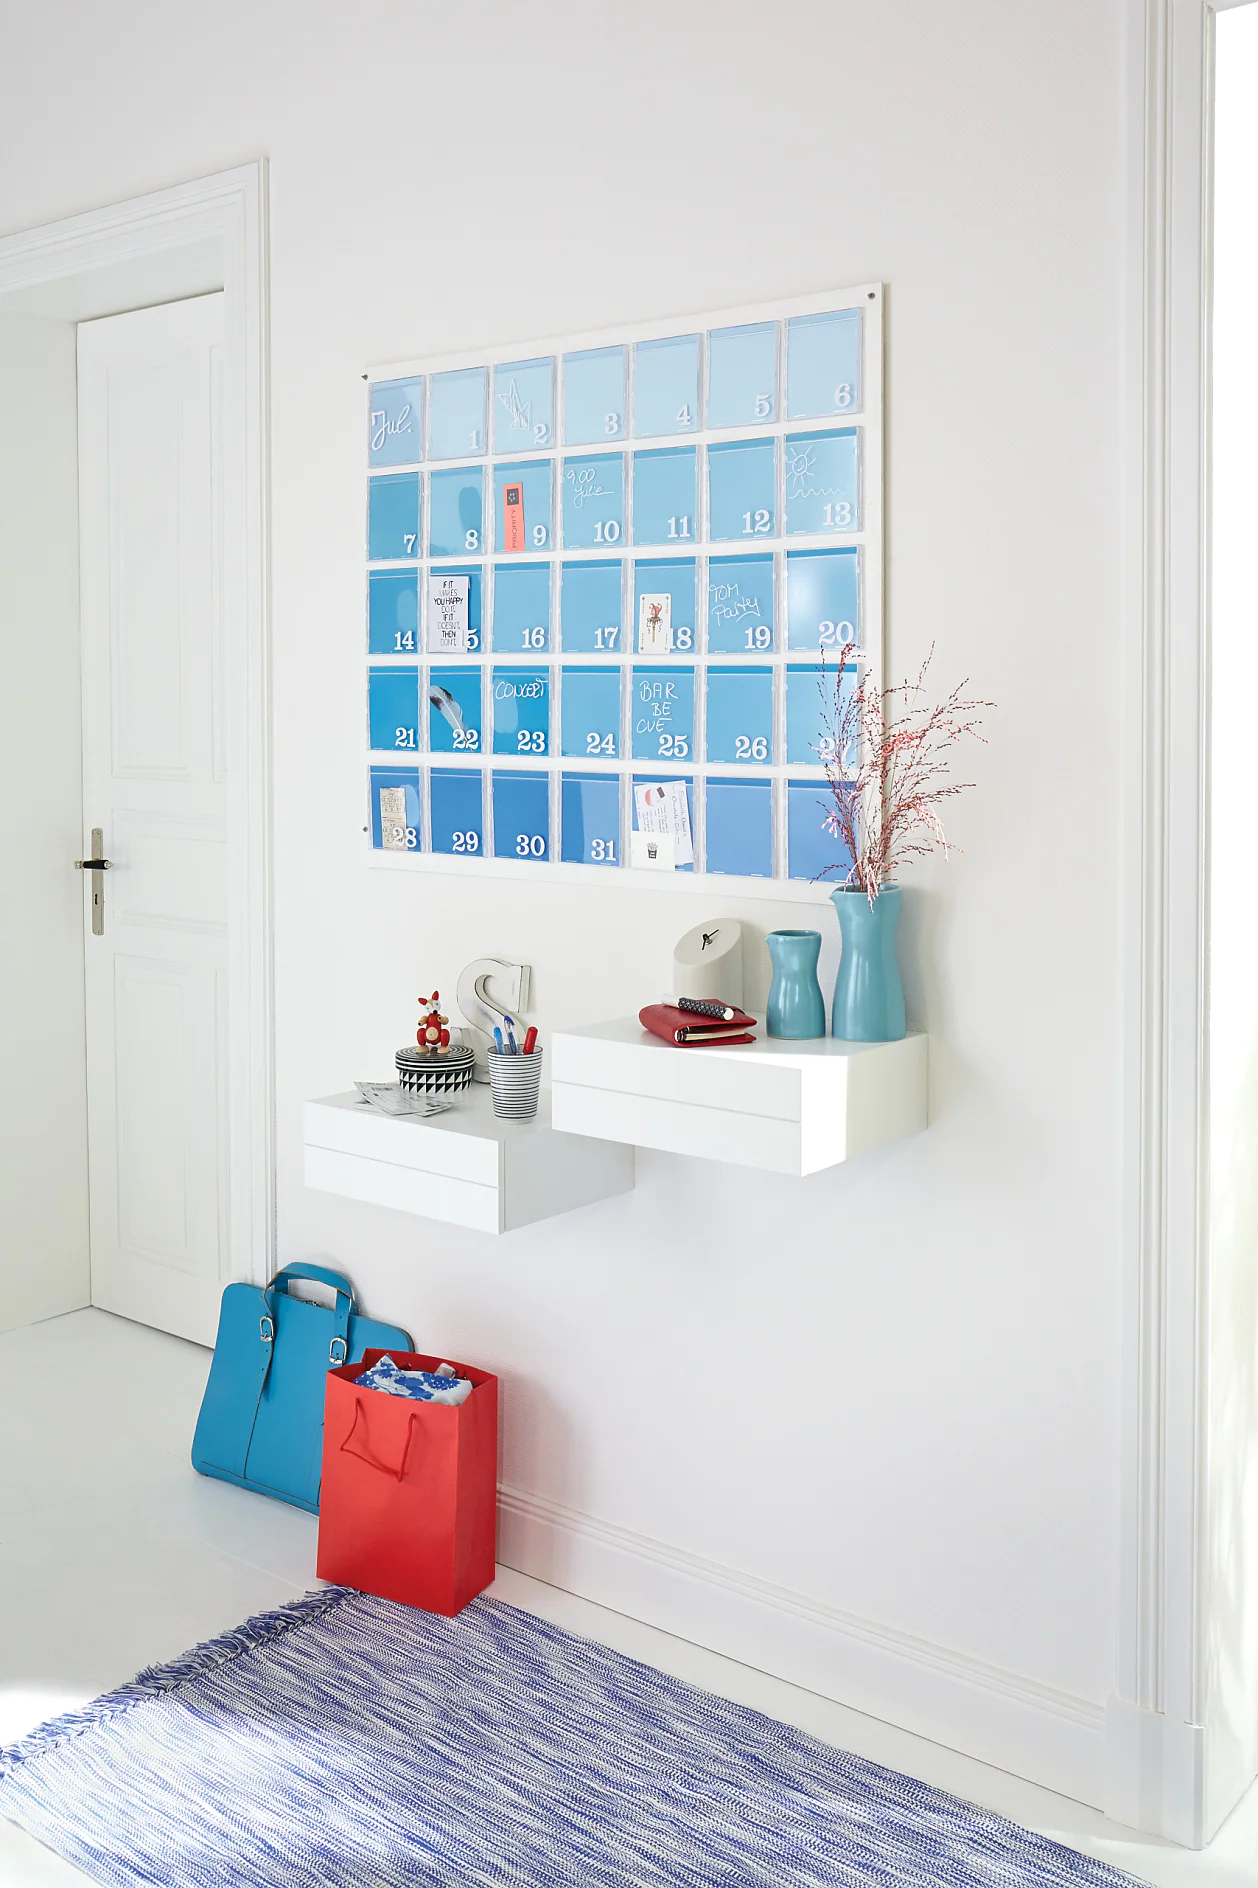
Practical and attractive, this huge DIY calendar is the stylish way to think ahead. You’ll be amazed how quick it is to make this brilliant giant DIY calendar for your hall wall. It’s not only very useful, but an eye catching style statement as well! It’s based on easy-to-find CD jewel cases. So, are you ready to get organised?
Level of difficulty
For ambitious hands
Duration
90
We need:
a sheet of plywood 83.5cm x 102.5 x 0.6cm – painted white
35 empty CD jewel cases
sheets of cardboard in different shades of blue
white self-adhesive numbers
a hand drill
an art scalpel
a metre rule or yardstick
a pencil
cutting mat
wipeable marker pen
mounting tape for tiles & metal
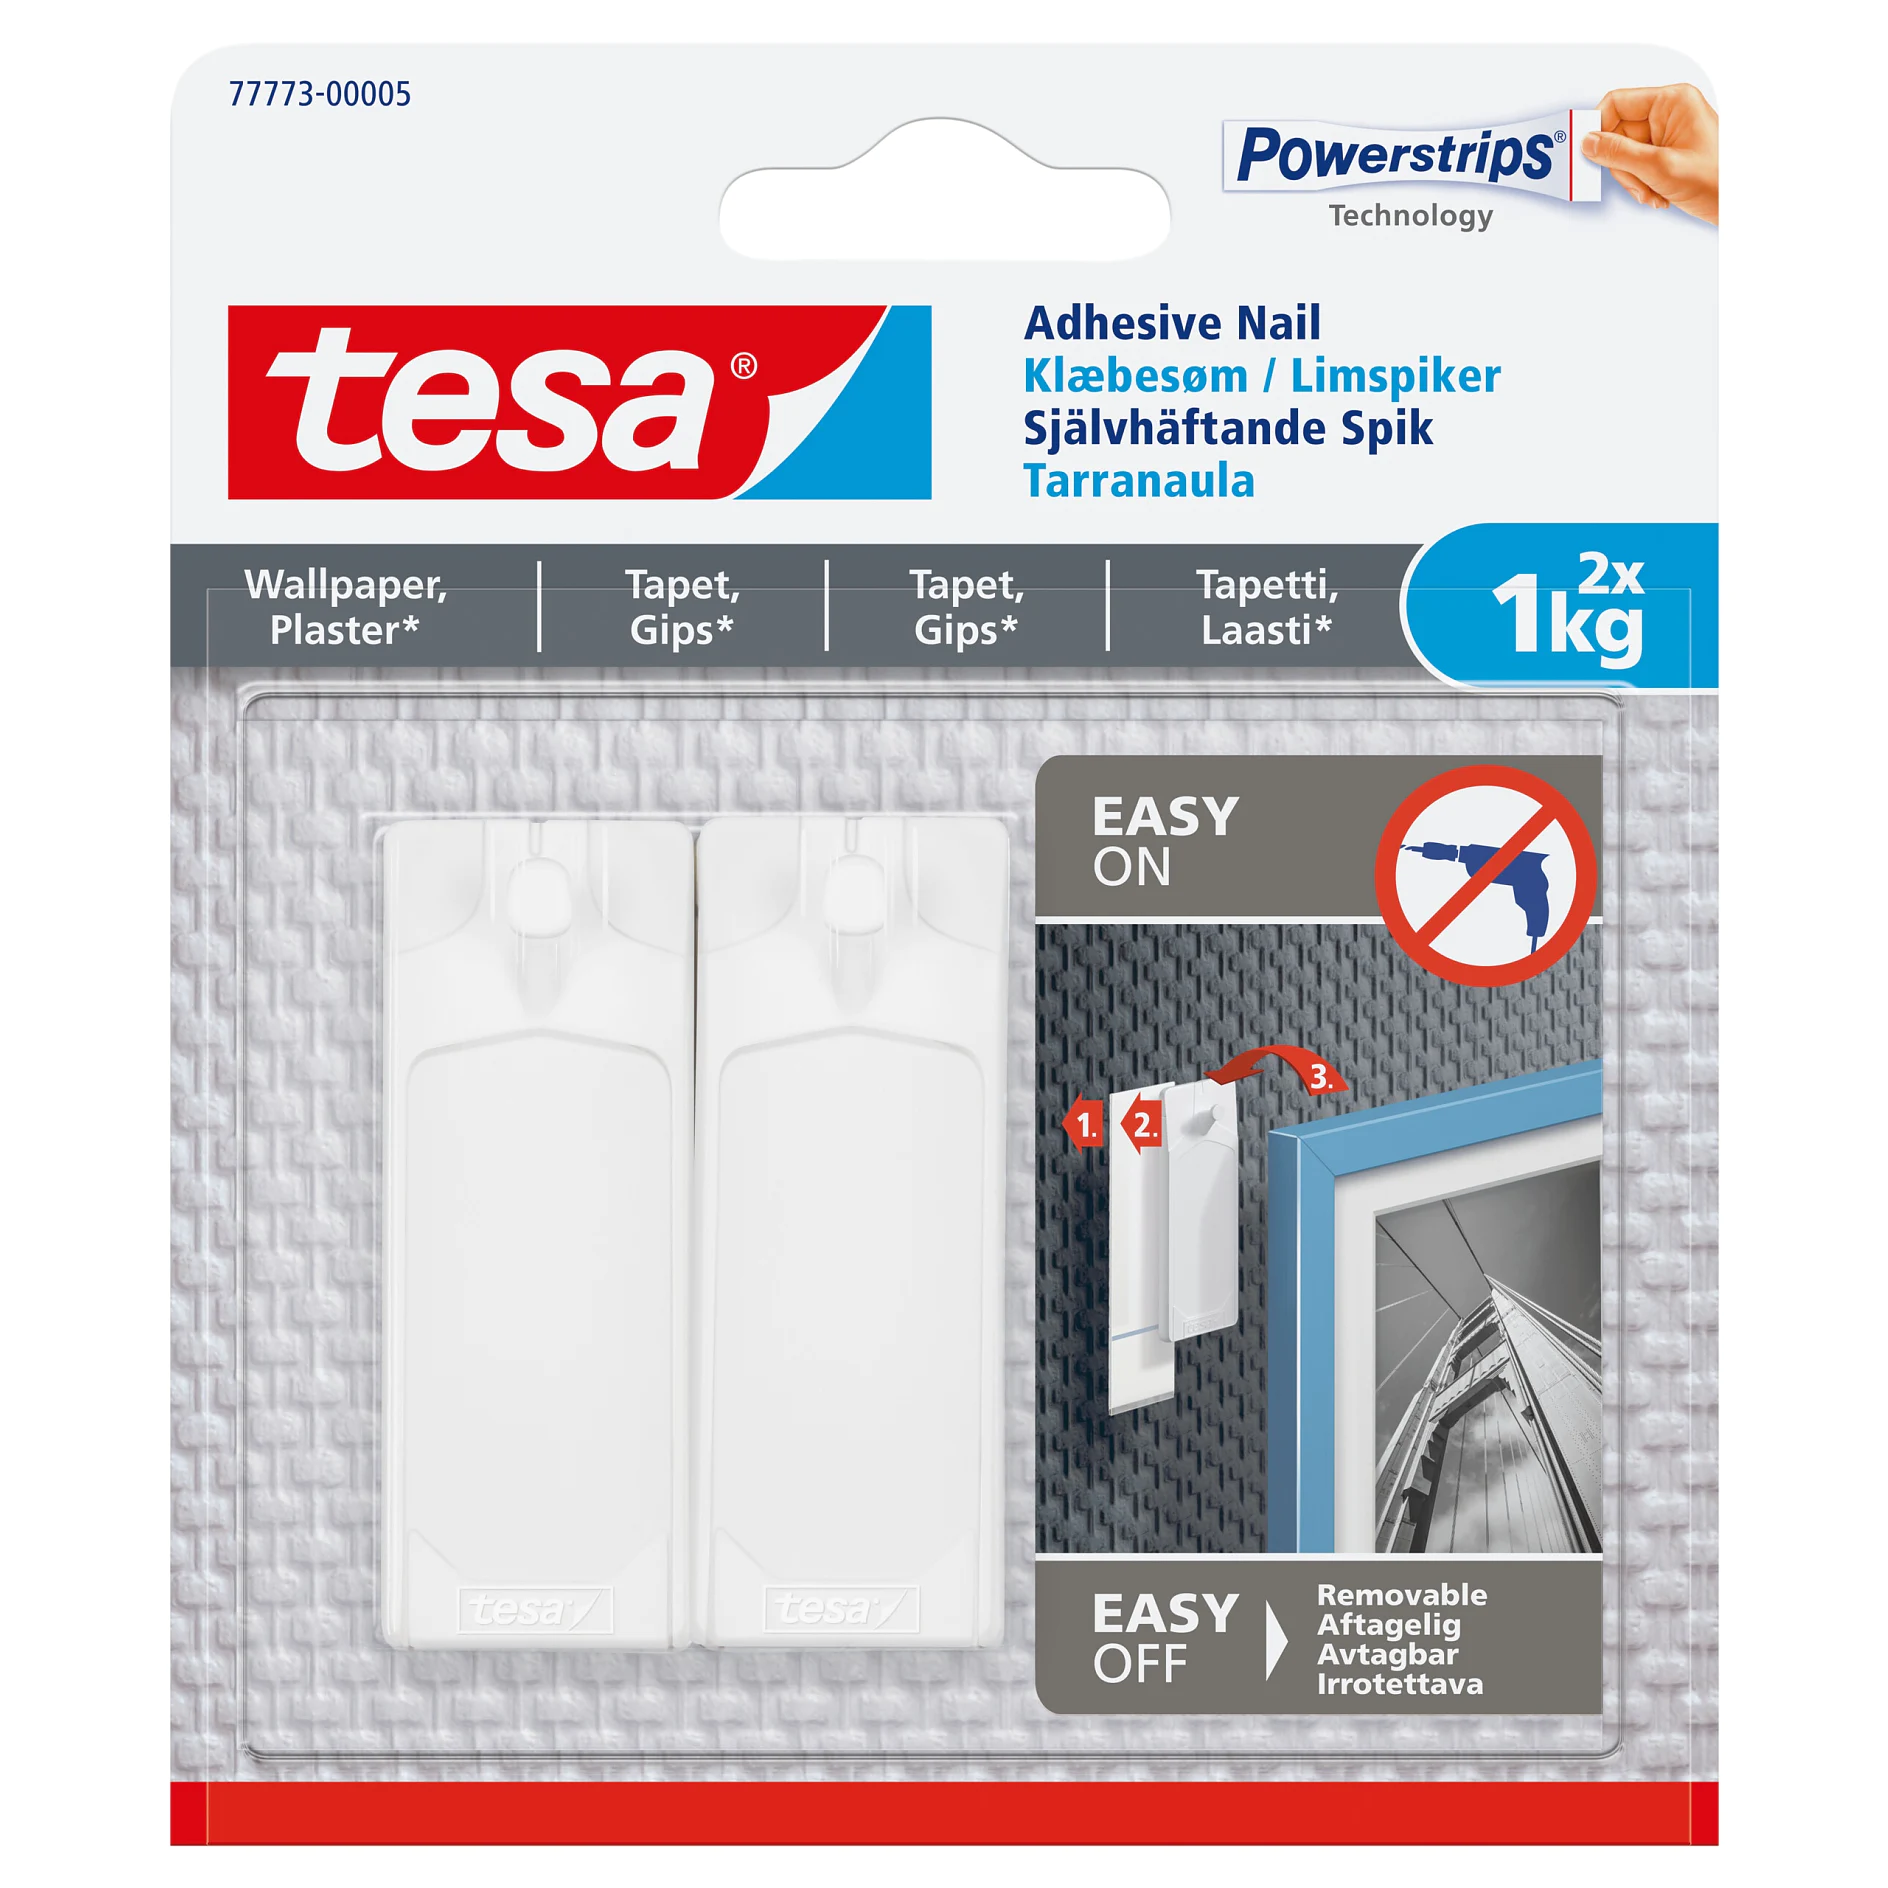
tesa® adjustable adhesive nails for wallpaper & plaster 1kg x4 (2 packs)
How it's done:
01
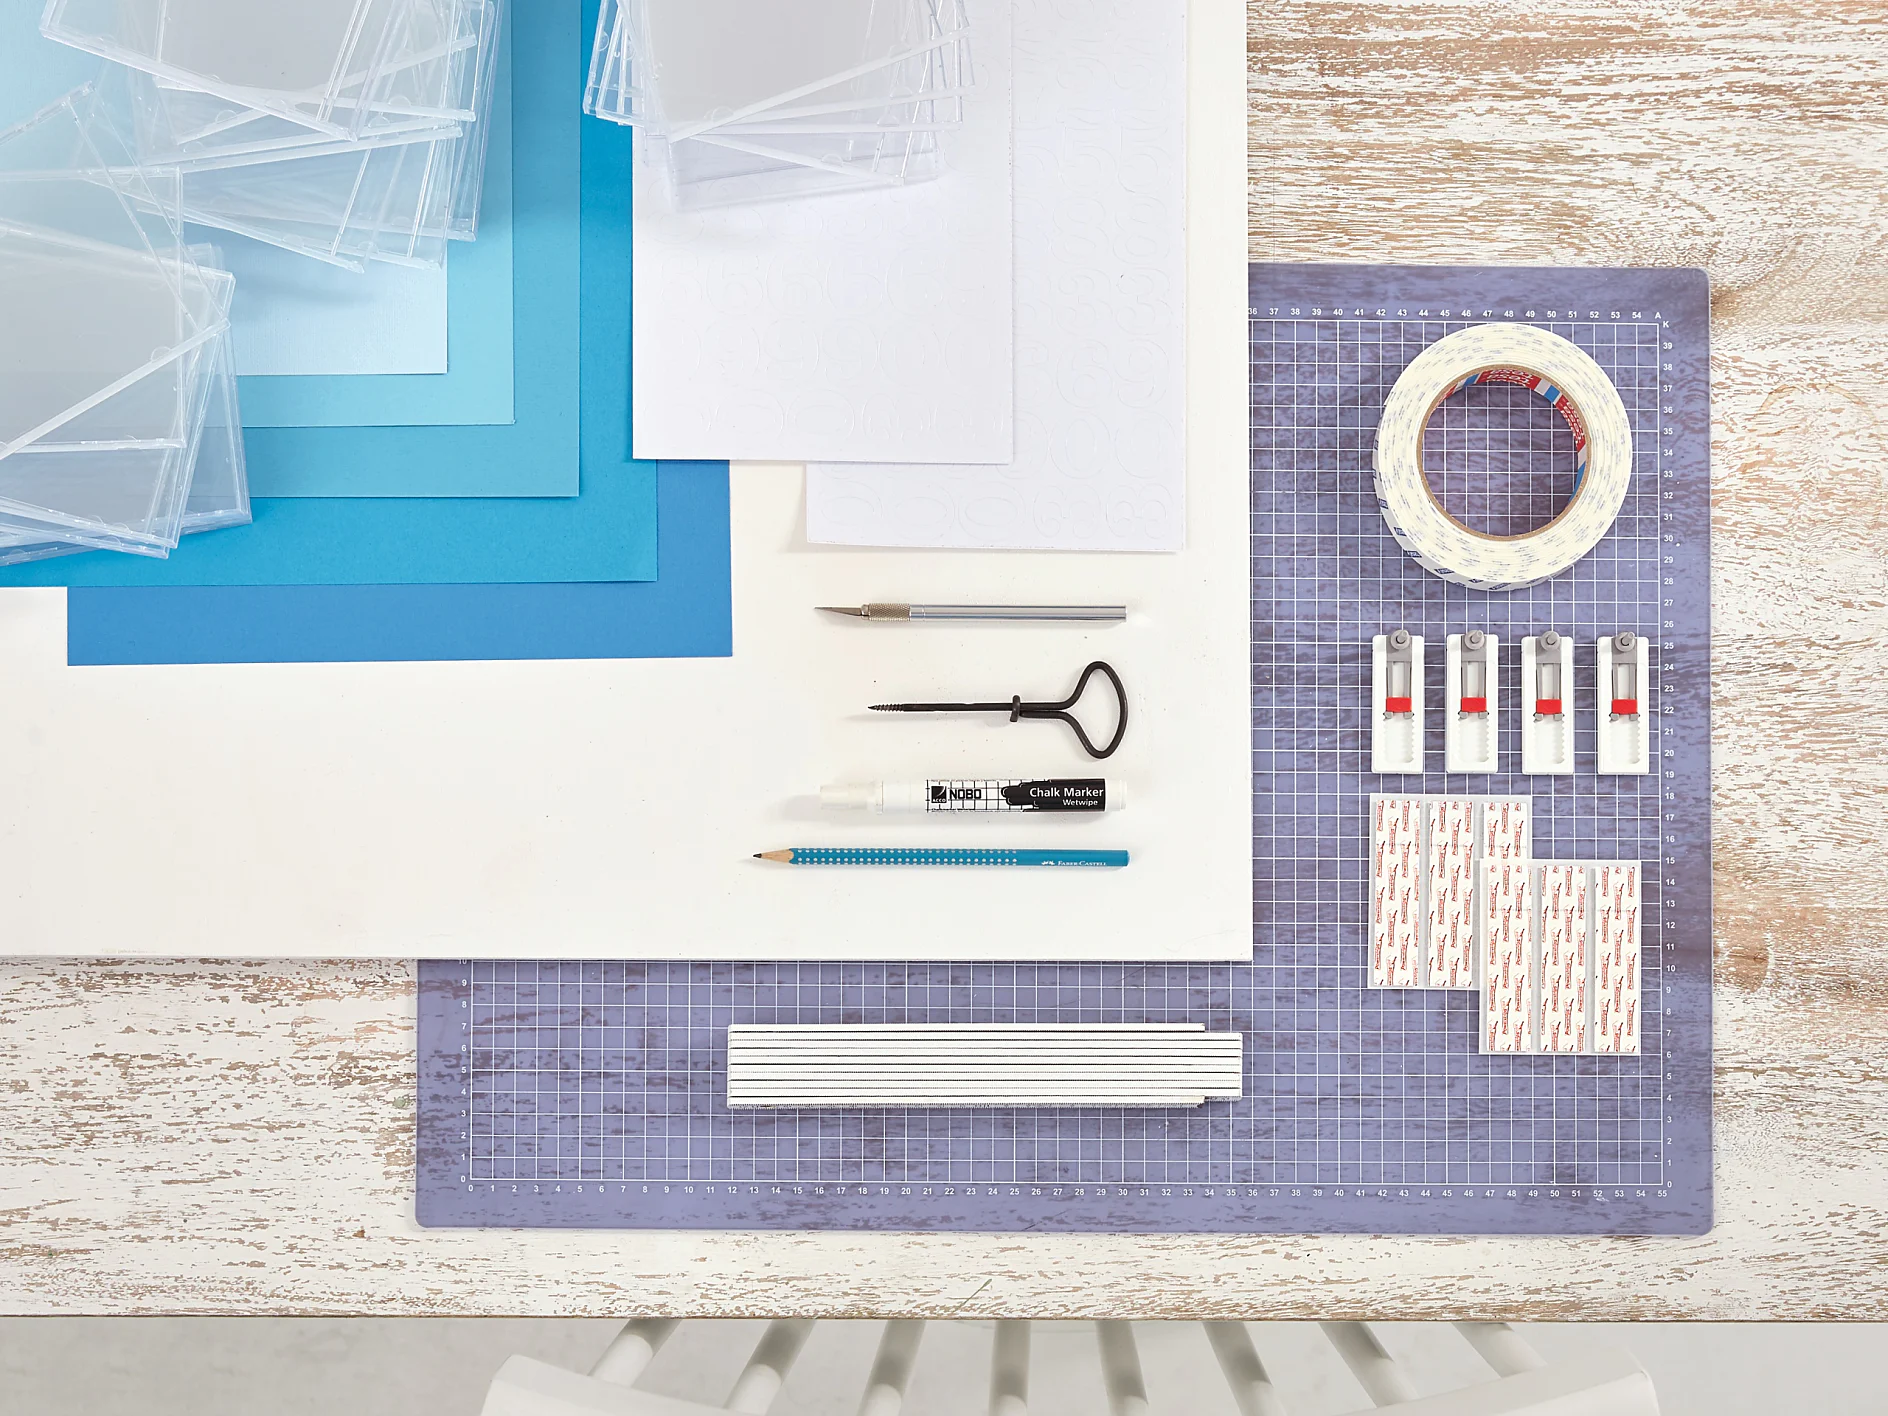
We need: a sheet of plywood 83.5cm x 102.5 x 0.6cm – painted white, 35 empty CD jewel cases, sheets of cardboard in different shades of blue, white self-adhesive numbers, a hand drill, an art scalpel, a metre rule or yardstick, a pencil, cutting mat, wipeable marker pen, mounting tape for tiles & metal, tesa® adjustable adhesive nails for wallpaper & plaster 1kg x4 (2 packs)
02
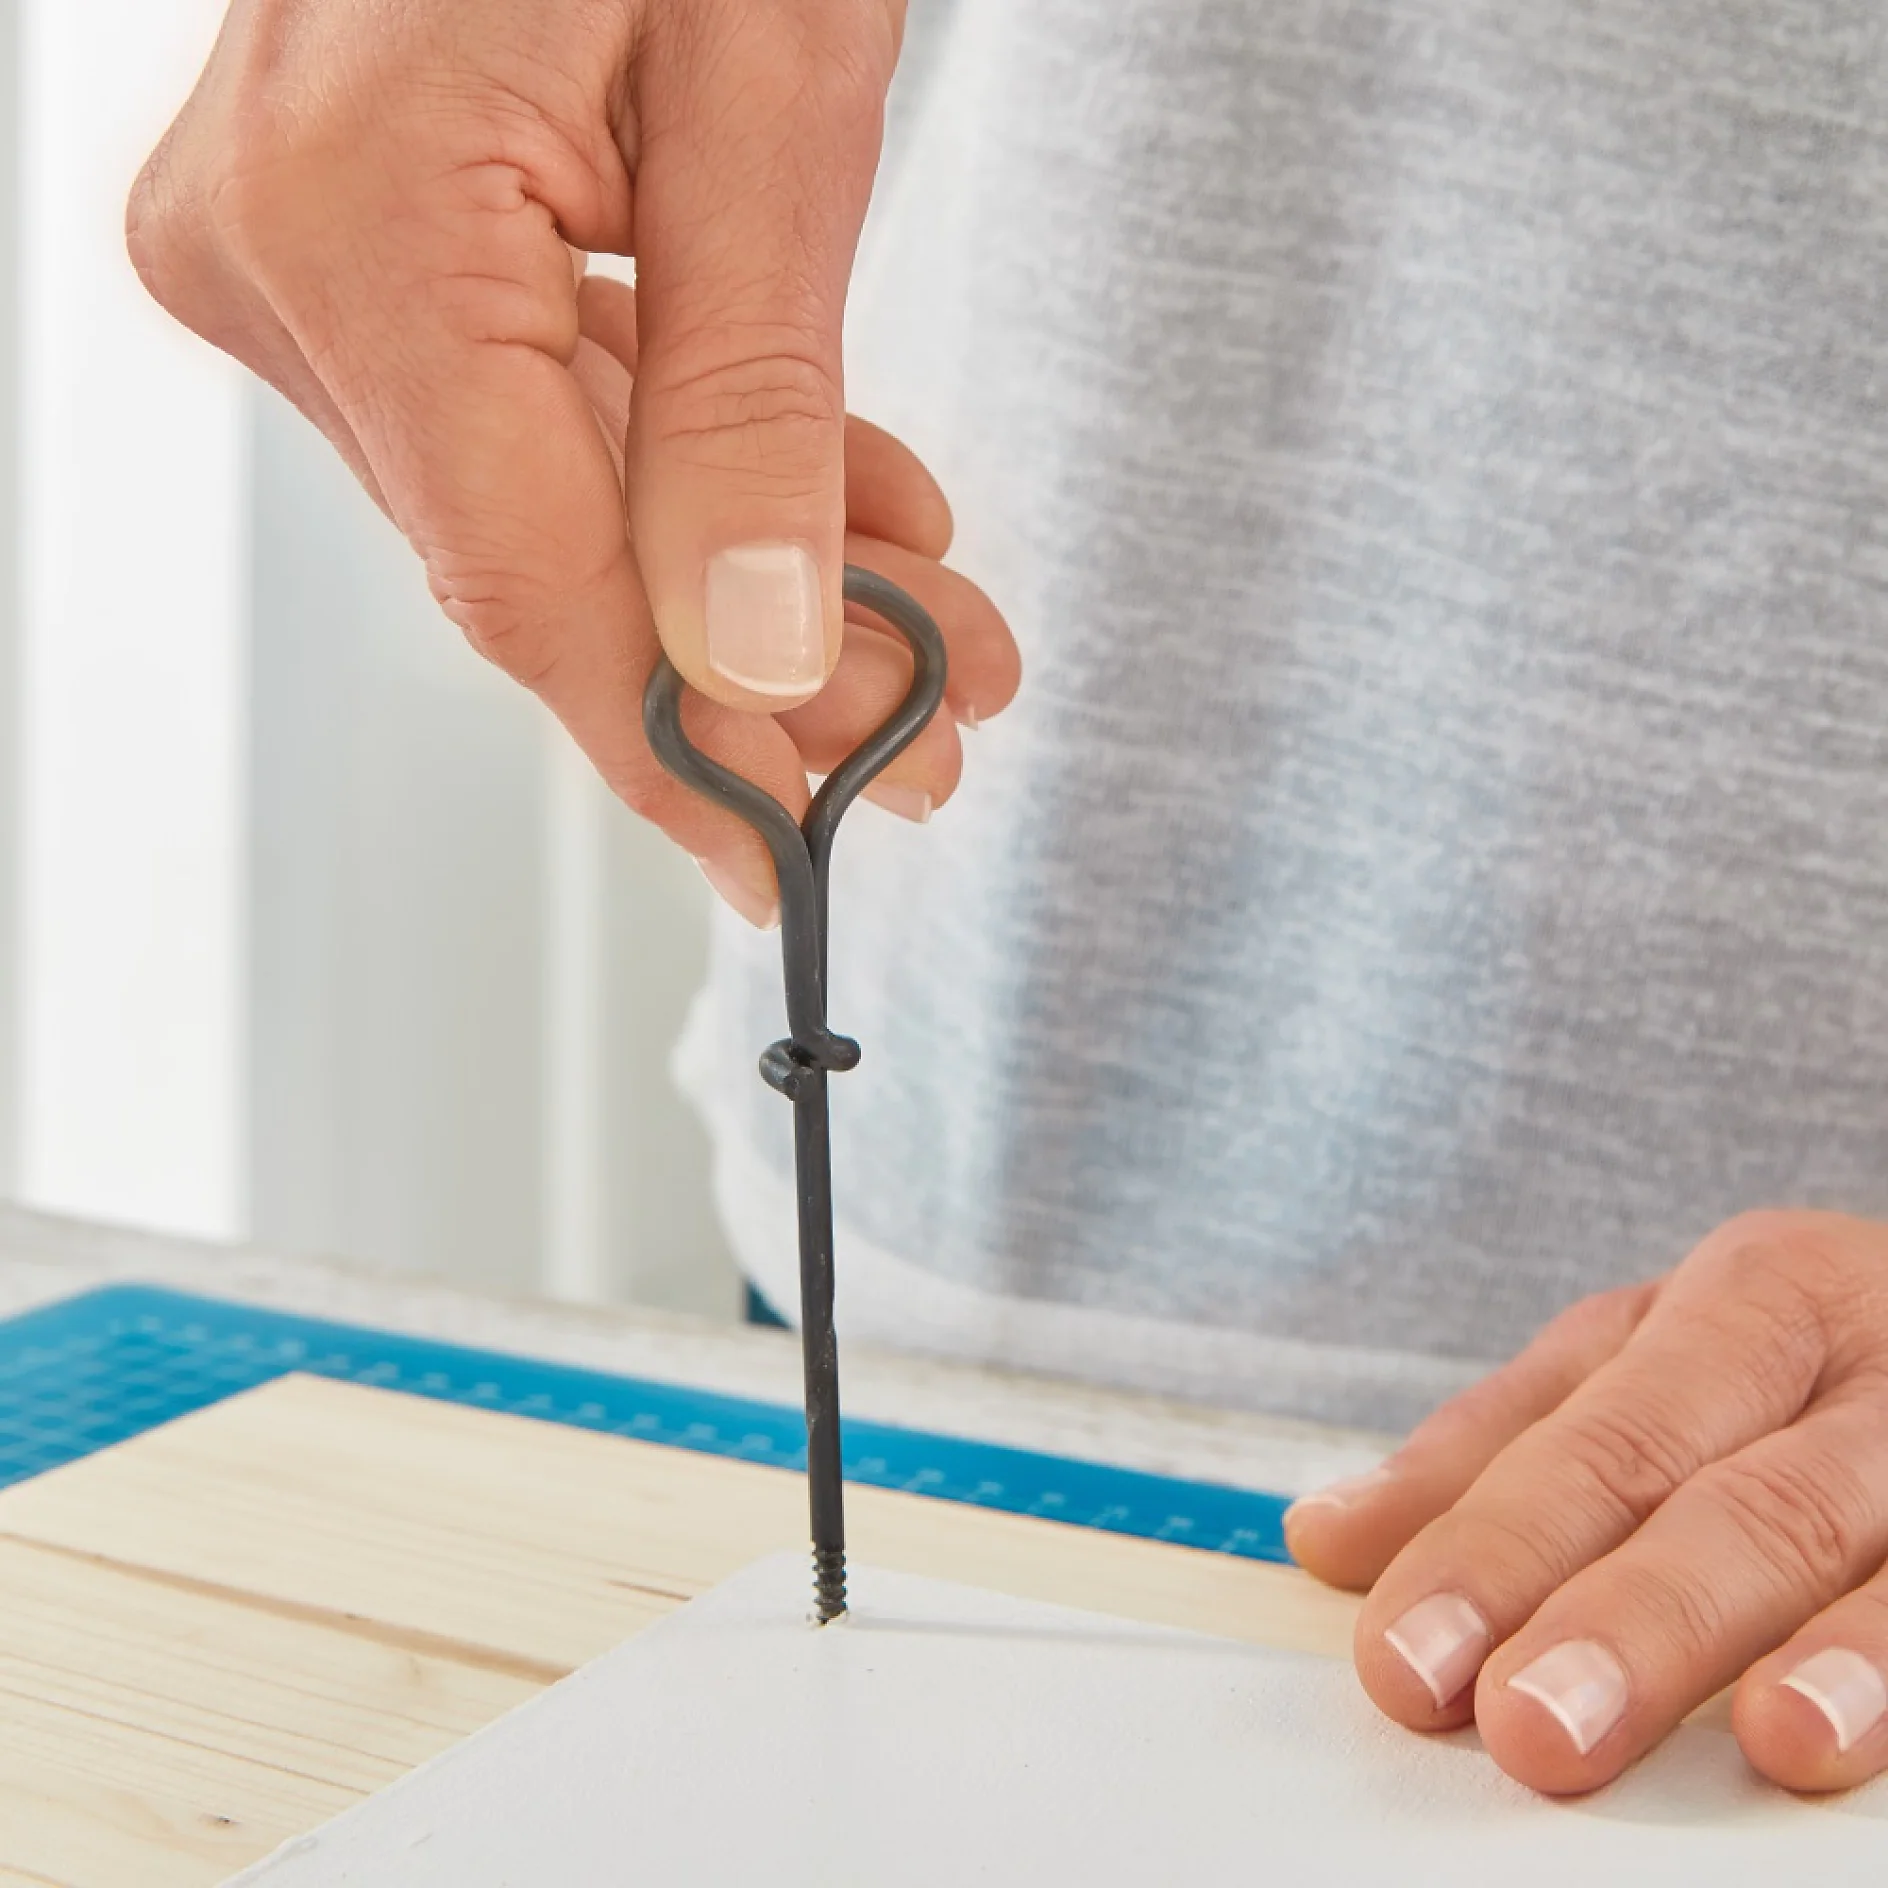
The first task is to drill holes in the sheet of plywood, so that you can safely mount your calendar on the wall. Before you start, use a pencil and ruler to mark their position. The top two should be 1.5cm from each edge, and at the bottom of the sheet the holes should be 1.5cm from the sides and 6.5cm from the lower edge.
03
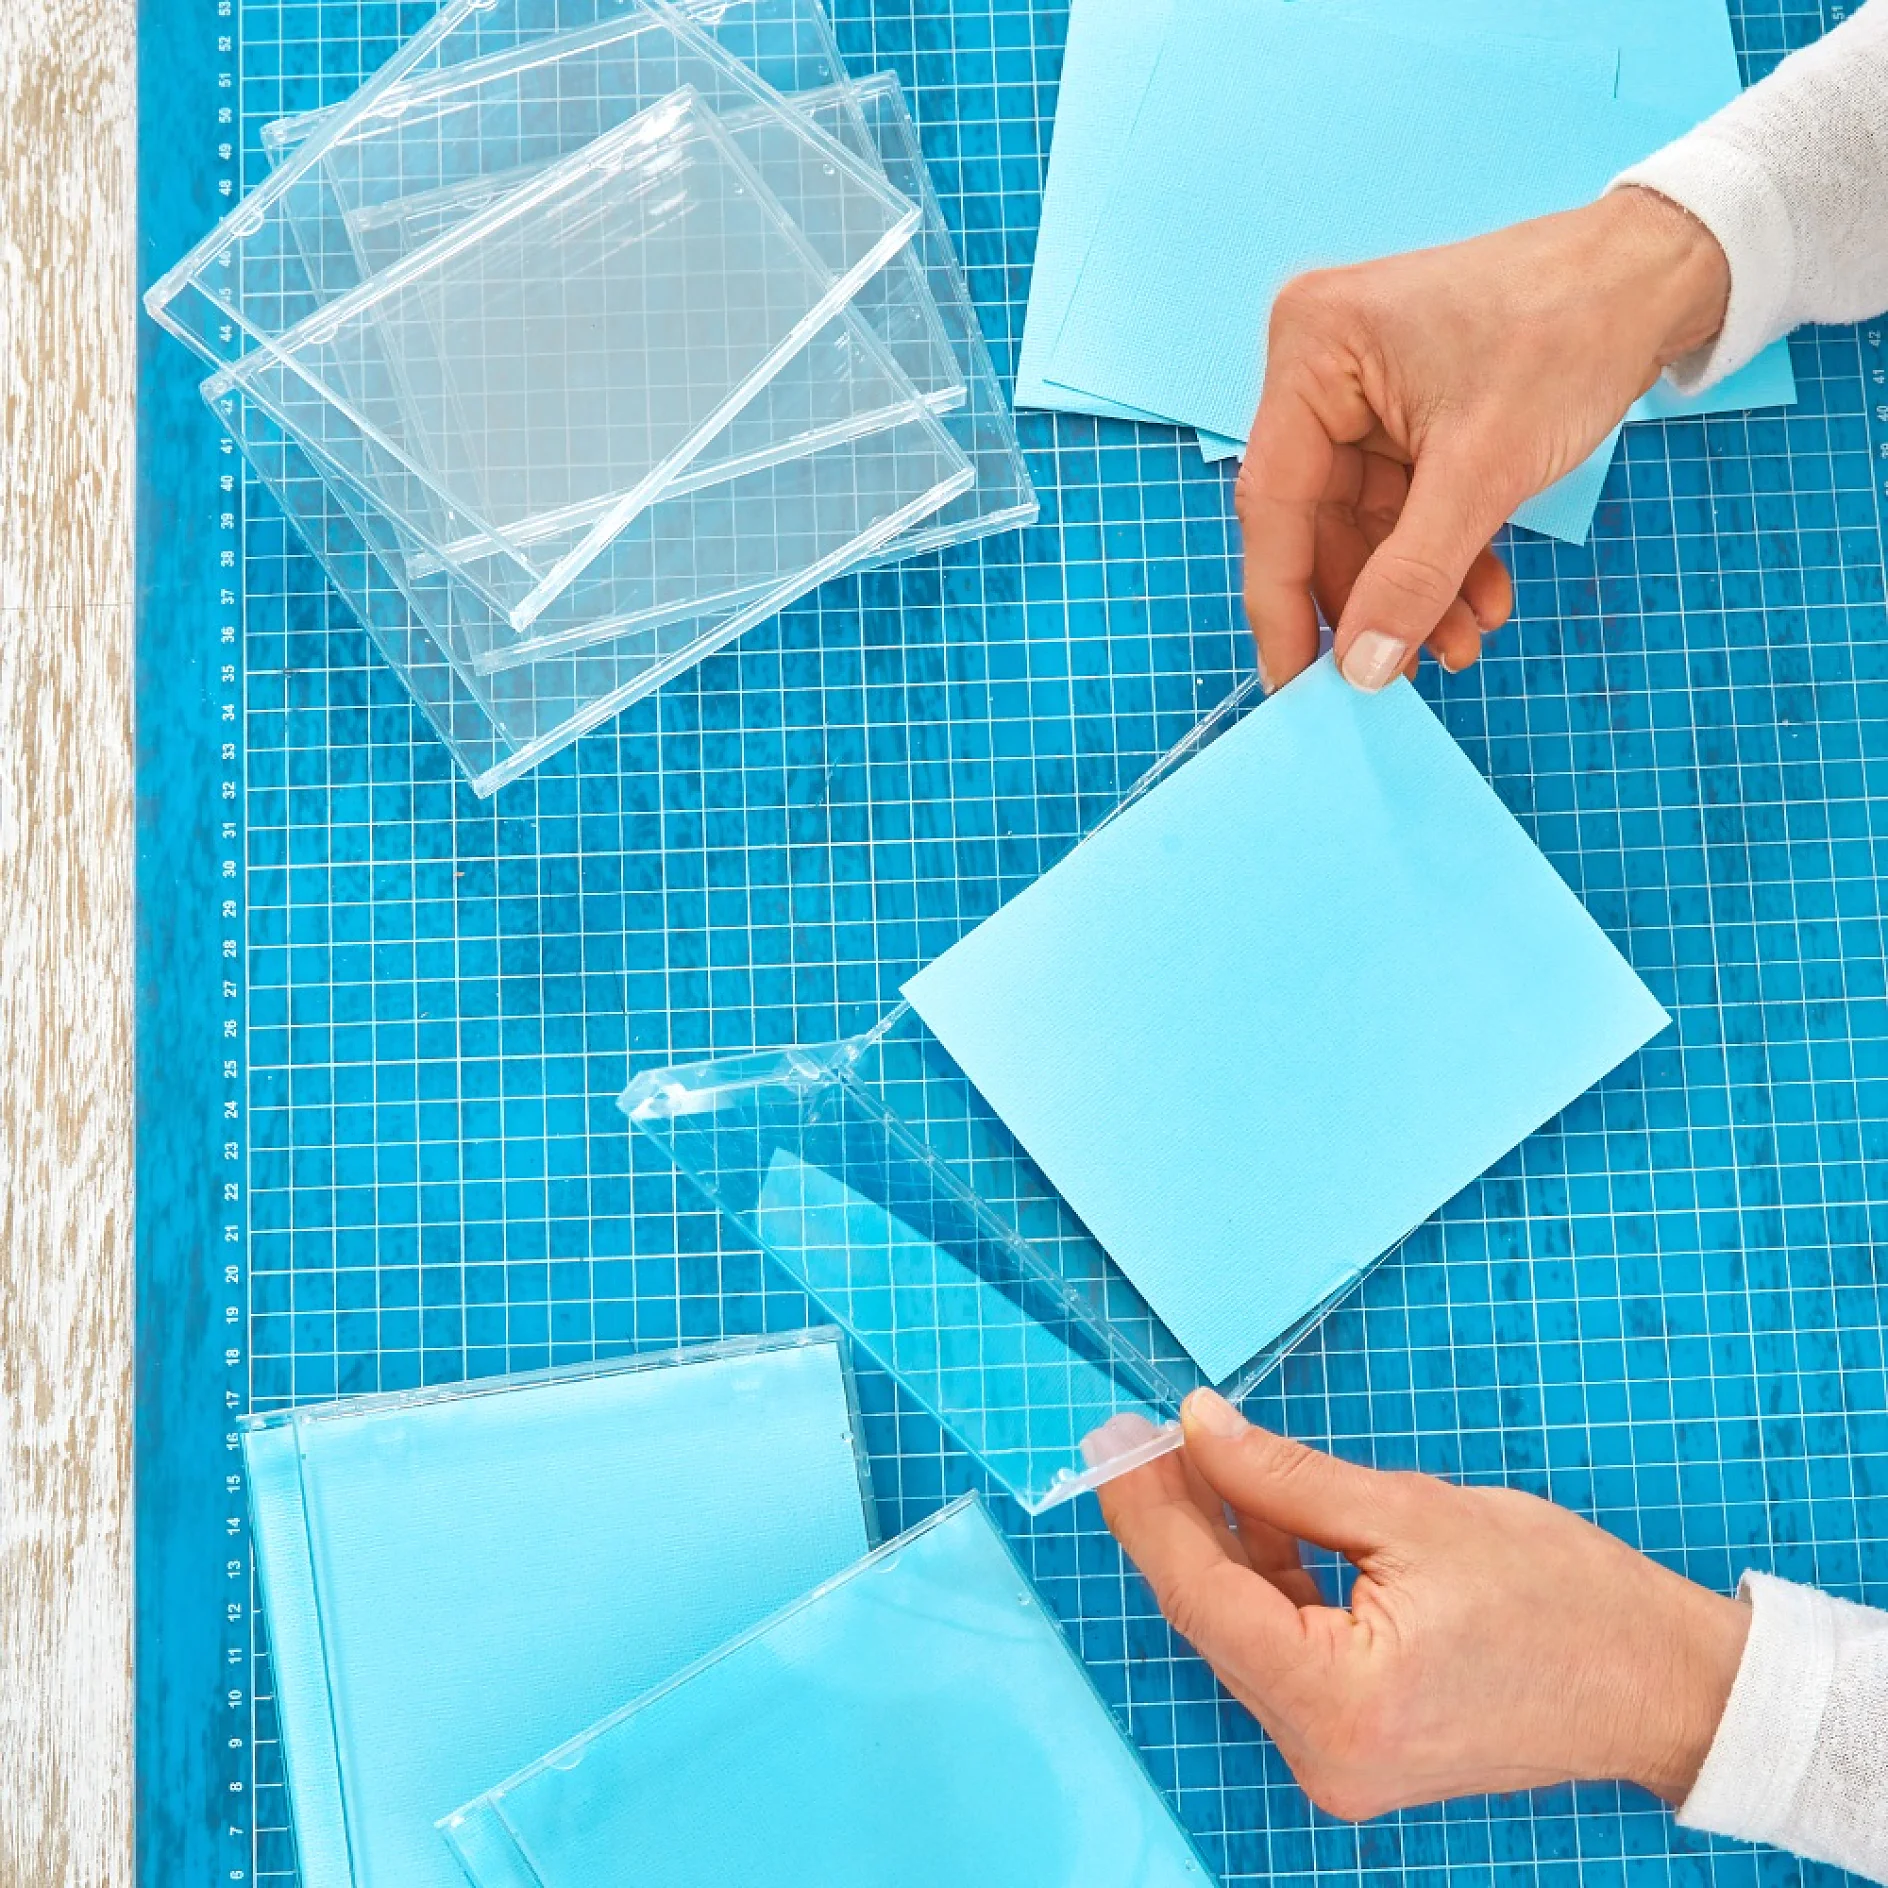
Cut your coloured card to fit the CD cases. You’ll need 7 of each of the 5 shades of blue. Then slip the cards into the 35 cases.
04
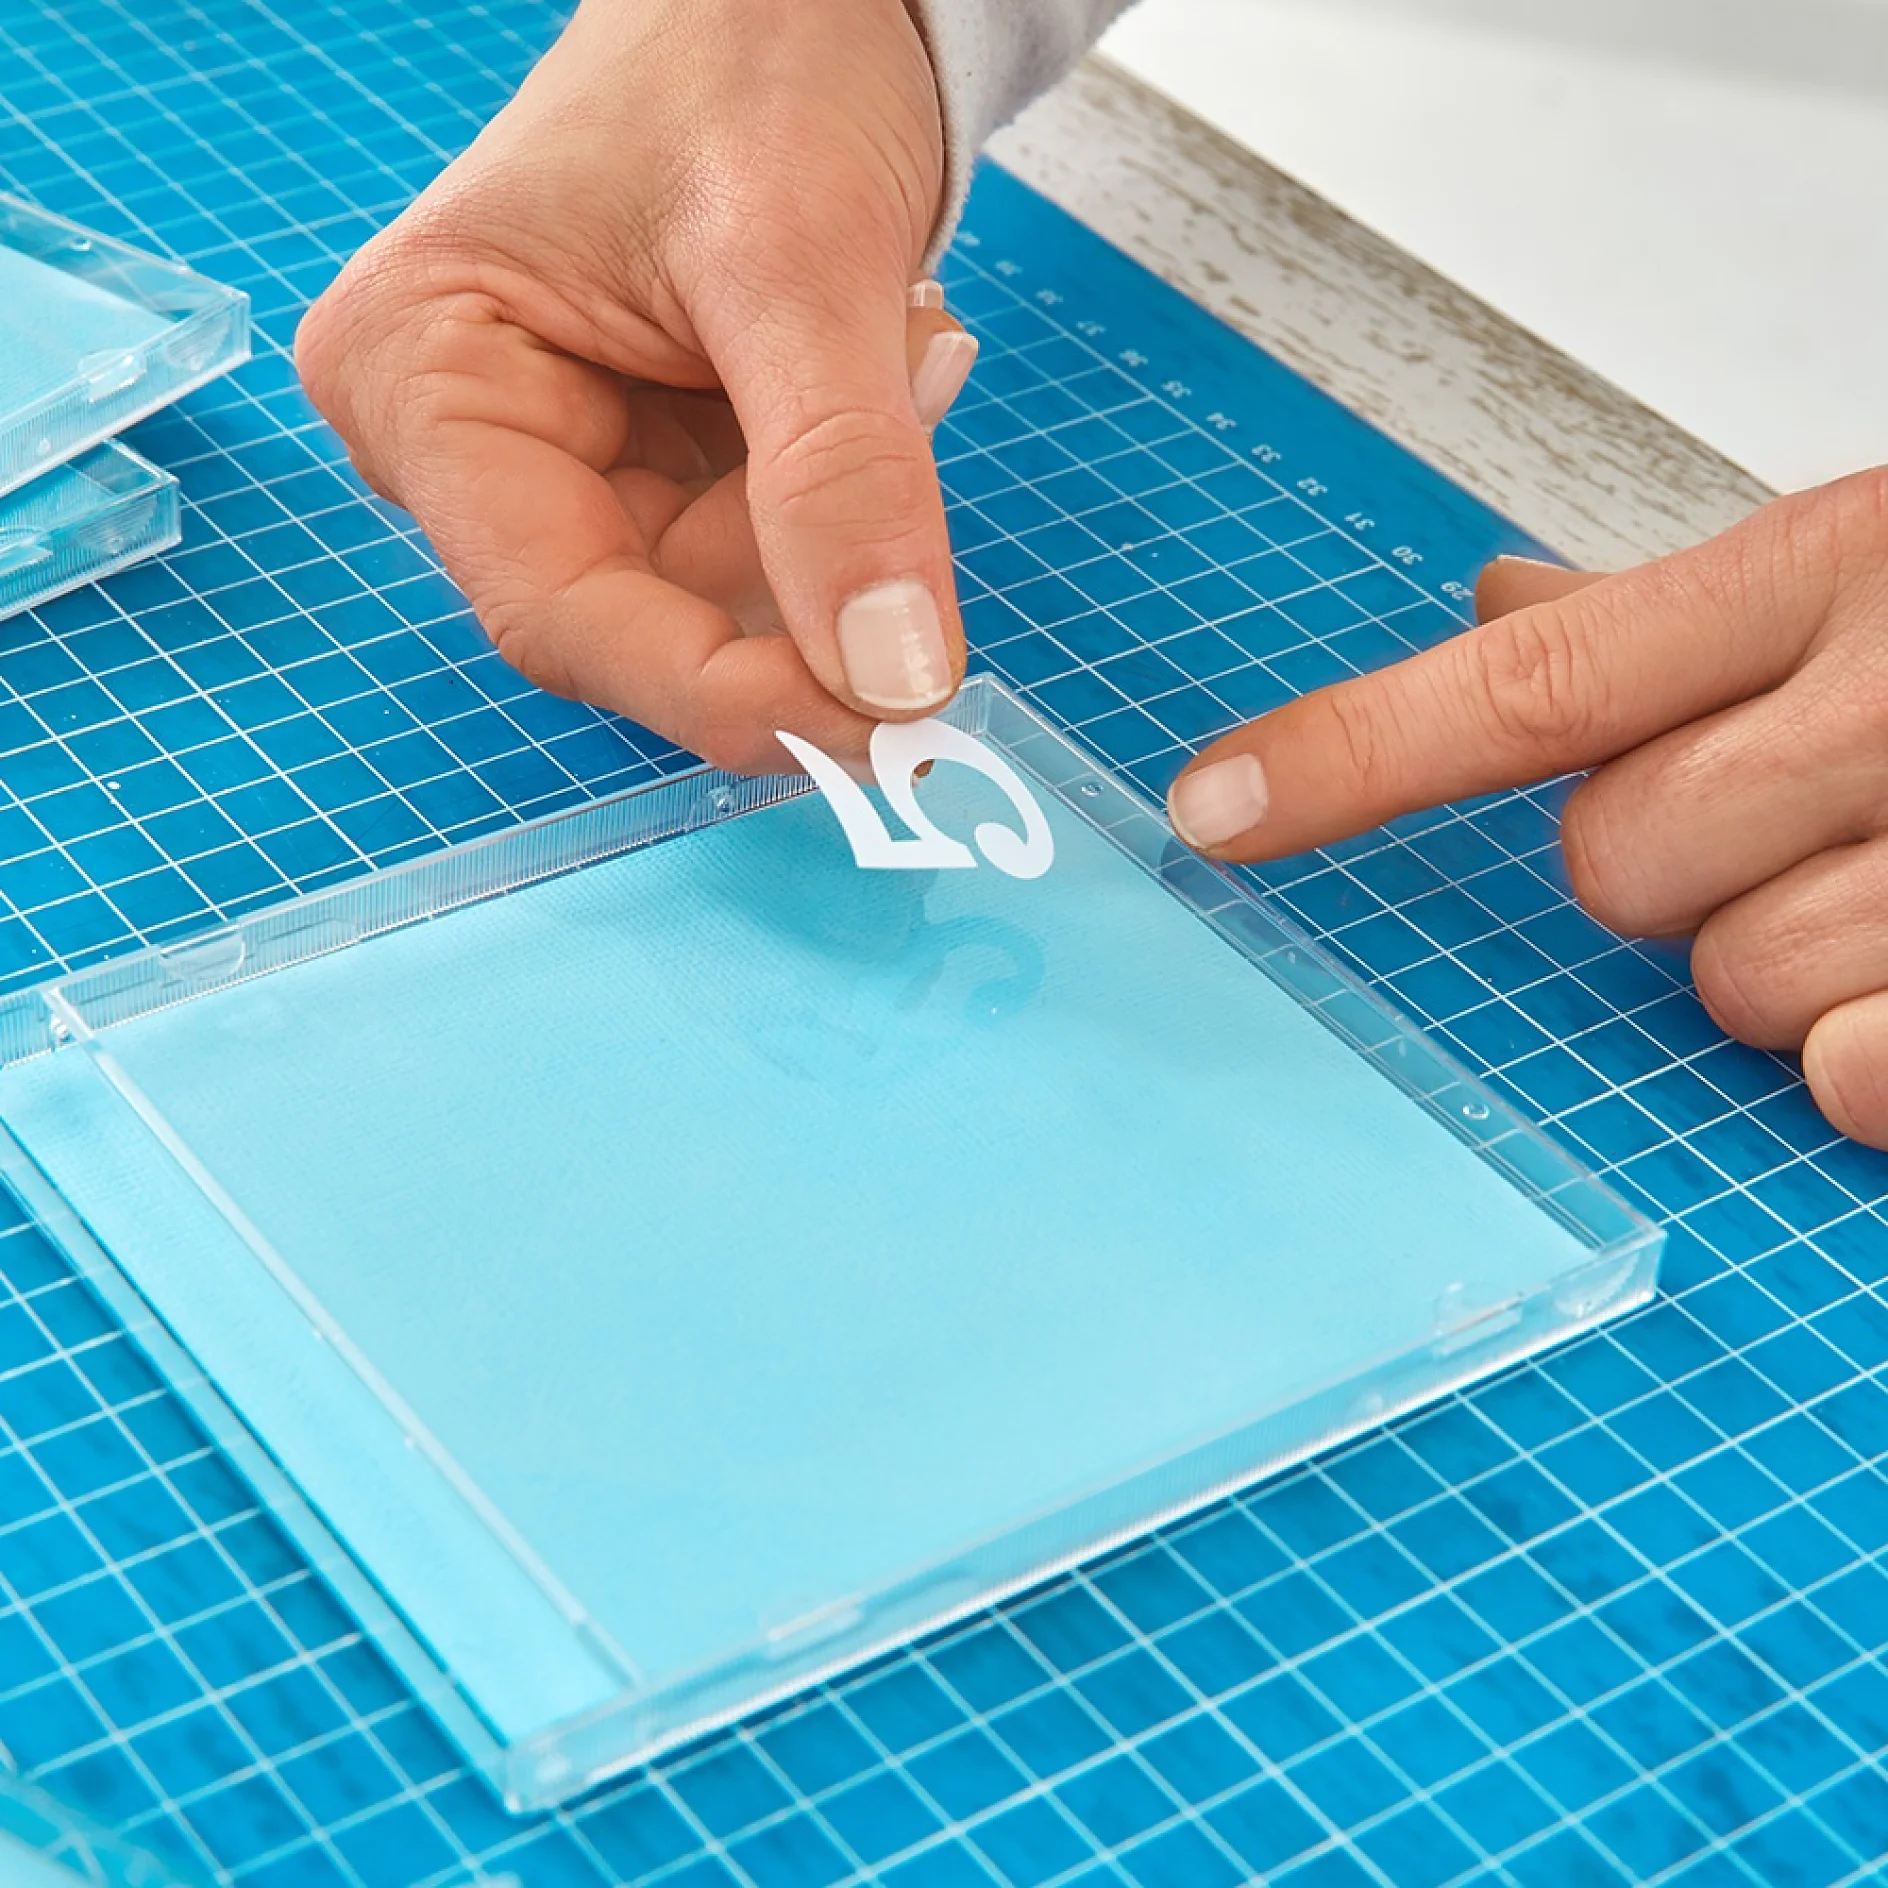
Now it’s time to stick on your numbers. Carefully apply them to the corner of each case - the first case should be left blank.
05
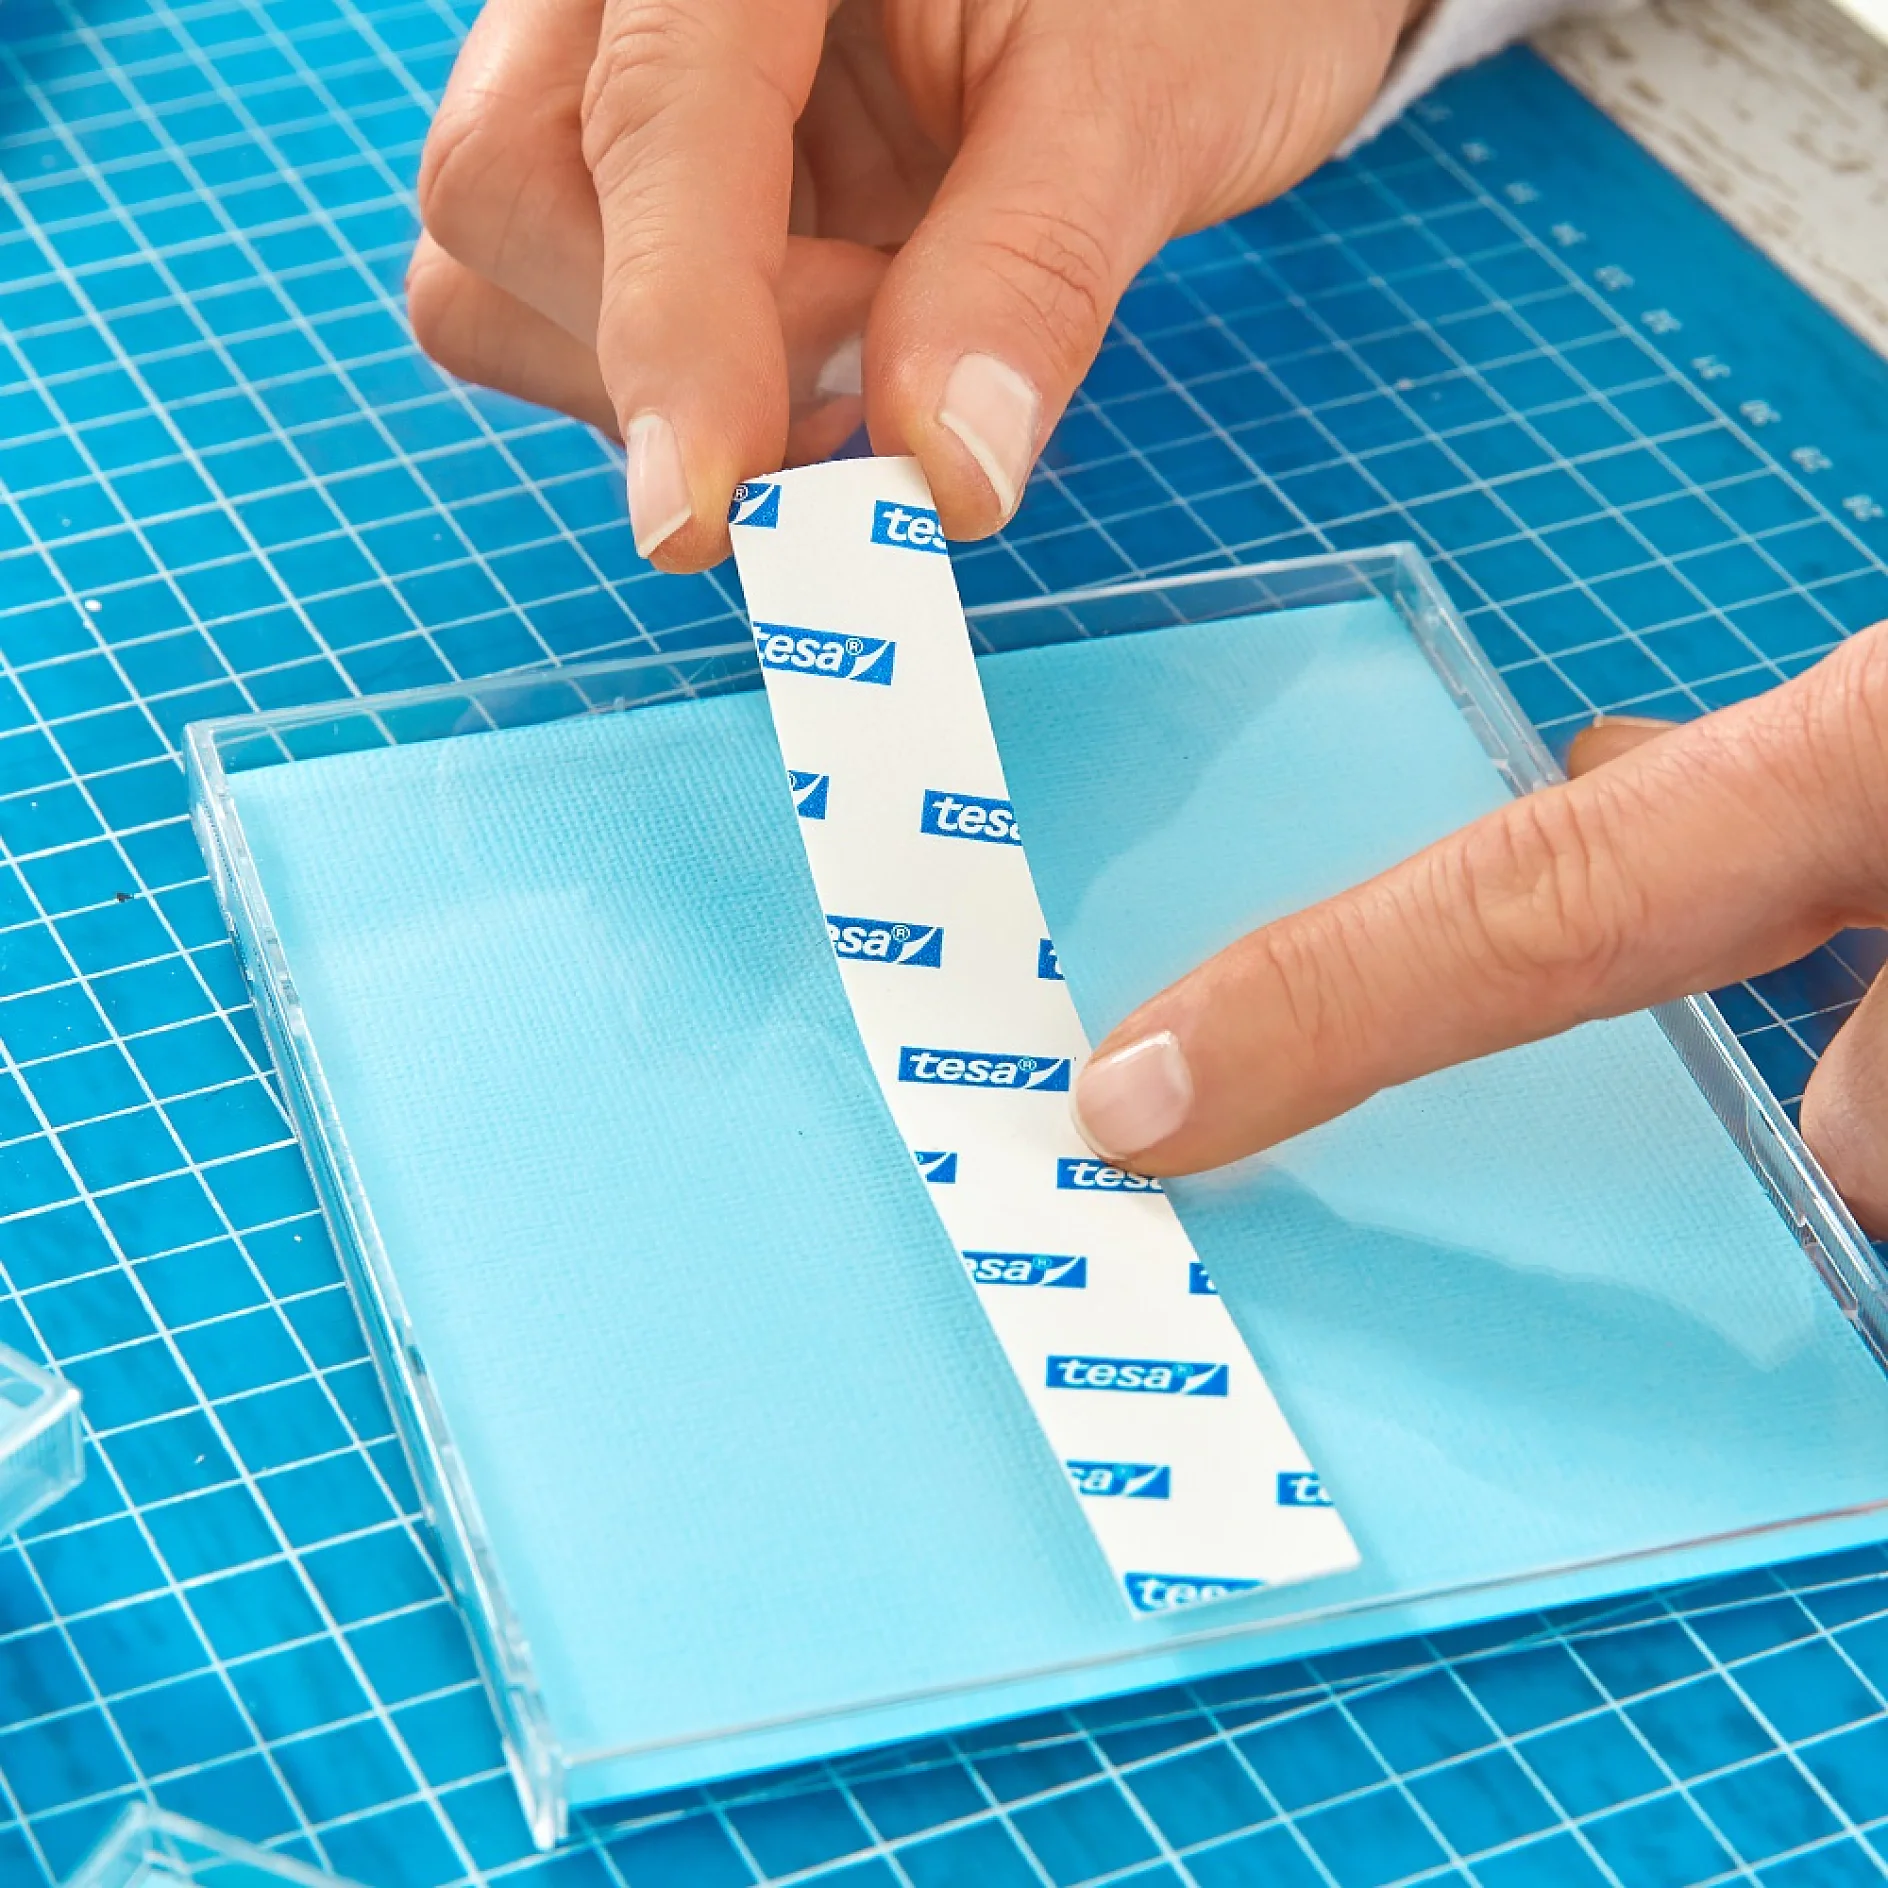
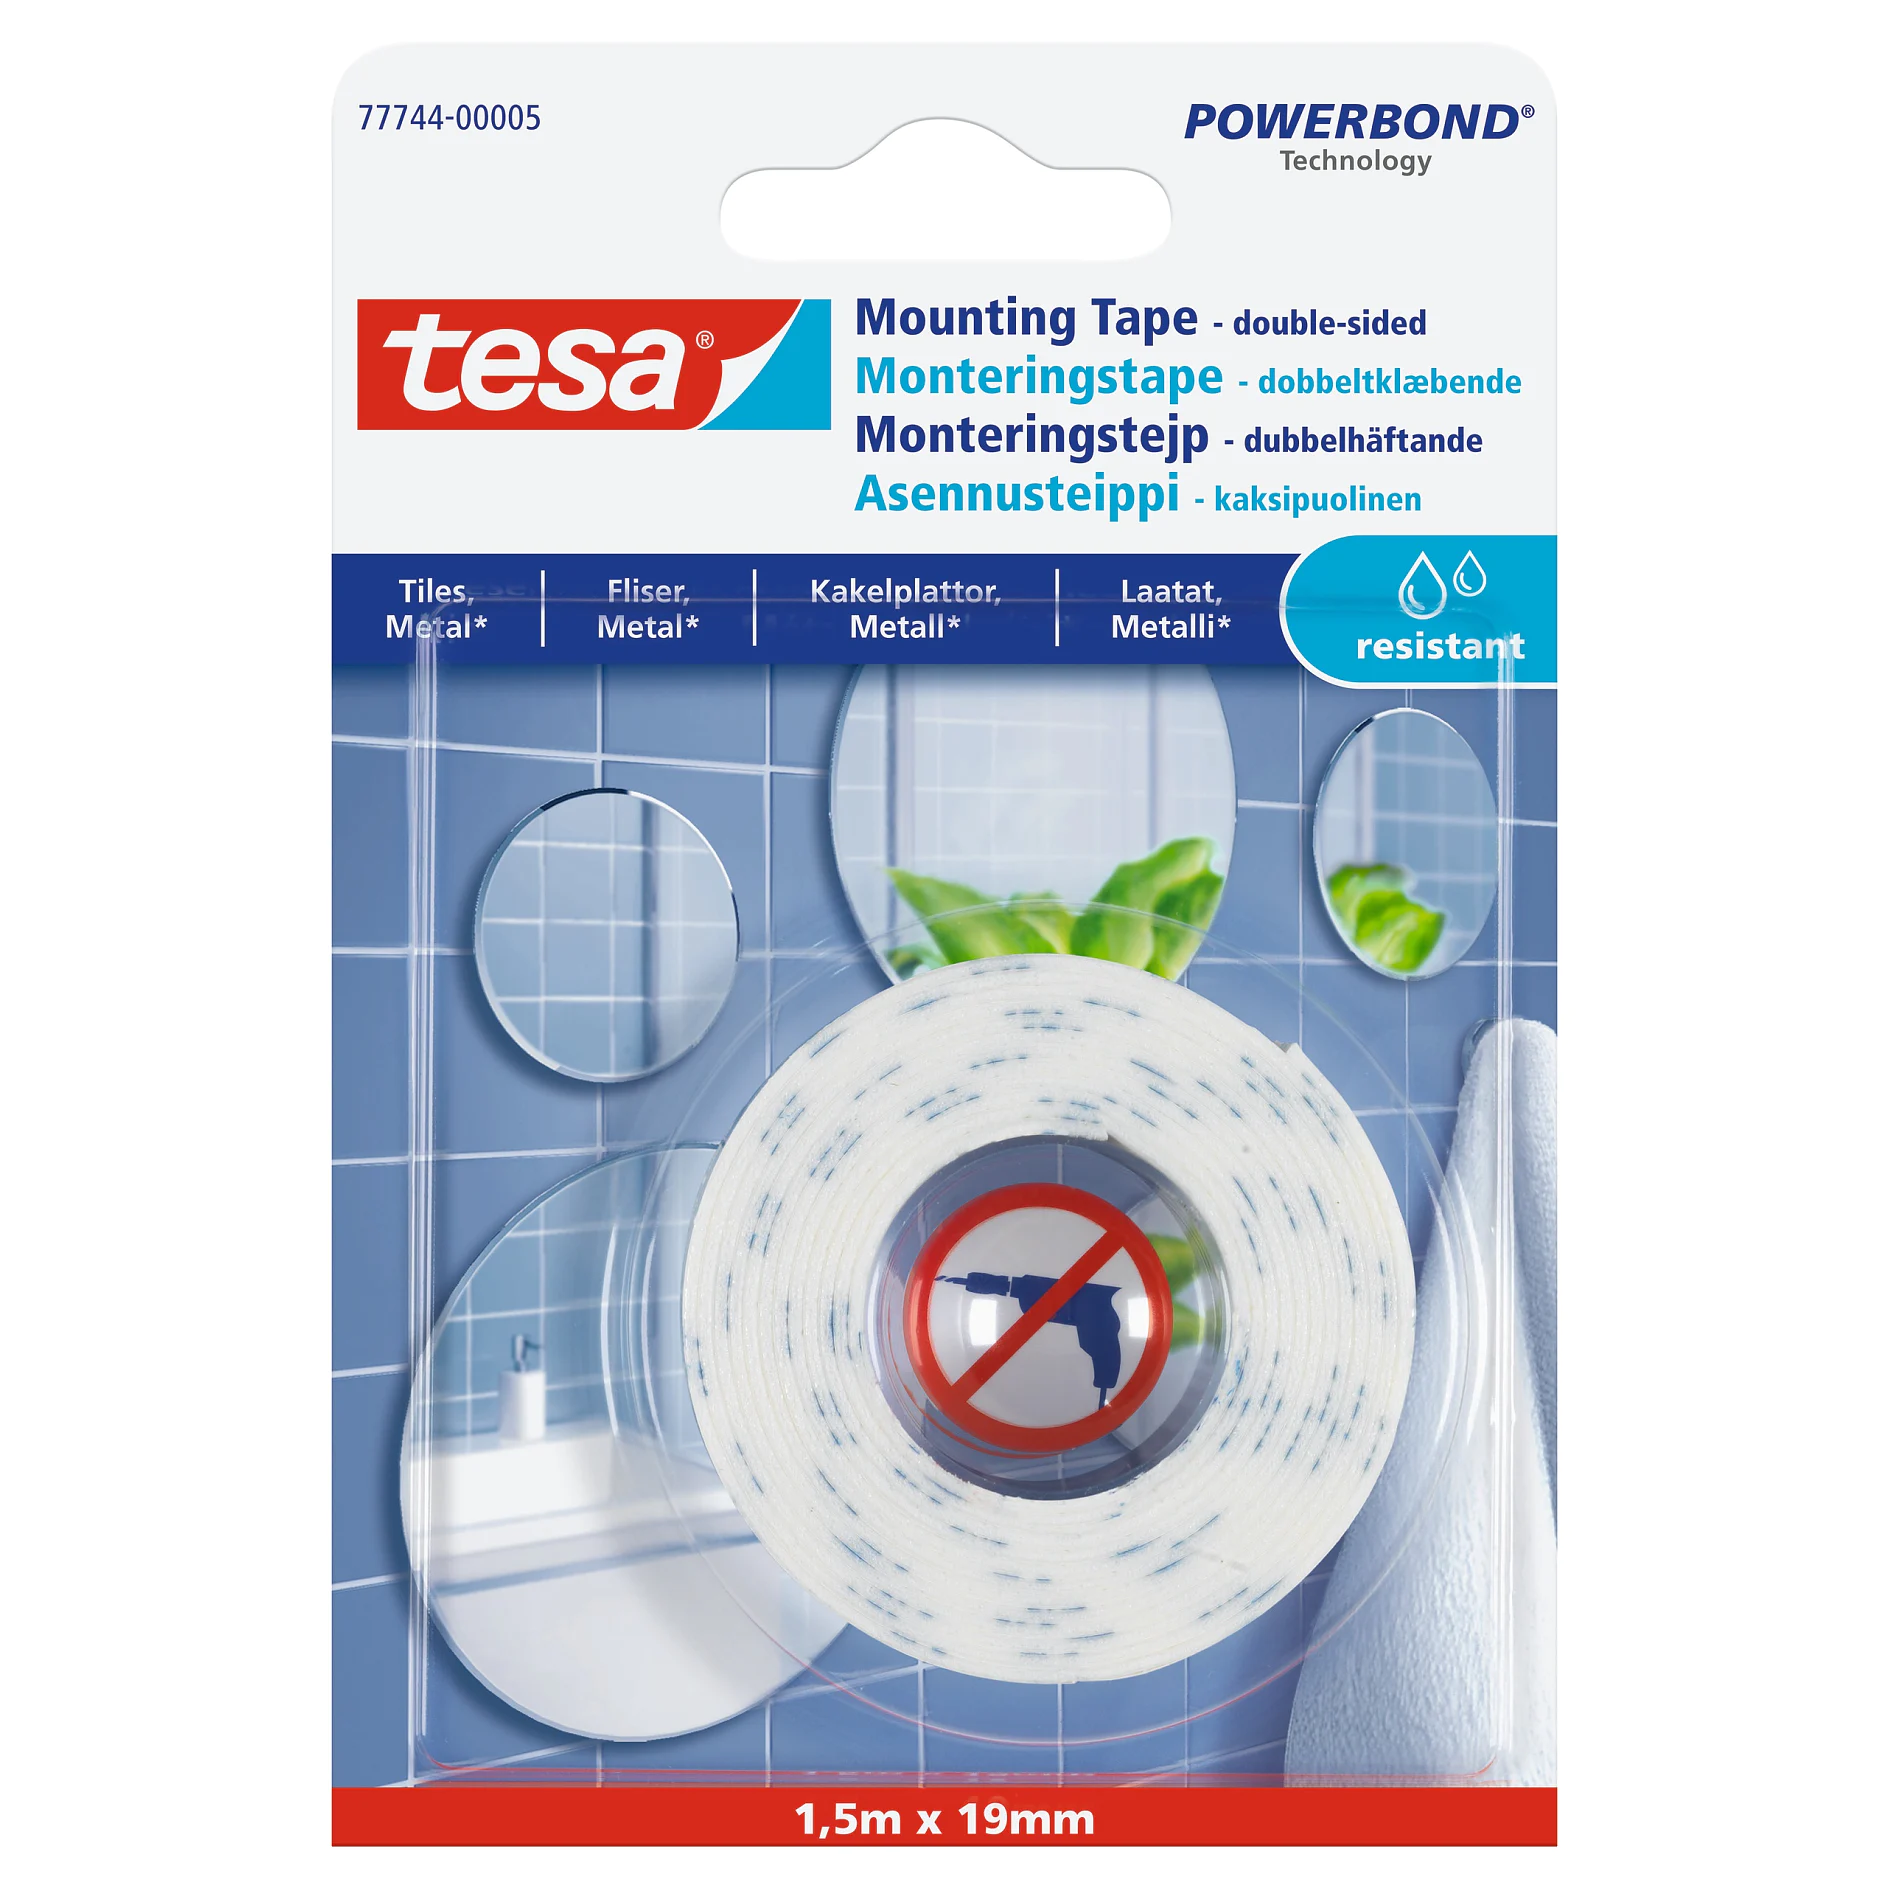
Take your mounting tape for tiles & metal and cut a 13cm long strip for back of each CD case. Apply it by pressing it firmly all along the entire strip. This activates the Powerbond® technology of the mounting tape.
06
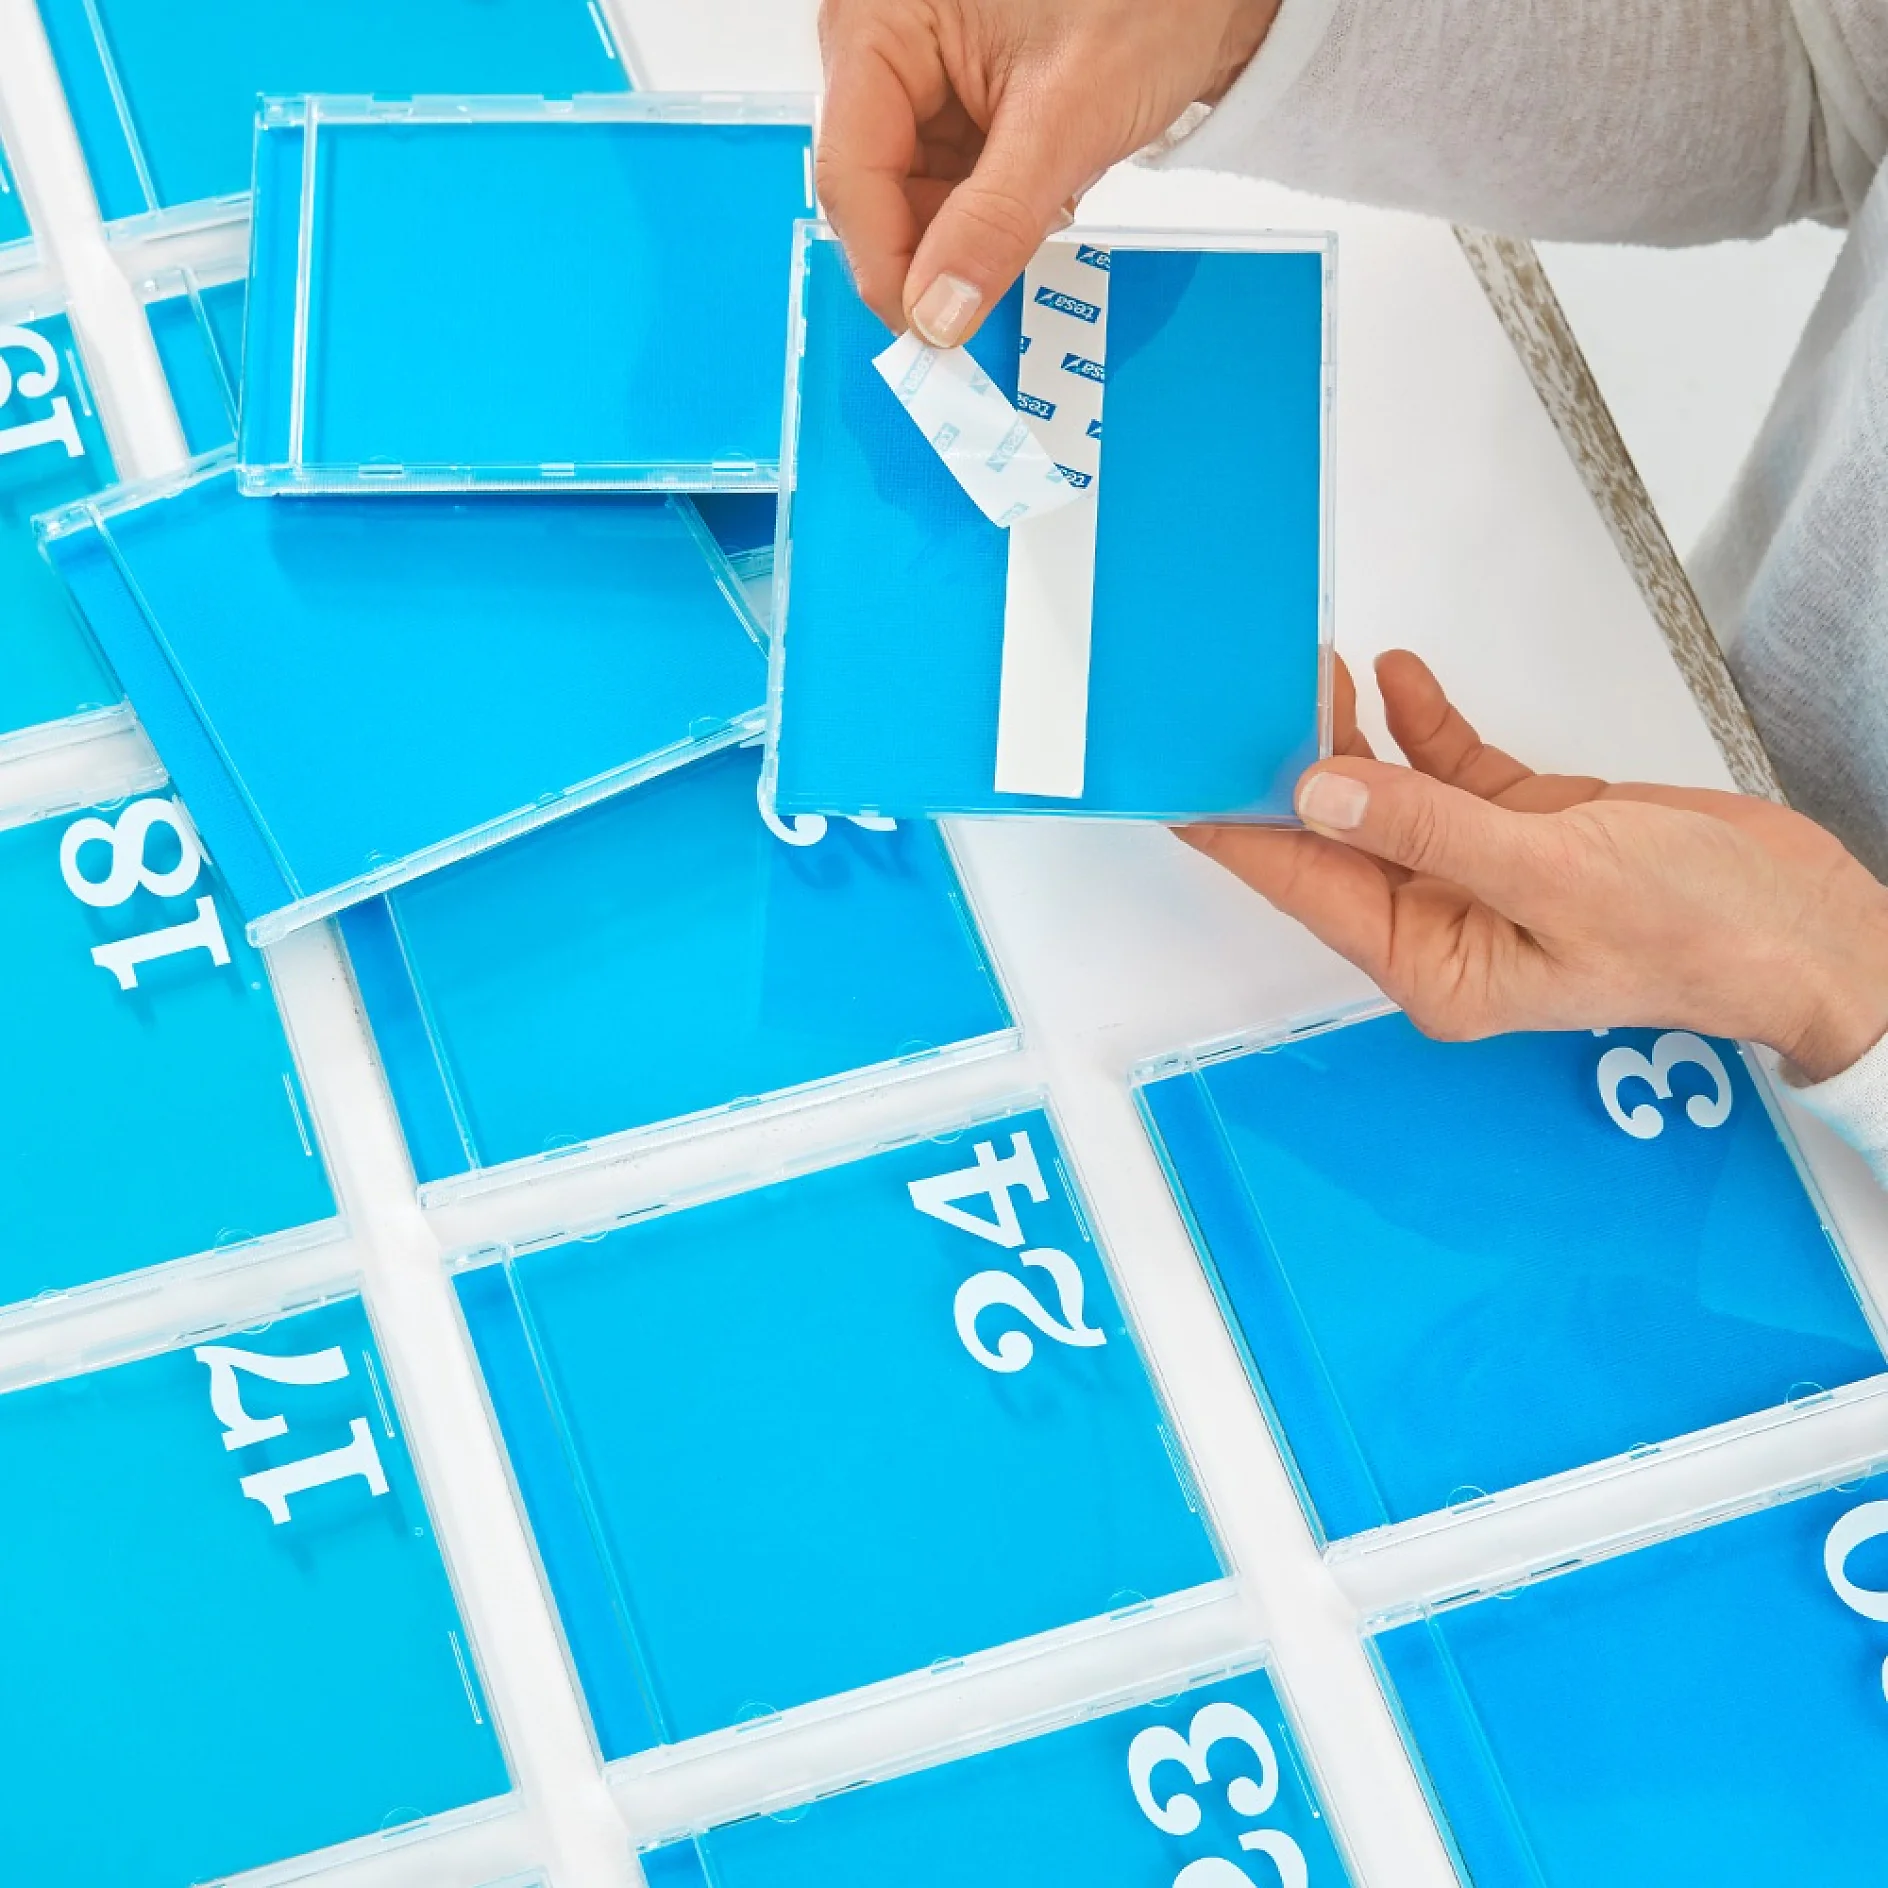
One by one, remove the protective film from the mounting tape for tiles & metal from each case.
07
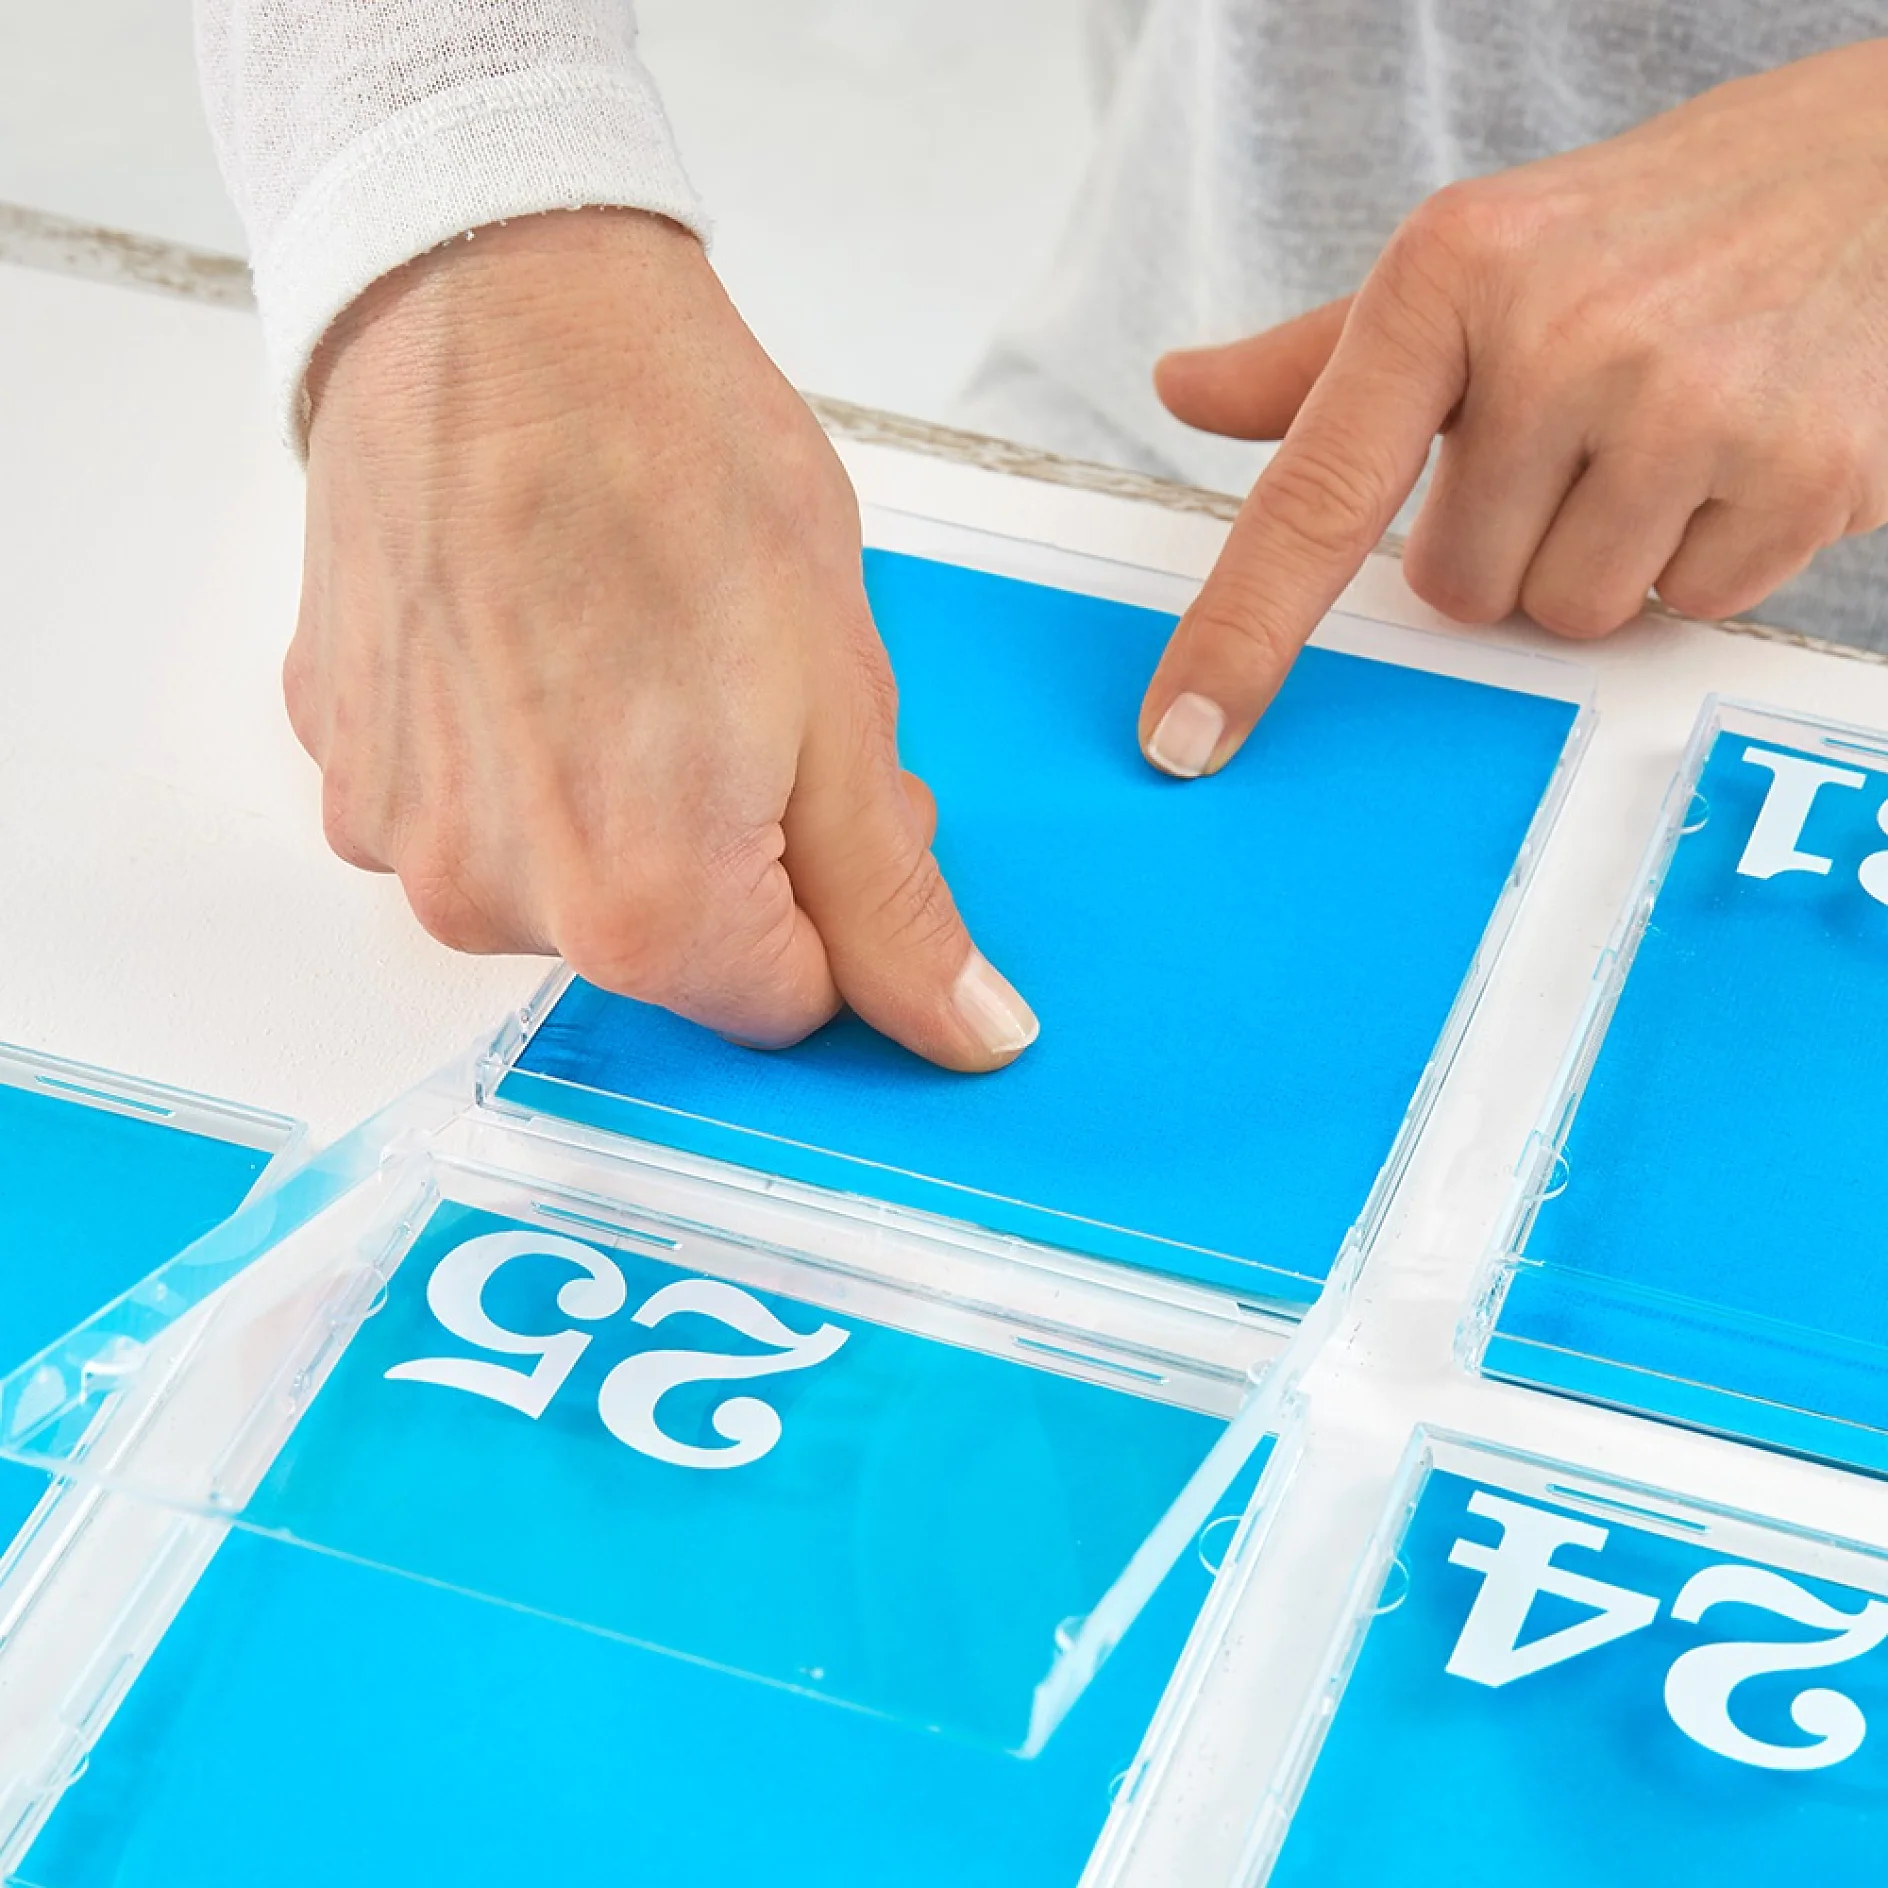
The CD cases should go on to the backing sheet 3cm from the outer edges and 1.5cm from each other. It’s a good idea to mark their positions lightly in pencil before you start. Open the covers of the cases and press them into place for minimum of 5 seconds to get as close a bond as possible.
08
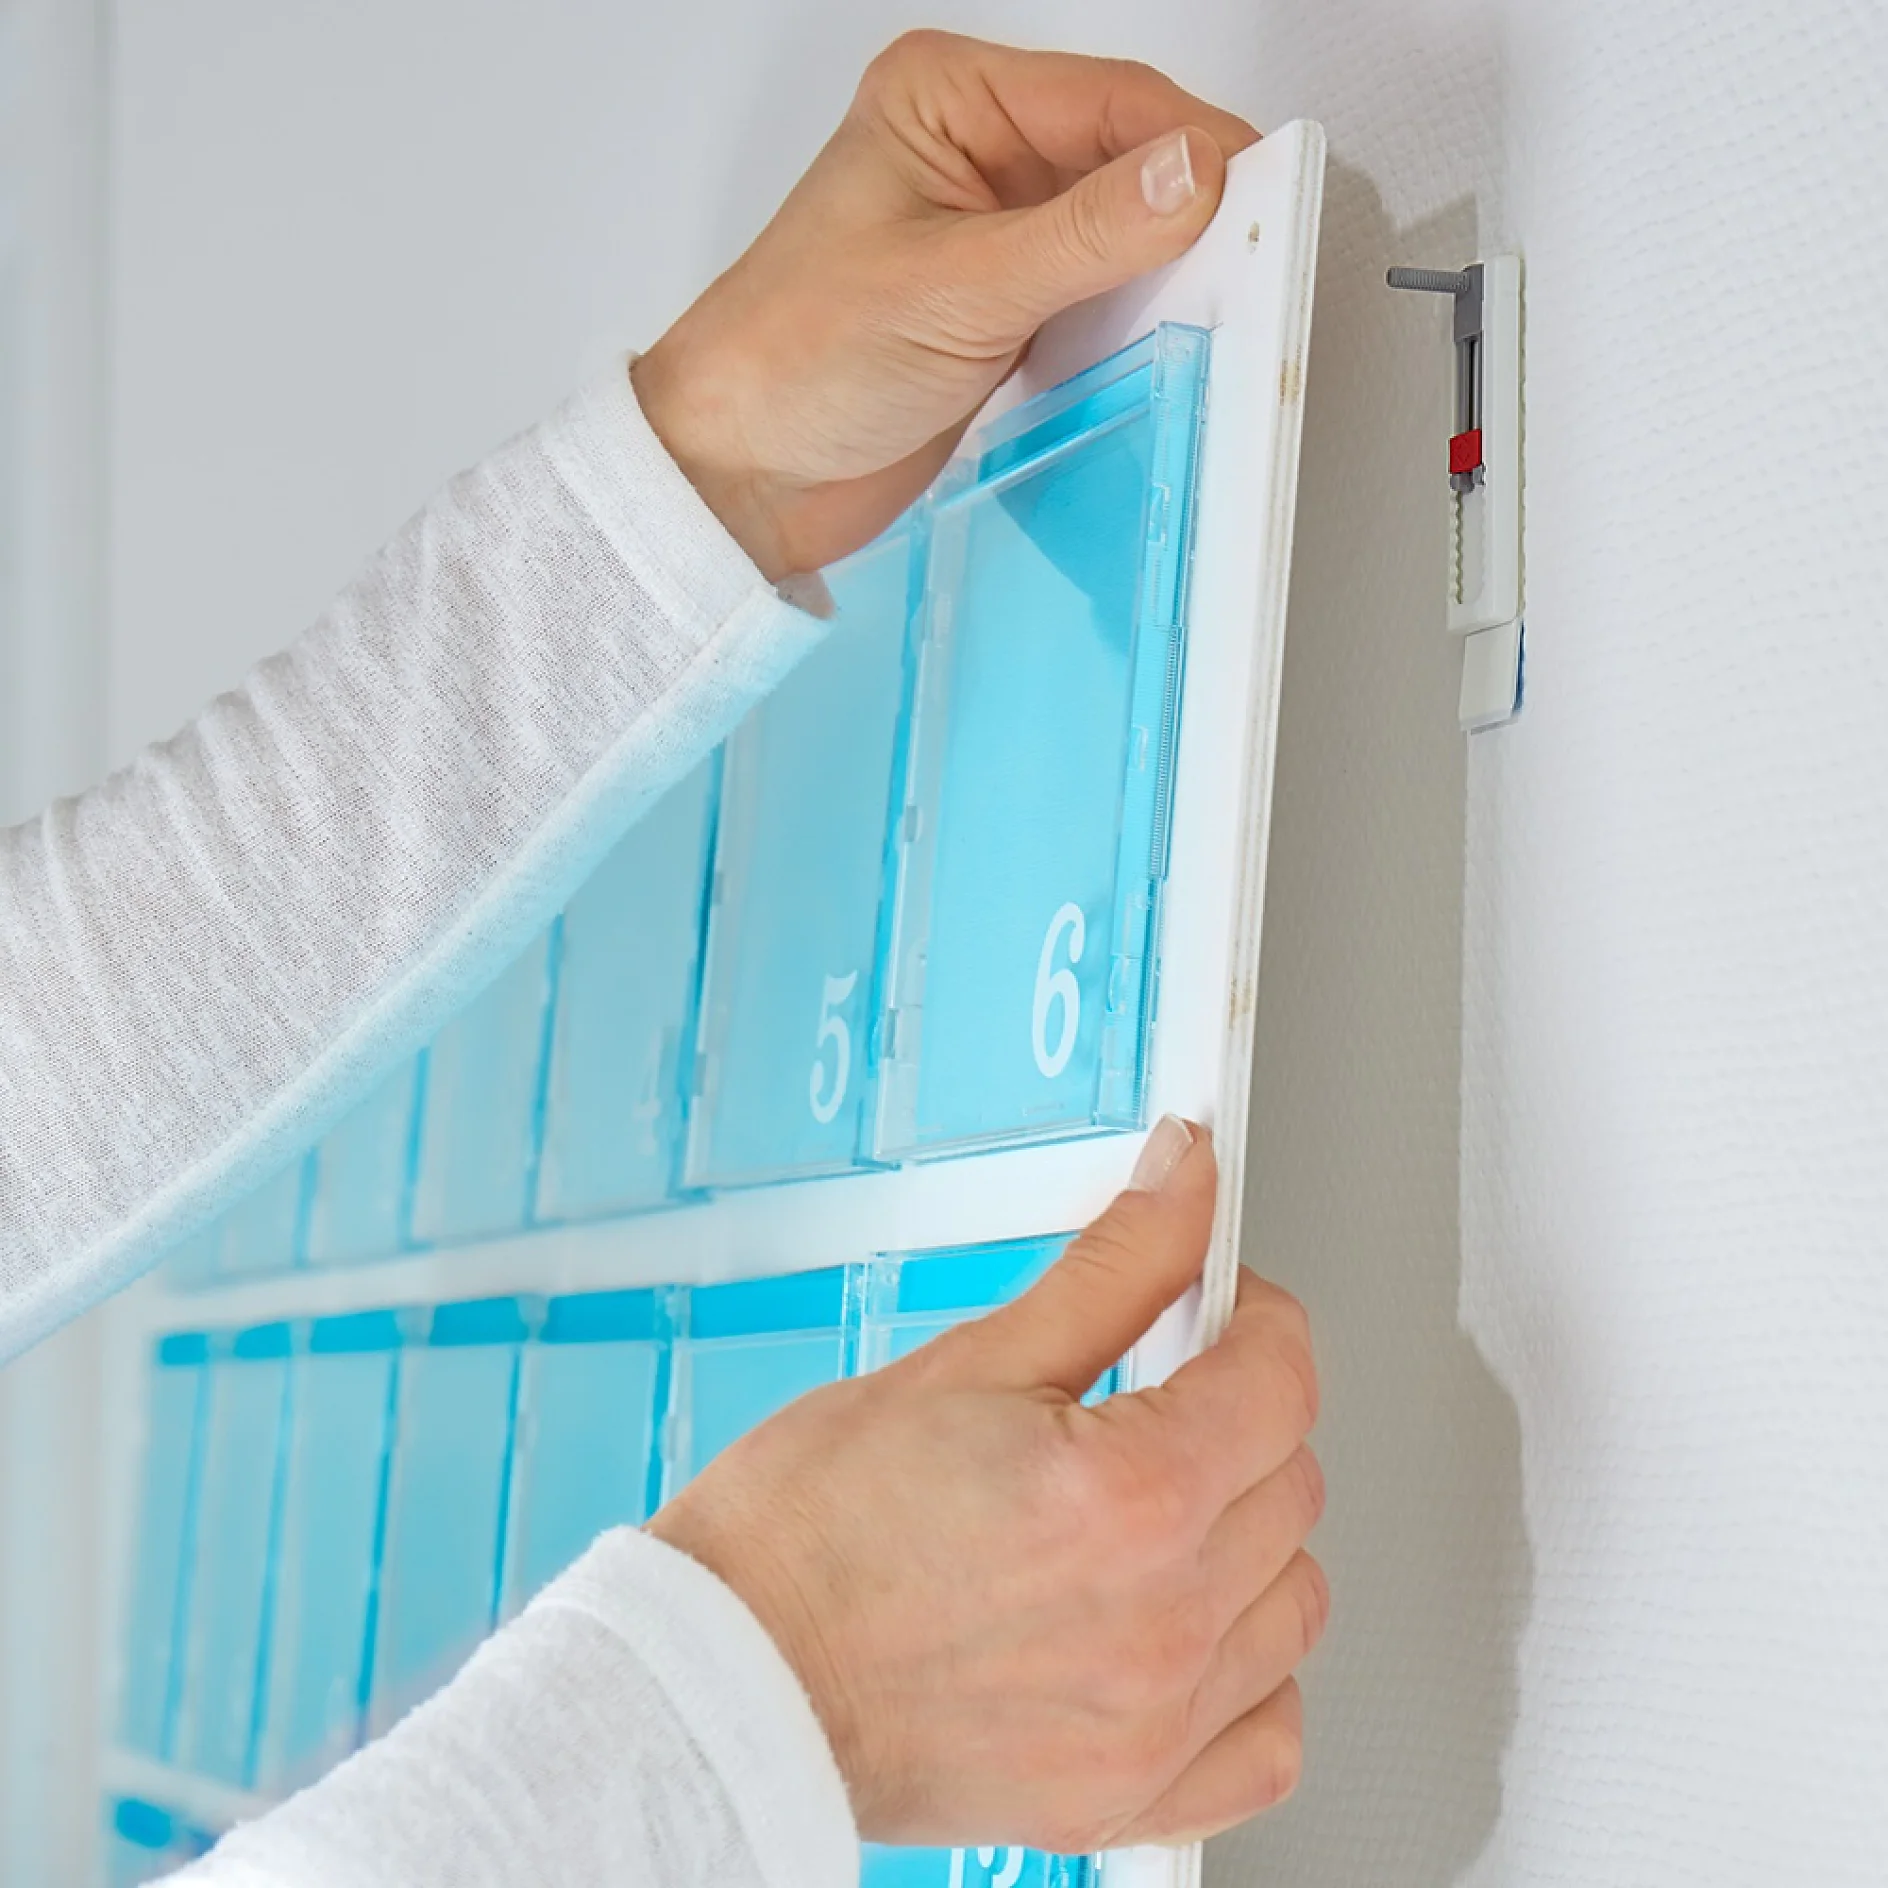
Apply the four tesa® adjustable adhesive nails for wallpaper & plaster 1kg to the wall following the instructions in the pack. The adjustability means you can line up the two nails after application. Hang the calendar using the holes you drilled earlier.
09
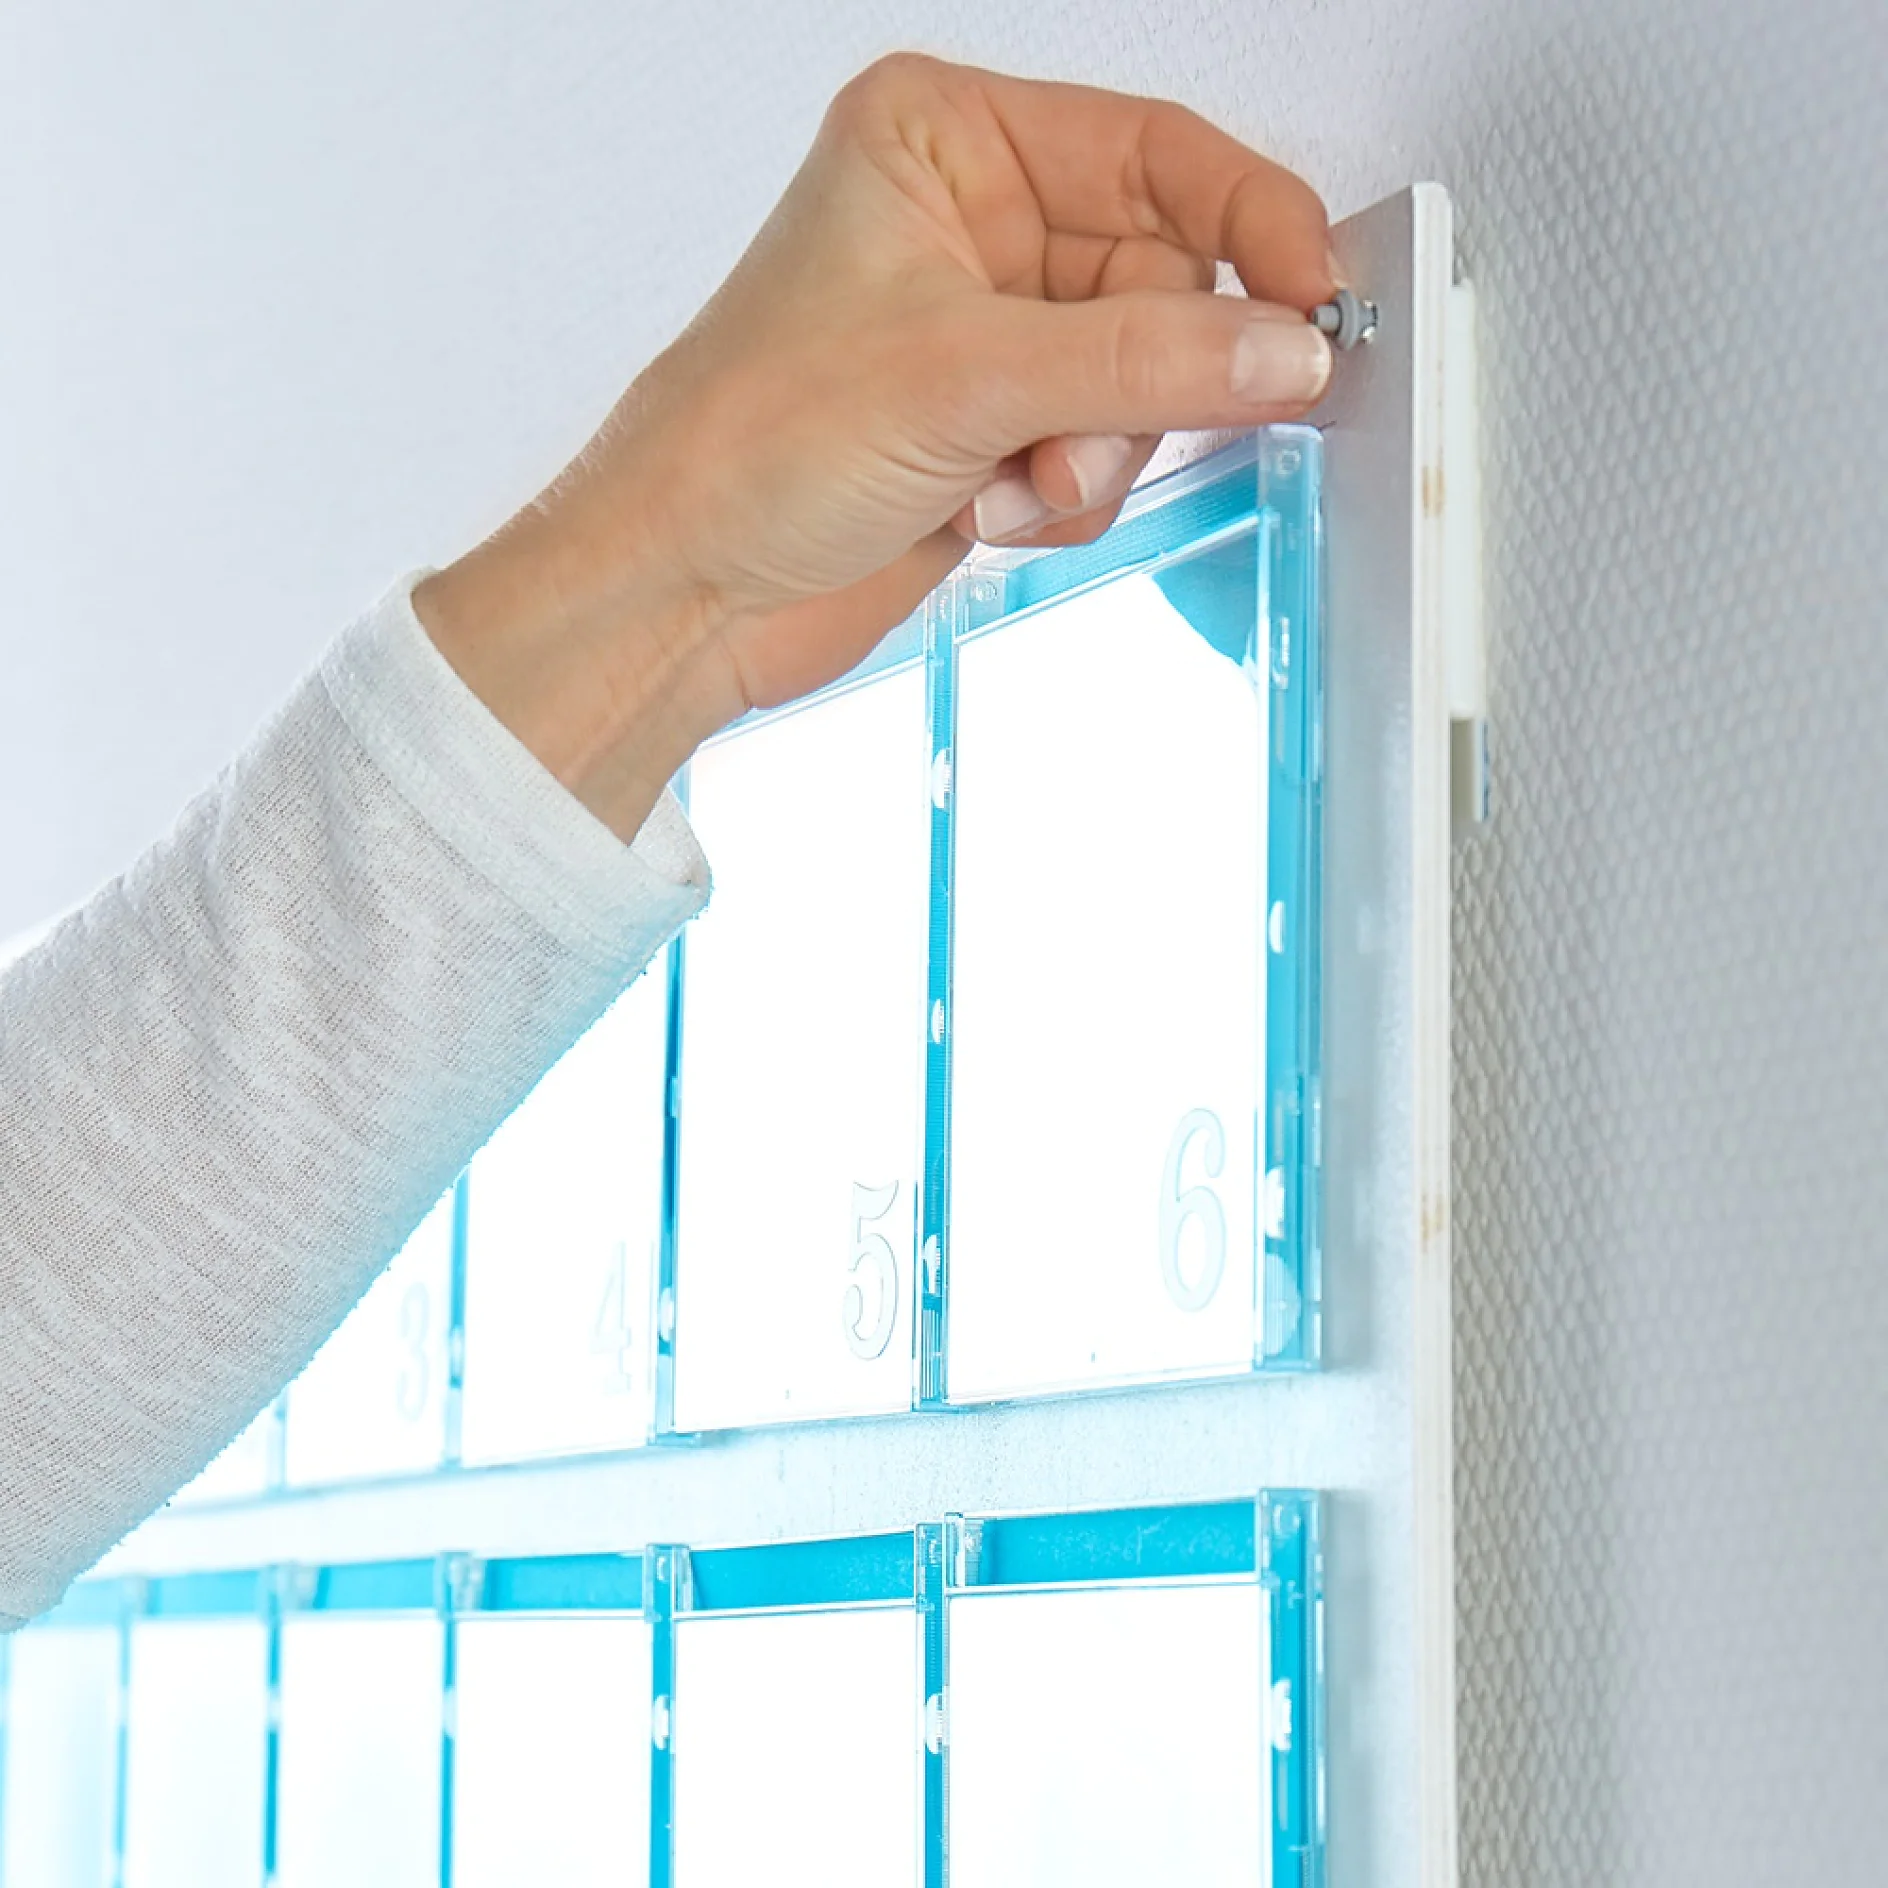
Apply the rubber nuts on the tesa® Adjustable Adhesive Nails for Wallpaper & Plaster 1kg to keep your DIY calendar in place for as long as you like. If you want to remove it, it will leave no trace on your wall.
10
It’s so quick to create this! Plan the month with places to keep tickets, notes and write appointments, too.
tesa products required for this project
tesa® Mounting Tape for Tiles & Metal
tesa® Adhesive Nail for Wallpaper & Plaster 1kg
Last updated on Jul 10, 2023