02_ttp39_HolzleistenAdventskranz_AM_quer

Wood Advent Wreath

The single parts for this Christmas wreath idea are readily available in any well-stocked hardware store. This way, with simple wood trims, copper caps, wooden spheres and some tesa® handicraft glue, you may create a pretty and puristic Advent wreath that will last forever.

Level of difficulty Leisurely inspiration
Duration 130

We need:

4 wooden trims (beech) 0.5 x 30 x 300 mm (sawed to size in the hardware store) ruler pencil 4 wooden spheres (beech) ø 3 cm 4 copper caps ø 22 mm tesa® handicraft glue


Time: approx. 10 minutes + several hours drying time.

This Is How We Do It:

02_ttp39_HolzleistenAdventskranz_001
01

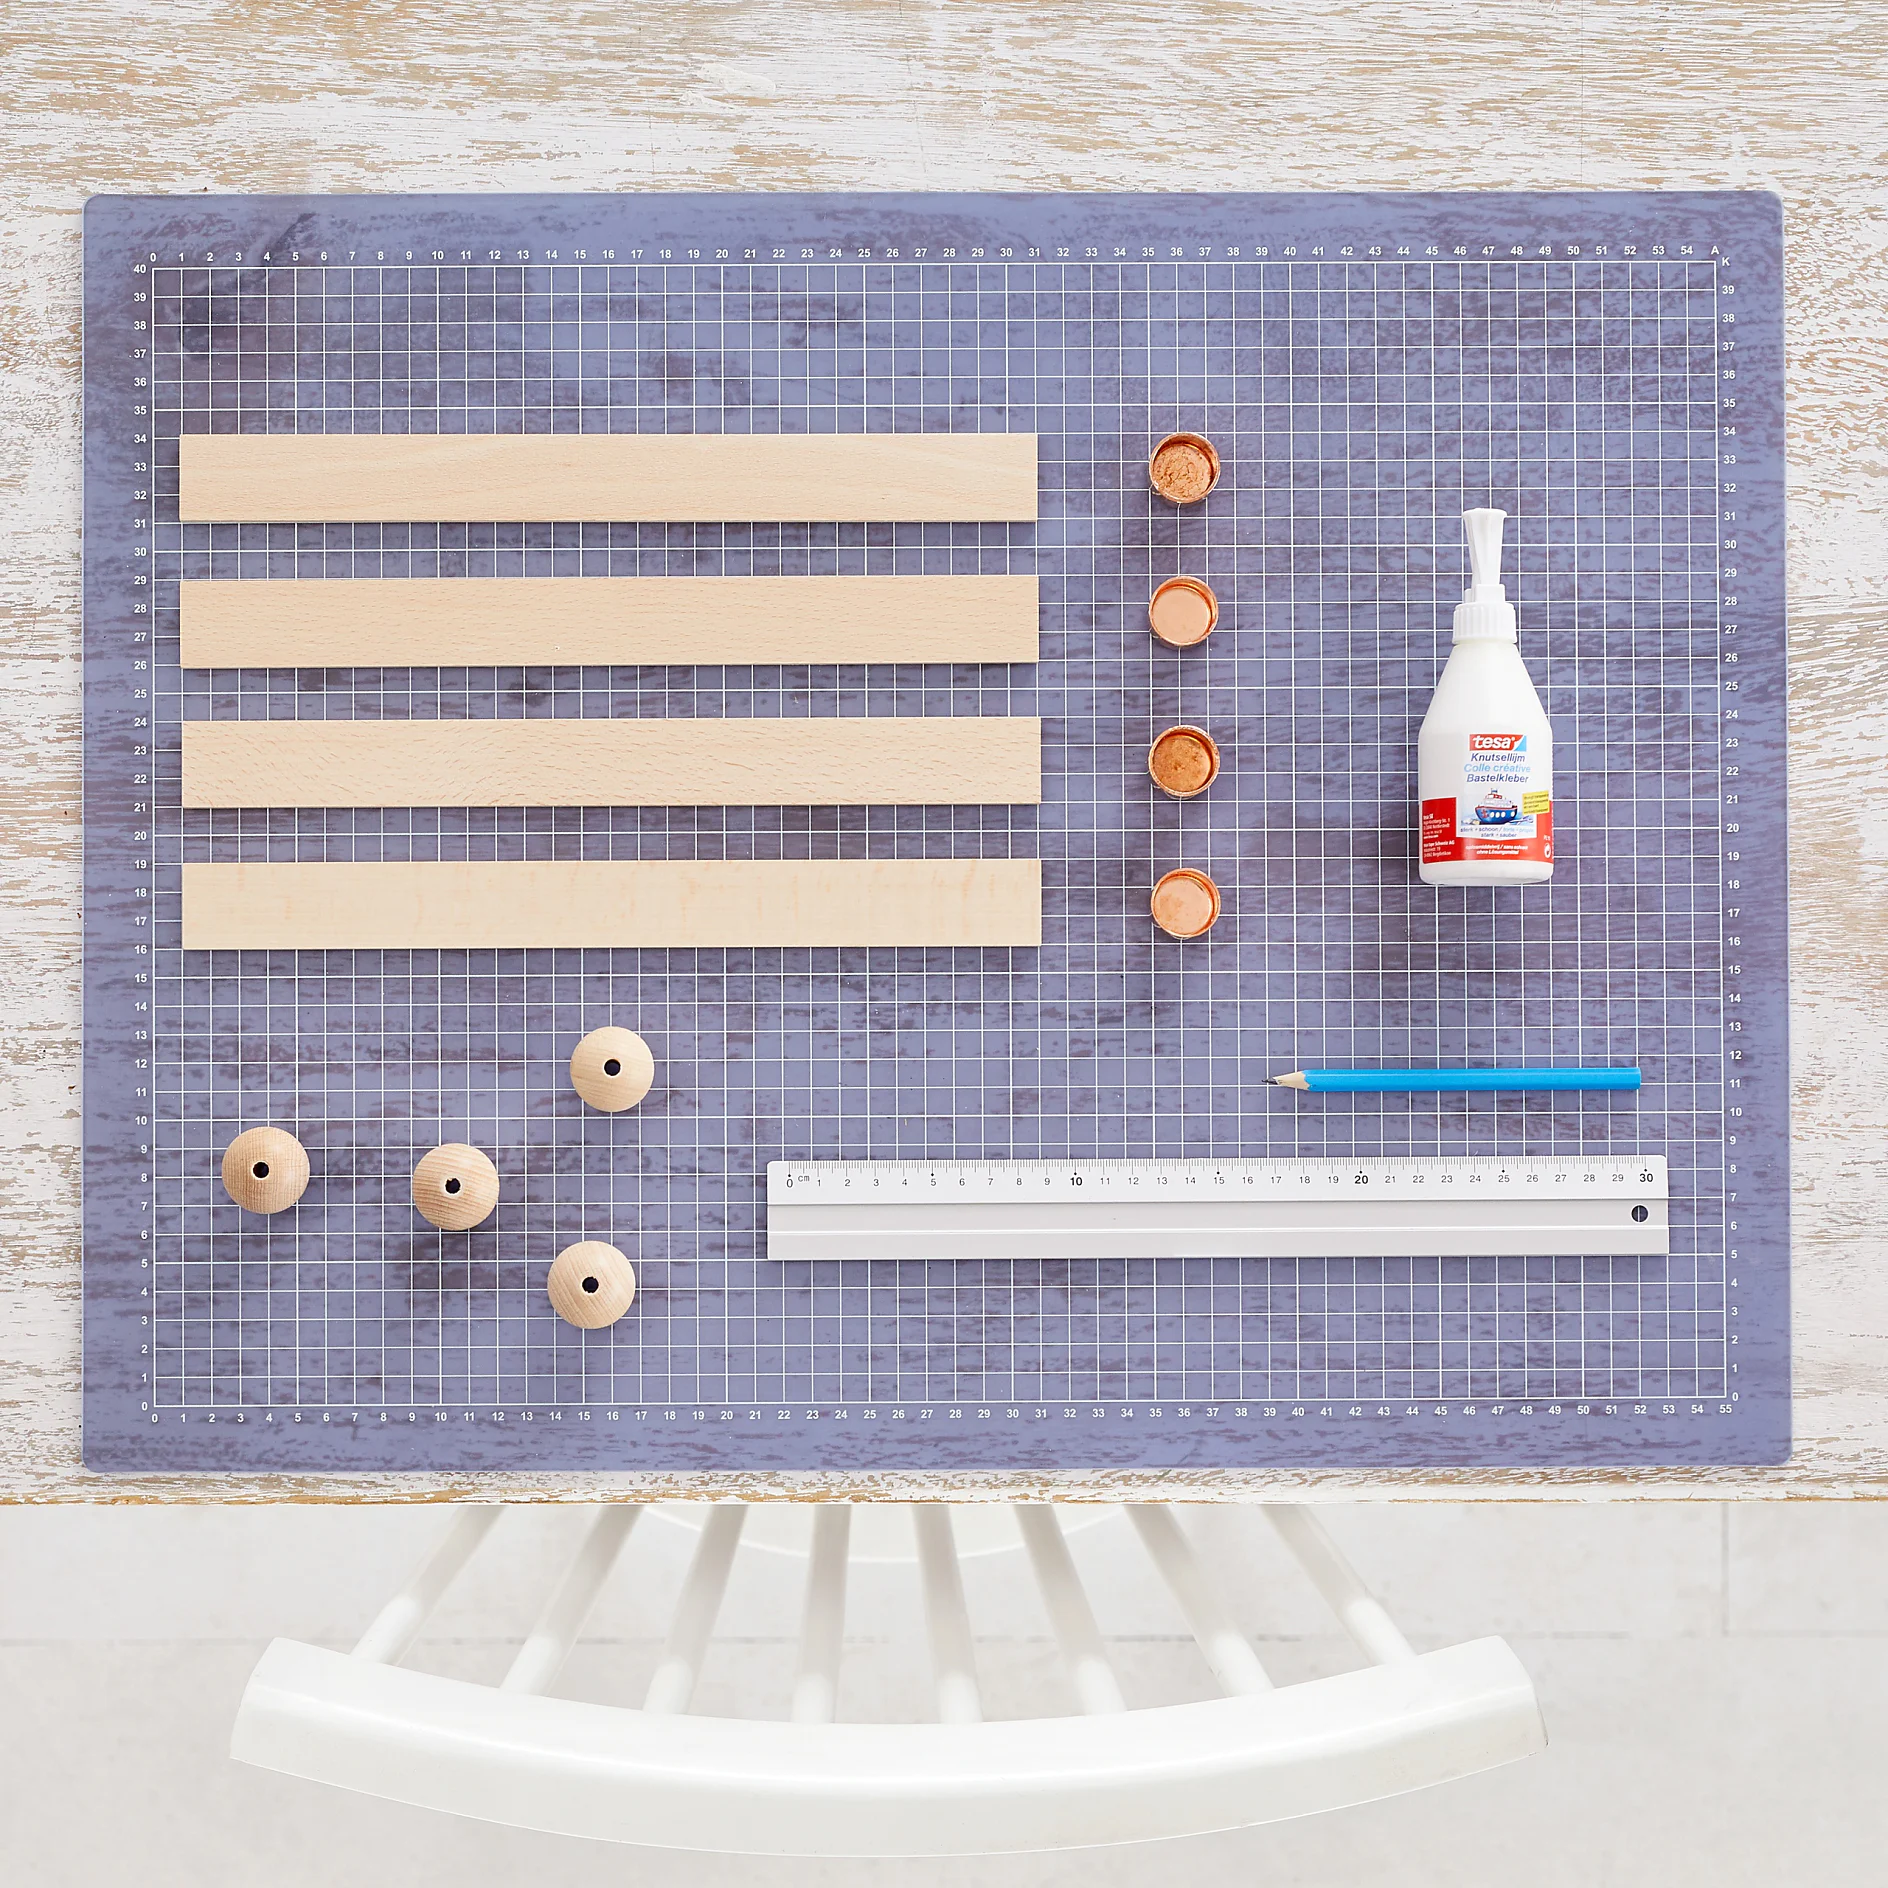
For this DIY Christmas Wreath we need:
4 wooden trims (beech) 0.5 x 30 x 300 mm (sawed to size in the hardware store), ruler, pencil, 4 wooden spheres (beech) ø 3 cm, 4 copper caps ø 22 mm, tesa® handicraft glue


Time: approx. 10 minutes + several hours drying time.

02_ttp39_HolzleistenAdventskranz_002
02

For the Advent wreath from wood trims, mark 2 spots at the ends at 2 cm distance to the edge.

GIF_zuSTEP3_Holzleisten
03

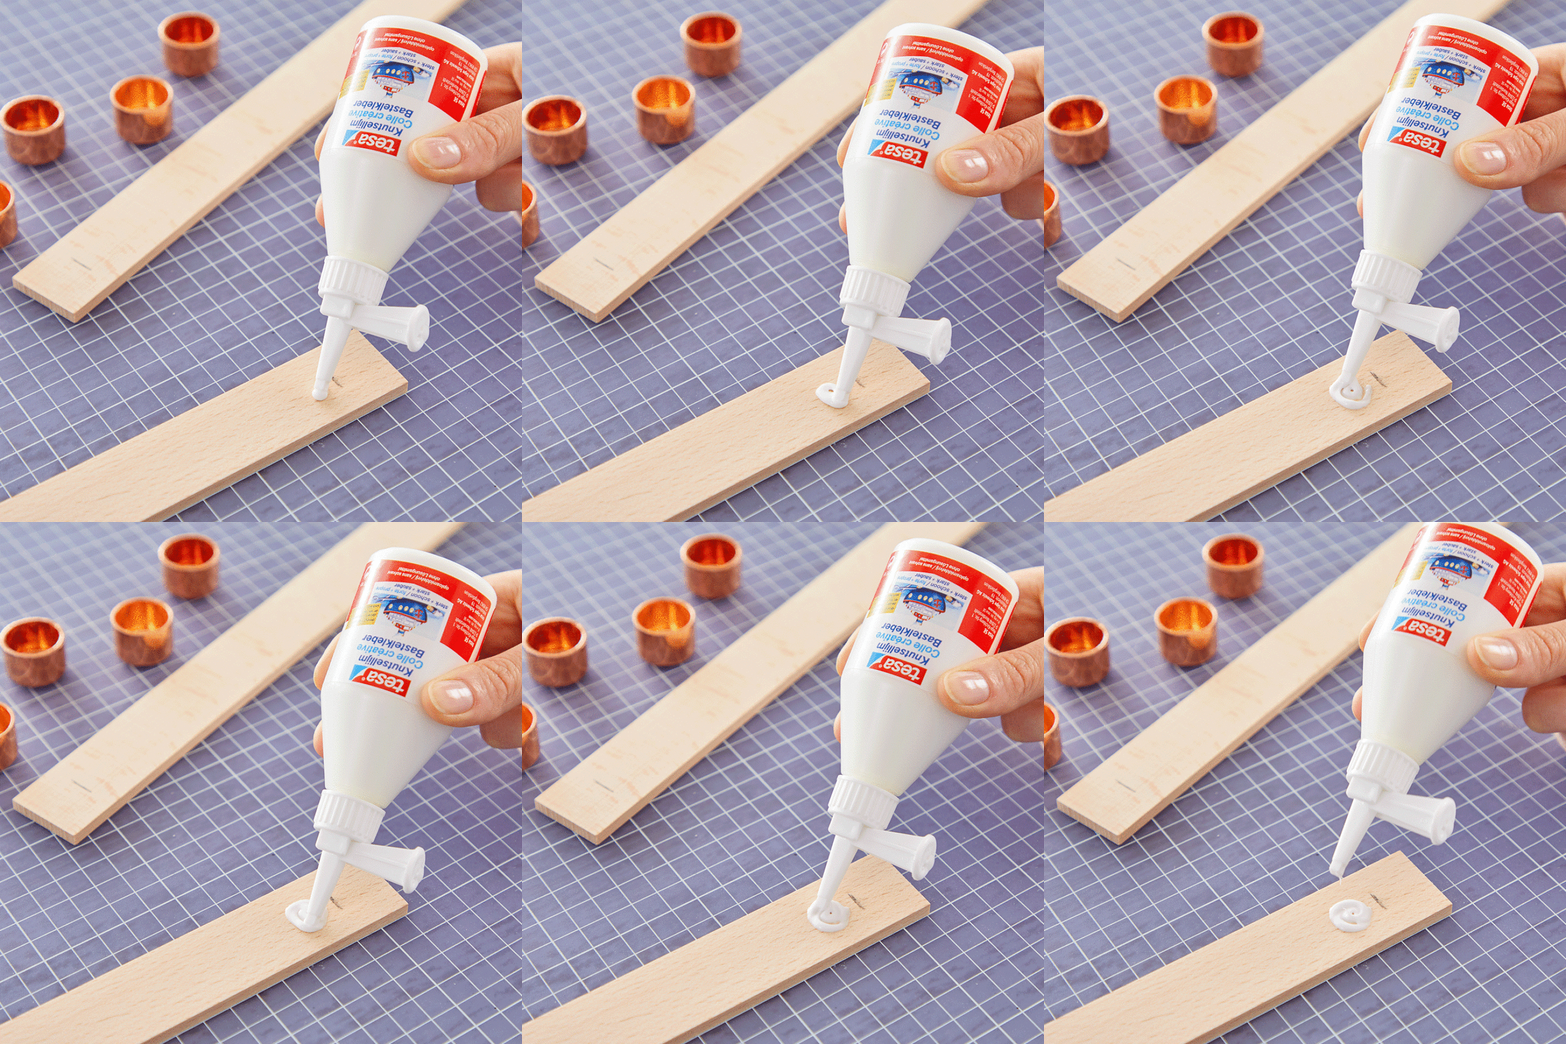
Apply the glue.

02_ttp39_HolzleistenAdventskranz_004
04

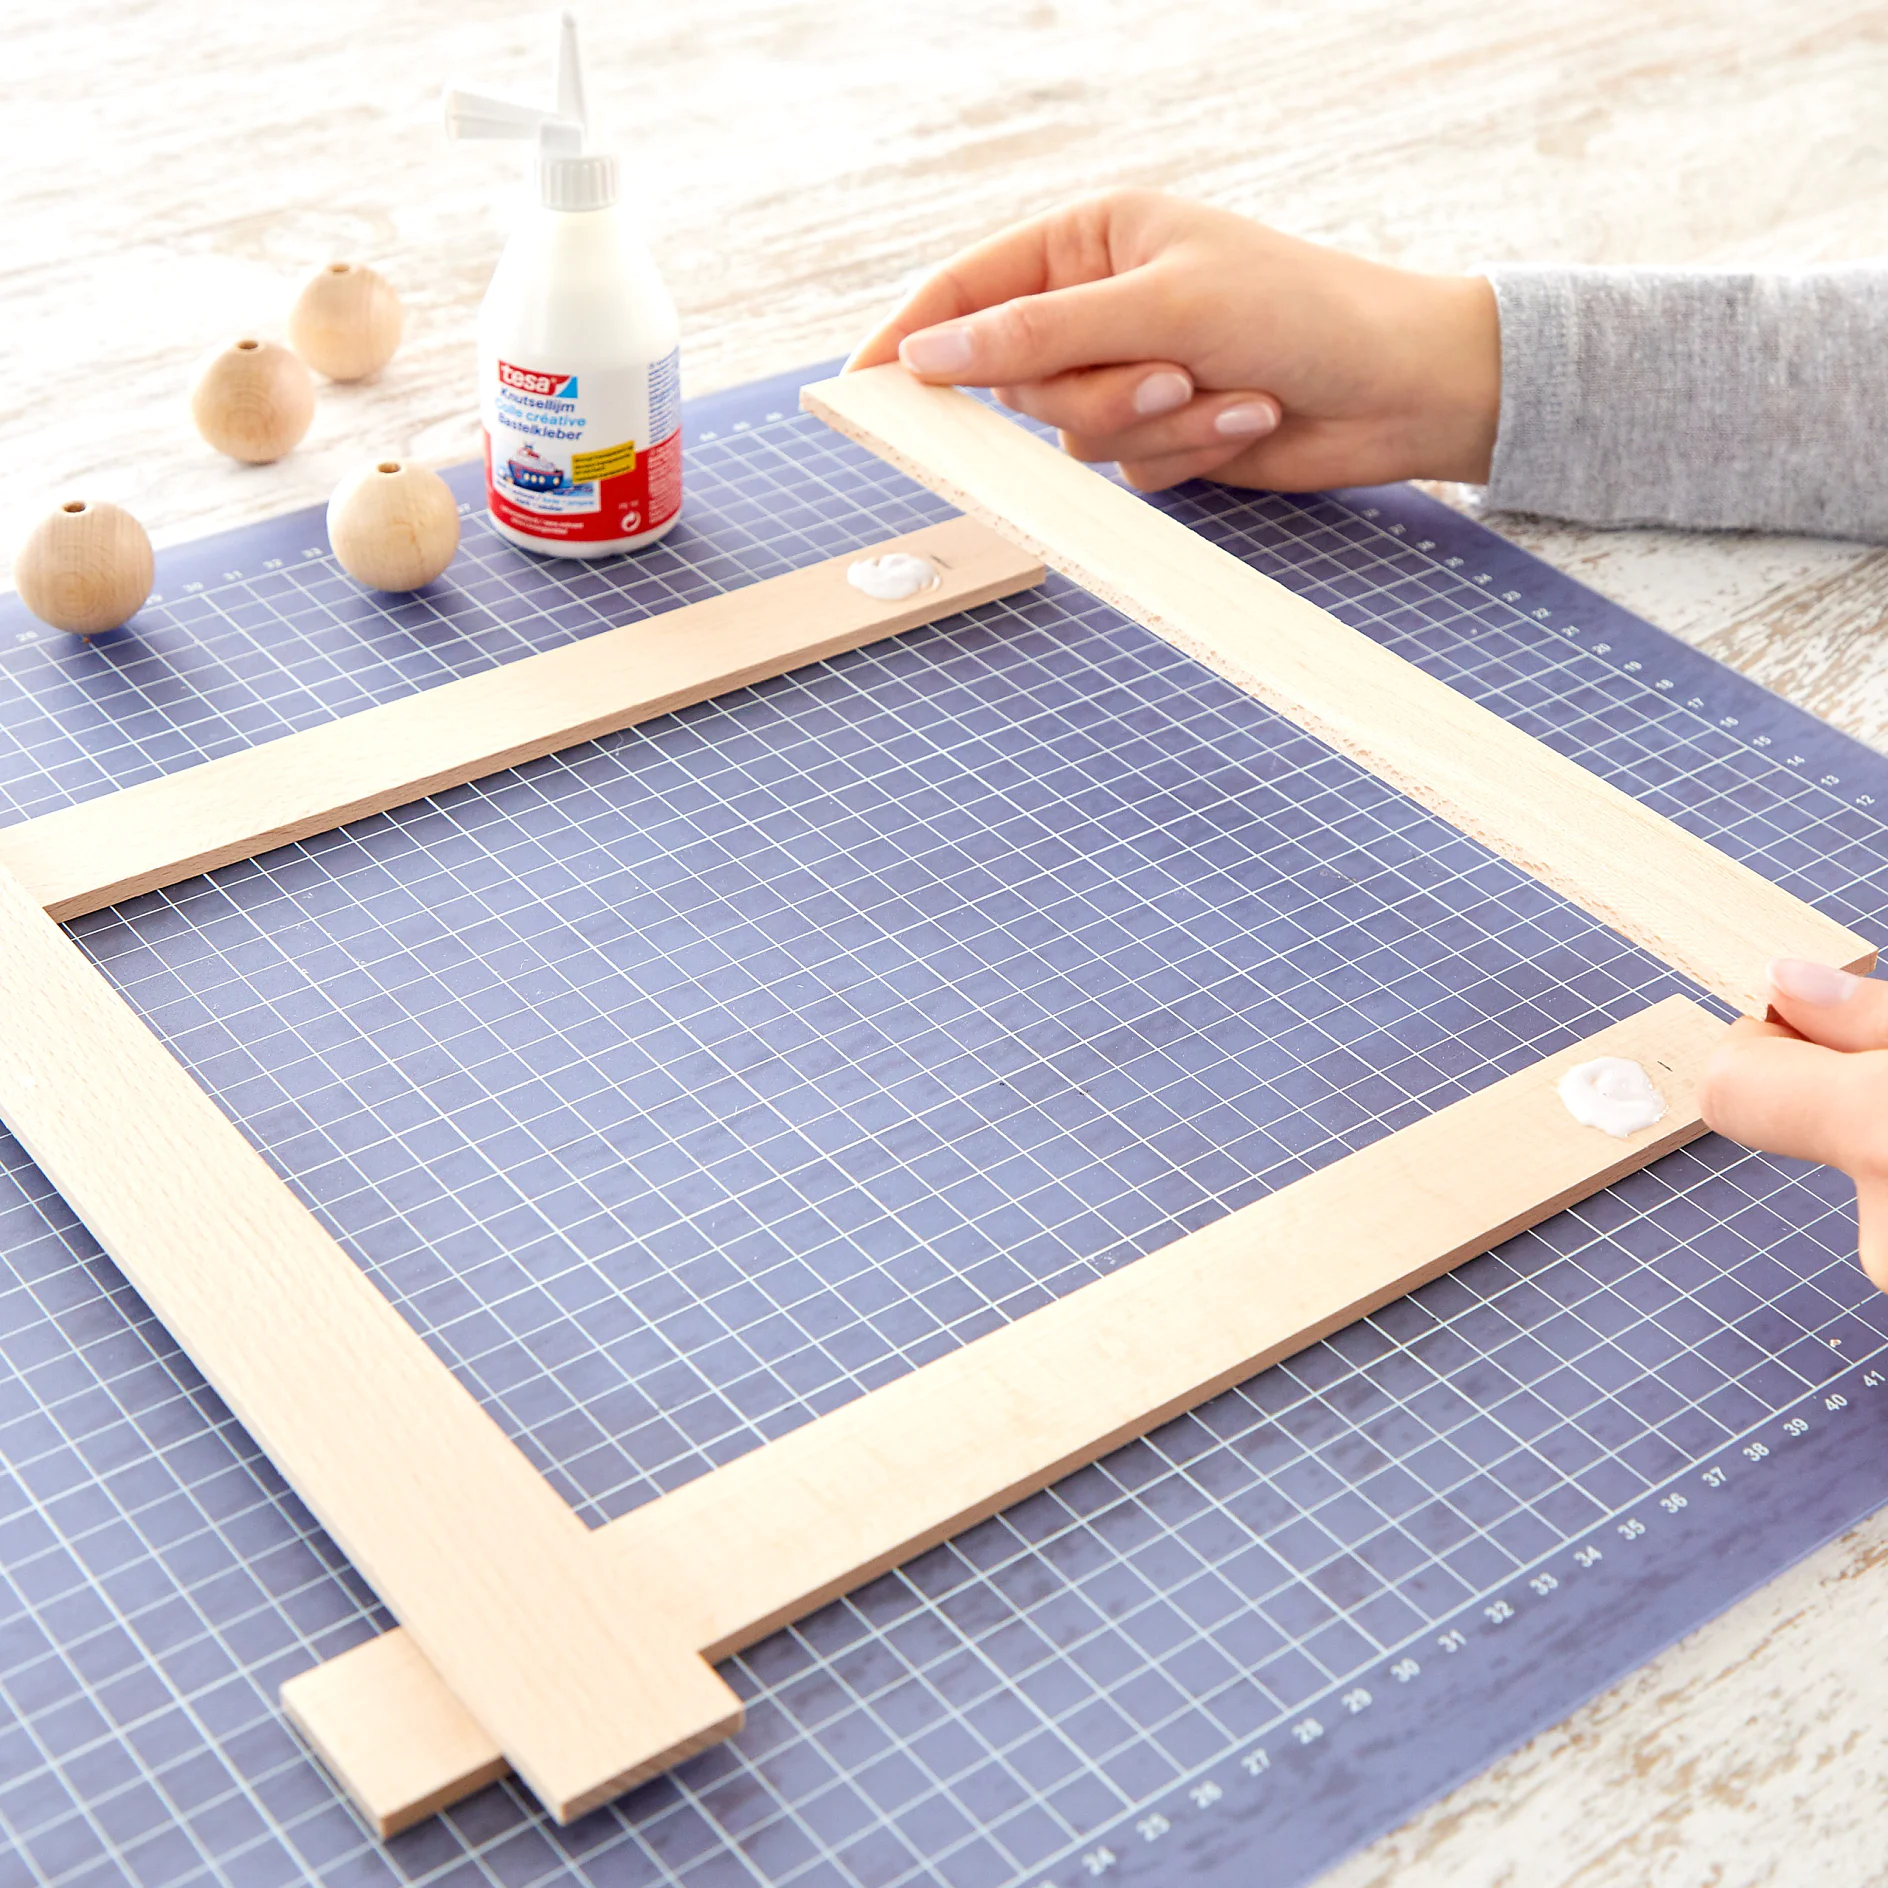
Now glue the 4 trims together to create a square and allow to dry well.

02_ttp39_HolzleistenAdventskranz_005
05

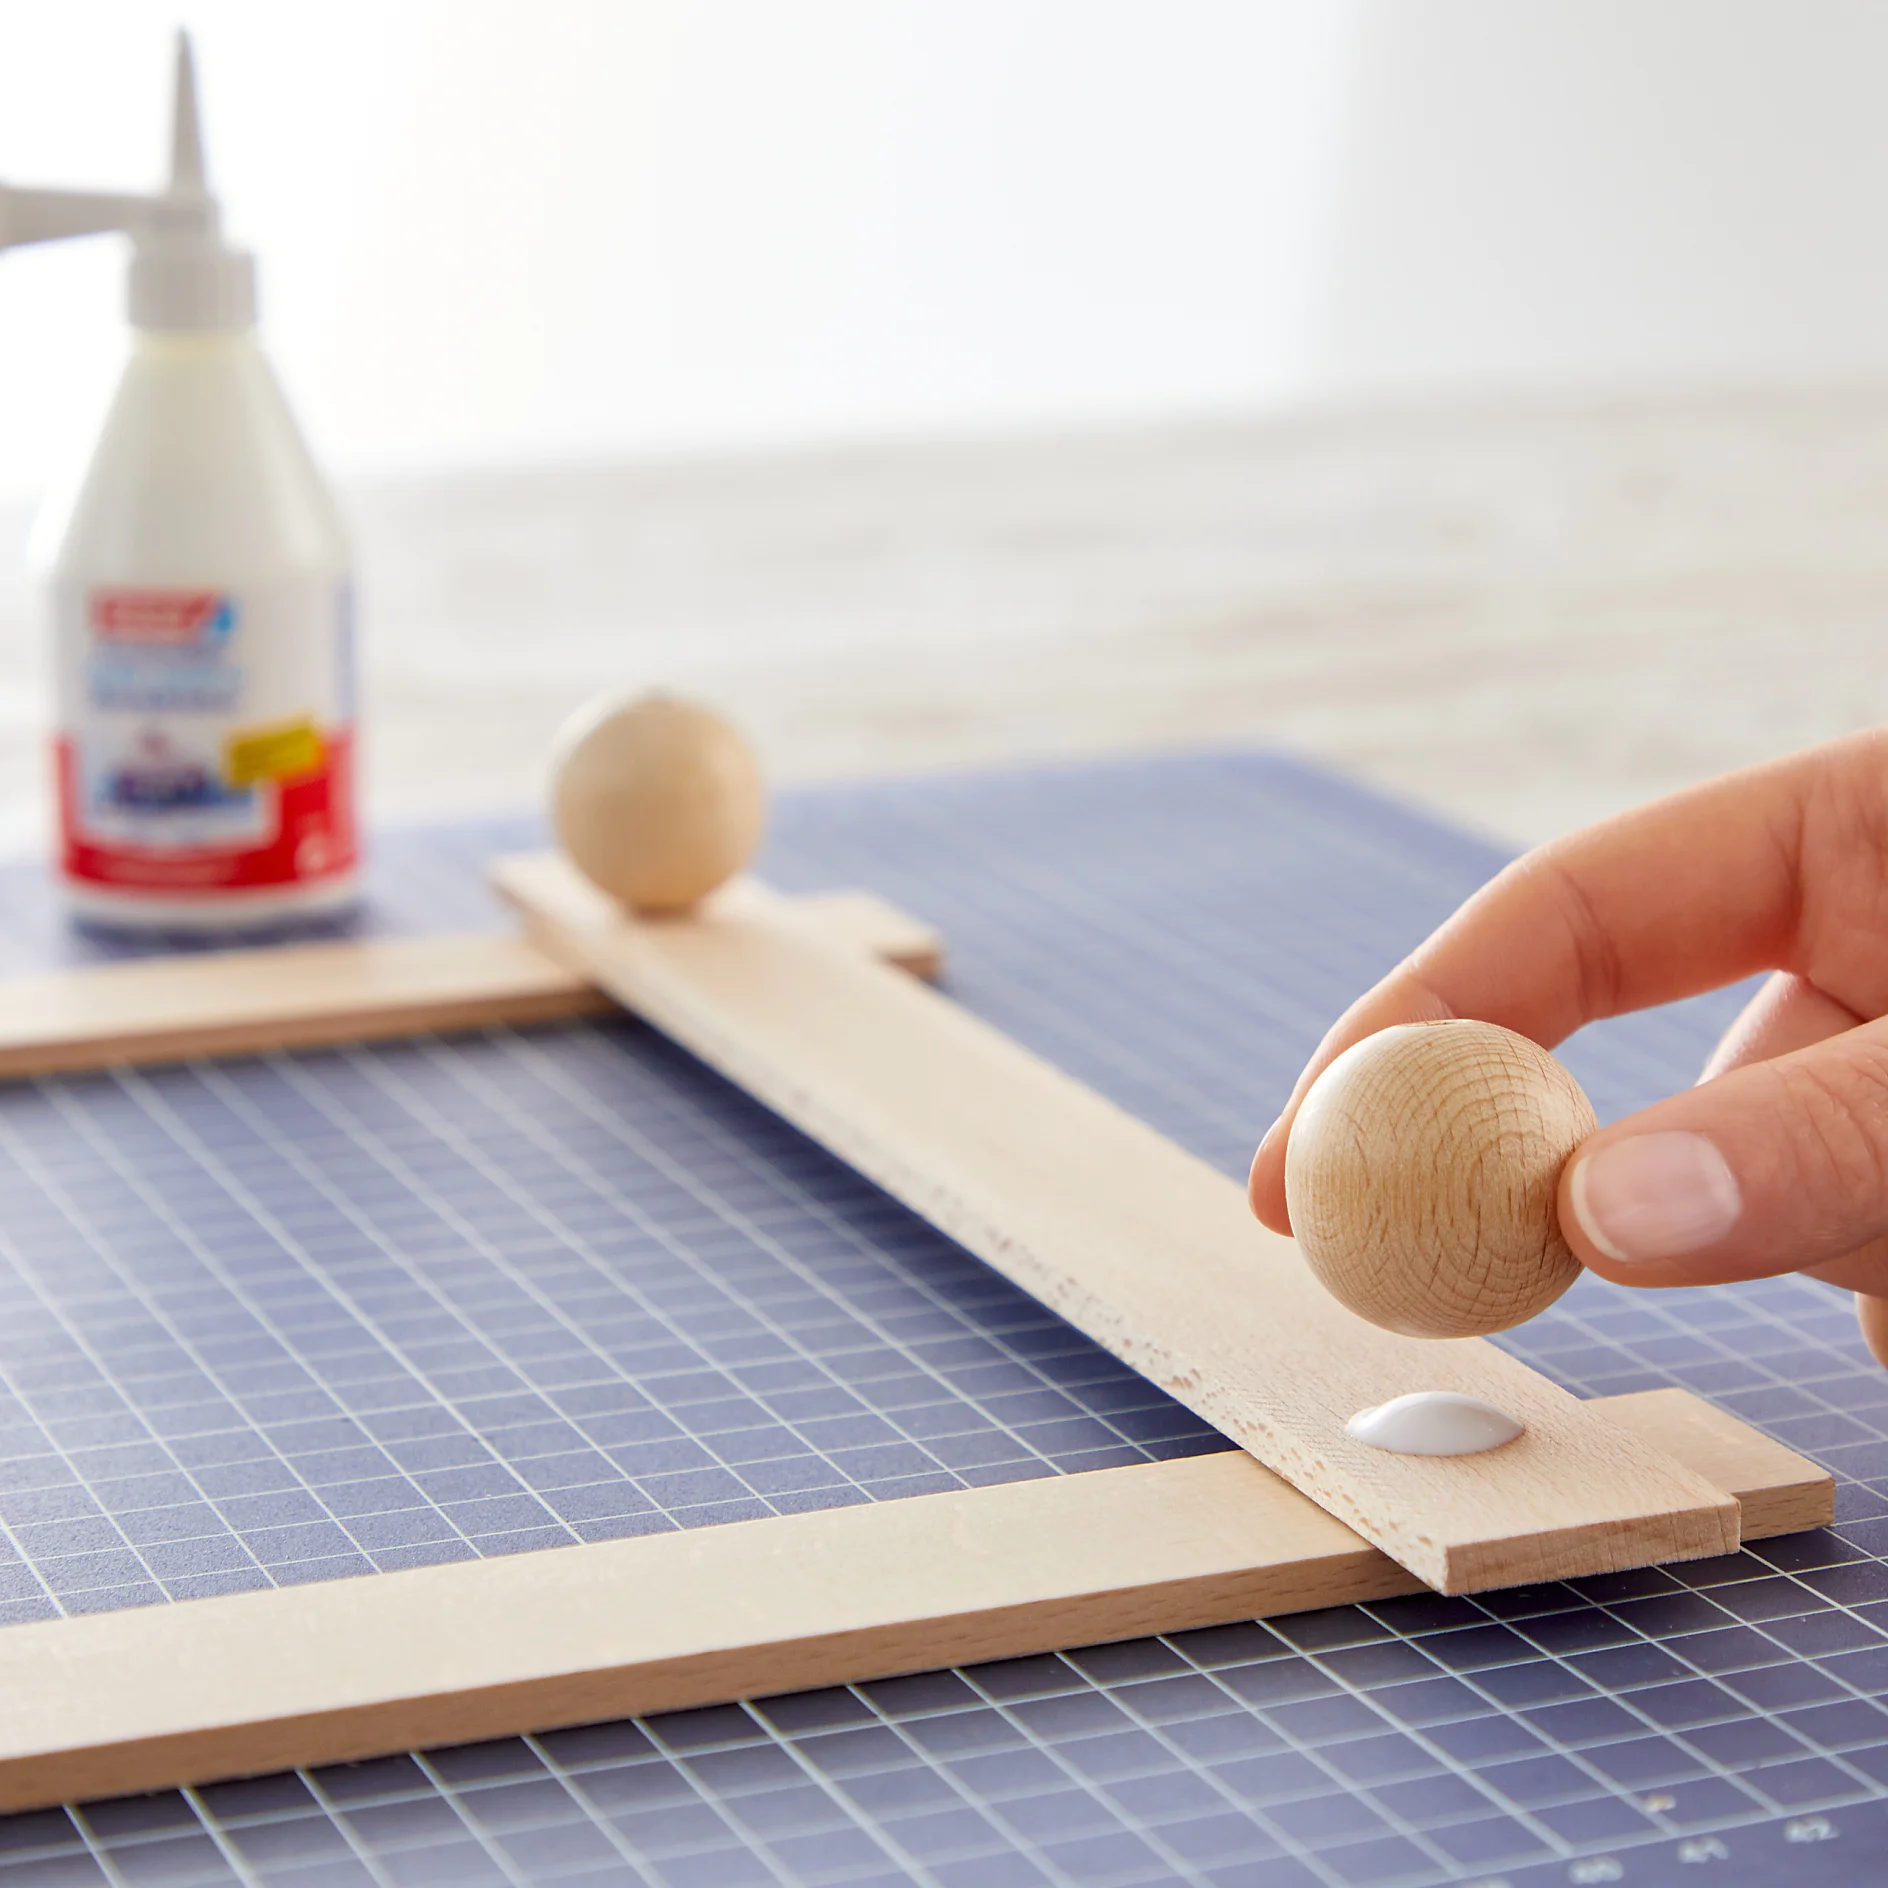
Glue the spheres in the center of the trim intersections and allow to dry well.

02_ttp39_HolzleistenAdventskranz_006
06

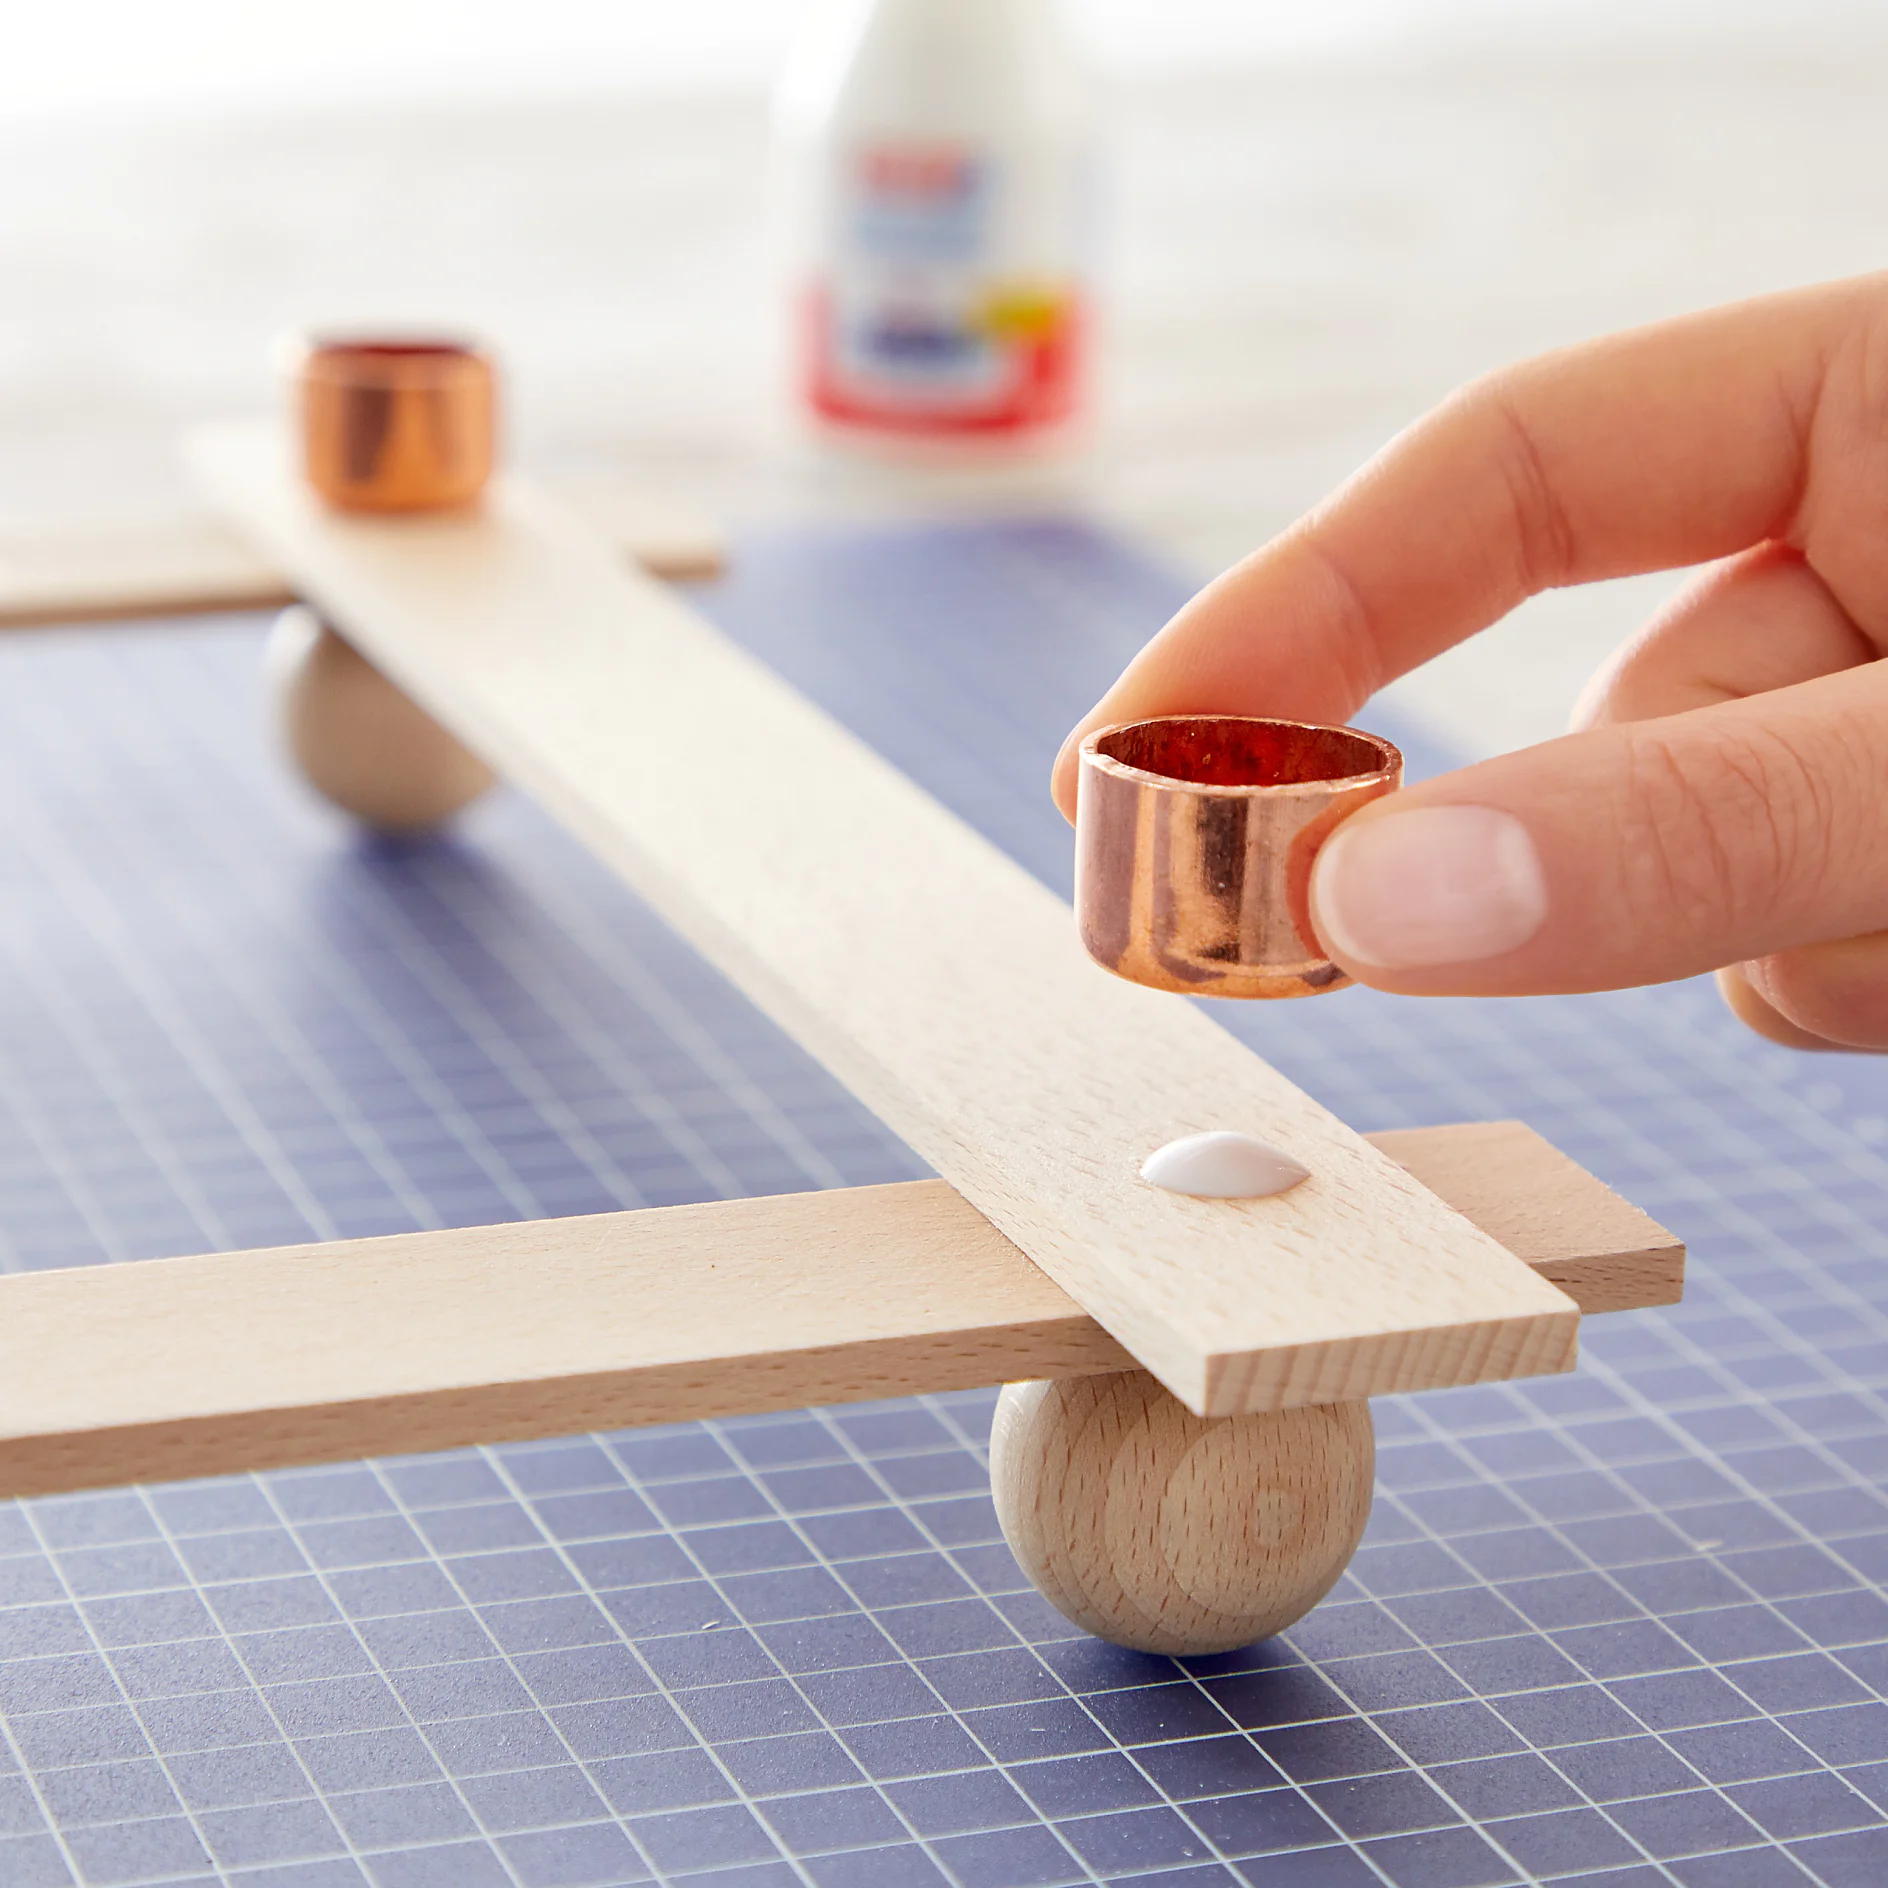
Turn over the wreath and glue the copper caps on top of the trims as candle holders.

Again, allow to dry.

tesa products required for this project