01
Clean the intended surface thoroughly. Make sure to use a cloth with pure alcohol or water so that all grease and dust are removed.
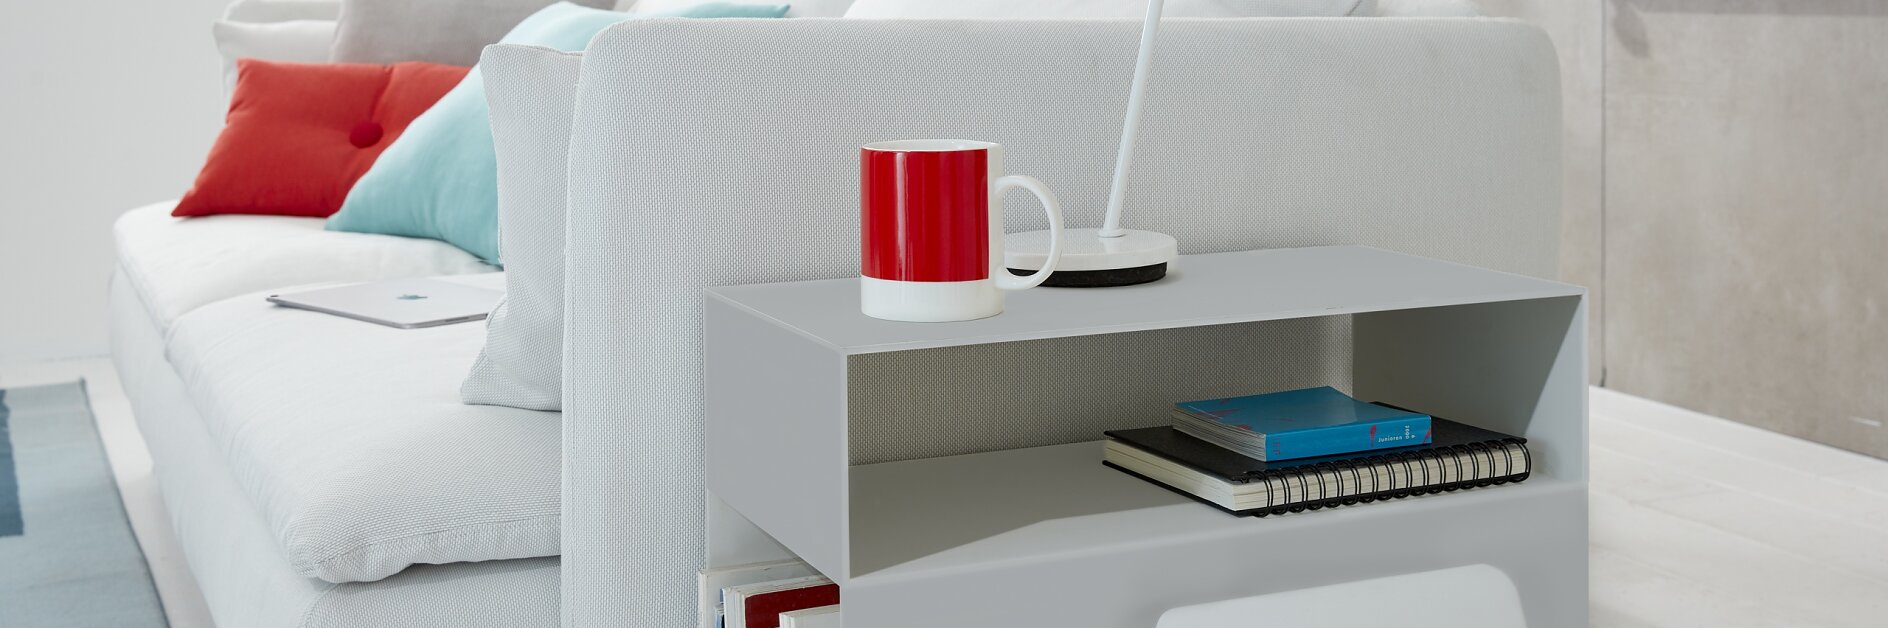
Securely attaching your router without drilling Your internet router needs a good spot but shouldn’t be in the way. Why not just mount it on the side of a desk or perhaps a small cupboard by your living room couch? You can do that conveniently without drilling or any damage.
Clean the intended surface thoroughly. Make sure to use a cloth with pure alcohol or water so that all grease and dust are removed.
Measure out with your router where the screws have to go. Peel the protective film off the first screw.
Place it on the intended spot. It will stick there securely for the next task.
Squeeze adhesive from the provided tube into the larger hole until you can see the adhesive in the smaller hole. Repeat for the second screw.
Wait 12 hours for the adhesive to dry. It will reach its top holding strength by then.
Mount the router to the screws. It’s safely in place and out of the way.

Attach the cables to your router, and you’re ready to go. Enjoy browsing the internet!
Removal is effortless. Disconnect the router. Use pliers to twist each screw sideways off the surface.
What adhesive remains can be scraped off easily, without a trace left behind. The surface will be good as new!