Create this beautiful DIY headboard

Elegant DIY Headboard

Give your bedroom an ornate design touch with this DIY headboard. It looks so luxurious that no one will believe how little time it took. It may look like something from an interiors magazine but you’ll be pleased to know that this classic decorative plaster DIY bedhead is actually surprisingly simple to create. You won’t need to get out the drill or the hammer, either.

Level of difficulty For ambitious hands
Duration 120

Video tutorial

It may look like something from an interiors magazine but you’ll be pleased to know that this classic decorative plaster DIY bedhead is actually surprisingly simple to create. You won’t need to get out the drill or the hammer, either.

Decorative plaster headboard.mp4

tesa SE

We need:

straight lengths of decorative plaster trim or narrow cornice decorative plaster arches in different widths – it depends on the height and width of the bed 1 plaster rosette metre rule or yardstick a pencil a metre box a saw mounting glue for wallpaper & plaster

How it's done:

Overview of materials needed for a diy plaster headboard
01

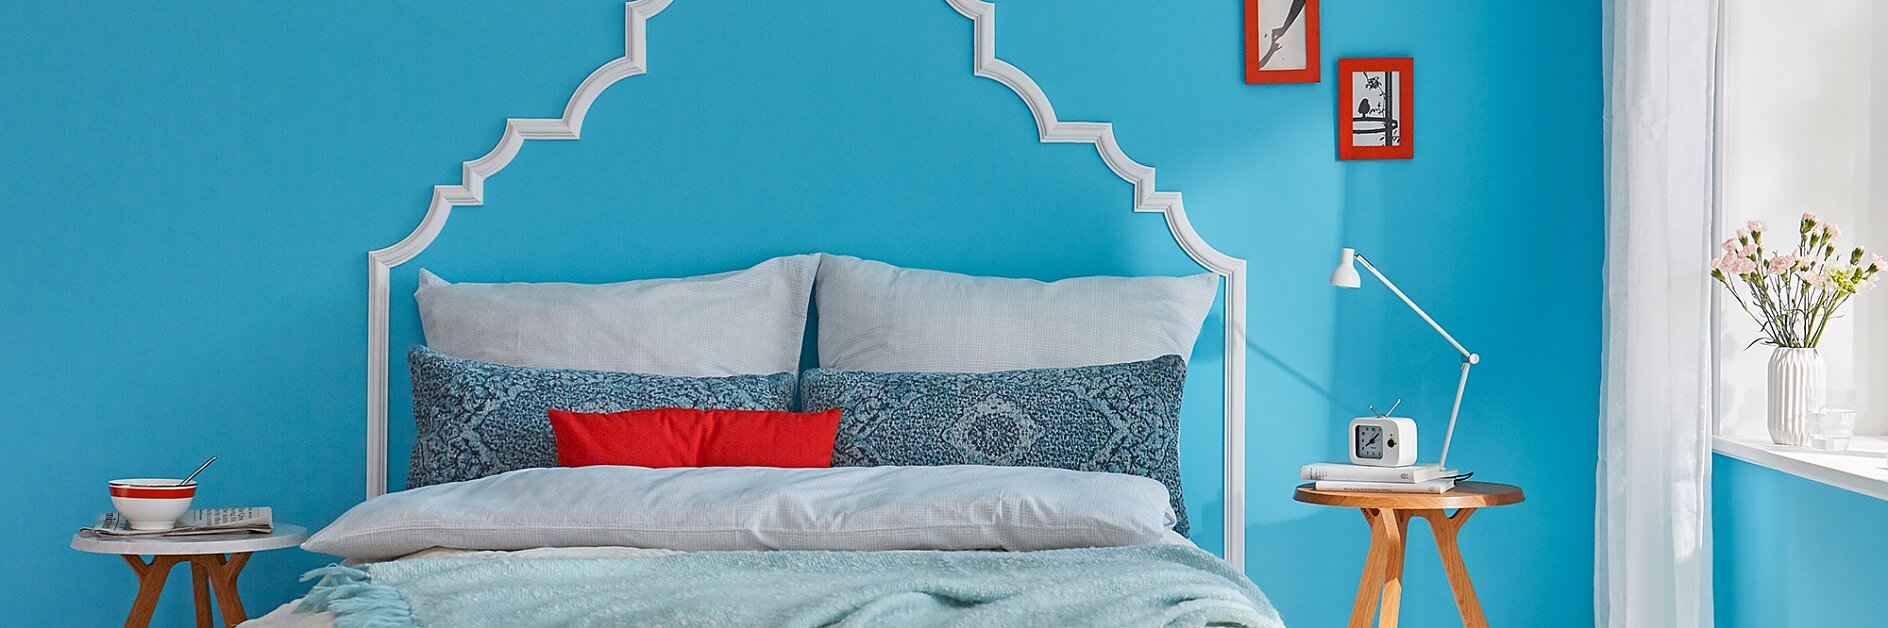
We need: straight lengths of decorative plaster trim or narrow cornice, decorative plaster arches in different widths – it depends on the height and width of the bed, 1 plaster rosette, metre rule or yardstick, a pencil, a metre box, a saw, tesa® mounting glue for wallpaper & plaster

Sawing lengths of decorative plasterwork while making a DIY headboard.
02

Using the individual decorative plaster elements, work out what you want your design to look like within the dimensions of your bedhead space. Saw the long strips according to these dimensions at a 45 degree angle.

Applying mounting glue for wallpaper & plaster to decorative plaster to make a DIY headboard.
03

Apply the mounting glue for wallpaper & plaster in dots or lines to the individual plaster elements of your DIY headboard.

Applying decorative plasterwork to the wall while making a DIY headboard
04

Finally, apply the plasterwork elements to the wall in your desired design. Press them into place lightly – they will be completely dry in 48 hours.

Enjoy your DIY headboard!
05

Enjoy your new impressive DIY plaster headboard!