How to use tesa® Mounting Tape for Tiles & Metal.

Using tesa® Mounting Tape for Tiles & Metal

Mount objects on smooth and solid surfaces in damp rooms like bathrooms. Specially suitable for mirrors.

Cleaning the surface.

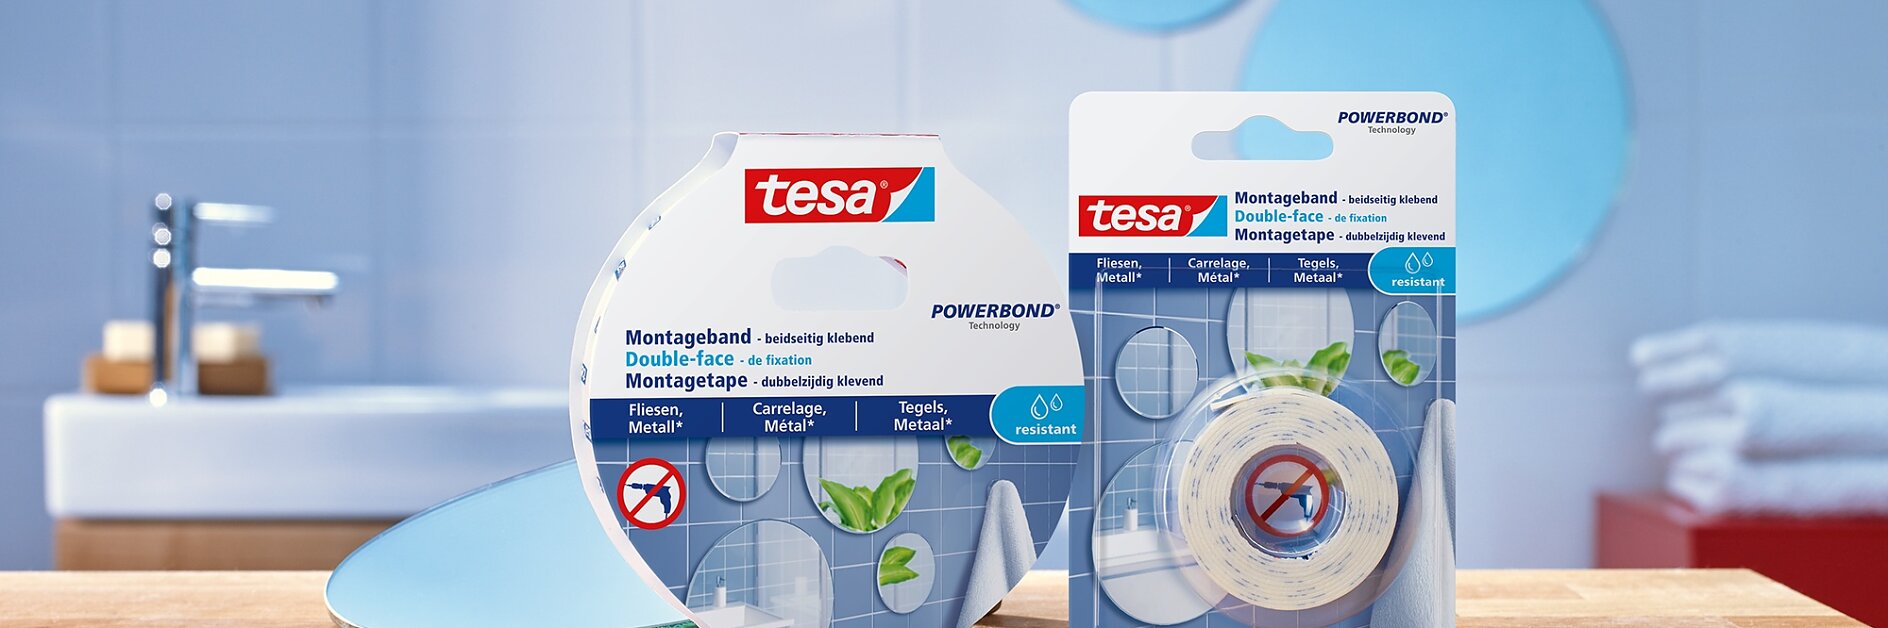
01Get your surfaces nice and clean

Many household detergents contain silicone, which is bad news for adhesives as it leaves a non-stick residue behind. So grab some silicone-free cleaner, rubbing alcohol or methylated spirit and a clean cloth – and get to work on that grease and grime. Your surface should be dry before you move on to the next step.

Applying tesa® Mounting Tape for Tiles & Metal.

02Apply the Mounting Tape

Cut lengths of tape from the roll and apply them vertically to the back of your object. Since the load will be greater at the top of the hanging area, use more tape here. It’s best to do it this way round rather than apply the tape to the tiles because it means you can then place the object precisely where you want it, and it also gives the Powerbond® Technology a chance to bind to the rougher surface.

Activating the Powerbond® Technology.

03Activate the Powerbond® Technology

Press or rub firmly along the back of each length of tape for at least 5 seconds.

Mounting with tesa® Mounting Tape for Tiles & Metal.

04Mount your item

Now all you have to do is remove the protective foil from each strip, align the object (it could be a mirror but of course it could be pretty much anything, like a soap dispenser, toothbrush holder or soap dish) and mount it on the wall. Take at least another 5 seconds to press down over the entirety of the object’s surface.