How to use tesa® Mounting Glue for Transparent & Glass 10kg/cm2.

Using tesa® Mounting Glue for Transparent & Glass 10kg/cm²

Permanent mounting for transparent and solid surfaces.

Step-by-step video tutorial

Click through the tabs in this step-by-step video to see how quick and easy it is to get your projects – and your possessions – off the ground.

How to use tesa® Mounting Glue for Transparent & Glass 10kg/cm²

Our Transparent Mounting Glue has been specially developed to be strong (holding 10kg/ cm²; according to DIN EN 205) permanent, UV resistant 1 (*May potentially change the colour of the adhesive), humidity resistant and impervious to any temperature from -40°C to +90°C. Not suitable for materials like Natural/artificial stone, bitumen, PE, PP, PTFE, acrylic, aquariums.

Applying tesa® Mounting Glue for Transparent & Glass 10kg/cm².

01Cleaning the surface and applying the adhesive

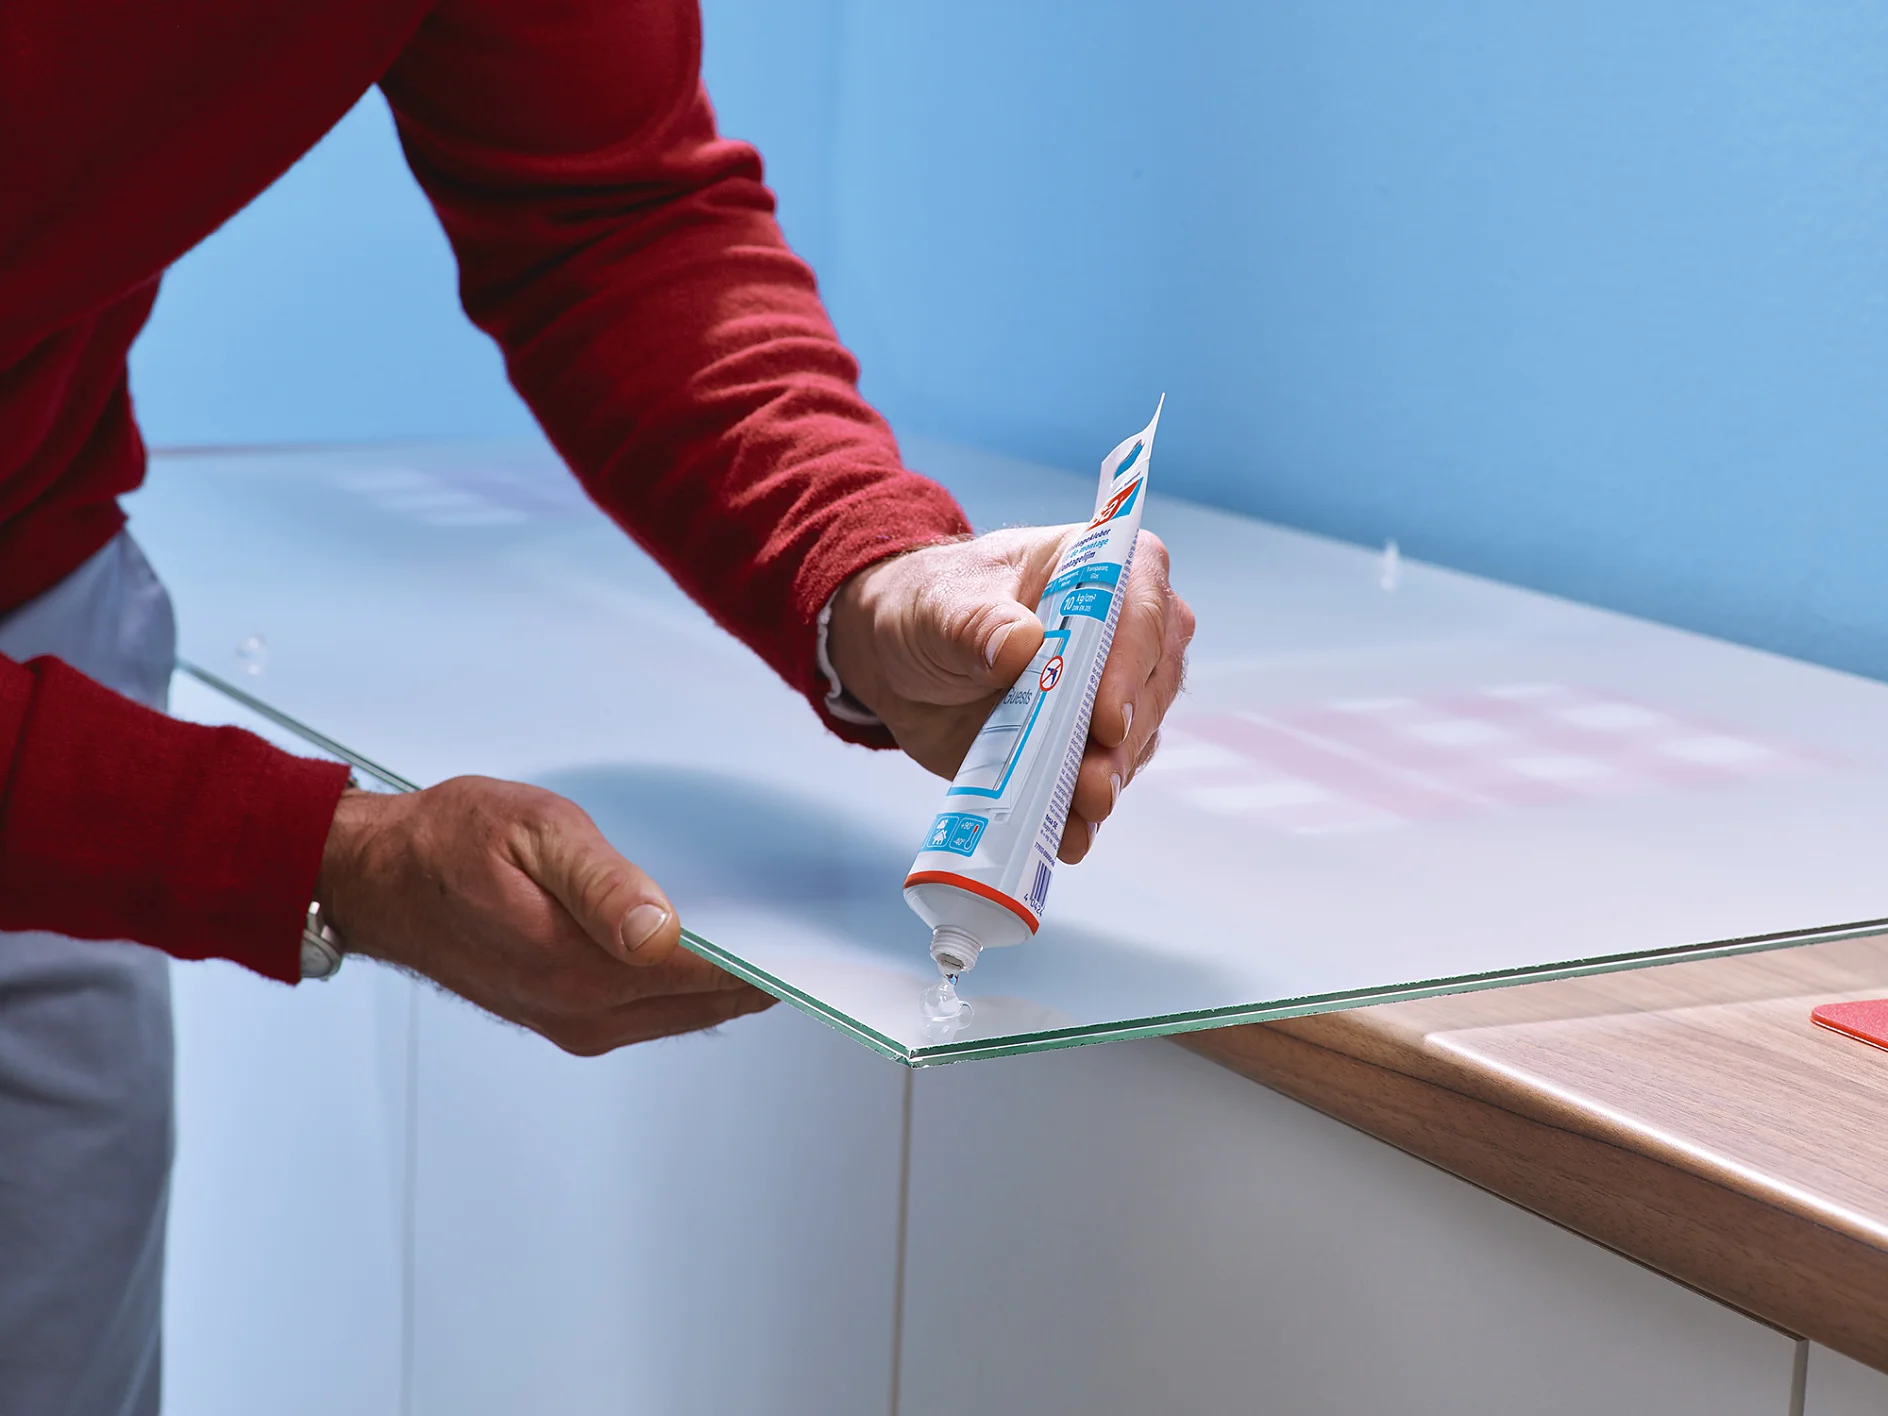
Remove any dust, grime or grease from your surfaces with a silicone-free detergent, rubbing alcohol or methylated spirit, then apply the Mounting Glue in neat lines or dots to the wall. Be sure to leave space between the lines – 10cm should do it – so the glue can dry properly.

Positioning your item.

02Positioning the object

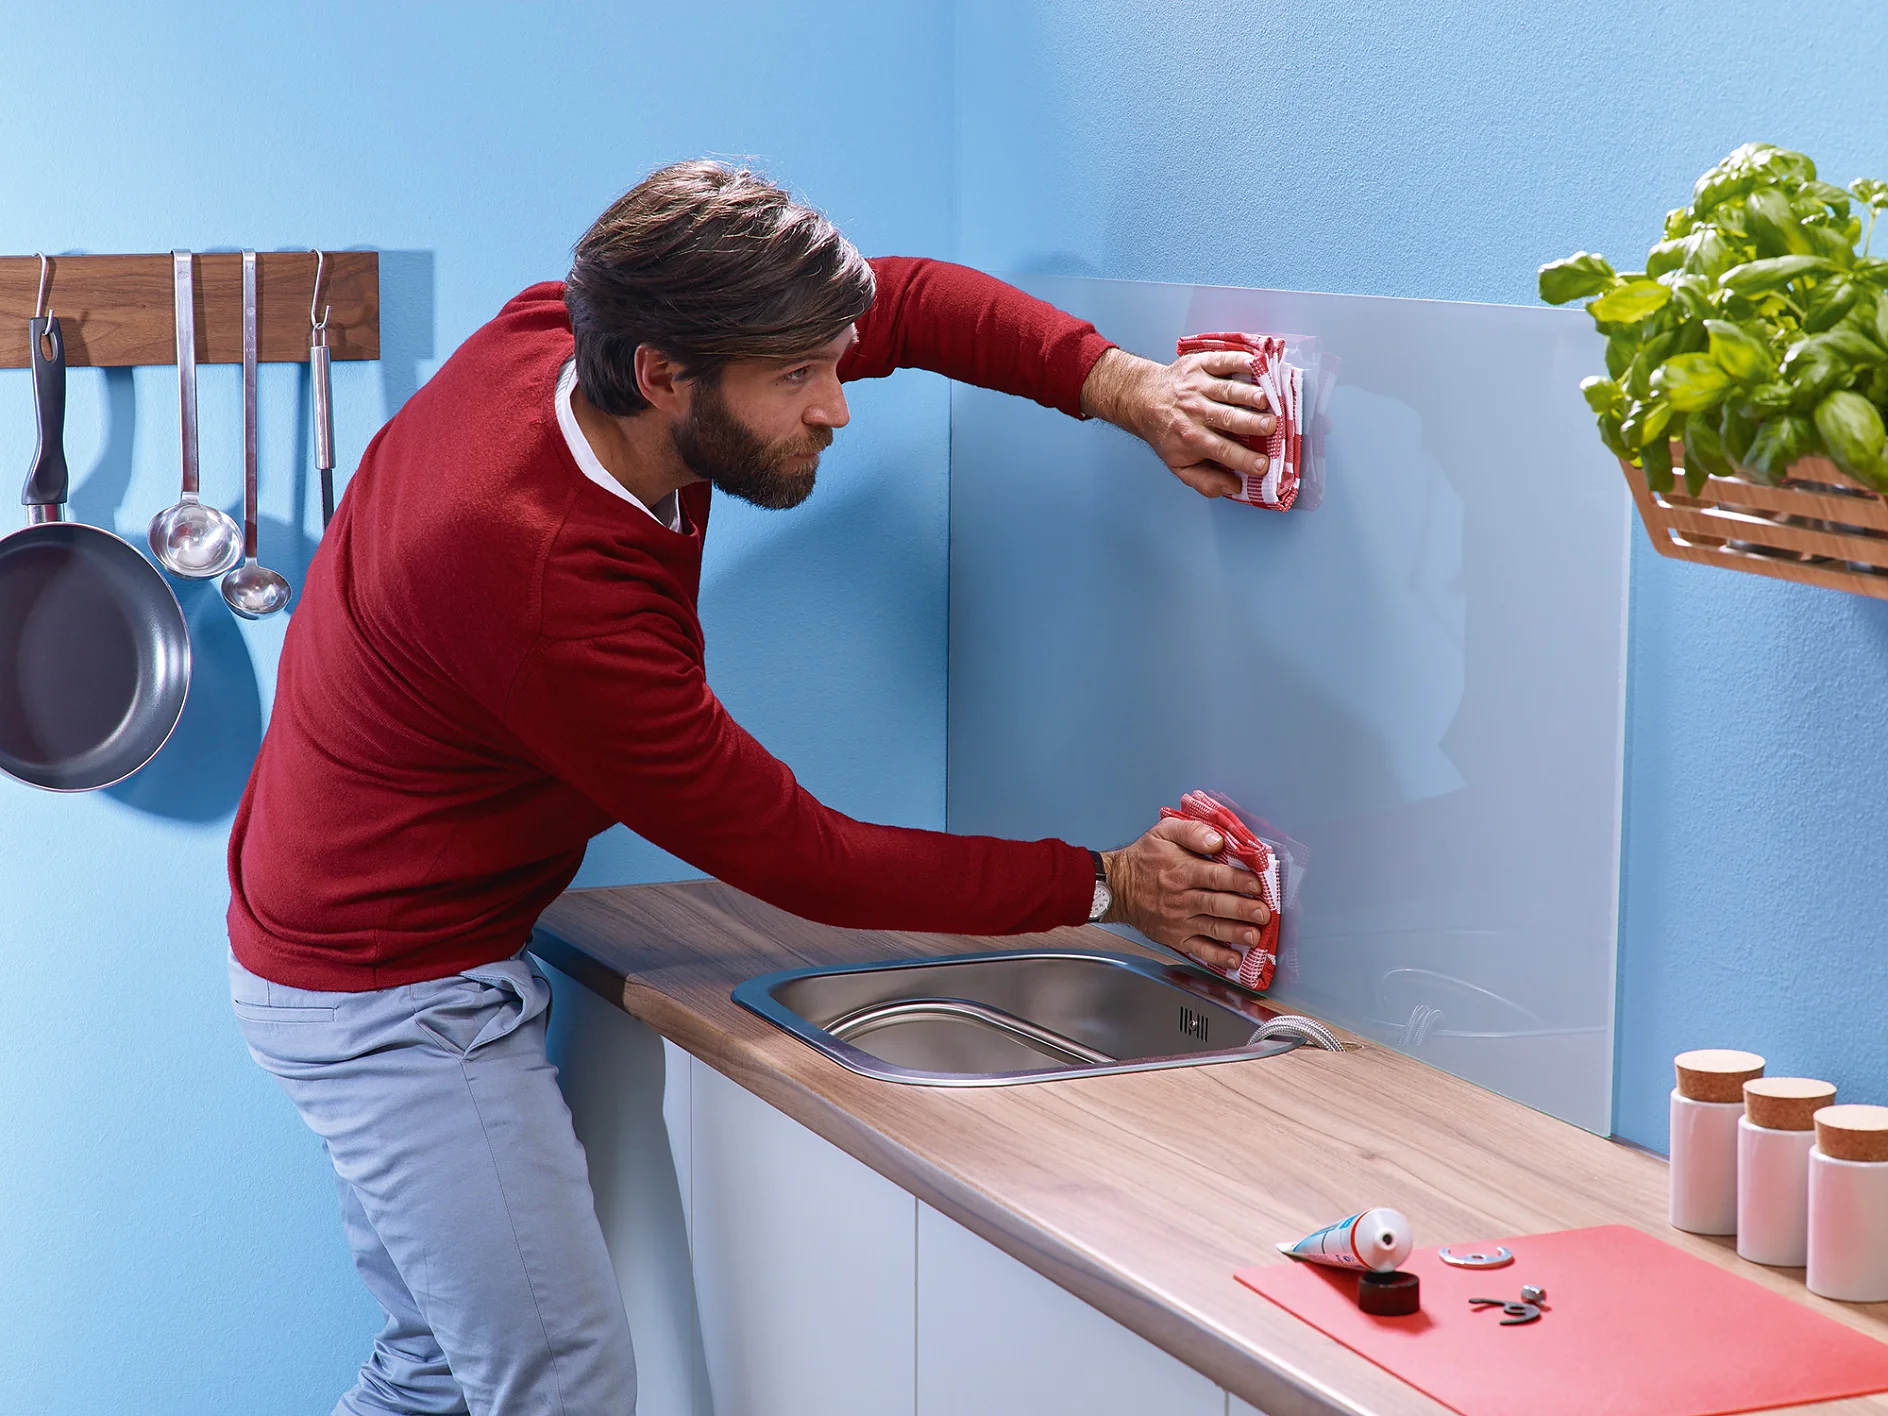
Now you’re ready to put your splashback in position. Keep a cloth or sponge handy in case any of the adhesive oozes out – any residue will wipe away easily.

Allow adhesive to dry.

03Allow to dry

You can fine-tune the splashback’s position at this stage, before the adhesive dries. When you’ve got it where you want it, press down firmly across the entire surface to get a perfect bond and then leave it for at least 48 hours. Heavy items should be supported.