01
Make sure to thoroughly clean the surface before attaching the screws. Use a cloth with water or pure alcohol to eliminate all dust and grease.
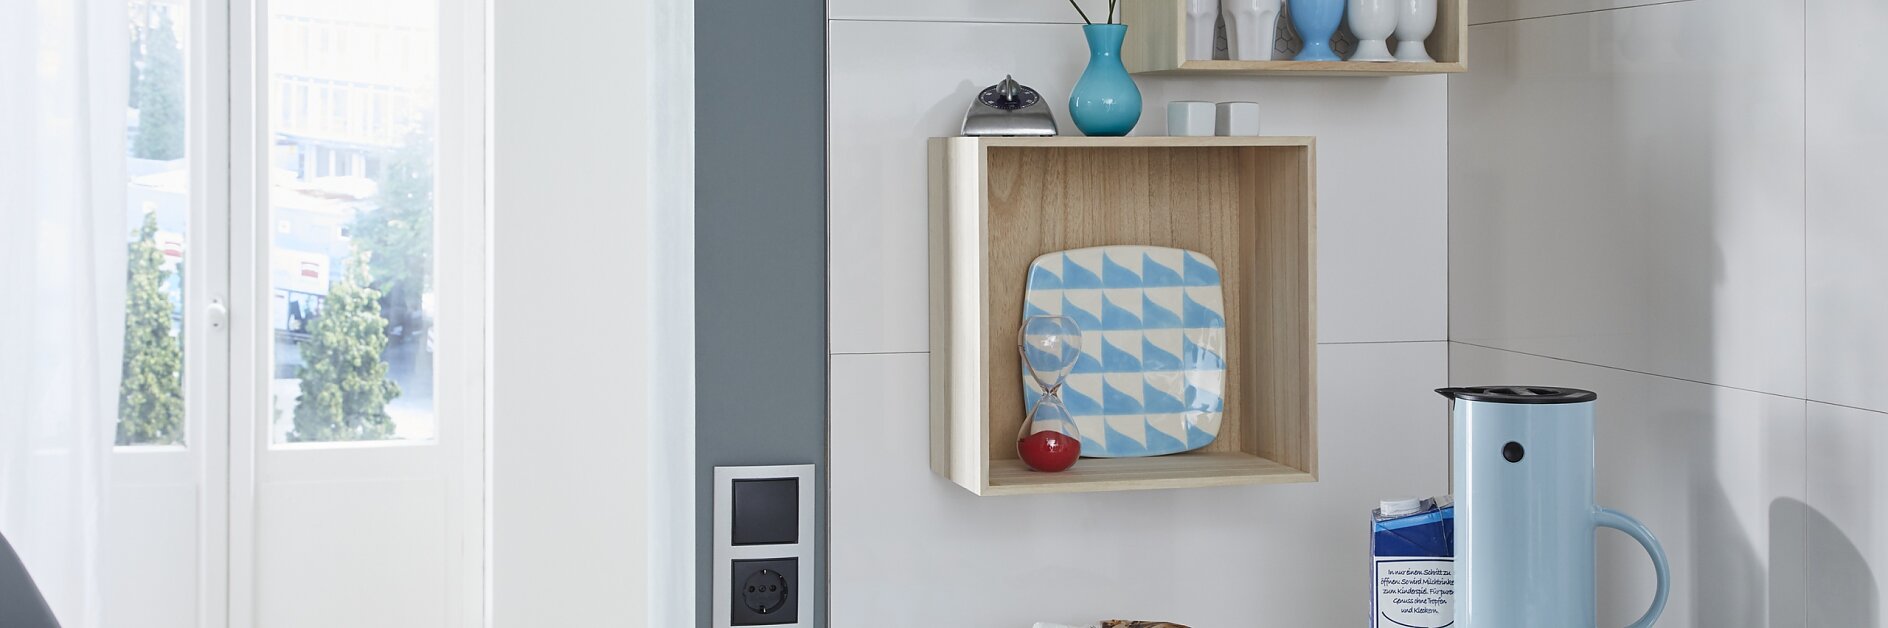
Easily attaching a decorative wooden rack – no drilling required Two wooden boxes that serve as a light and airy home for various knickknacks – perhaps a small vase, maybe ornamental egg cups or whatever else strikes your fancy. You can mount them easily without drilling, thanks to the adhesive screws.
Make sure to thoroughly clean the surface before attaching the screws. Use a cloth with water or pure alcohol to eliminate all dust and grease.
Use the base pieces to determine where to position the screws. Next, remove the protective film from the first adhesive screw.
Place the screw on the wall. With the initial adhesive, it will stay in place. Repeat for the other screws
For each adhesive screw, use the provided tube to fill adhesive into the larger hole until it starts exiting the smaller hole.
Allow 12 hours for the adhesive to set. It will reach its full strength by that time.
Attach the base pieces to the screws.
Fasten the base pieces by screwing in the screw nut. They are perfectly secure now, with the full adhesive performance of the screws.
Mount the wooden rack on the base pieces. They are safely attached and ready to receive your favorite items.
Now you can enjoy the pretty convenience of the wood rack – ready storage space with a light, pleasant look that complements whatever you put inside.
Removal of the rack is effortless. After disconnecting the boxes and the base pieces, you can simply twist the adhesive screws off the wall with pliers.
The remaining adhesive can be easily scraped off, so that not a trace of the rack remains on your tiles or wall.