01
Use a cloth with water or pure alcohol to clean the surface thoroughly. Remove all dust and grease.
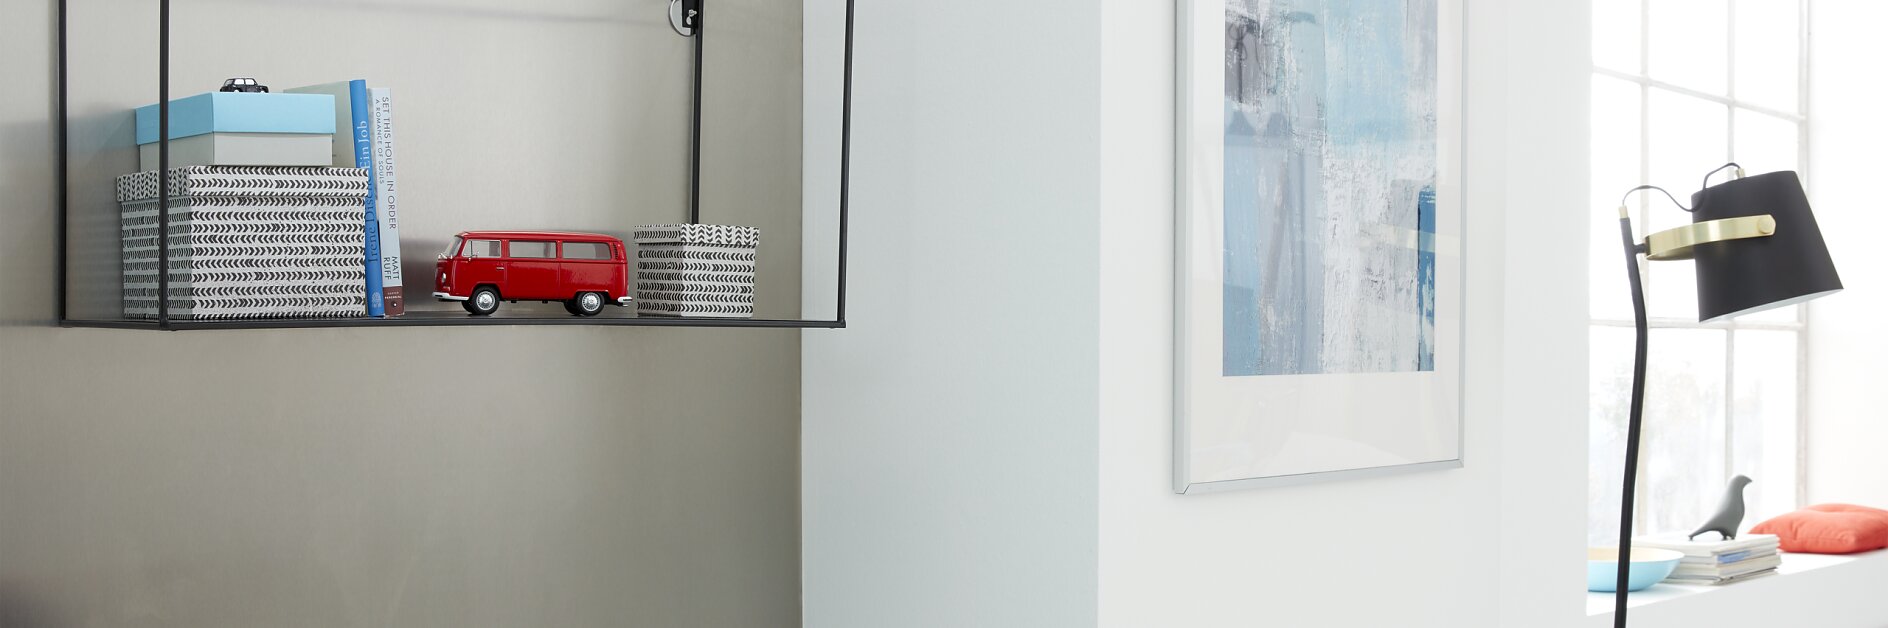
How to mount a wire rack without drilling – the right place for your prize possessions There’s always something you want to display nicely, whether it’s a model car, a trophy or perhaps a book or two. The wall mounted wire rack is just the right thing for that, giving you good space – and it can be put up without drilling or any damage.
Use a cloth with water or pure alcohol to clean the surface thoroughly. Remove all dust and grease.
Measure out where to put the screws with the wire rack. Then peel the protective film off the first screw.
Stick it to the wall. It’ll stay there safely for the next step.
Squeeze the adhesive from the included tube into the larger hole. Stop when it comes out the smaller one. Repeat the process for the second screw.
Leave the screws alone for 12 hours. That way, the adhesive can dry and develop its maximum performance.
Place the decorative caps on the screws. They nicely offset the rack to be mounted on them.
Affix the rack to the screws. Fasten it well, and the adhesive will ensure that your possessions will be safe.
Now put on the rack whatever you please to proudly present it to the world – or just for you to enjoy the view!
If the time comes to take the wire rack down again, there’s no need to worry. It’s all easy! After unscrewing the rack itself, twist the screws off the wall with pliers.
Use a scraper to eliminate any left-over adhesive. Afterwards, your wall will be good as new!