01
Make sure the surface is clean and free from dust and grease. Use a cloth with water or pure alcohol for cleaning.
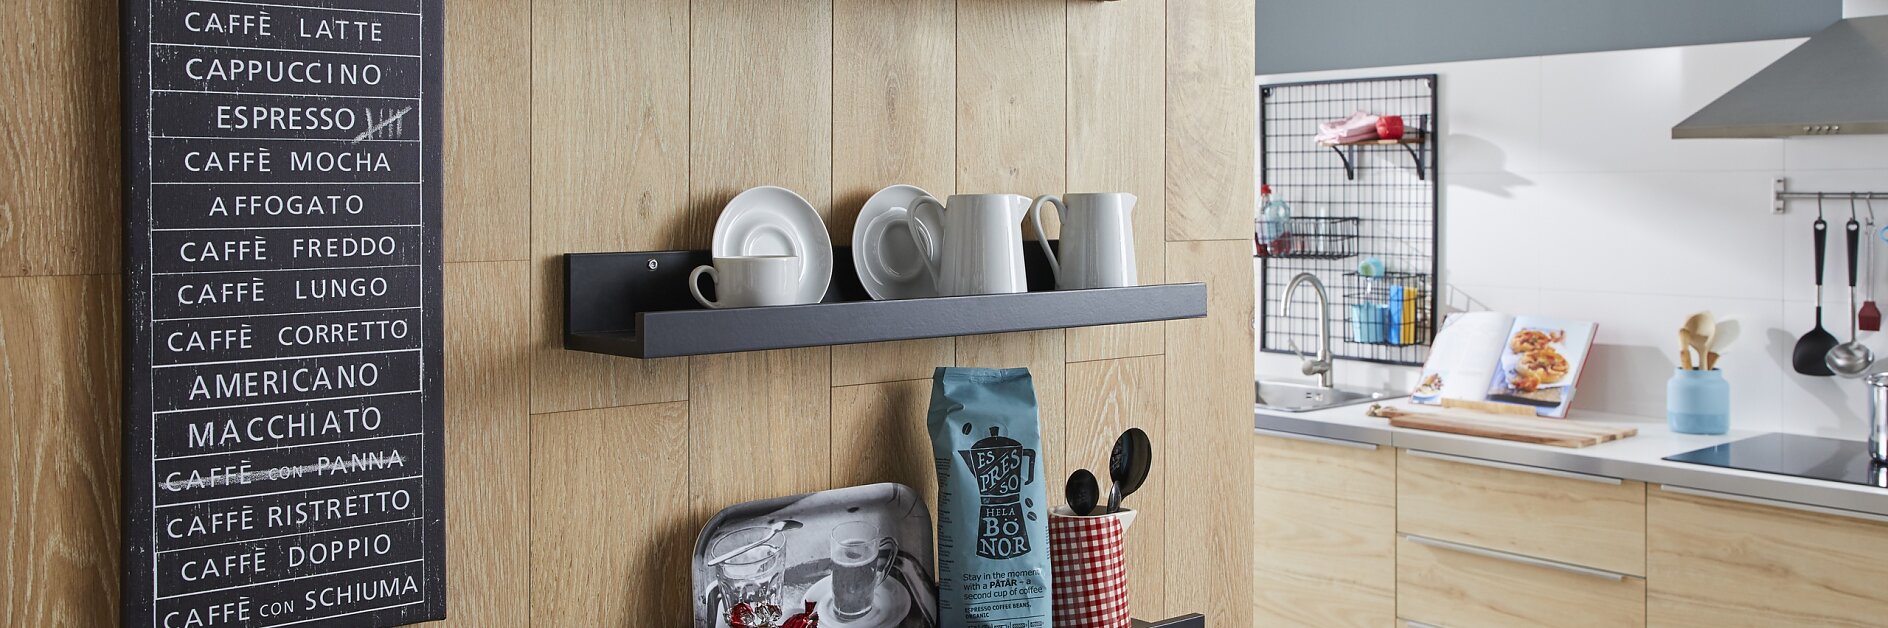
Practical and appealing – mounting a kitchen rack without drilling When you’re in the kitchen, you don’t want to dig through drawers or cupboards to find what you need. Why not simply put up a kitchen rack where you can keep a sponge or dish liquid always at the ready? Or you can hang ladles and other kitchen utensils on it.
Make sure the surface is clean and free from dust and grease. Use a cloth with water or pure alcohol for cleaning.
Measure out with the rack where to position the screws. Peel the protective film off the first adhesive screw.
Stick the screw to the wall. It will hold well while you apply the adhesive.
With the provided tube, fill adhesive into the larger hole until it comes out in the smaller. Repeat for the second screw.
Allow 12 hours for the adhesive to dry. It will develop its full strength after that time.
Attach the rack to the screws. The adhesive strength ensures a perfect hold.
Fill the rack with the utensils and items you need to have in easy reach. It’s as simple as that – and practical, too.
After taking off the rack, there’s no problem in removing the adhesive screws again. With pliers, just twist each screw off the wall.
Scrape off any adhesive that’s still sticking to the wall. Afterwards, you won’t be able to tell the rack had ever been there.