Your cookie settings for tesa.com
We use cookies and other technologies (incl. 3rd party services) to offer you website features, to understand the usage and to optimize our offering as well as providing you with individualized offers and ads. In this context, we also use service providers in third countries outside the EU without an adequate level of data protection, which entails the following risks: Access by authorities without information, no data subject rights, no legal remedies, loss of control. For more information, check out our privacy policy and our cookie policy, where you can change your cookie settings at any time.
Absolutely necessary to ensure that you can use the site, e.g.
Store your privacy settings and language preferences
Session handling
Website-Login
Shopping basket
Recommended to use the site optimally, e.g.
Search history
Website-analytics
Individual recommendation of offers and content within our site
Testing new features
Services which offer extended analysis of usage behaviour within and outside of our website.
These decorative lanterns with delicate leaves are pretty sophisticated. They look just as nice during the day as they do in the dark – and not many DIY lanterns lights can claim that!
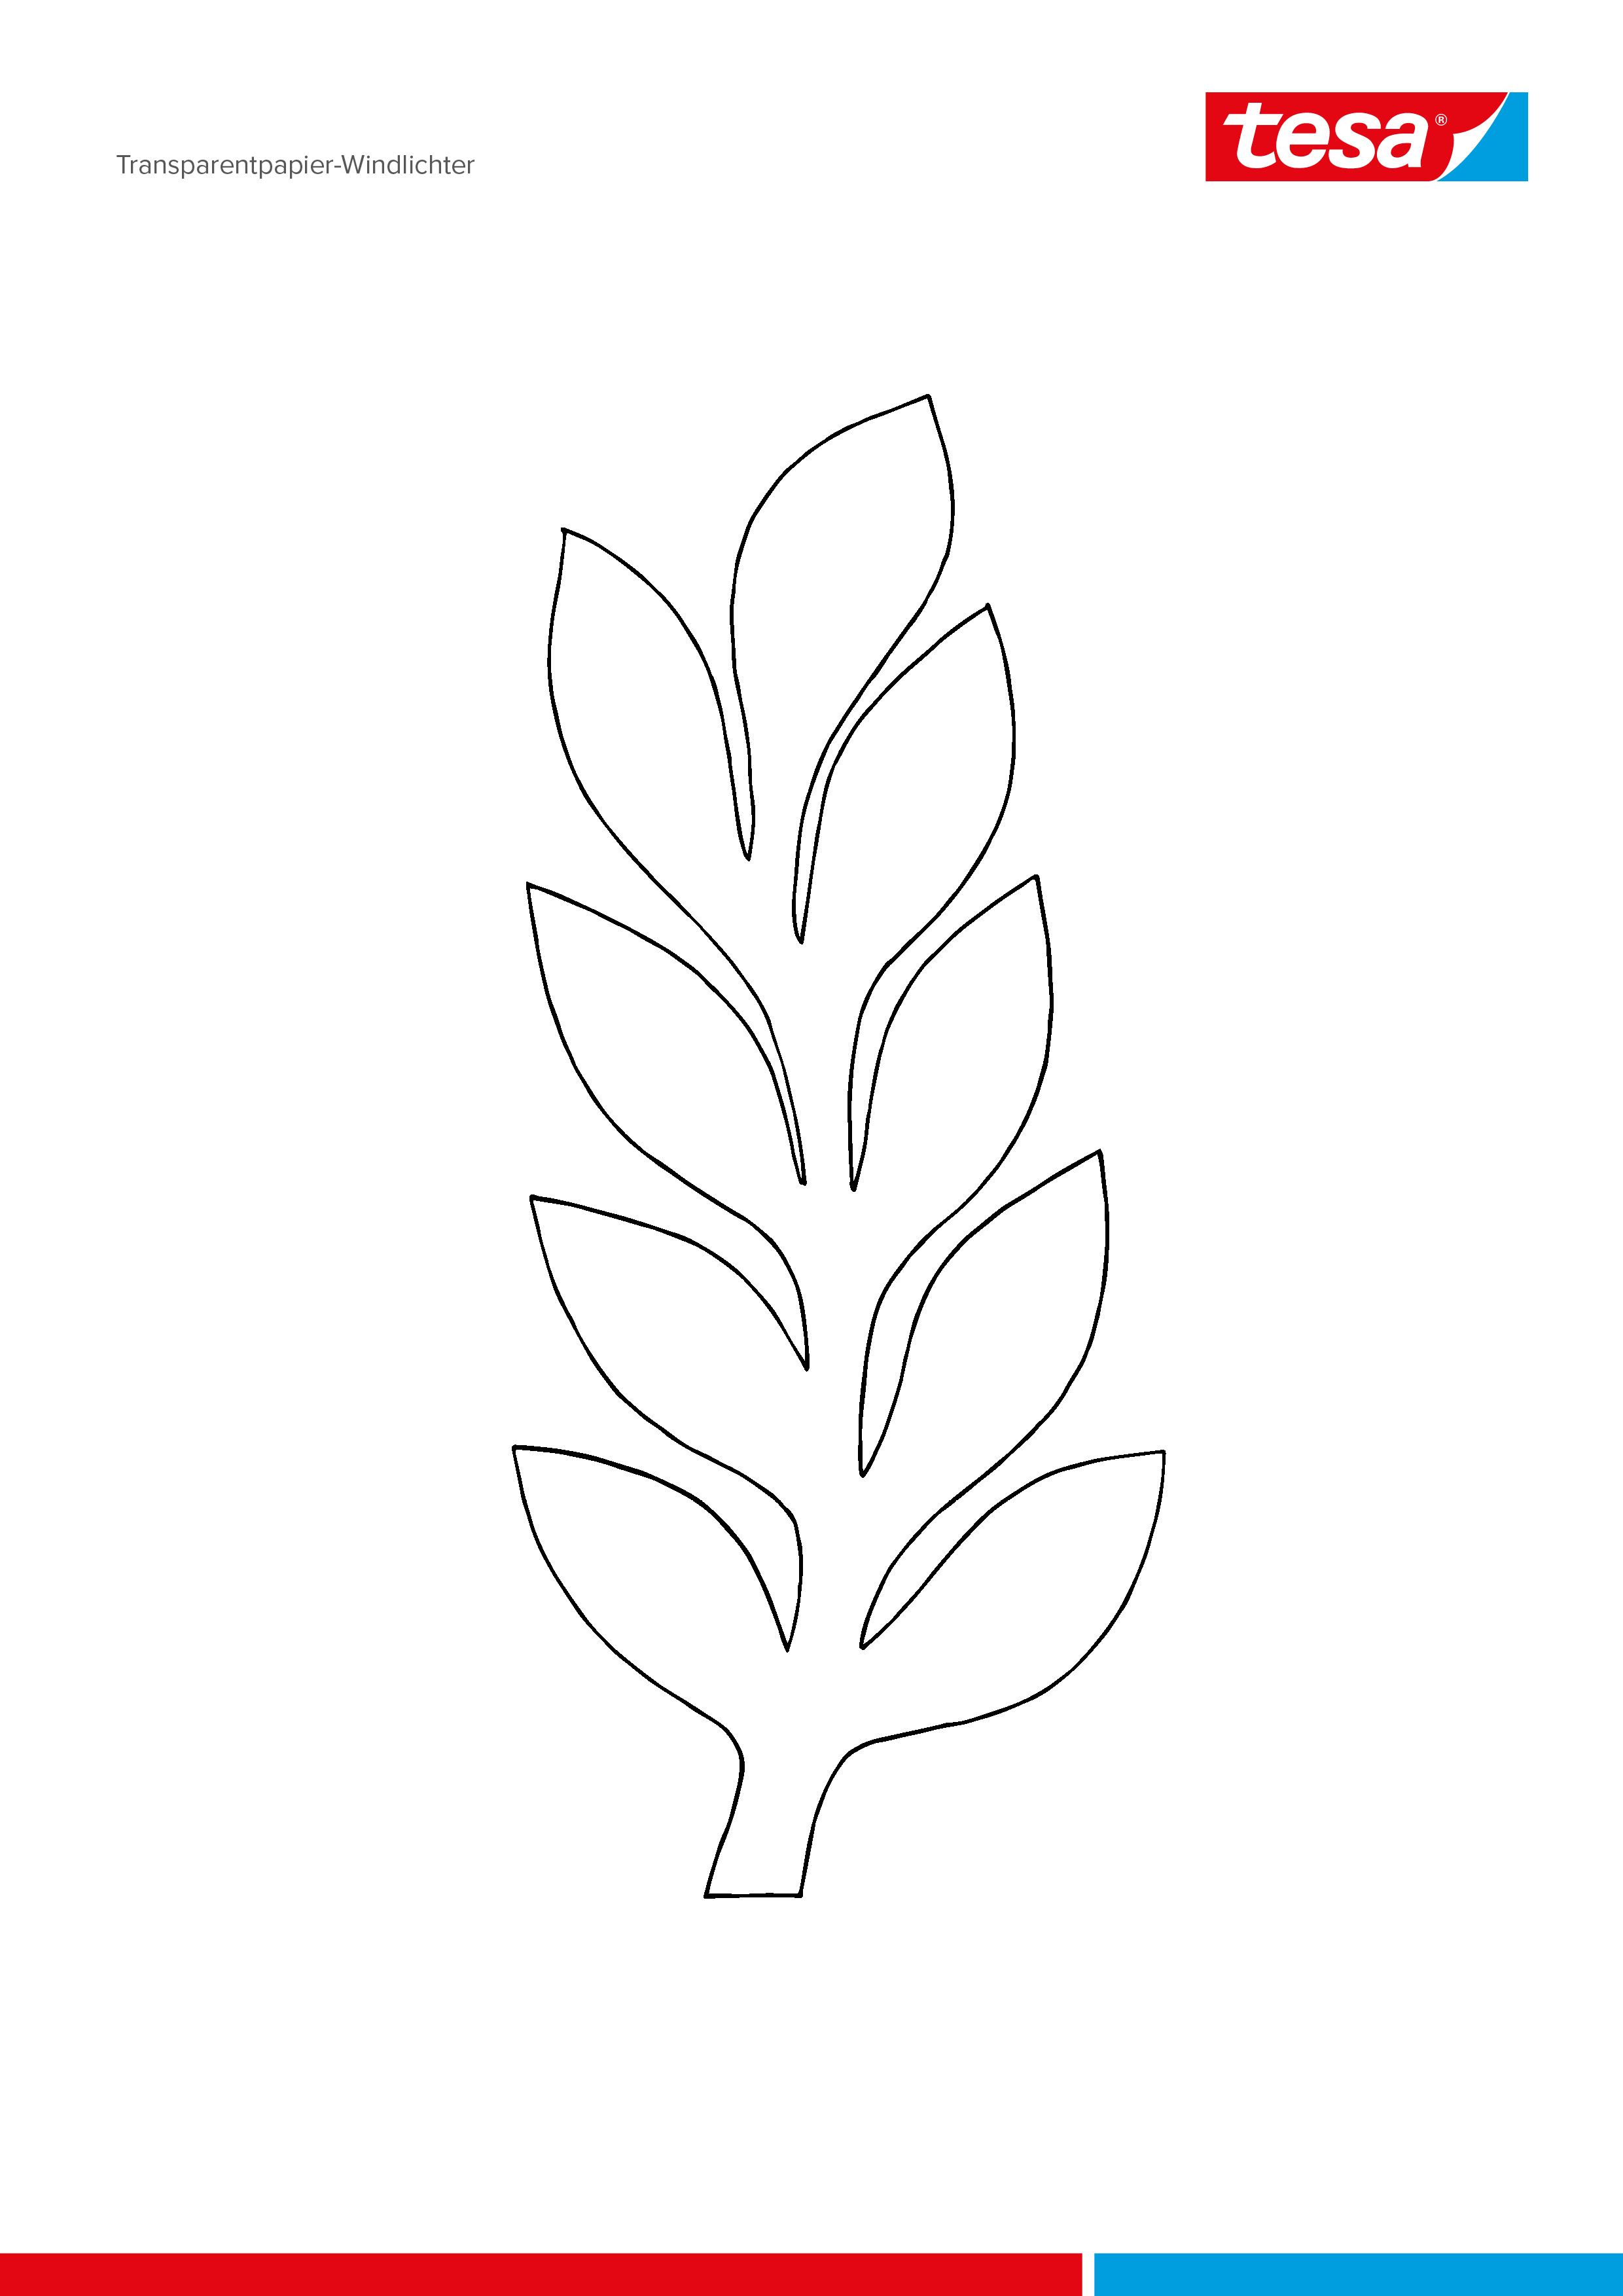
Cut out a template leaf and transfer it to the tracing paper with a pencil. Depending on the size of the lantern light, cut out approx. 6 leaves.
03
A tip for faster results:
Put two sheets of tracing paper on top of each other, glue both layers together outside the lines using the glue stamp - this way, the layers will not slip during cutting.
04
Cut tracing paper sheets matching the width of the lantern + 1 cm.
Using the glue stamp, apply glue on the leaves and attach them overlapping onto the paper sheet.
05
Wrap the paper with the leaves inside around the lantern and glue together.