01
Clean the spots for the triangles on the wall with pure alcohol or water, removing all dust or grease. You will need three areas with two triangles each, one for the holder on top, two for each shelve.
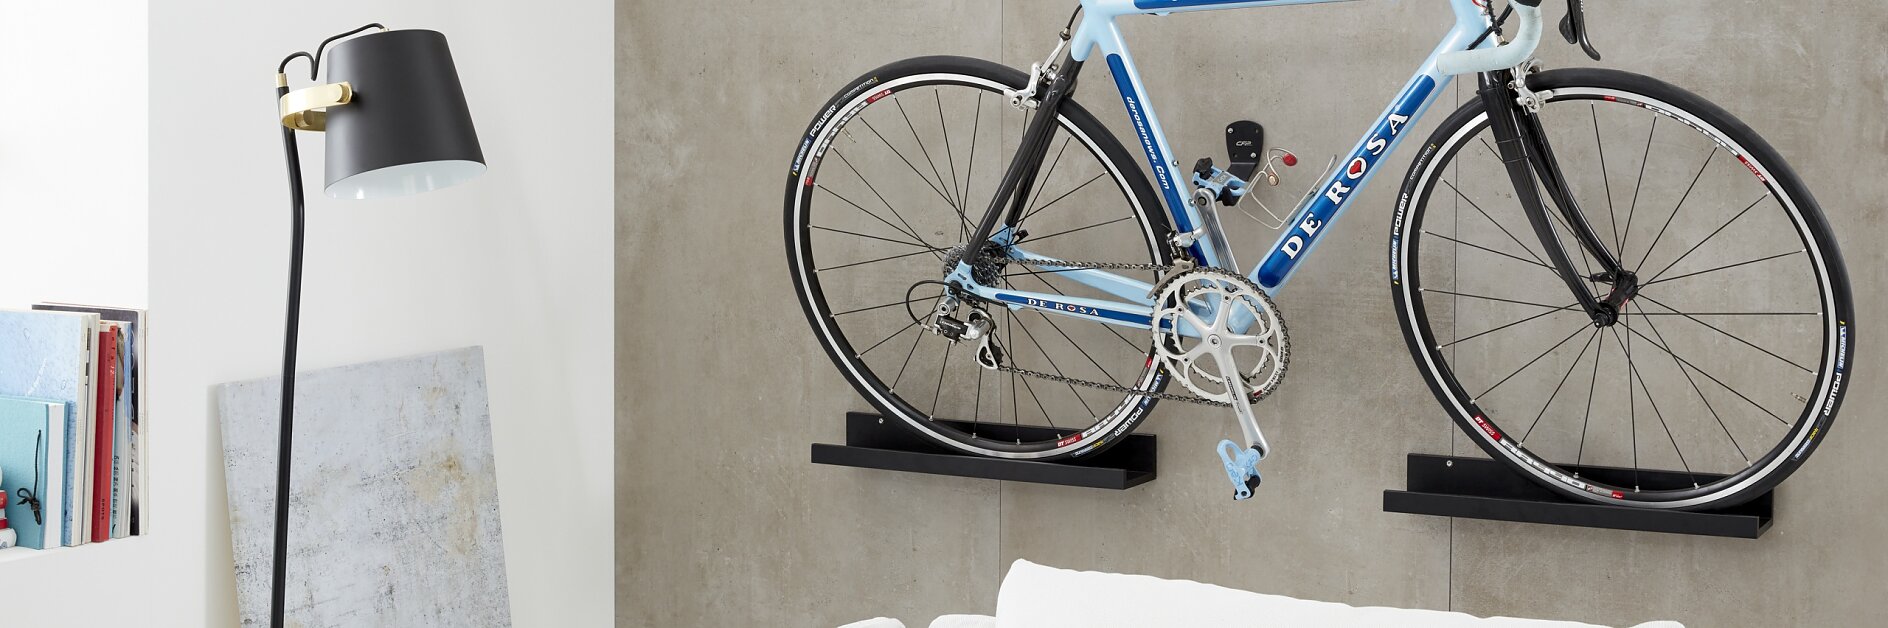
Unless you live in your own home, anyone riding a bike faces the question of where to put your bike? Why not securely place it on a wall right in your apartment? Not only is it safely out of the way, it also makes for a pleasing bit of decoration.
Clean the spots for the triangles on the wall with pure alcohol or water, removing all dust or grease. You will need three areas with two triangles each, one for the holder on top, two for each shelve.
Use the holder and the shelves to determine where to put the screws. Peel the protective film off of each triangle screw in turn.
Press it on the wall. For the holder, you will need two triangles next to each other.
Squeeze the adhesive from the tube into the larger hole until it starts coming out the other one.
Place the first two triangles with the screws opposite each other so you can easily attach the holder. Do the same with the screws for the shelves. Allow 12 hours for the adhesive to set.
Affix the holder on the triangle screws. No drilling is necessary.
Screw the shelves on so that they safely support the wheels.
Mount your bike on the wall without drilling, resting the wheels on the shelves and securing it above on the holder. Now you have a safe place for your bike that’s out of the way.
The screws can be easily removed. Just use pliers to twist the triangle screws off the wall.
Remove any remaining adhesive with a scraper. Not a trace will remain, so your wall will look beautiful and clean again.