01
Give the surface a thorough cleaning, using a cloth with water or pure alcohol. No grease or dust may remain.
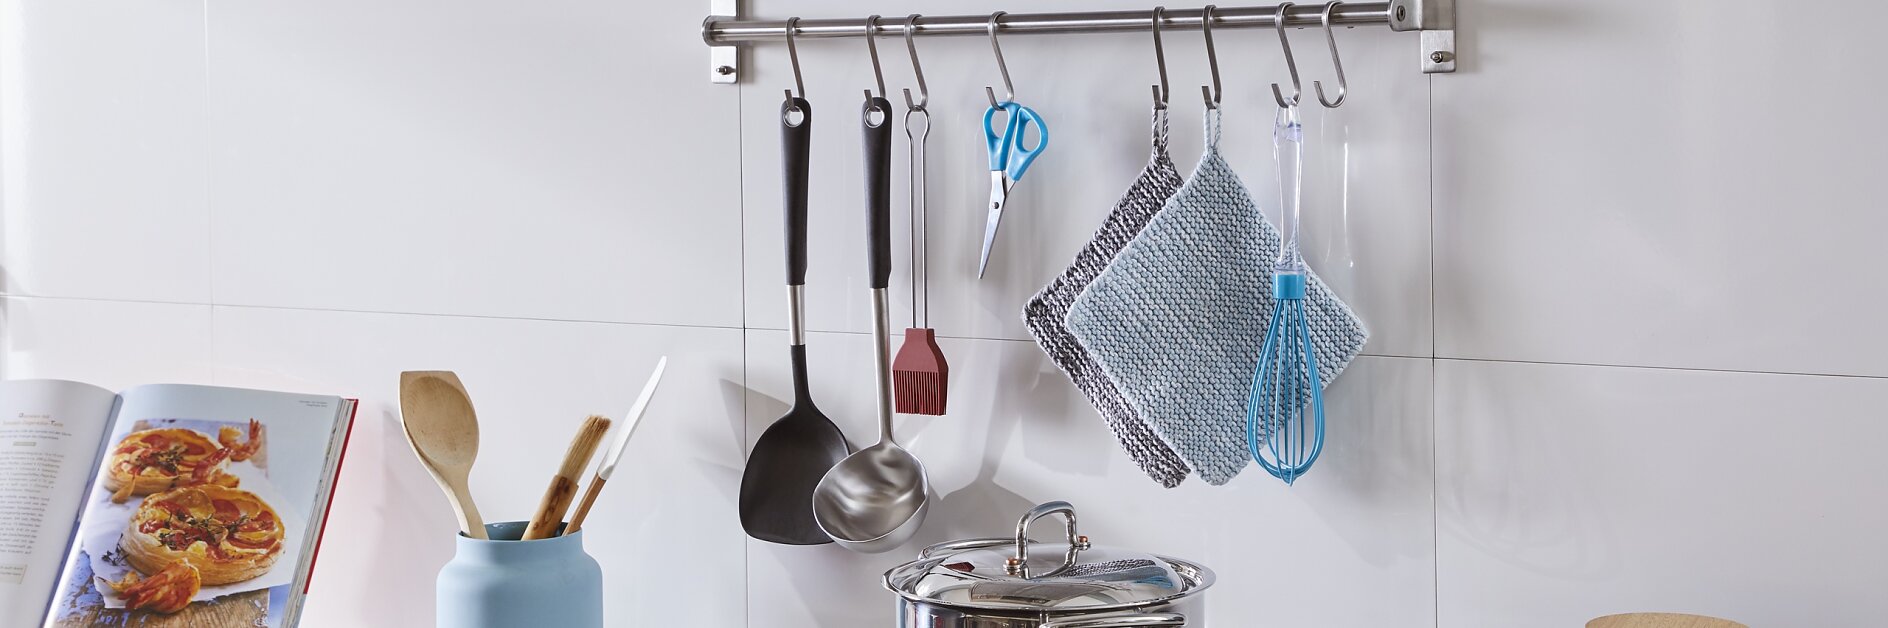
All your kitchen utensils right where you need them – kitchen rail without drilling Your ladles, scoops and other utensils shouldn’t be piled up in a drawer – just hang them up over your stove. You won’t have to leave your pots and pans alone for a second, everything is right in front of you. And no drilling is needed to fix the kitchen rail!
Give the surface a thorough cleaning, using a cloth with water or pure alcohol. No grease or dust may remain.
Use the rail to mark where to place the adhesive screws. Remove the protective film from the first screw.
Place the screw on the wall. It will stick to the surface securely enough for the next step.
Using the included tube, fill adhesive into the larger hole until it starts coming out the smaller hole. Repeat for the other adhesive screws.
Let the adhesive dry for 12 hours. Only then will it develop its full strength.
Affix the kitchen rail to the screws.
That’s all. Now you can hang all your utensils on the rail and won’t have to go looking for them in drawers or cupboards.
As secure as the screws’ hold is, as simple is it to remove them. Use pliers to twist them off sideways, and they’ll come off easily.
With a scraper, you can remove any remaining adhesive. The tiles underneath will look just as they did before.