01
Thoroughly clean the spots intended for the screws. Use a cloth with water or pure alcohol to remove all grease and dust.
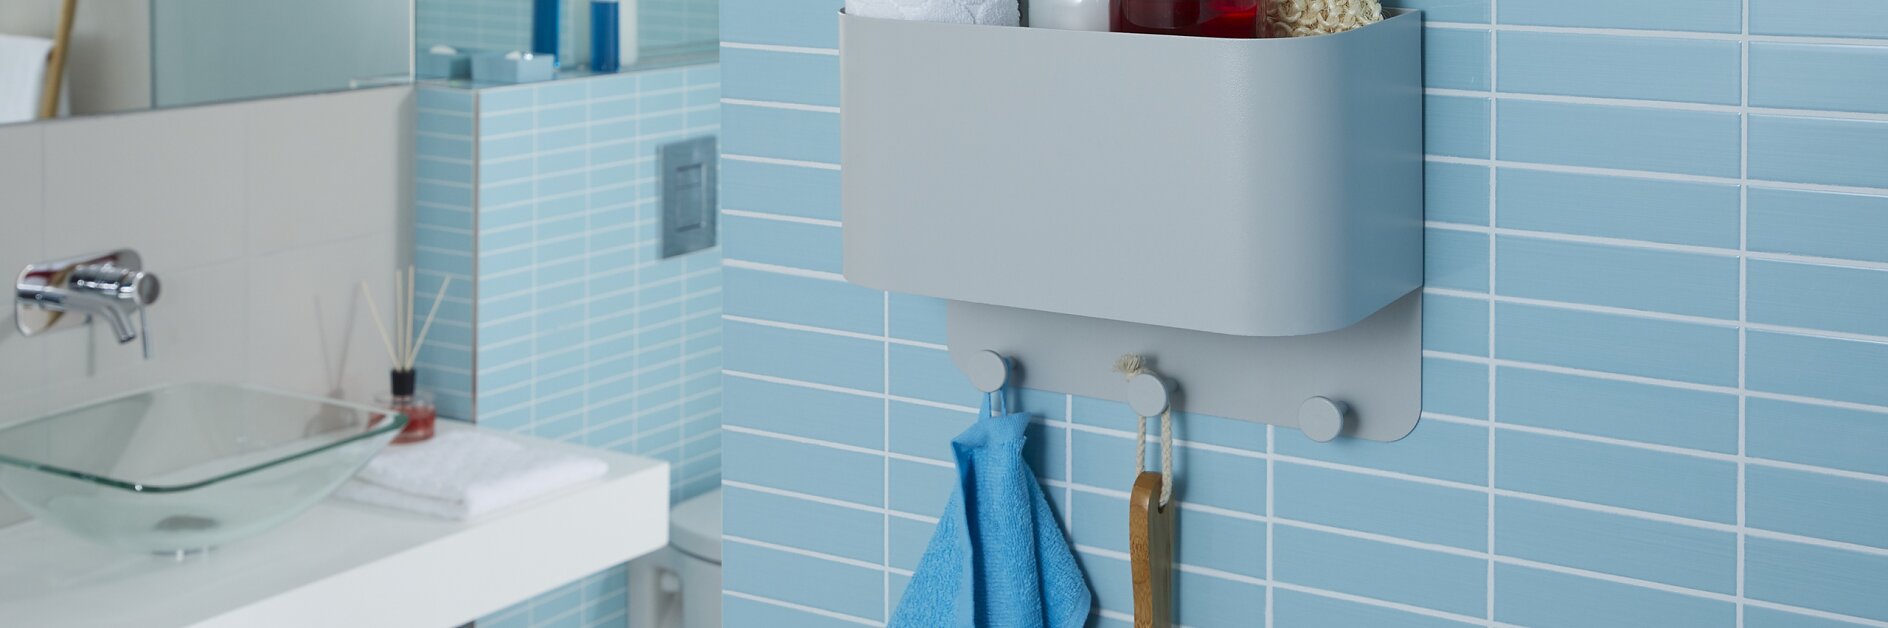
A beautiful storage solution for your bathroom – mounted without drilling In the bathroom, many utensils accumulate quickly – from toiletries over wash sponges to brushes and towels. Giving them a handsome home on the wall is not only practical but also offers you a nice addition to your bathroom. Moreover, you can mount the bathroom rack without drilling and damaging your tiles.
Thoroughly clean the spots intended for the screws. Use a cloth with water or pure alcohol to remove all grease and dust.
Measure out with the bath rack where to put the screws. Take the protective film off the first screw.
Stick it to the wall. The initial low-grade adhesive will keep it in place.
Use the included tube to fill adhesive into the larger hole until it comes out in the smaller hole. Do the same thing for the other screw.
Afterwards, allow the adhesive 12 hours to harden. After that time, it will achieve its top performance.
Mount the rack to the screws. No drilling is needed, the adhesive will safely hold the rack.
Put all your toiletries and what else you need in the bathroom rack. They’ll be out of your way when cleaning and ready when you need to use them.
Just as attaching was problem-free, so is removal. First, disconnect the rack. Next, use pliers to twist the screws off the wall.
The final step is eliminating the left-over adhesive on the tiles. Use a scraper for that, and in the end, there will be no trace of the rack on your tiles.