01
Poplar plywood board: 65 x 55 x 1.2 cm, white weatherproof varnish, roller brush, scissors, pencil, metal hook strips, metal clasps, alcohol- or silicone-free glass cleaner, tesa Powerbond® ULTRA STRONG 1.5 m x 19 mm (2-3 rolls)
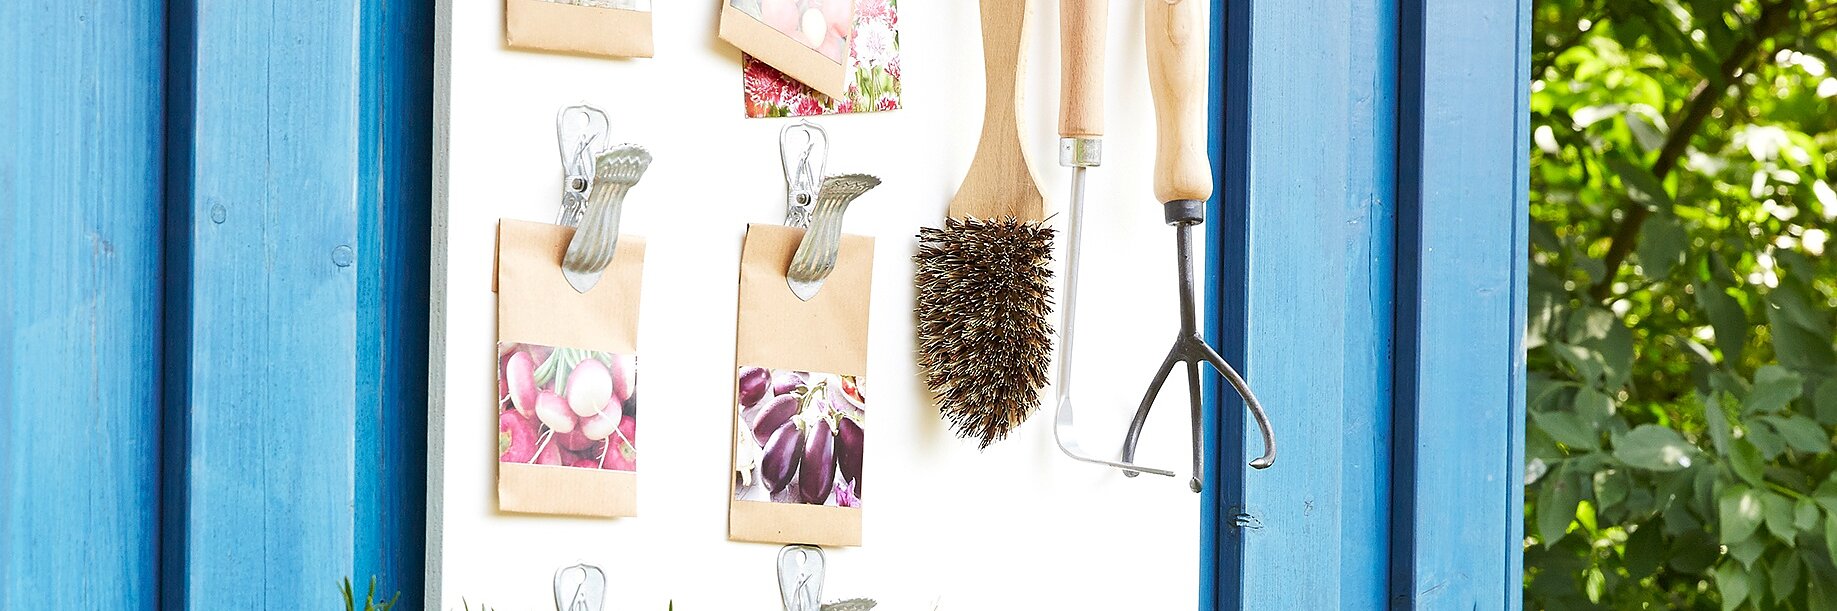
Keep your packets of seeds, and garden tools, in perfect order by arranging them on a white-varnished wooden board. Ultra strong double-sided tape from tesa® can be used to fix decorative metal clasps and metal hook strips firmly in place.
Poplar plywood board: 65 x 55 x 1.2 cm, white weatherproof varnish, roller brush, scissors, pencil, metal hook strips, metal clasps, alcohol- or silicone-free glass cleaner, tesa Powerbond® ULTRA STRONG 1.5 m x 19 mm (2-3 rolls)
Paint the wooden board with the white varnish on both sides and along the edges. Place the metal clasps and metal hook strips on the board and carefully mark their desired positions with a pencil.
Clean the clasps and strips with alcohol- or silicone-free glass cleaner and apply a strip of Powerbond® ULTRA STRONG to the reverse.
Cut to fit.
Firmly press tesa Powerbond® ULTRA STRONG for five seconds on the clasps and strips.
Remove the protective films.
Thoroughly remove any dust from the wall, where you plan to place your garden organiser.
Place the board in the desired spot and mark its position.
Apply long strips of tesa Powerbond® ULTRA STRONG in evenly spaced vertical stripes on the wall and press for five seconds.
Remove the protective films.
Firmly press the board on the wall for another five seconds.

