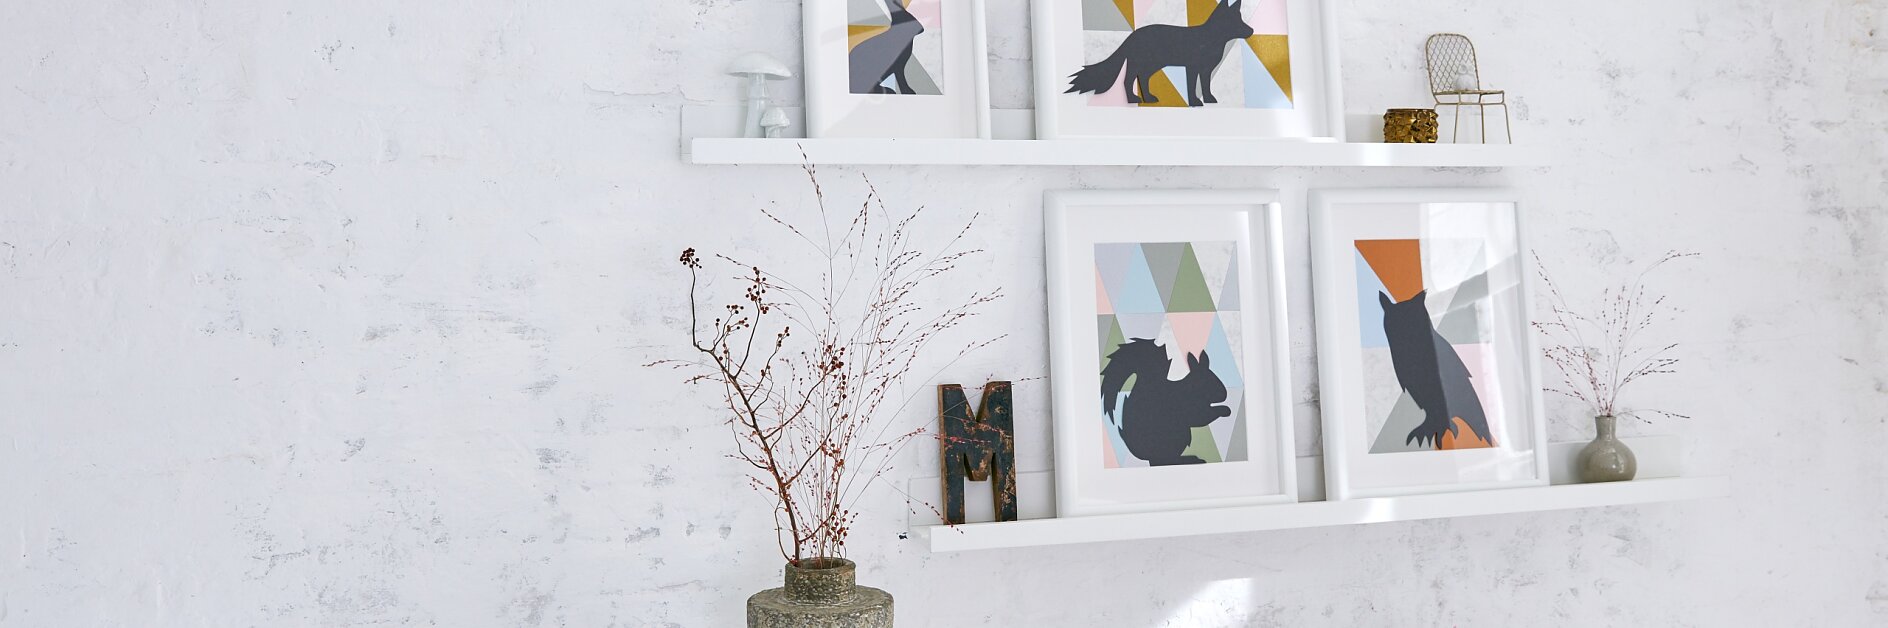
DIY Animal Silhouettes for Fall

DIY Animal Silhouettes

Most of the times, wild animals leave nothing more than shadows. Easier: Cut out their silhouettes, glue them to geometrically patterned surfaces, frame them and hang the pictures on the wall.

Level of difficulty For ambitious hands
Duration 35

We need:

Animal silhouettes templates Scissors Pencil Gray photo cardboard Photo frames Cutter Ruler Cutting mat Photo cardboard in silver, copper and gold Photo cardboard in different colors White paper tesa® Roller Permanent Gluing ecoLogo®

How We Do It:

Overview of materials.

01What We Need:

We need animal silhouettes templates, scissors, pencil, gray photo cardboard, photo frames, cutter, ruler, cutting mat, photo cardboard in silver, copper and gold, photo cardboard in different colors, white paper, and tesa® Roller Permanent Gluing ecoLogo®.

Draw a geometric pattern based on triangles.
02

Transfer the image area of the picture frames on the white paper and draw a geometric pattern based on triangles.

Cut the colored photo cardboard.
03

Cut the colored photo cardboard according to the size of the single elements.

Applying tesa® Roller Permanent Gluing ecoLogo®.
04

Apply tesa® Roller Permanent Gluing ecoLogo® on the backsides of the elements.

Gluing the elements.
05

Glue the elements on the cardboard according to the pattern. Try first without glue.

Cutting out the animal templates.
06

Cut out the animal templates and transfer them on the gray cardboard using the pencil.

Cutting out the silhouettes.
07

Cut out the silhouettes.

Applying tesa® Roller Permanent Gluing ecoLogo®.
08

Apply tesa® Roller Permanent Gluing ecoLogo® on the backsides of the animals.

Gluing the silhouettes.
09

Glue the silhouettes on the geometrically patterned surface and frame the picture.

Enjoy your self-made silhouettes.
10

Enjoy your self-made animal silhouettes with fall motives!