01What We Need:
We need scrapbooking paper with different patterns, scissors,ruler, cutter, pencil, and tesa® double-sided tape,
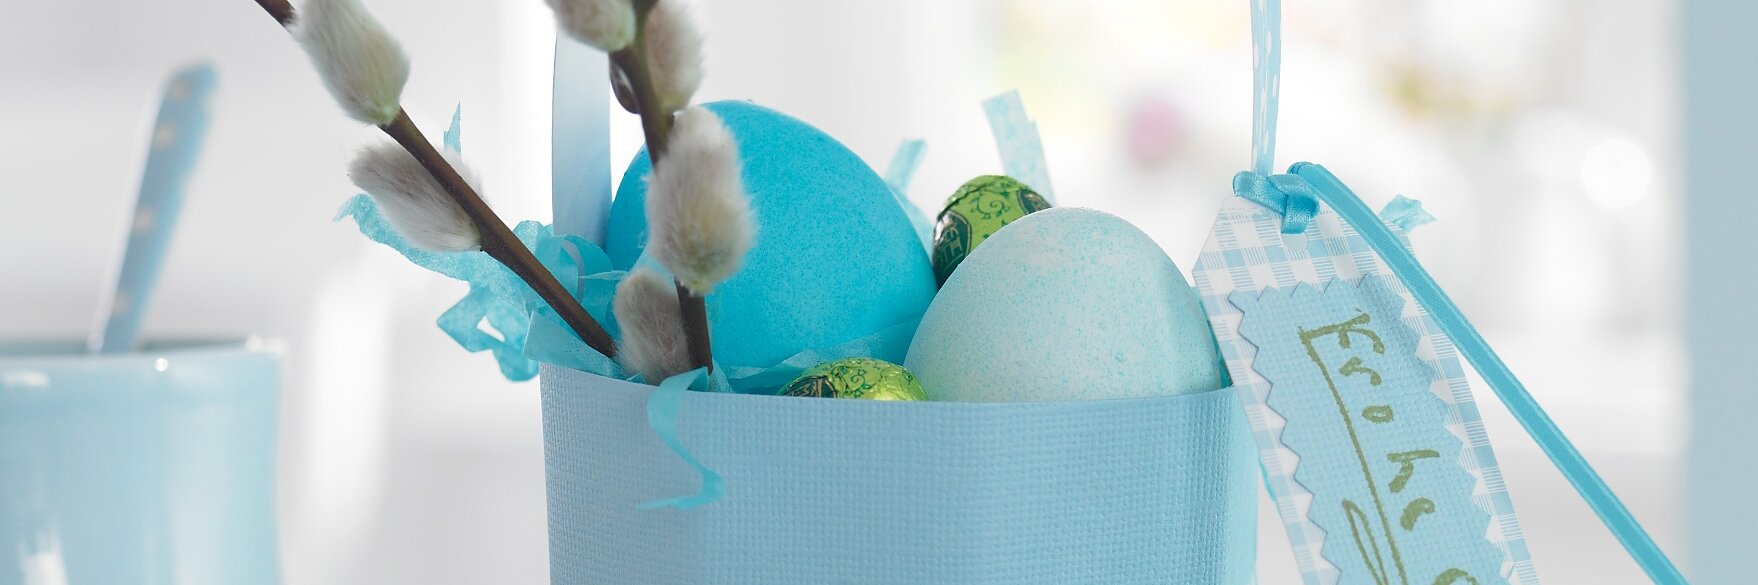
What a nice way to start the day: every guest has a little, lovingly filled basket waiting for them at their seat. You can craft one out of strips of festive paper.
We need scrapbooking paper with different patterns, scissors,ruler, cutter, pencil, and tesa® double-sided tape,
Cut the following strips out of the paper: For the handle: 1 strip 2 cm x 28 cm, for the upper rim: 1 strip 3.5 cm x 31 cm, for the basket: 4 strips 3.5 cm x 28 cm.
Cover the back side of the rim strips with two rows of tesa® double-sided tape, remove the release paper and attach the strips for the basket body close together along the rim.
Then attach the bottom end of the first strip to the rim beside the to top of the last strip; repeat with the three other strips (see photo).
Close the basket, making sure to close the ends of the rim in a way that makes the strips sit next to each other without spaces. Press firmly.
Apply 3 cm of tesa® double-sided tape to both ends of the handle strip (on the printed side), press them into place, remove the release paper and attach them to the interior of the basket body.
Cut out little name tags. Stamp them. Punch holes. Glue the parts together. And fasten them with a piece of ribbon.

Enjoy your self-made Easter basket