01
Collect all items and let's start!
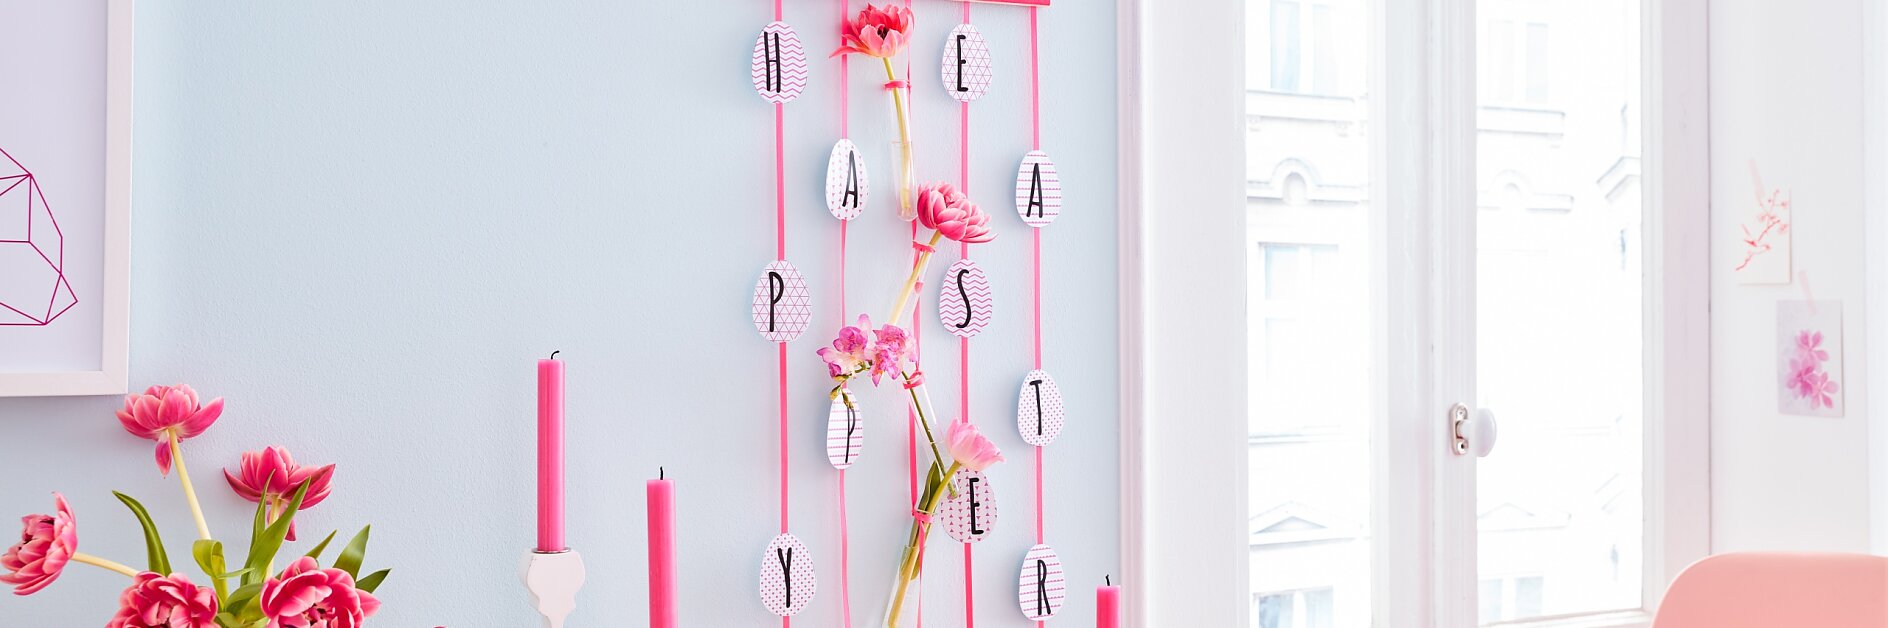
An original alternative to an Easter wallpaper that says "Happy Easter" - This Easter wall décor always looks different and fresh when the small test tube vases are refilled.

Collect all items and let's start!

Cover the front sides of the poster rails with neon tape.

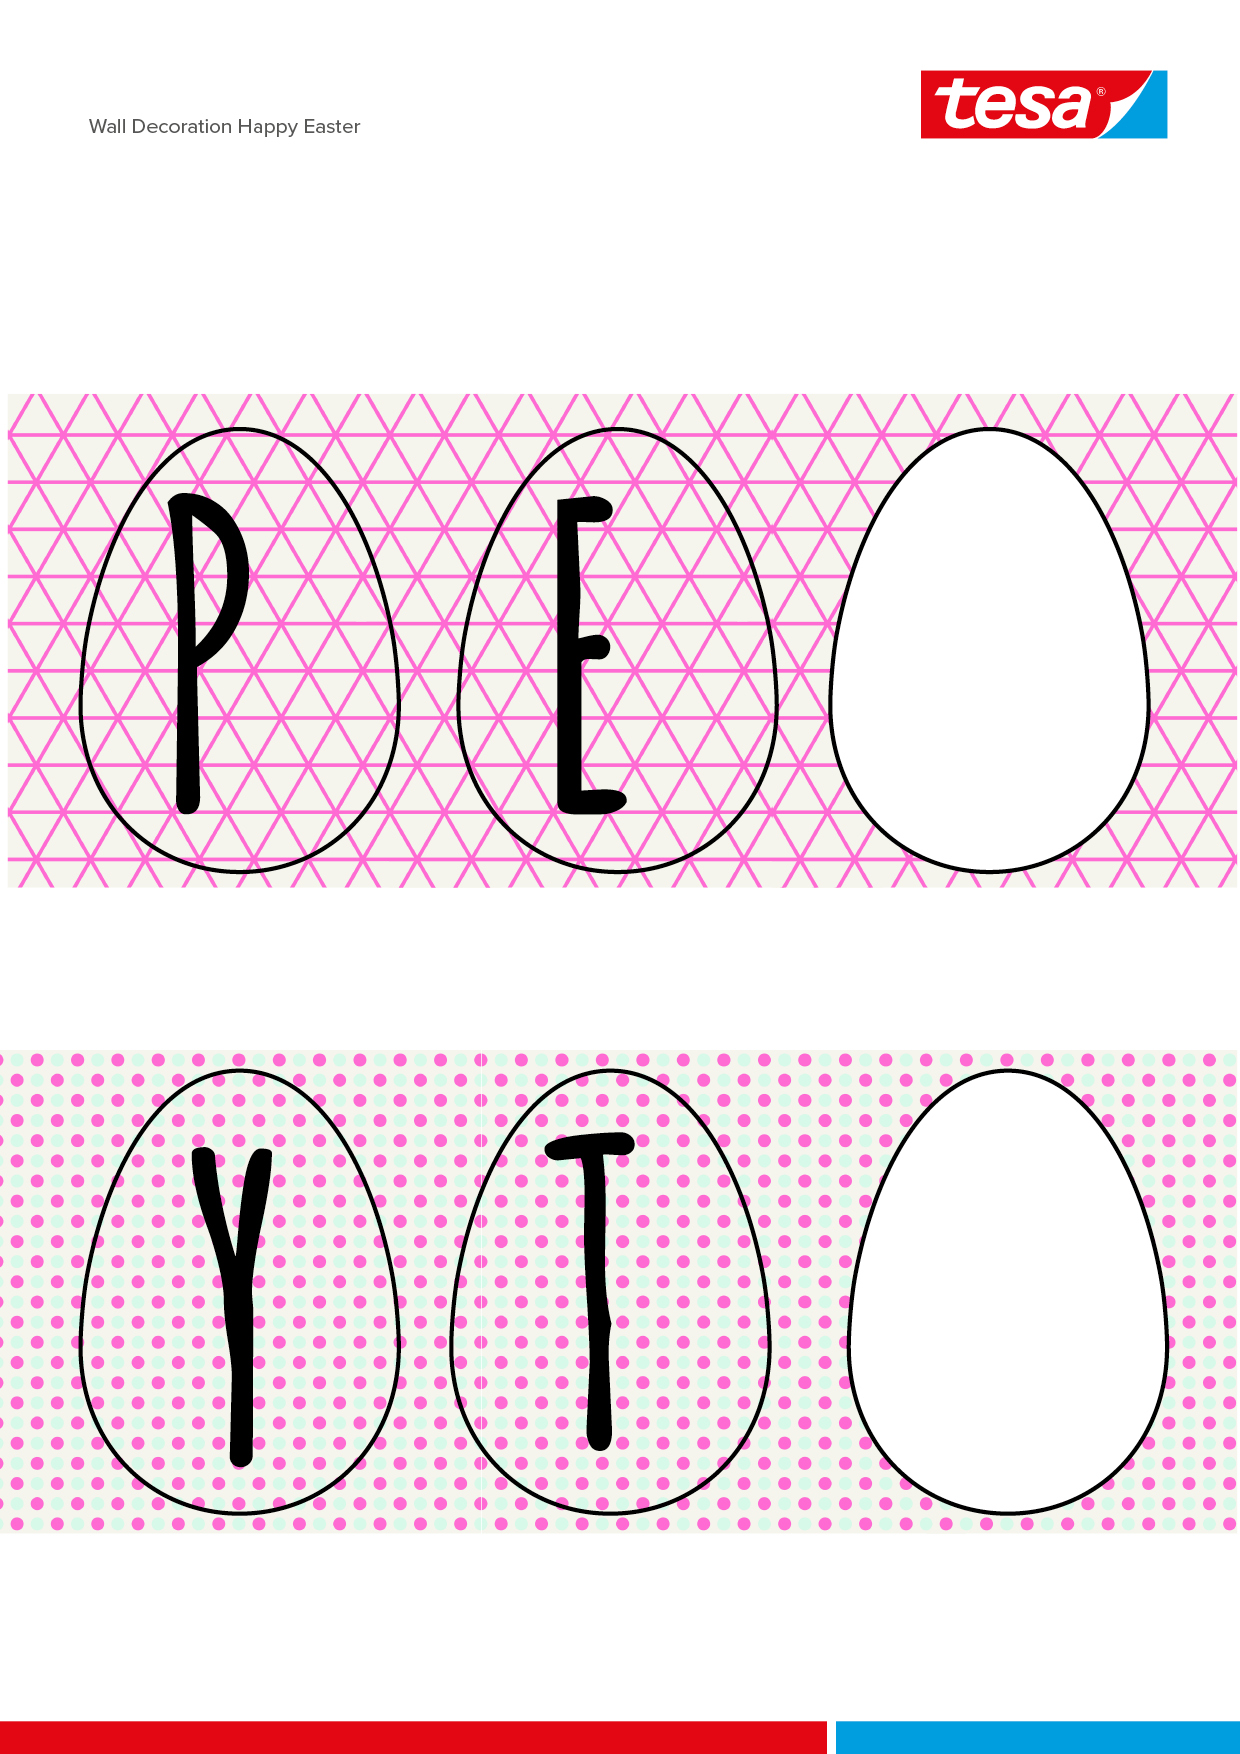
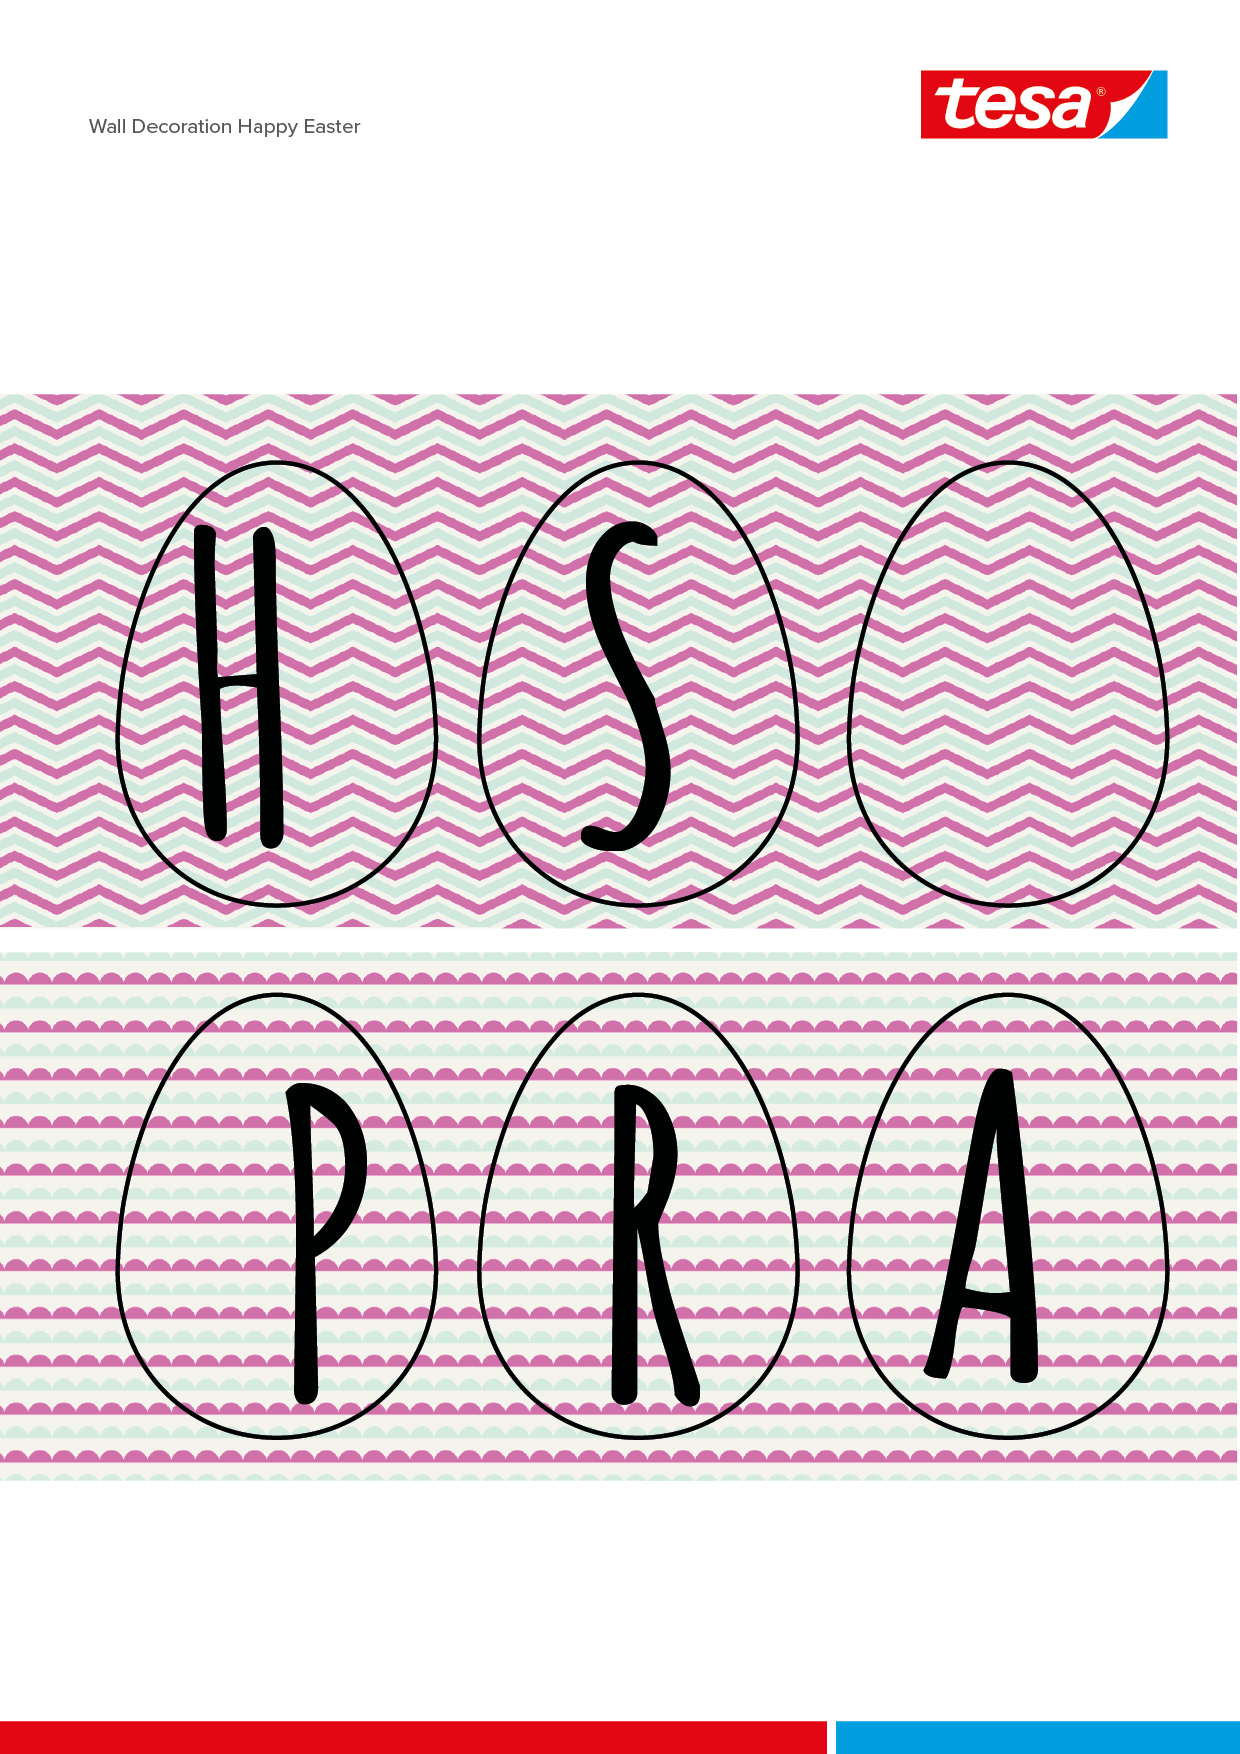
Cut out eggs from the printed cardboard. Use one egg as a template. Trace 11 eggs with a pencil on the white cardboard and cut them out.

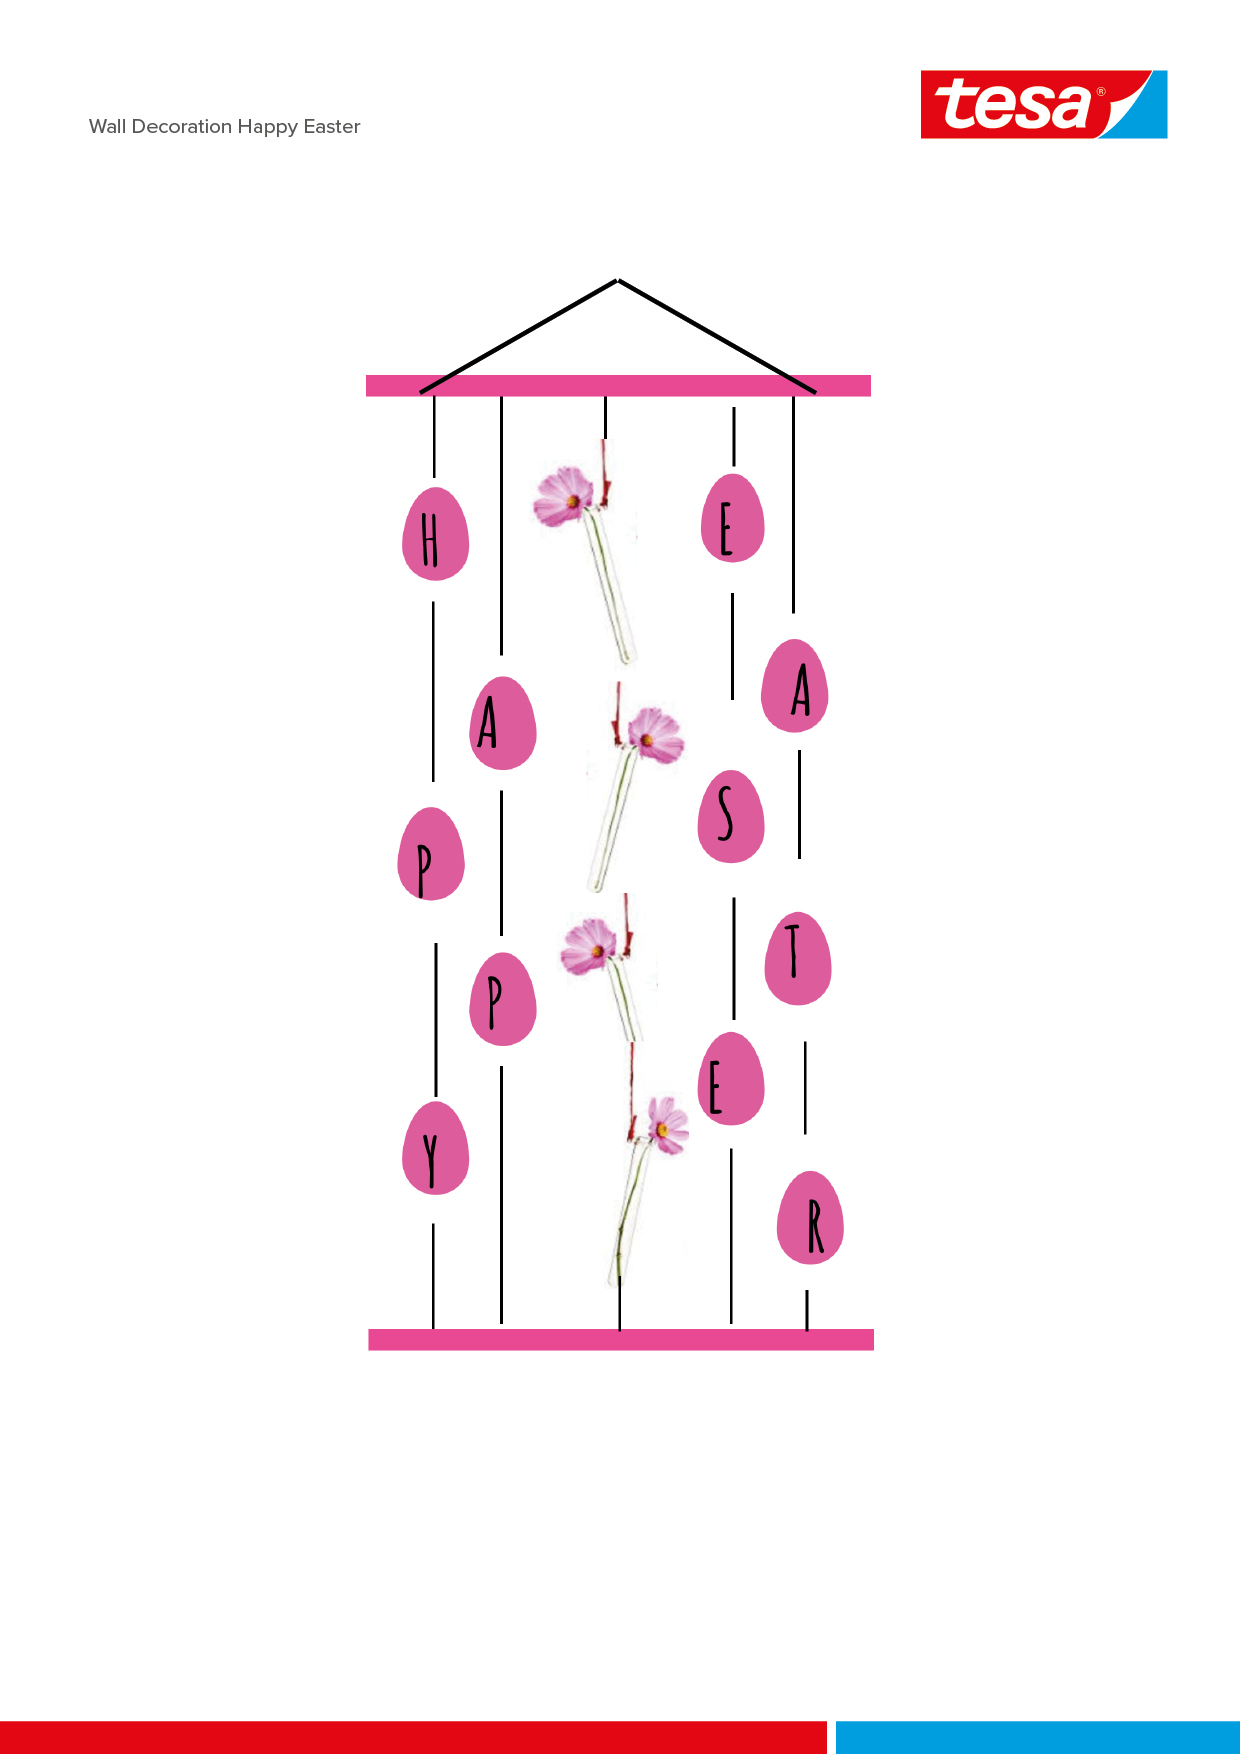
Cut 4 strips (66 cm) of ribbon and place them next to each other. Attach the eggs according to the schematic drawing "HAPPY EASTER": First, glue on the white eggs using the tesa® Glue Stick.

Position the ribbon in the center and glue on the printed egg with the respective letter.

Now glue the ribbons at an even distance to the backside of the upper rail using tesafilm®: First, the two ribbons with the word "HAPPY", then - in the center - the long leftover piece, and finally the two ribbons with the word "EASTER". Attach the counterpart to the magnetic rail.

Tie test tubes to the central ribbon.

Now glue the ribbon ends to the lower poster rail using tesafilm®. Cut off the remaining central ribbon. Attach the lower counterpart. Tie the remaining ribbon in the desired length to the upper rail for suspension and hang the finished decoration on the wall using the Powerstrip® Transparent Hooks Large (follow the instructions on the packaging!). Fill the vases with water and decorate them with flowers.
