01
Collect all items and let's start!
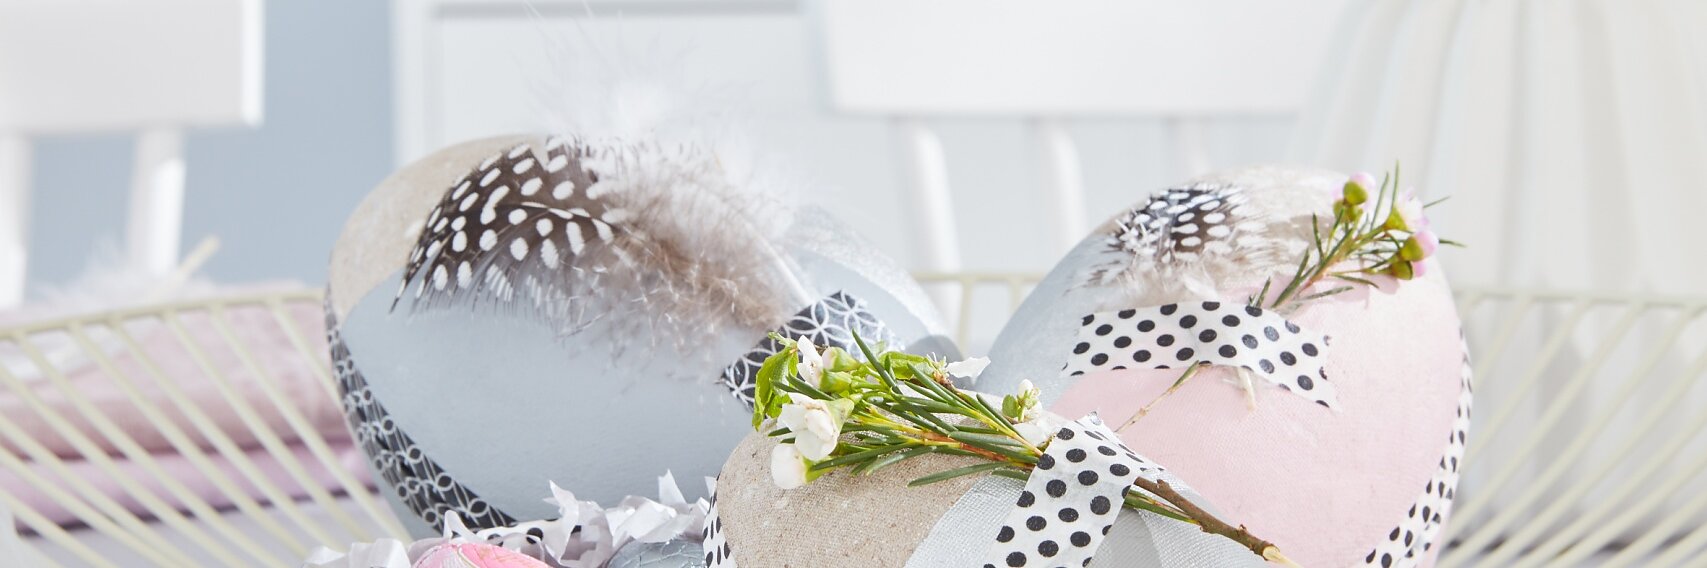
The perfect wrapping for an Easter gift? A lovingly decorated cardboard egg! These DIY Easter decorations not only look good; they also make ideal presents for your guests - even without filling.

Collect all items and let's start!

Mask the desired pattern on the cardboard egg (in our example, a diagonal area).

Paint the masked area.

Allow the paint to dry and remove the masking tape.

Now, mask a second diagonal area.

Color the area with the silver paint.

Allow to dry and remove the masking tape.

Cover the borders of the egg halves with the Deco Tape in order to hide the white edge. Bend the protruding part inward.

Fold the silk paper to a narrow band and cut off fine strips using the scissor; unfold the paper and slightly crumple it. Use this "Easter grass" to fill the lower egg half.

Decorate the upper egg half with a small branch and a feather.