Nameplates

Having a nameplate on your bedroom door is an essential part of everyone’s childhood. This fun craft project is easy to do with your child. Create it, then hang it. Simple.

Level of difficulty Leisurely inspiration
Duration 5

Video tutorial

Nameplates

Nameplates

tesa SE

We need:

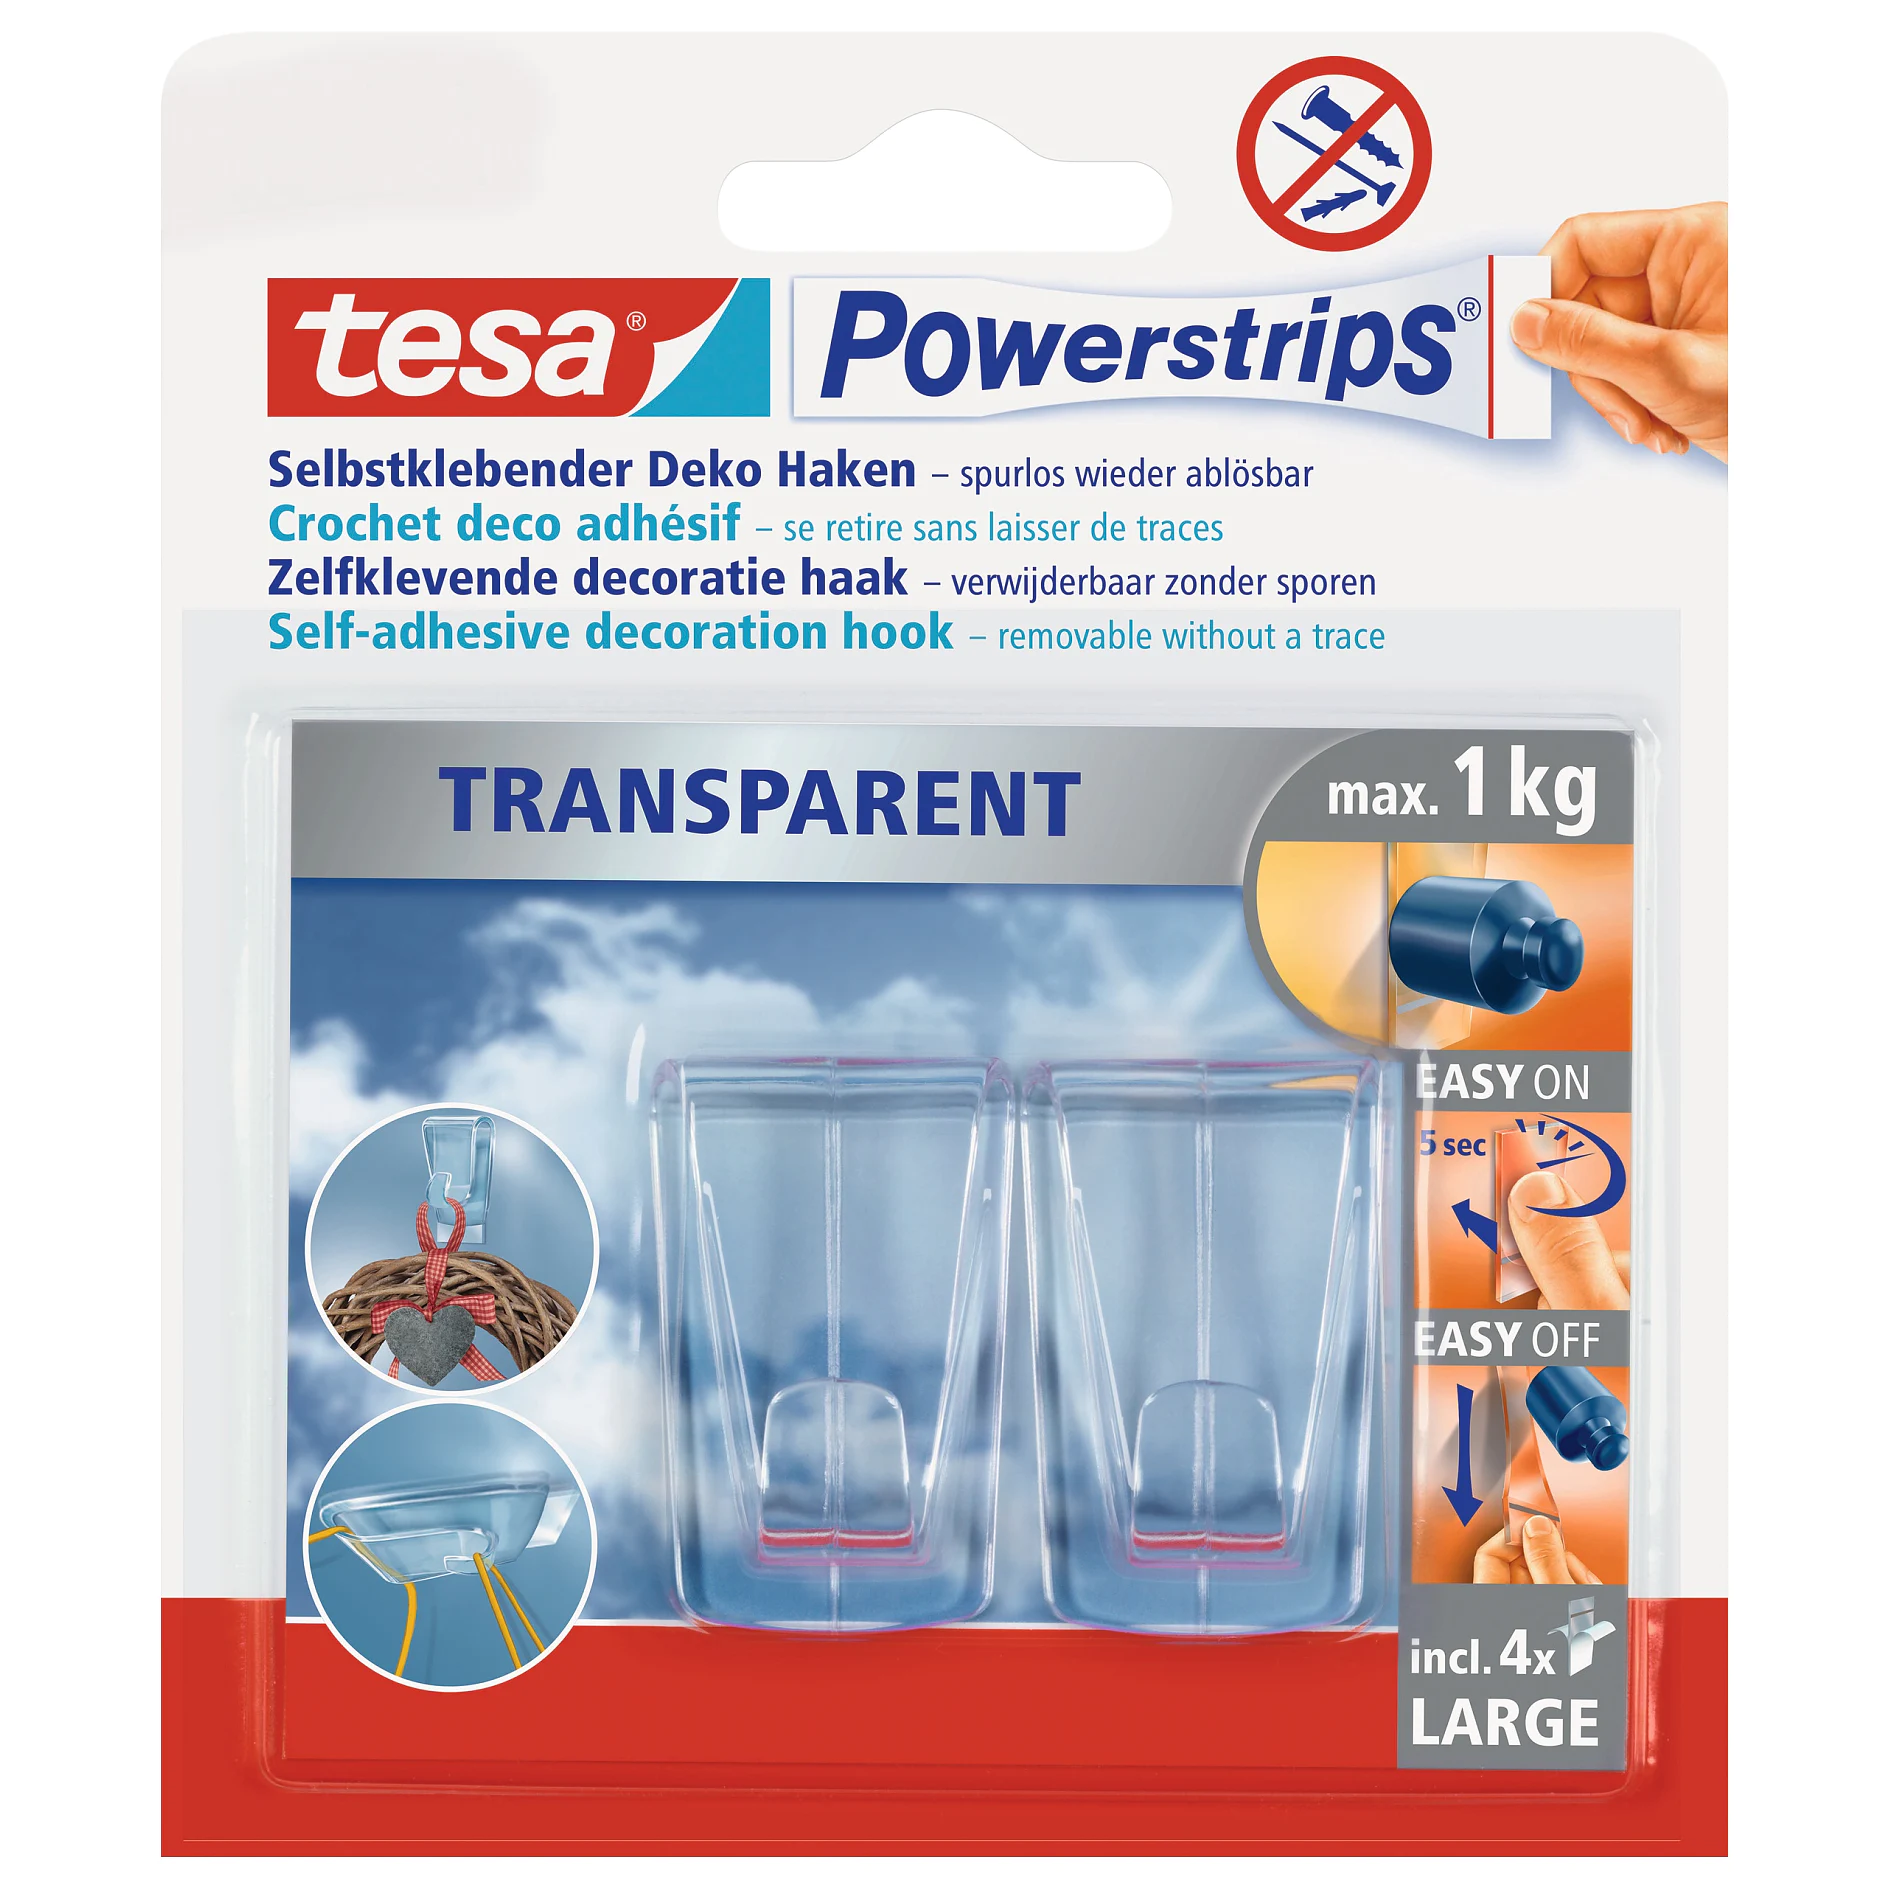
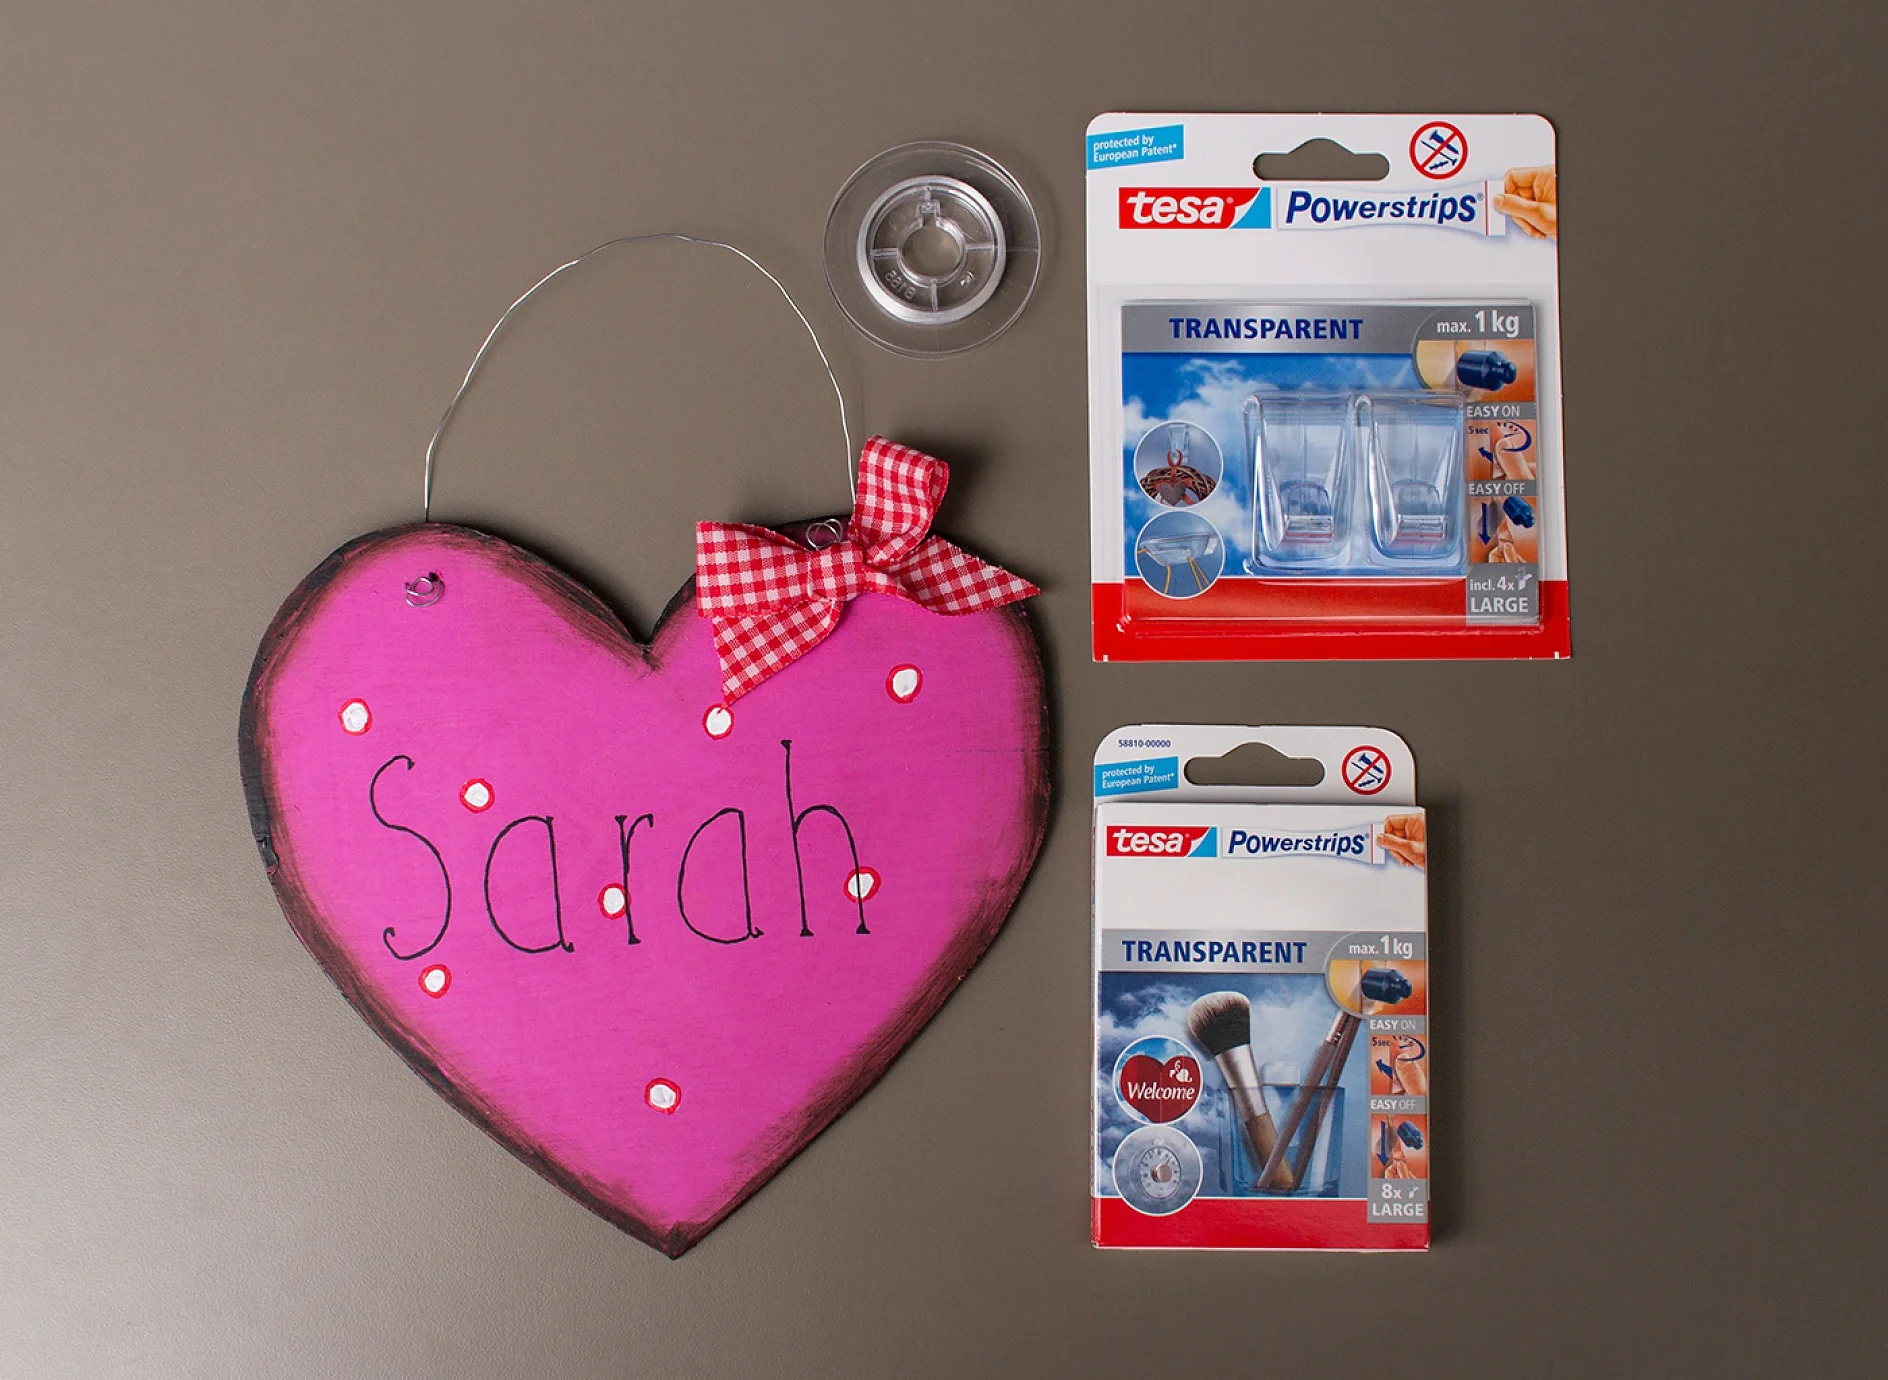
a handmade nameplate Powerstrips® Strips Transparent Large Powerstrips® Transparent DECO Hooks Large

How we do it:

Hand-made nameplate with tesa Powerstrips® Strips Transparent Large and tesa Powerstrips® Transparent DECO Hooks Large.
01

Firstly, you’re going to need a handmade nameplate. This is a chance to get creative with your kids and design something that really reflects their personality. You can make the base from card or plywood, or find blanks in craft stores. To hang your creations, you’ll need Powerstrips® Strips Transparent Large and Powerstrips® Transparent DECO Hooks Large. These are perfect because they don’t draw attention away from the nameplate itself.
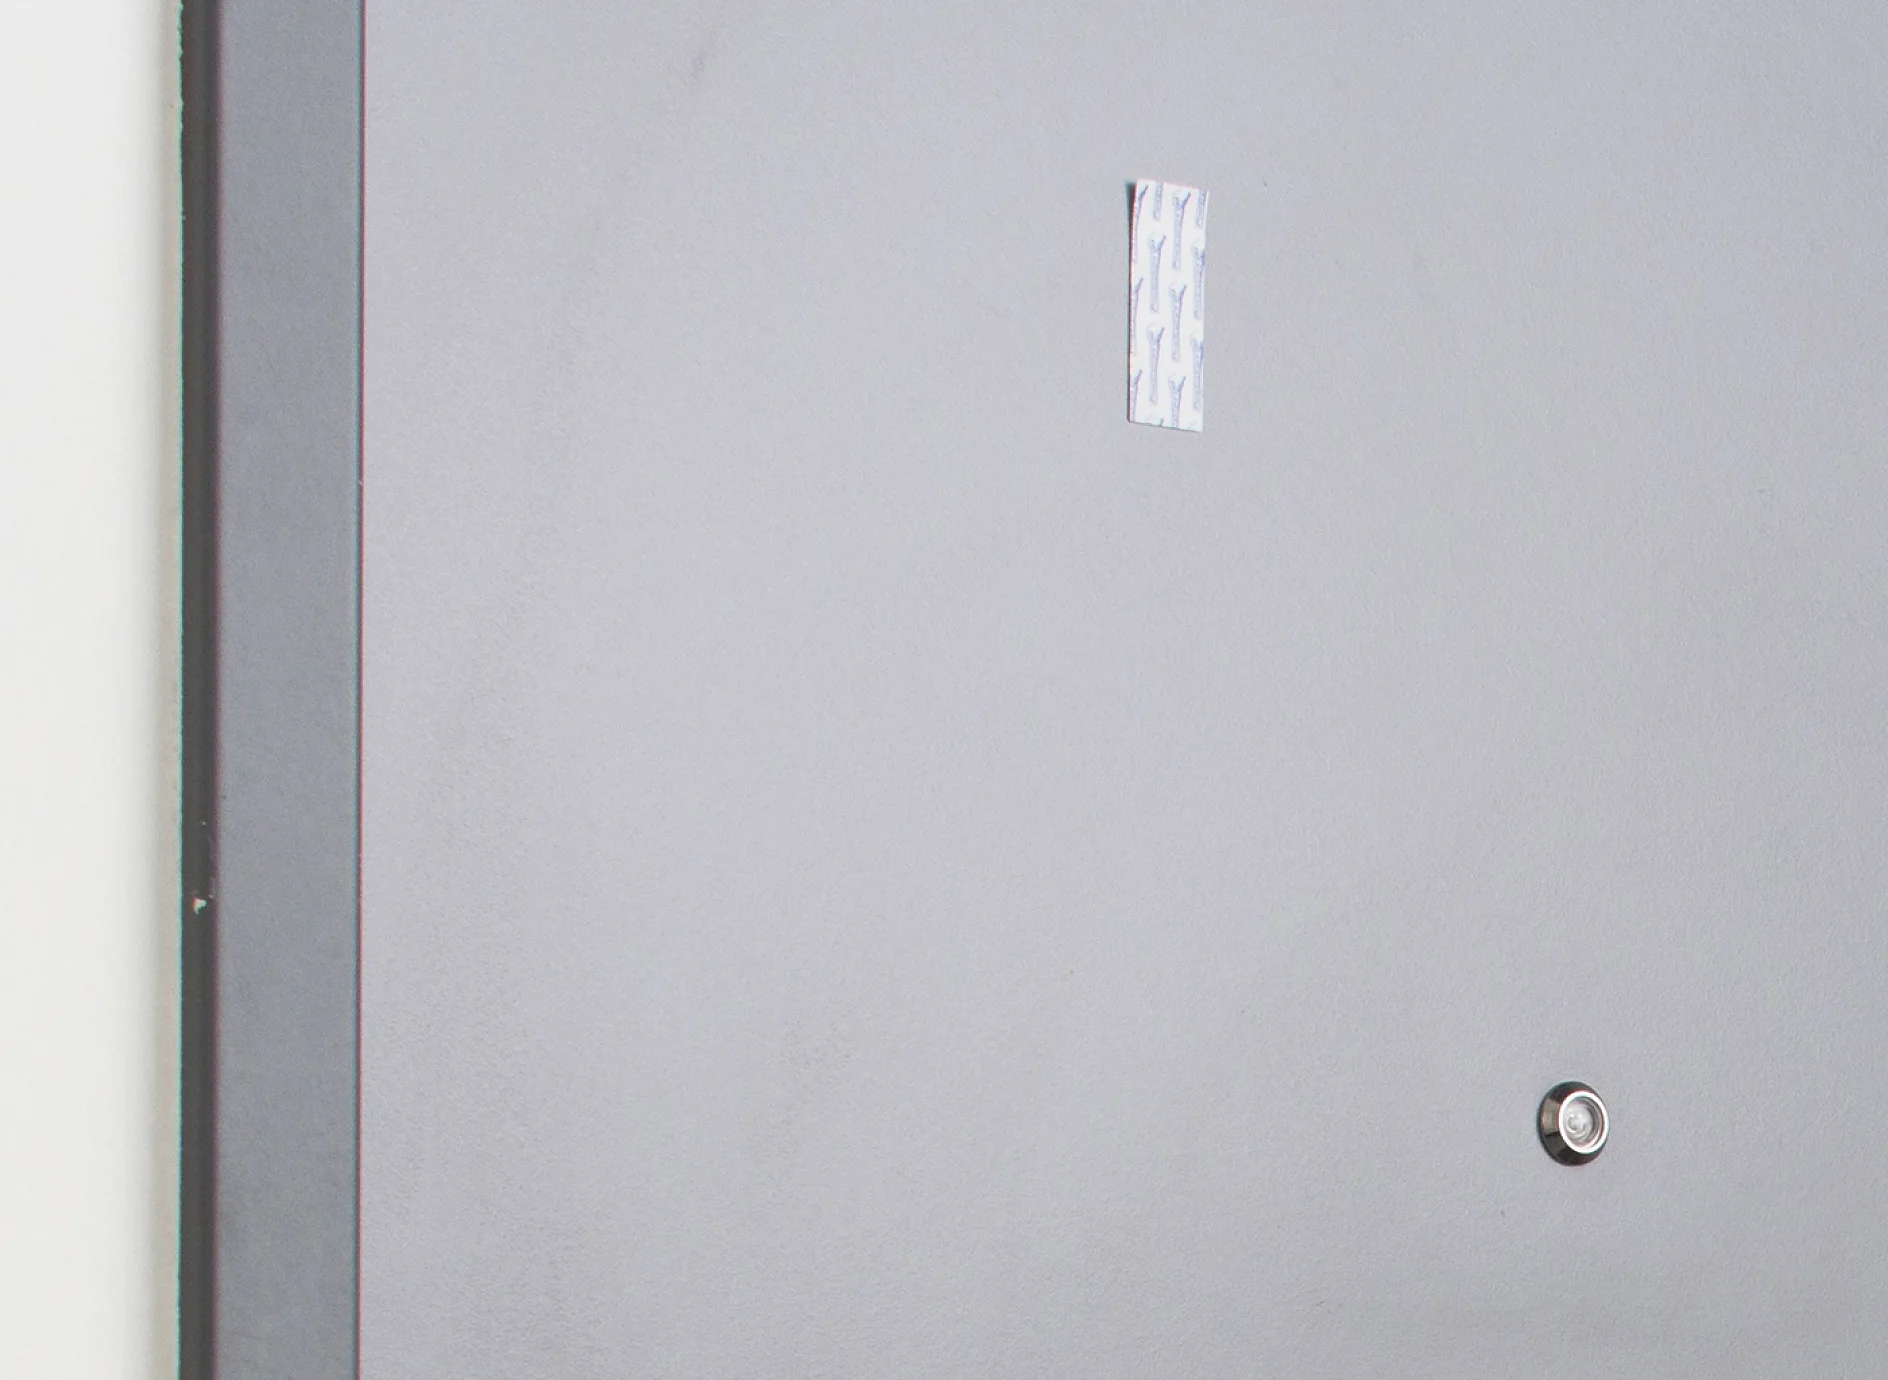
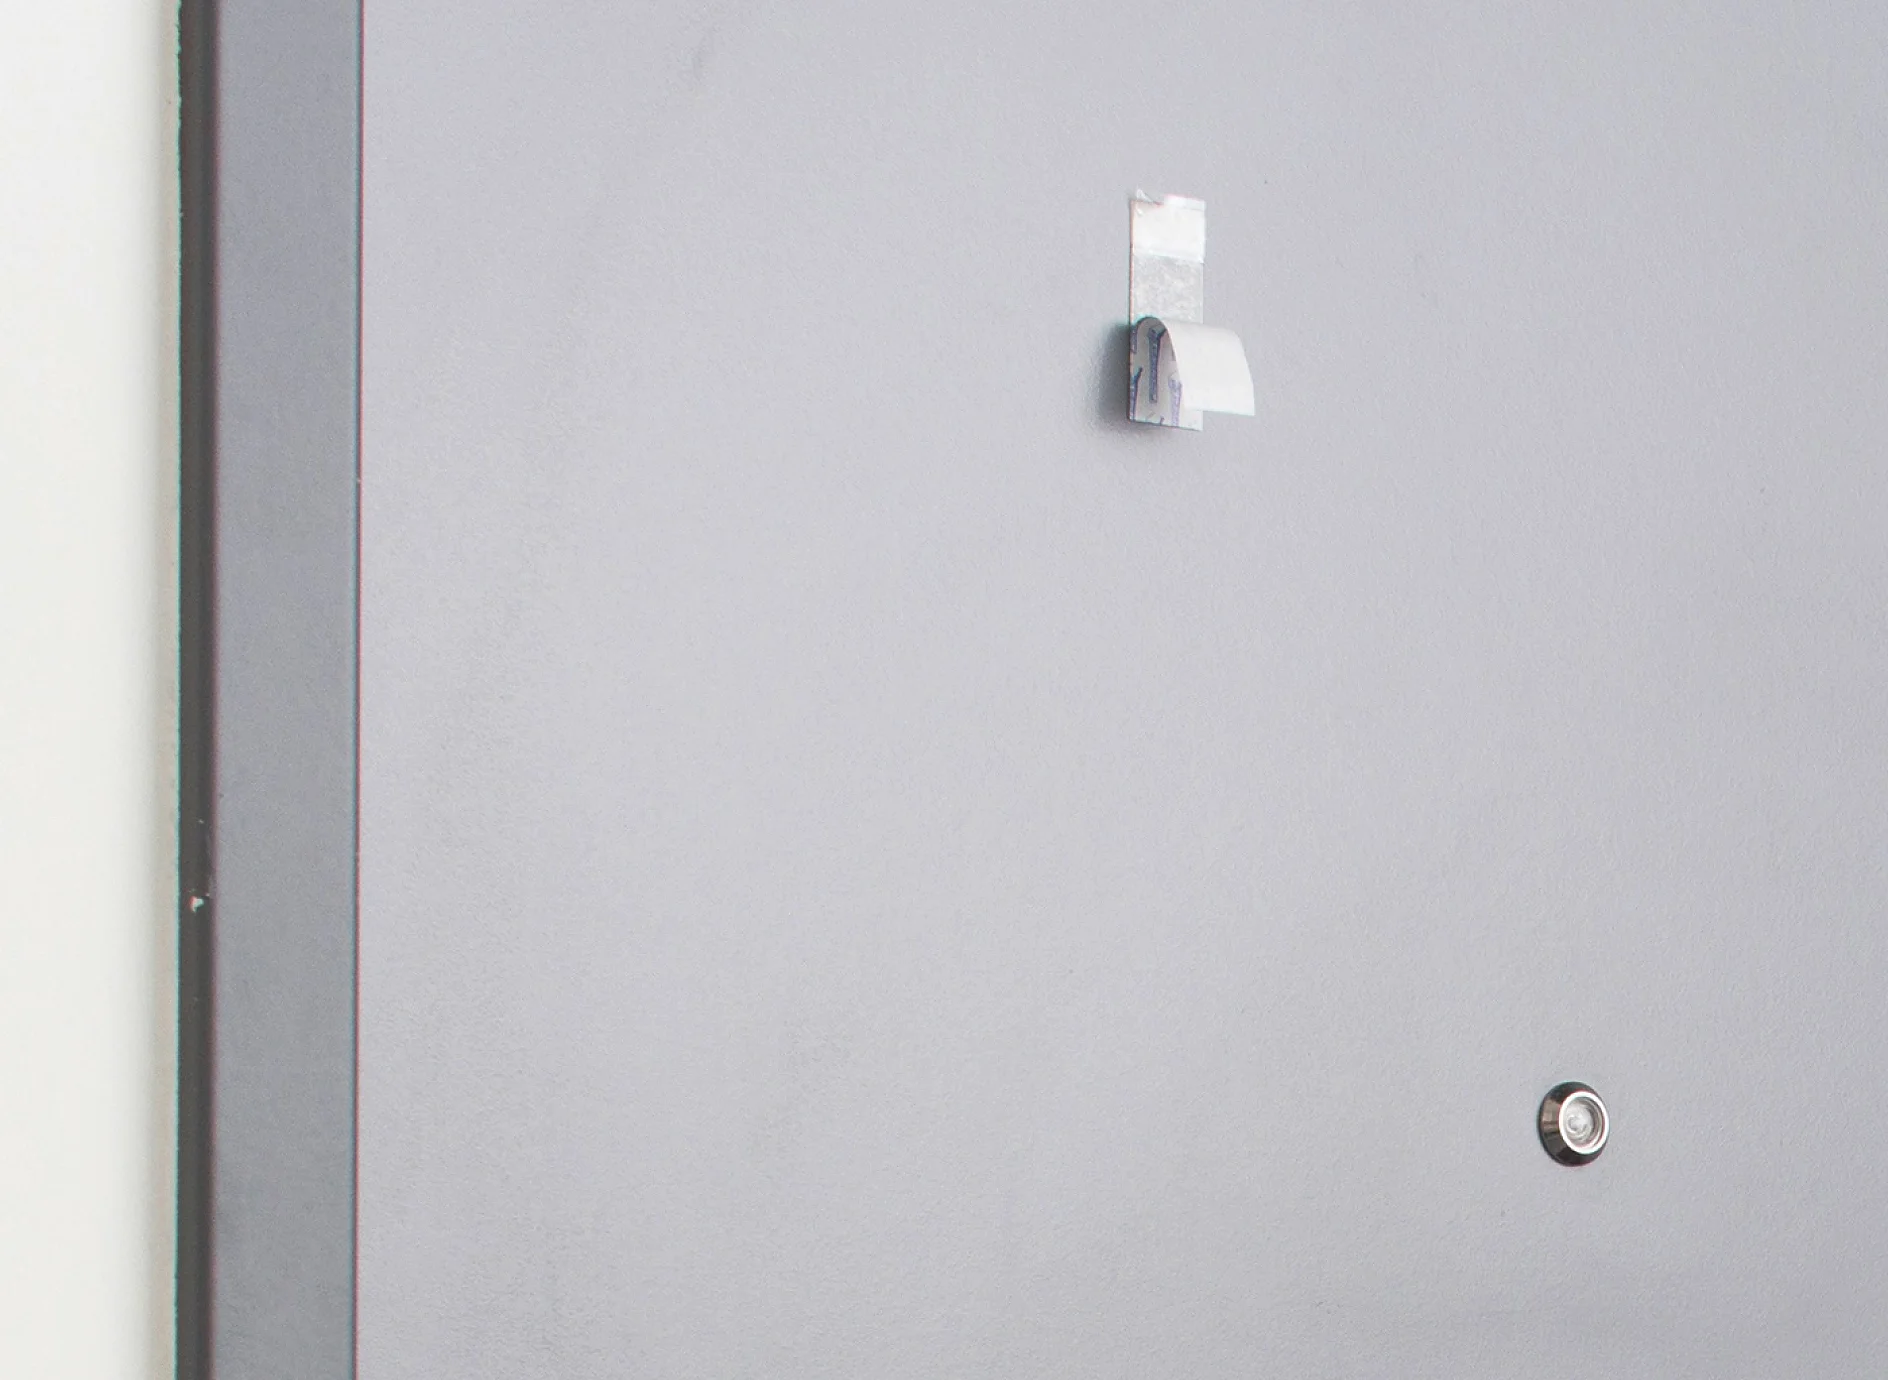
The Powerstrips® Strips Transparent Large is first fixed onto the centre of the door.
02

It’s a good plan to start off by cleaning the door carefully with surgical spirit. It might look clean already but invisible grease and grime can stop Powerstrips® Strips Transparent Large from sticking properly, so don’t skip this step! Your first step is to attach the Powerstrips® Strips Transparent Large to the door. This will be the point from which the sign hangs, so measure the width of the door to find the exact centre. Remove the backing, and position on the door with the lines facing upwards and press firmly.

The protective film from Powerstrips® Strips Transparent Large is now removed.
03

Now you can remove the protective film from your Powerstrips® Strips Transparent Large, but before you do make sure that you have your Powerstrips® Transparent DECO Hooks Large out of the pack and all ready to go. Once the film is off, be careful not to touch the sticky surface with your finger.

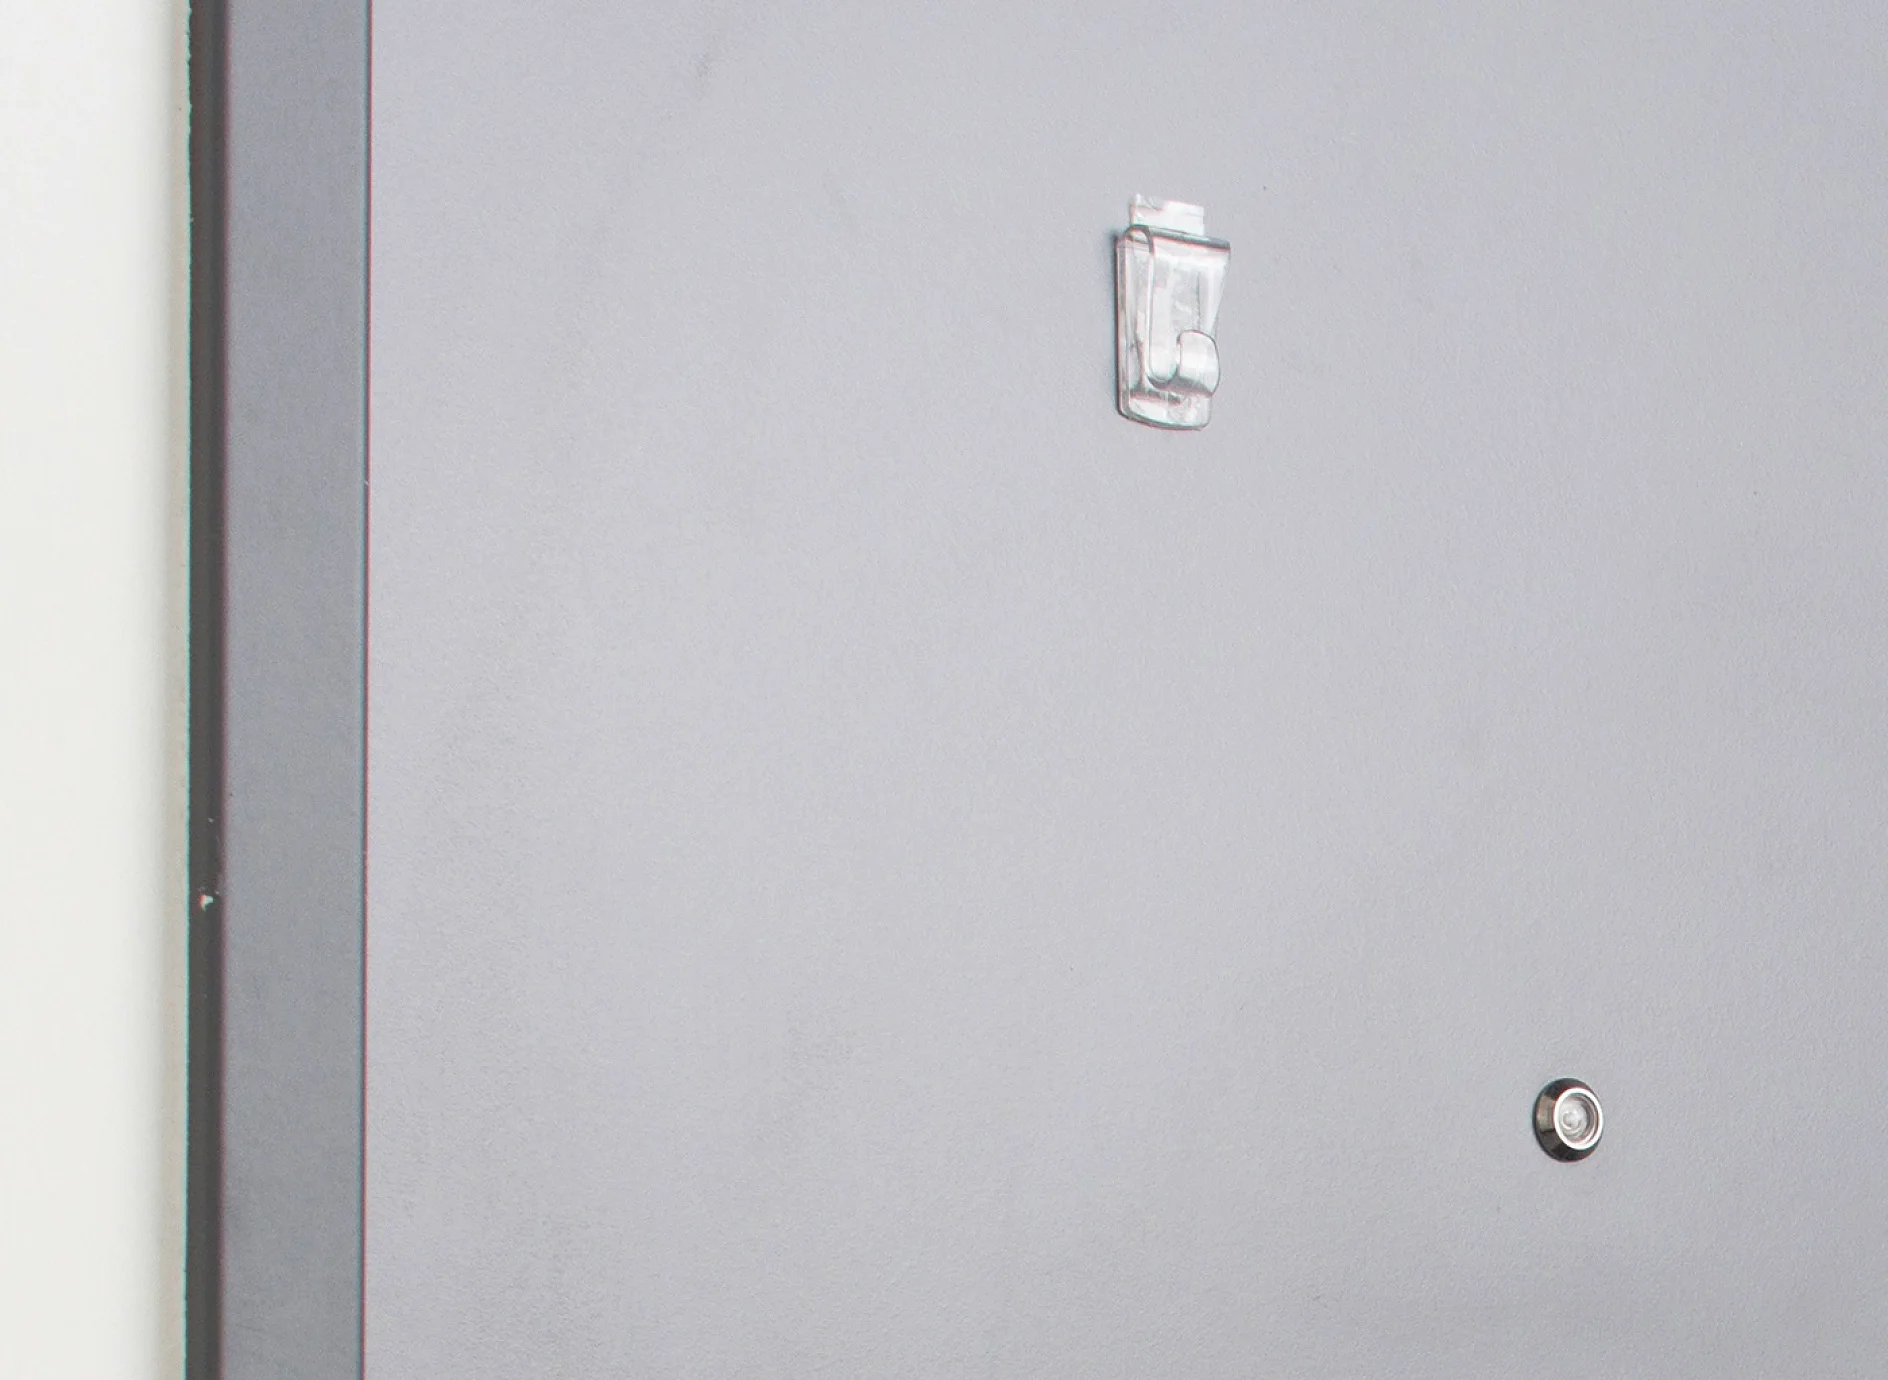
tesa Powerstrips® Strips Transparent Large and Powerstrips® Transparent DECO Hooks Large in place on a door.
04

Apply the hook to the Powerstrips® Strips Transparent Large, holding it firmly in place for at least five seconds. This will ensure the Powerstrips® Strips Transparent Large has time to bond fully with the hook. Make the finishing touches to your nameplate, you’re almost ready to hang it up!

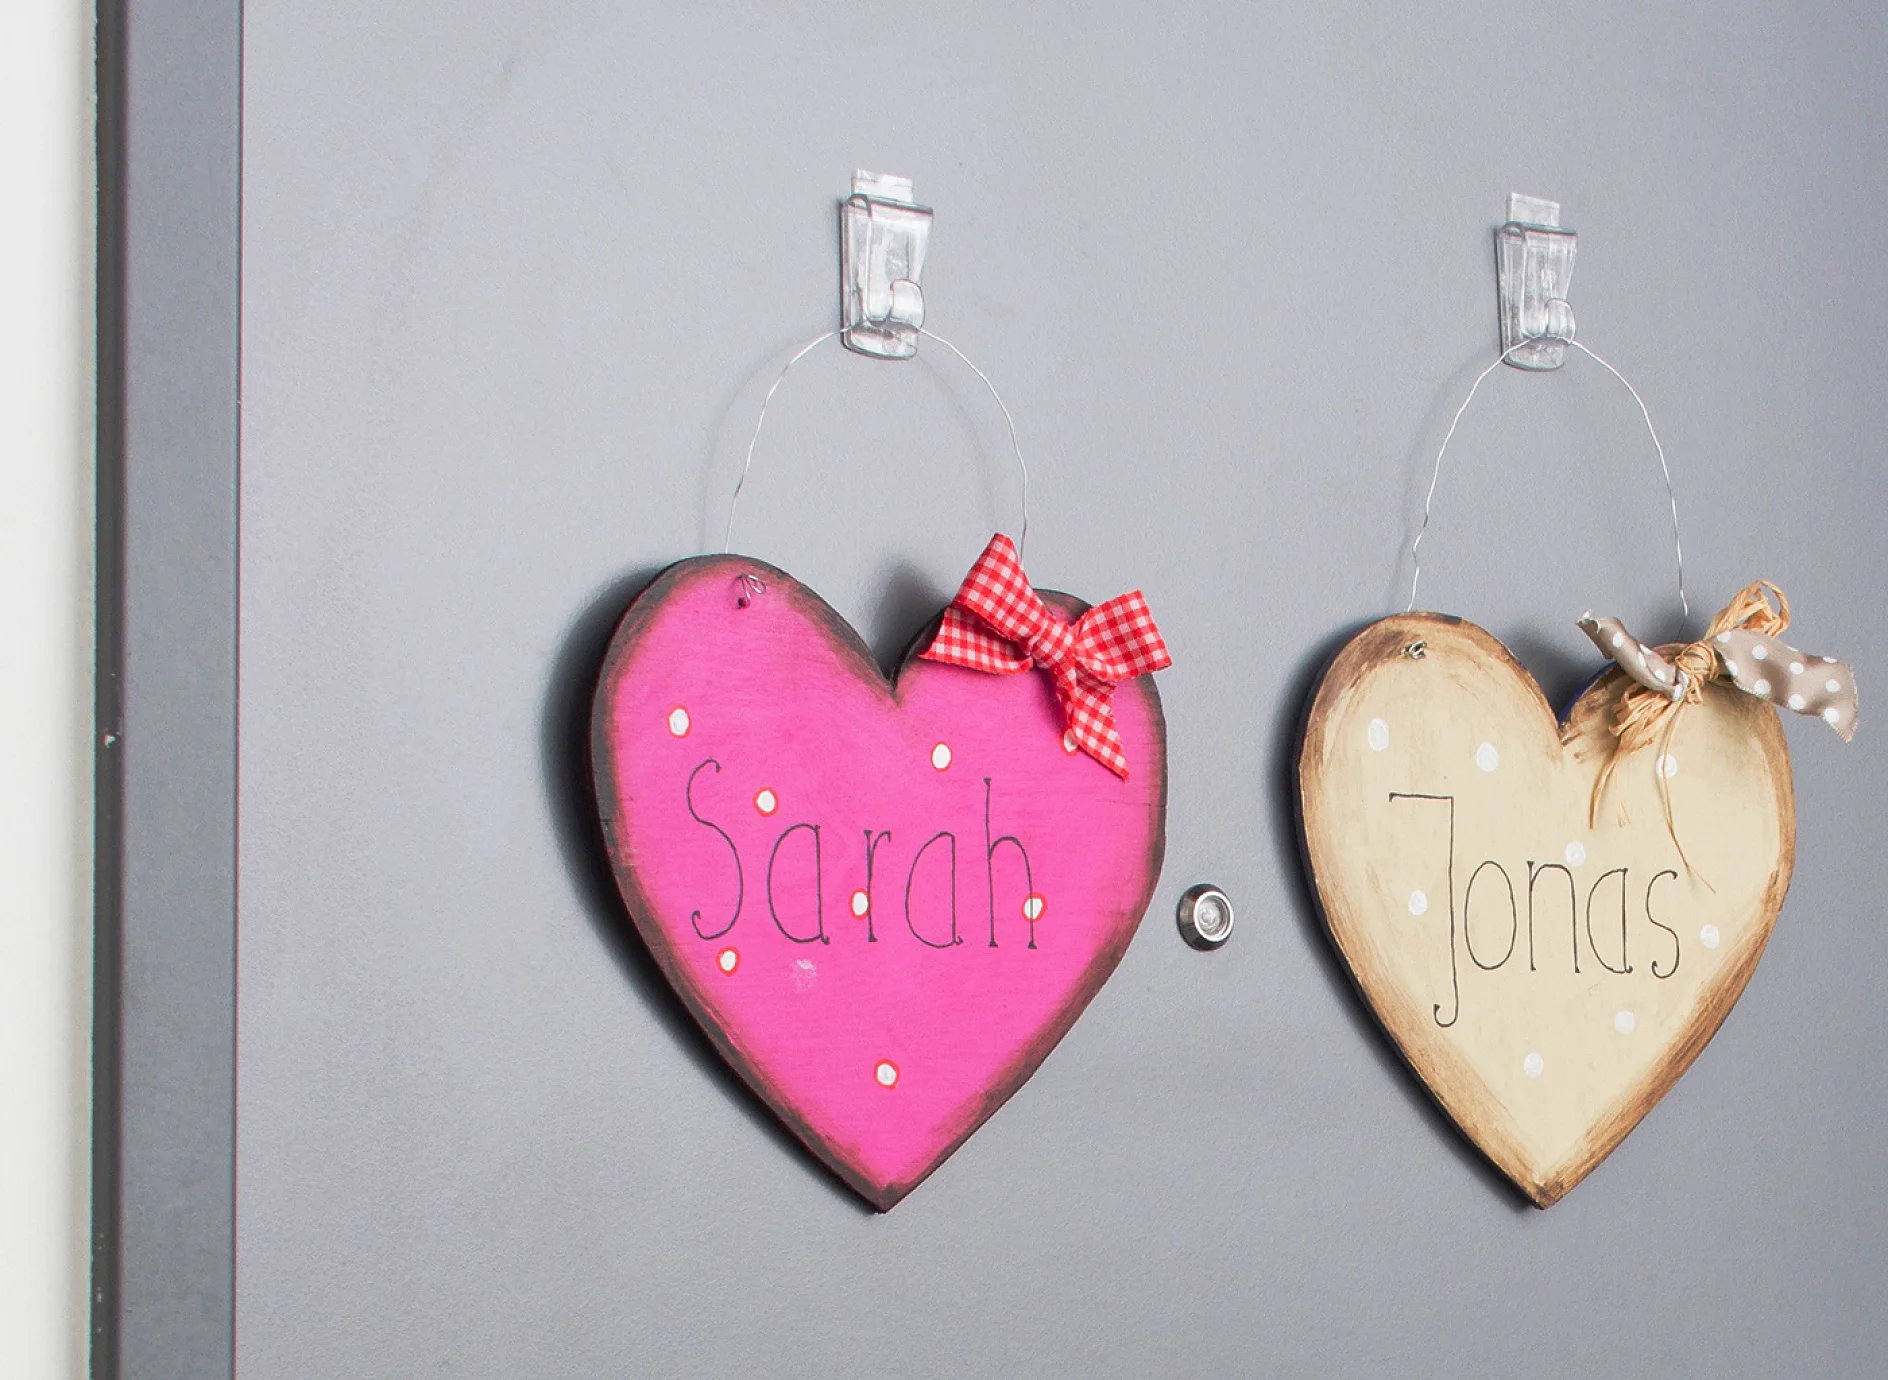
Nameplates attached to the door with tesa Powerstrips® Strips Transparent DECO Hooks Large
05

Now carefully hang your nameplate onto the waiting hook. You can relax in the knowledge that there’s no way it will fall down! As your children grow up they can design their own new nameplates to reflect their changing tastes. If you wanted to, you could forego the hooks altogether and simply fix the nameplate directly on to the door using tesa Powerstrips® Transparent Large.

Nameplates
06

Having a nameplate on your bedroom door is an essential part of everyone’s childhood. This fun craft project is easy to do with your child.

tesa products required for this project