01
We need: strips of wood 50cm X 14cm X 1.5cm – as many as you like, red woven 4cm straps 1.6m per shelf, a 14mm hollow punch 14mm metal eyelets, a hammer, a lighter, scissors, cutting mat, tesa® adhesive nail tiles & metal 3kg – two per rack
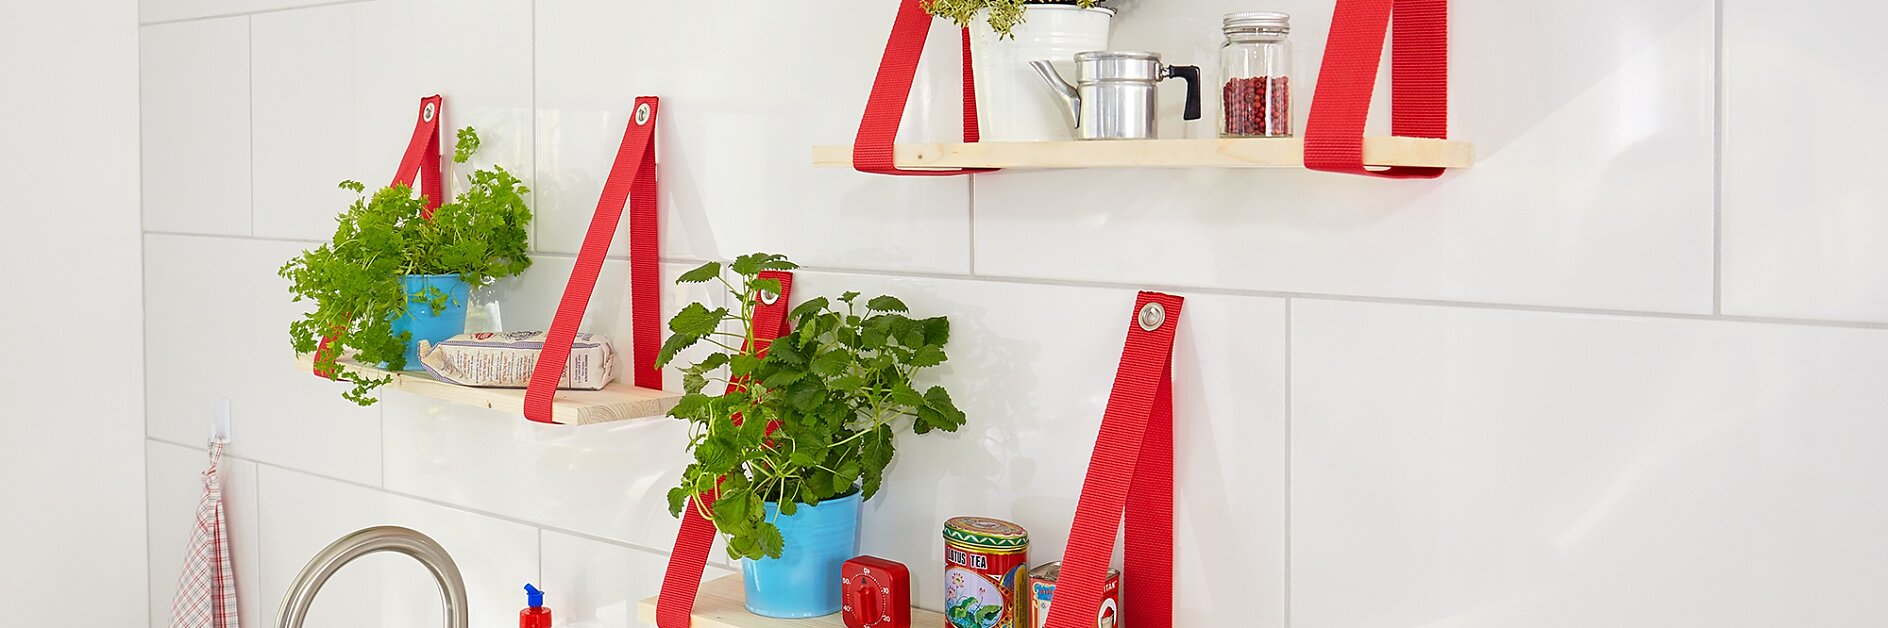
There’s nothing quite like fresh herbs in your cooking. Keep your herb plants right where you need them with these wall-mounted herb racks – then get ready to impress your family and friends with some bold new flavors! Putting up these neat little herb racks couldn’t be simpler. There’s no need to get the drill out, so you won’t need to worry about damaging your tiles, either. It takes next to no time to create this sweet vertical indoor herb garden.

We need: strips of wood 50cm X 14cm X 1.5cm – as many as you like, red woven 4cm straps 1.6m per shelf, a 14mm hollow punch 14mm metal eyelets, a hammer, a lighter, scissors, cutting mat, tesa® adhesive nail tiles & metal 3kg – two per rack

Cut each length in half so that you have two 80cm lengths per shelf. Use the lighter to lightly scorch and seal the ends – this will prevent them from fraying.

Now carefully use the hollow punch to punch out holes in the middle of each end of the strap, 1.5cm from the far edges.

Following the manufacturers instructions, use the hammer to seal the eyelets into the holes. Make sure that both parts of the eyelet, and the hole are perfectly aligned for a great result.

Following the instructions in the pack, apply two tesa® adhesive nail tiles & metal 3kg per shelf to your tiles. Finally, suspend the herb racks in the straps and hang onto the adhesive nails to the wall.
Enjoy the new home for your herbs!
