01
We need patterned paper, e.g. wrapping paper (the sturdier the paper is, the better), sturdy paper for the stencil, scissors, pencil, folding tool, paper stencil, tesa Powerstrips® small, and tesa® all purpose glue.
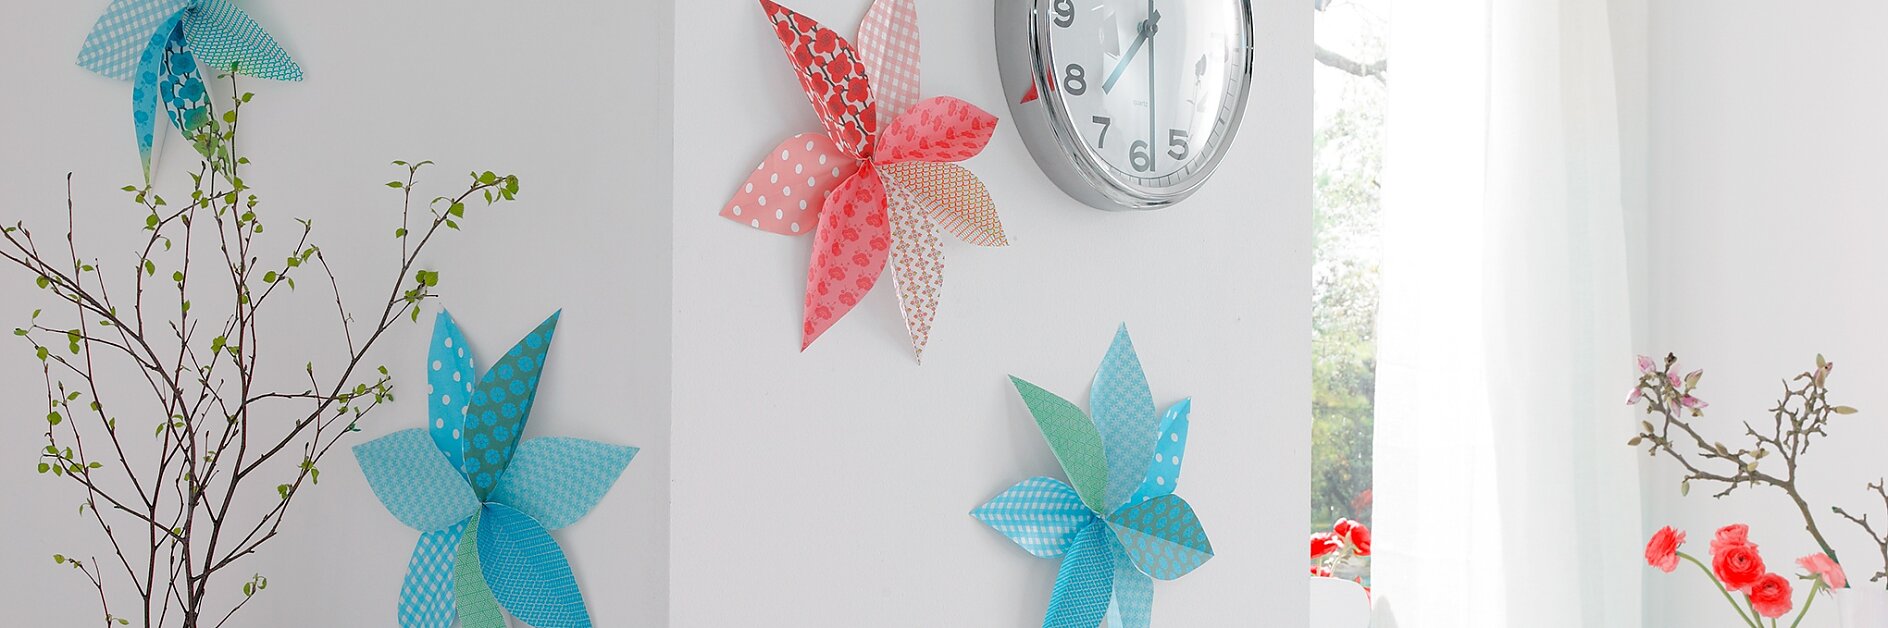
Forget wall tattoos - now your favorite paper designs can have their big moment: We'll mix them up, fold them into big flowers and hang them on the wall like pictures.
We need patterned paper, e.g. wrapping paper (the sturdier the paper is, the better), sturdy paper for the stencil, scissors, pencil, folding tool, paper stencil, tesa Powerstrips® small, and tesa® all purpose glue.
Cut a stencil from the sturdy paper according to the template. Cut out 10 x 20 cm rectangles from the paper, 7 pieces per flower. Fold each rectangle in half horizontally with the pattern on the inside.
Use the stencil to trace the half-petal.
Cut out the petals and unfold them.
Apply tesa® all purpose glue about 5 mm along the edge of each petal, from the bottom up to the mark (see stencil).
Repeat this process until all of the petals are glued together. This will create a "flower cup" that is open on one side.
After drying, unfold the flower: Hold the flower on the closed side and use your other hand to carefully open it from back to front. Attach the flowers to the wall with tesa Powerstrips® small.

Enjoy your self-made floral wall decoration!
