01The soloist
You guessed it: the soloist is nothing more than an individual hanging, i.e. a single picture on a single wall. Choose a nice picture and hang it in a suitable place. This shows it off to its advantage.
What do you think of giving your wall pictures a new look without the need to change even one motif? Not to mention hammering (more) nails into the wall? This is no problem with a new picture hanging. Which of our 8 suggestions will you decide on?
DIY Frames

You guessed it: the soloist is nothing more than an individual hanging, i.e. a single picture on a single wall. Choose a nice picture and hang it in a suitable place. This shows it off to its advantage.

If a motif is spread over several pictures, it's called a multi-piecer. Make sure that the individual pictures are not hung up too far apart so that the motif is always perceived as a whole.

Perhaps it looks a little rigid, but this can lend a certain “calmness” to somewhat “wilder” motifs. The row look in which all pictures (usually in the same format) are hung either horizontally or vertically in a row.

The grid look is a little reminiscent of a laid out game of memory. Equally sized (ideally square) pictures are hung with equal spacing.

The edge look is like the row look following an imaginary line. The pictures can be placed both above and below this horizontal line. The only thing is that the distance between the middle line and all parallel picture edges should always be the same.

An inside-the-lines look allows all pictures to be placed such that as a whole they represent a geometric form, i.e. a triangle or an oval.
The inside the lines look particularly helps varied or small motifs to create a certain visual structure. It is completely up to you how you decide to arrange your picture frames within the form.

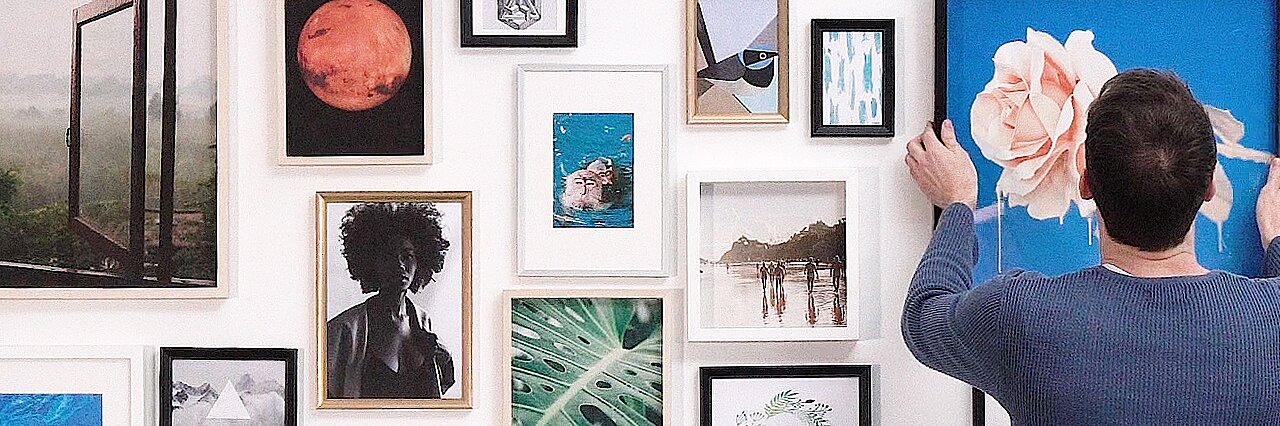
What might at first seem chaotic becomes very coherent when viewed over a longer time. The St. Petersburg look allows many different pictures to be unified next to one another. The trick is to focus on what the motifs, color schemes, frame sizes and types have in common, and ordering your pictures accordingly.

Perhaps you could try something completely different. For example, hanging pictures from the ceiling! For the ceiling look, you don't affix your picture frames directly to the wall but let them hang on a cord from the ceiling. This allows the pictures to freely float in the room giving a completely different impact. Tip: Our tesa® (opens in a new window or tab)ceiling hooks (opens in a new window or tab) are perfect for hanging objects up to 500 g in weight – with no drilling required.