01tesa_AK_SternenKalender_Aufmacher_quer

Stars Advent Calendar

Hidden behind the decorative stars, there are small chipboard boxes, which are glued to the wall in the form of a Christmas tree using the practical Powerstrips® POSTER. Good to know: After the holiday season, they can be removed without a trace.

Level of difficulty Original & quick
Duration 25

We need:

24 chipboard boxes ø 6 cm templates for stars and numbers scissors cutter cutting mat fineliner pencil cork board approx. 4 mm (here, table sets from Ikea) tesa® Powerstrips POSTER tesa Easy Stick ecoLogo® tesa® Handicraft tape

How we do it:

01tesa_AK_SternenKalender_001
01

Collect all items and let's start!
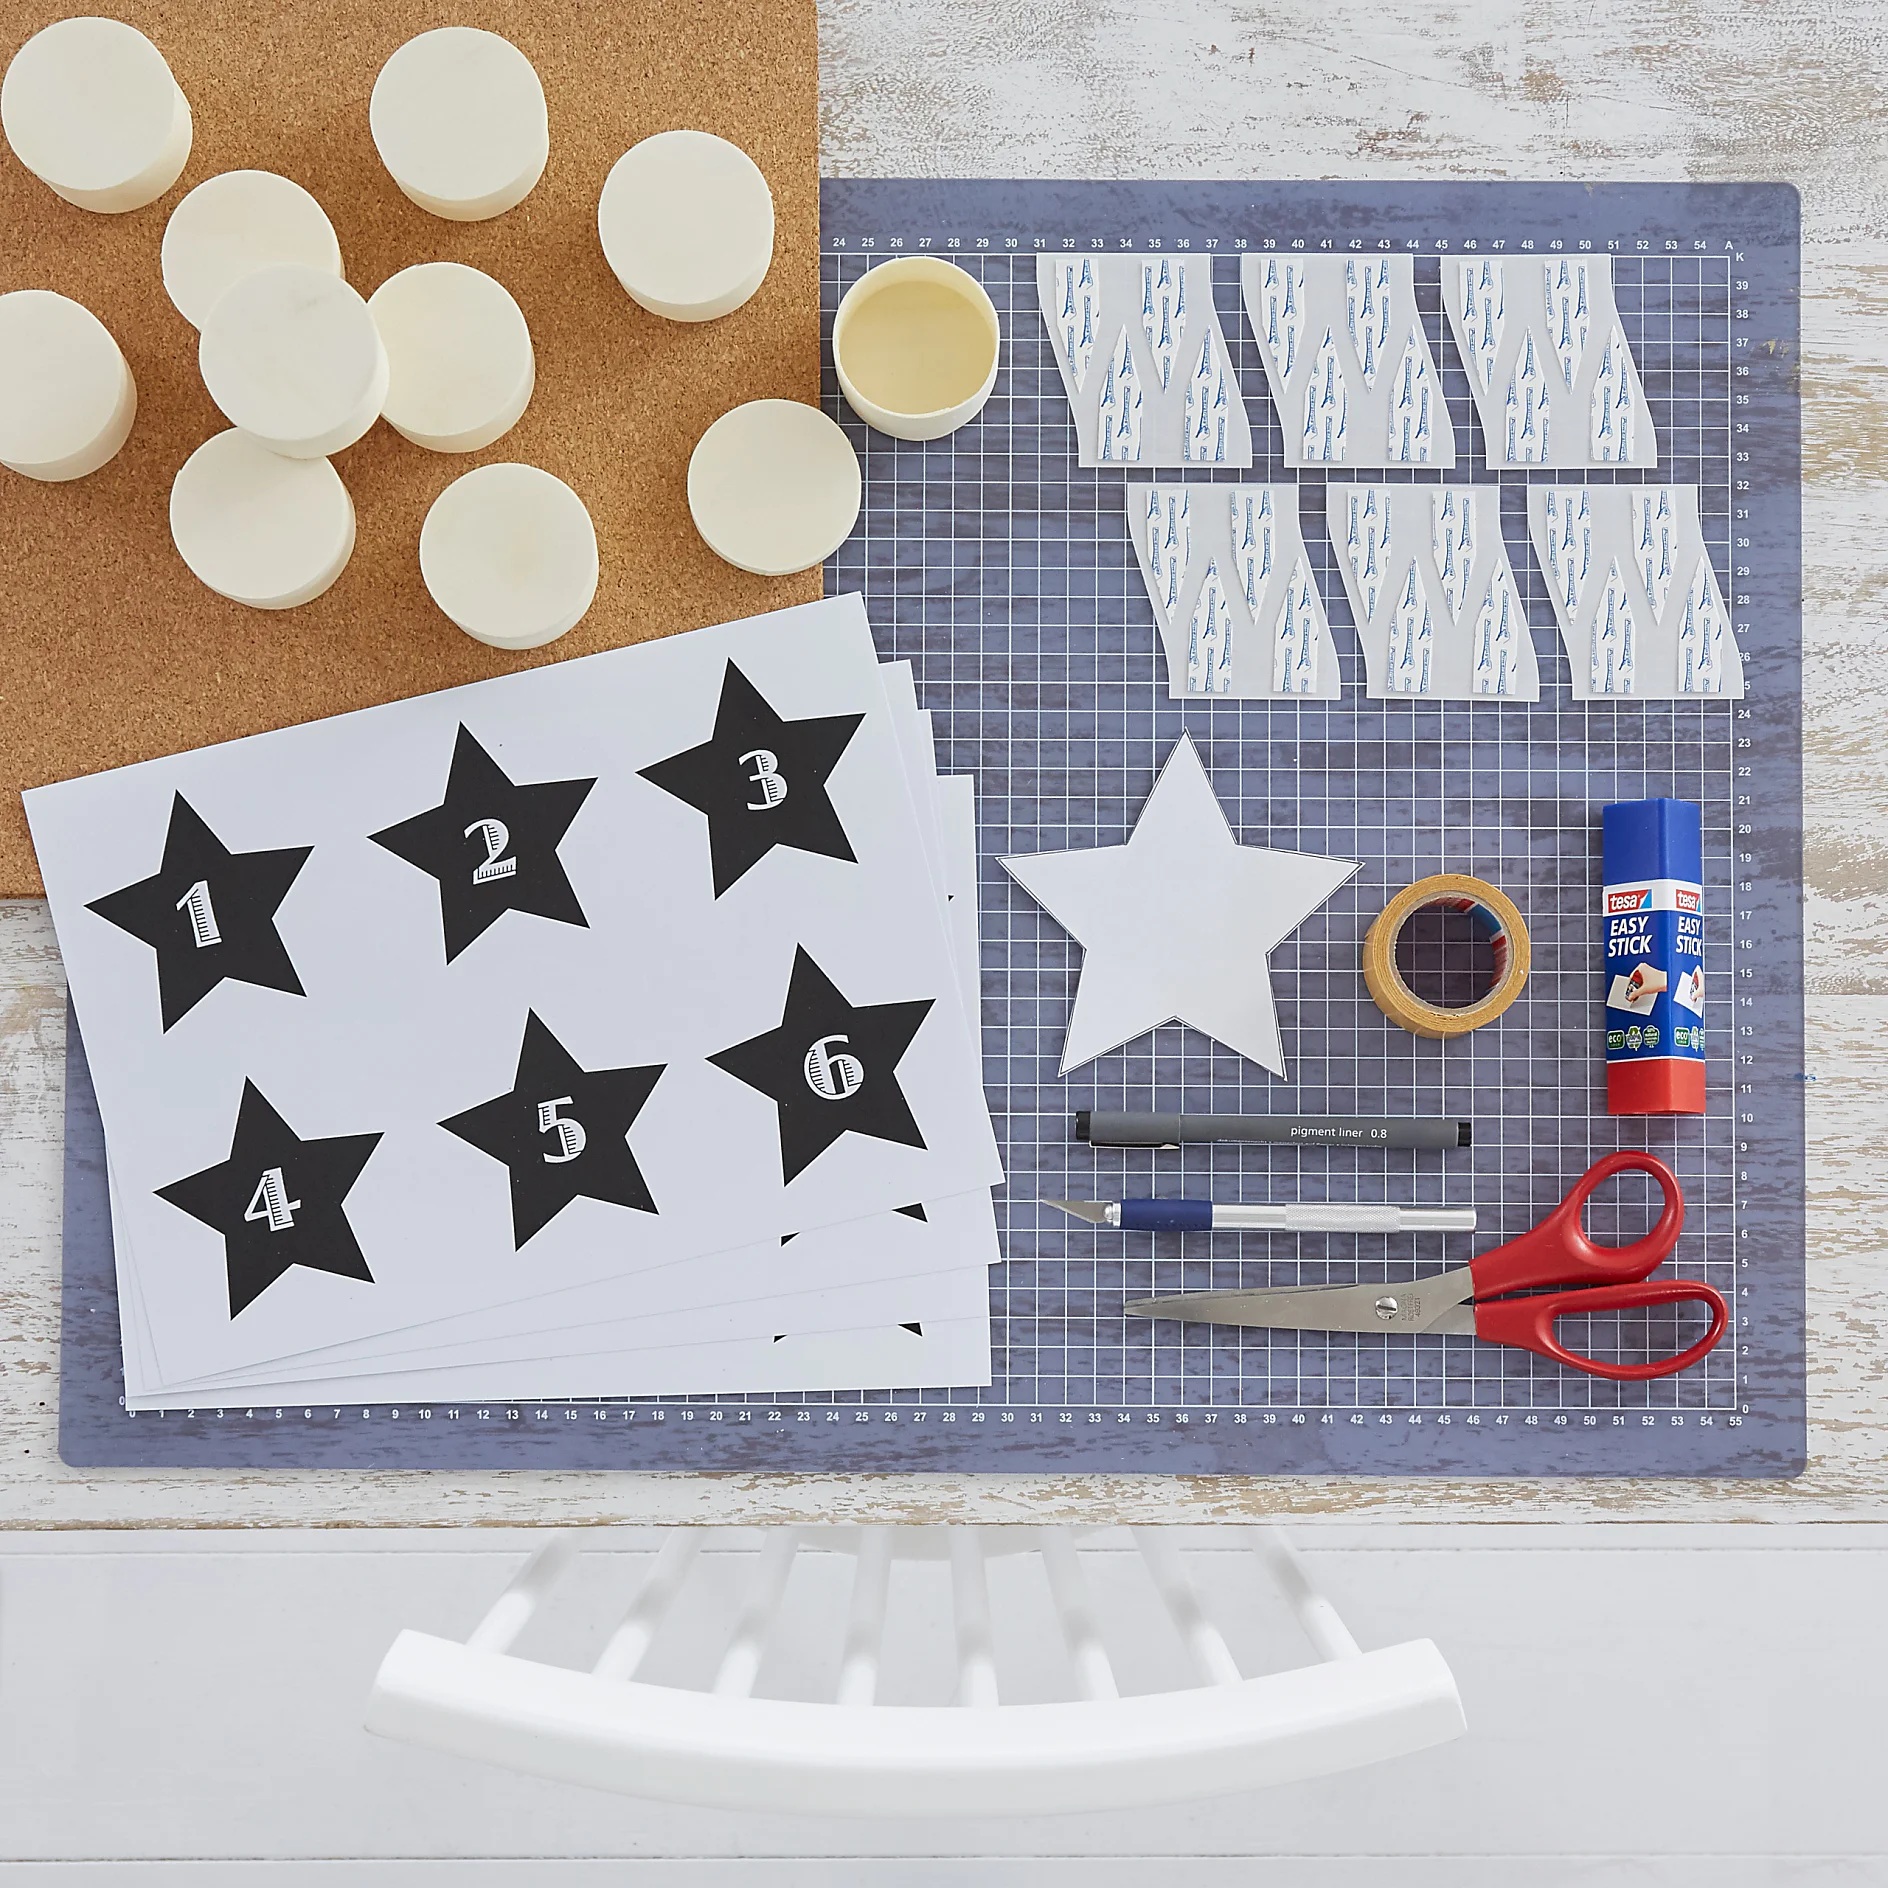
01tesa_AK_SternenKalender_002
02

Cut out the templates for the numbers and the stars.

01tesa_AK_SternenKalender_003
03

Using the fineliner, transfer 24 stars templates on the cork board and cleanly cut them out with the cutter.

tesa_gif_Sternschachteln_00002
04

Glue the numbers in the center of the cork stars using the glue stick.

01tesa_AK_SternenKalender_005
05

Place a piece of Handicraft tape on the covers of the boxes and peel off the protective film.

01tesa_AK_SternenKalender_006
06

Glue the stars in the center of the top cover.

01tesa_AK_SternenKalender_007
07

Select a design in which the boxes are to be hung on the wall. We choose a Christmas tree. Slightly mark the outlines with a pencil. Before applying the Powerstrips, clean the surface thoroughly. Peel-off a Powerstrip from the sheet…

01tesa_AK_SternenKalender_008
08

…place it on the backside of the boxes and press firmly. Do not press on the latch. Now remove the protective film.

01tesa_AK_SternenKalender_009
09

Firmly press the boxes on the desired position on the wall for at least five seconds.

01tesa_AK_SternenKalender_010
10

Fill the boxes with cool Christmas gifts and place the star covers on them.