
01
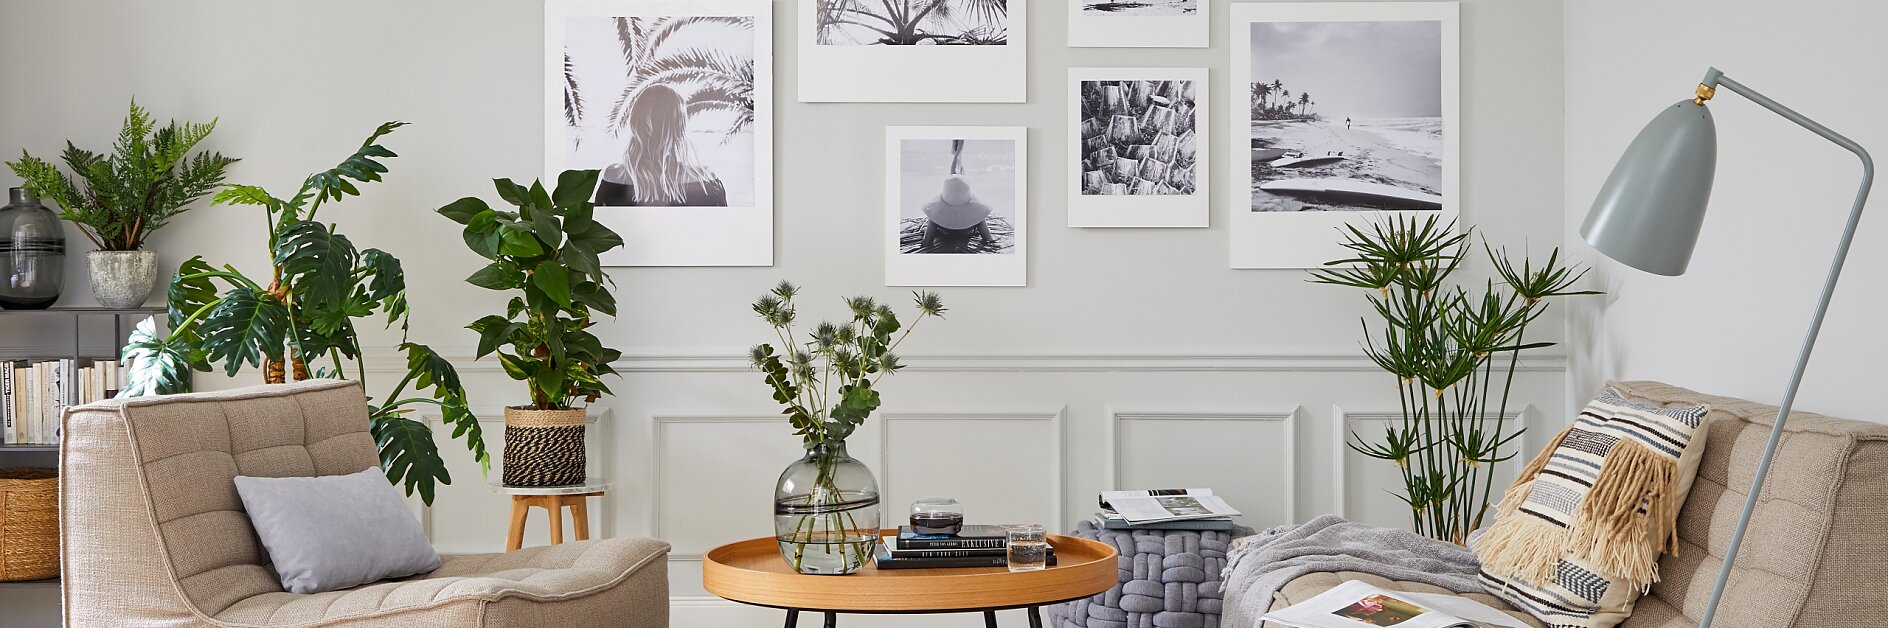
For this gallery wall inspiration, we need:
Square photo prints in 30 x 30 cm and 50 x 50 cm, pre-cut poplar plywood panels (37 x 42 x 1 cm and 60 x 70 x 1 cm), a piece of cork board (1 cm thick), picture hook, hammer, cutter, ruler, white paint, roller, pencil, tesa® Adjustable Adhesive Nail for Wallpaper & Plaster (1 kg), tesa® Adjustable Adhesive Nail for Wallpaper & Plaster (2 kg), tesa® Powerstrips Posterstrips, tesa® handicraft tape, tesa® Deco Tape.


