01
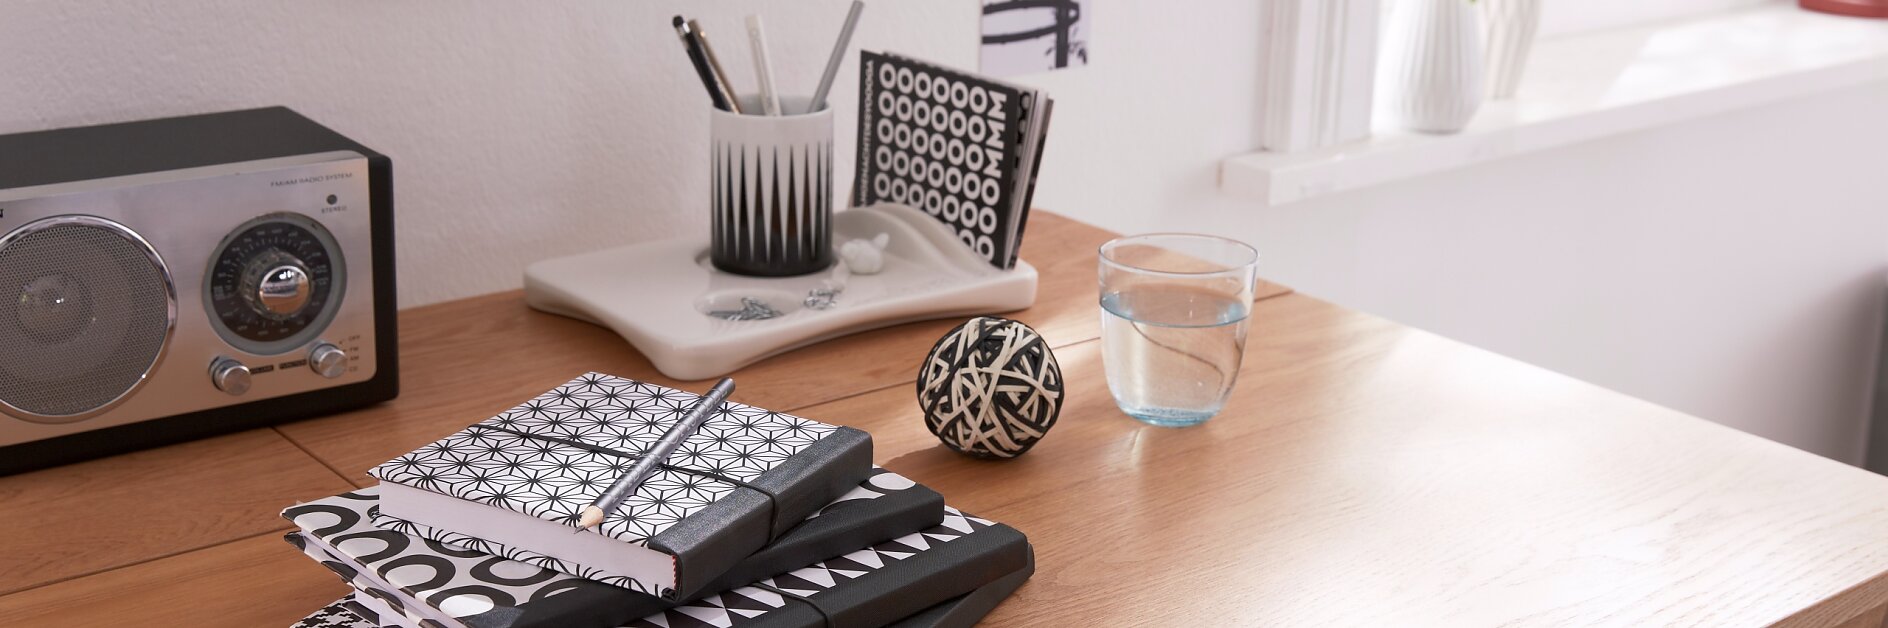
Take the measurements of the book: Height x width (x 2) + book spine. Transfer measurements on the paper, add 4 cm on the edges, and cut. Apply one strip of tesa extra Power® ECO REPAIR along the center of the paper and cut off the extra edges.

