01
Collect all items and let's start!
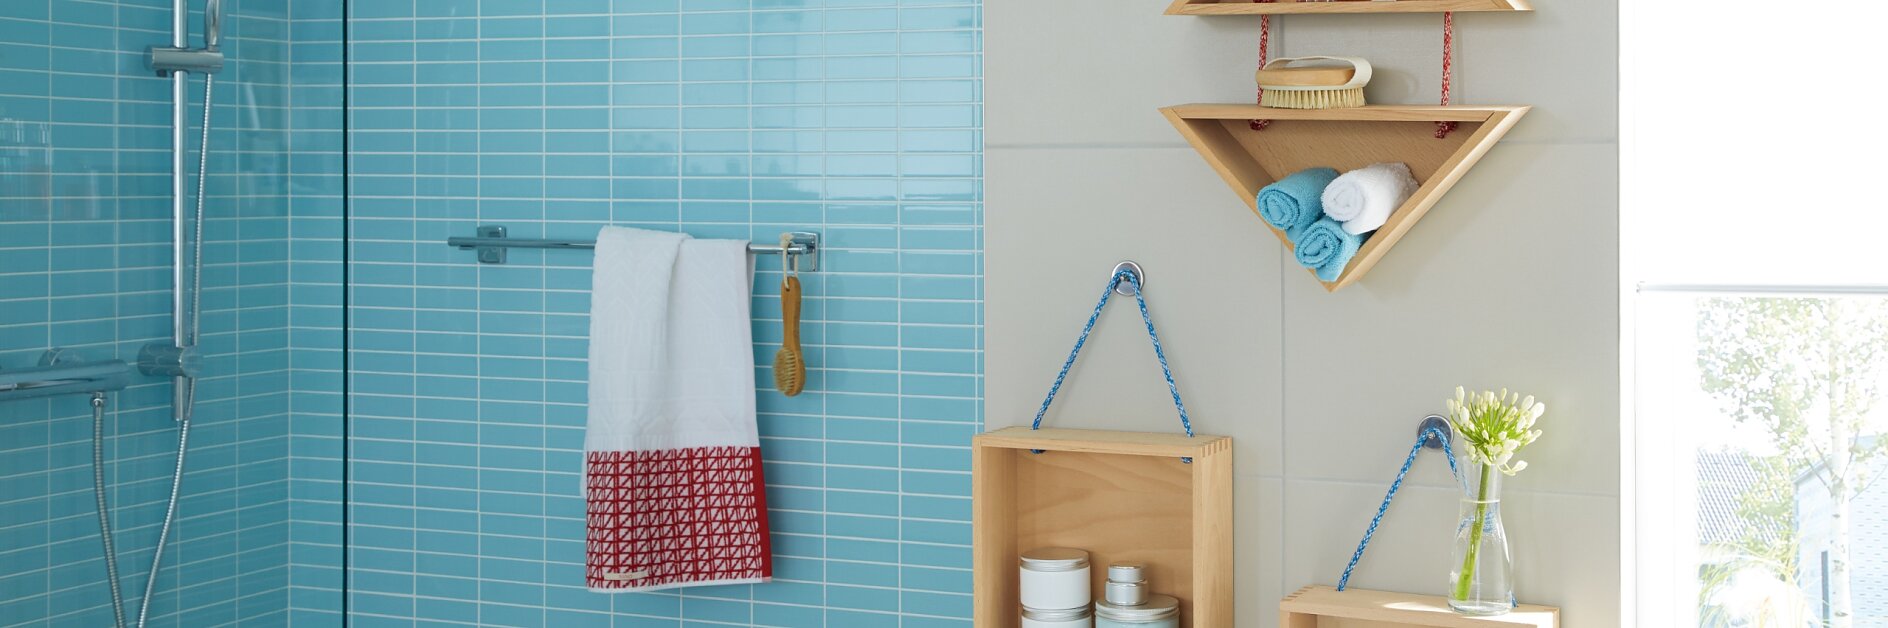
The wall mounted shelves in decorative box or triangular shapes hang on braided cords, which in turn are attached to round tesa® Adhesive Screws. The advantage: The DIY decorative shelf will safely hold as long as you need it and leaves no holes in the wall when you remove it.
Time (without the drying time for the adhesive screw): approx. 1 hour

Collect all items and let's start!

Mark the drill holes: two holes per box - approx. 18 cm apart, at 1.5 cm from the back of the box. For the two triangular boxes: Make sure that the drill holes are exactly one on top of the other.

Using a wood drill (according to the size of the braided cord, here about 8 mm) drill out all holes.

Divide the nylon cord into 30-cm pieces.
Hold each cord end shortly above the flame of the lighter to seal it before threading.

Pull the cords through the corresponding holes and knot tightly.

For each box or set of boxes, attach one adhesive screw to the tiled wall (follow the instructions on the packaging) and allow the adhesive to dry overnight.

Place the metal cover on the adhesive screw.

Fit the nut and tighten the cap nut for extra hold.

Hang the boxes so that the cord is anchored between the nut and the cap nut.