Your cookie settings for tesa.com
We use cookies and other technologies (incl. 3rd party services) to offer you website features, to understand the usage and to optimize our offering as well as providing you with individualized offers and ads. In this context, we also use service providers in third countries outside the EU without an adequate level of data protection, which entails the following risks: Access by authorities without information, no data subject rights, no legal remedies, loss of control. For more information, check out our privacy policy and our cookie policy, where you can change your cookie settings at any time.
Absolutely necessary to ensure that you can use the site, e.g.
Store your privacy settings and language preferences
Session handling
Website-Login
Shopping basket
Recommended to use the site optimally, e.g.
Search history
Website-analytics
Individual recommendation of offers and content within our site
Testing new features
Services which offer extended analysis of usage behaviour within and outside of our website.
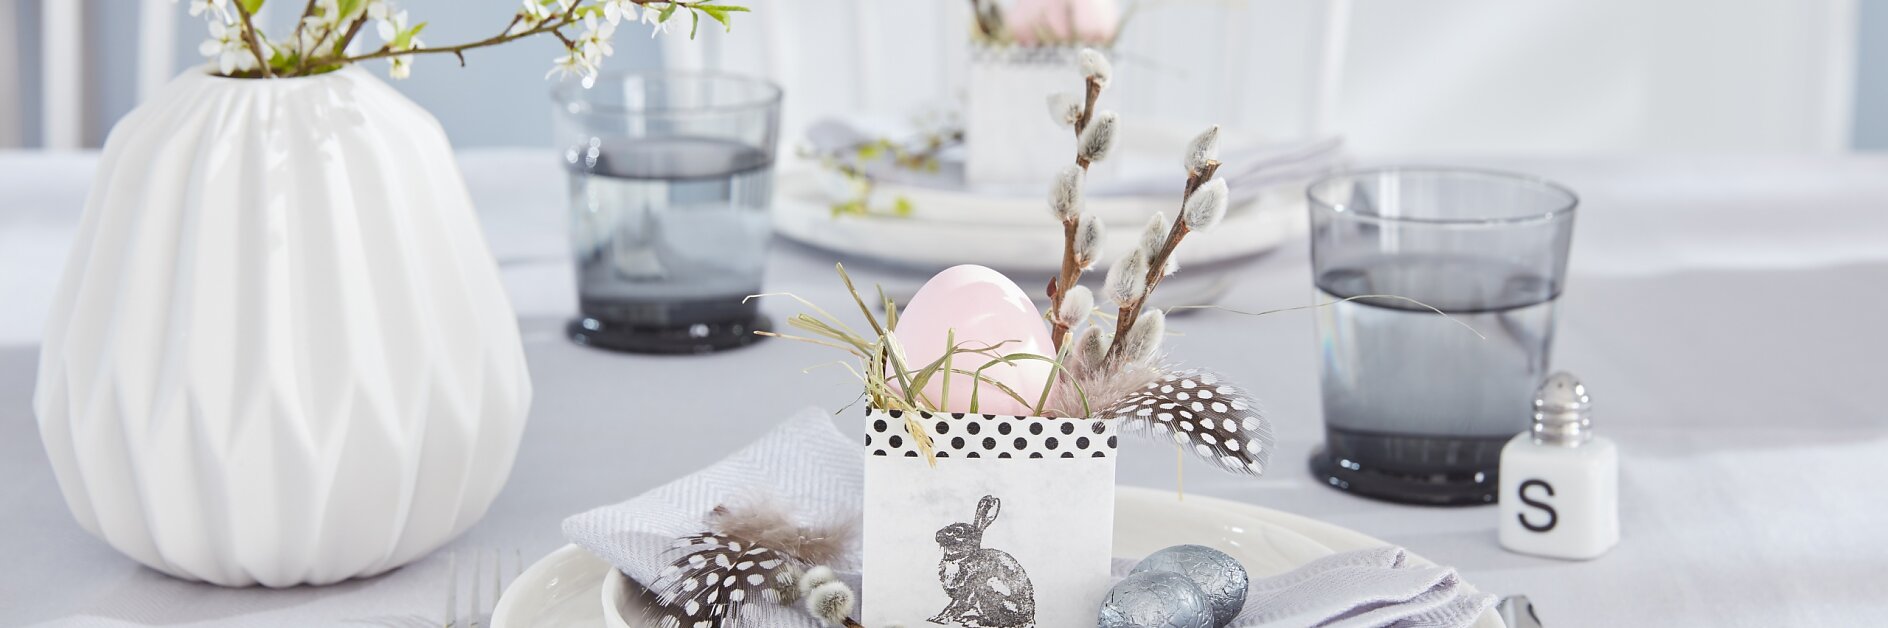
Decorated with some hay, branches and a feather, this hand-made Easter basket looks great on the Easter table, and offers a perfect hiding place for sweets!
Level of difficulty
Original & quick
Duration20
We need:
Per basket
1 sheet DIN A4 marble-look cardboard
scissors
pencil
set square
small bunny stamp
stamp pad
tesa® Deco Tape
tesa® Roller Permanent Gluing ecoLogo®
How we do it:
01
Collect all items and let's start!
02
Using the set square, draw three lines on the cardboard, each at a distance of 6 cm. At right angles, draw another three lines at a distance of 6 cm. This results in an 18 x 18 cm square.
03
Cut out the square. Then cut the middle lines on two opposite sides to the center square.
04
Now fold all outside fields along the lines toward the central square.
05
Turn the sheet around and stamp a bunny on a non-incised field above the center square. Allow to dry.
06
Now apply Roller Glue to the central and lower incised lateral squares.
07
Glue the lower squares behind the middle squares…
08
… and the upper squares on the middle squares. Now you've created a small box.
09
Apply a strip of Deco Tape on the upper border, half of it protruding.