01
We need: holographic film, tracing paper, print-outs of the letters of "Happy New Year" (Helvetica bold, 450%), cutting mat, cutter, puncher, ribbon, transparent hooks, transparent tape
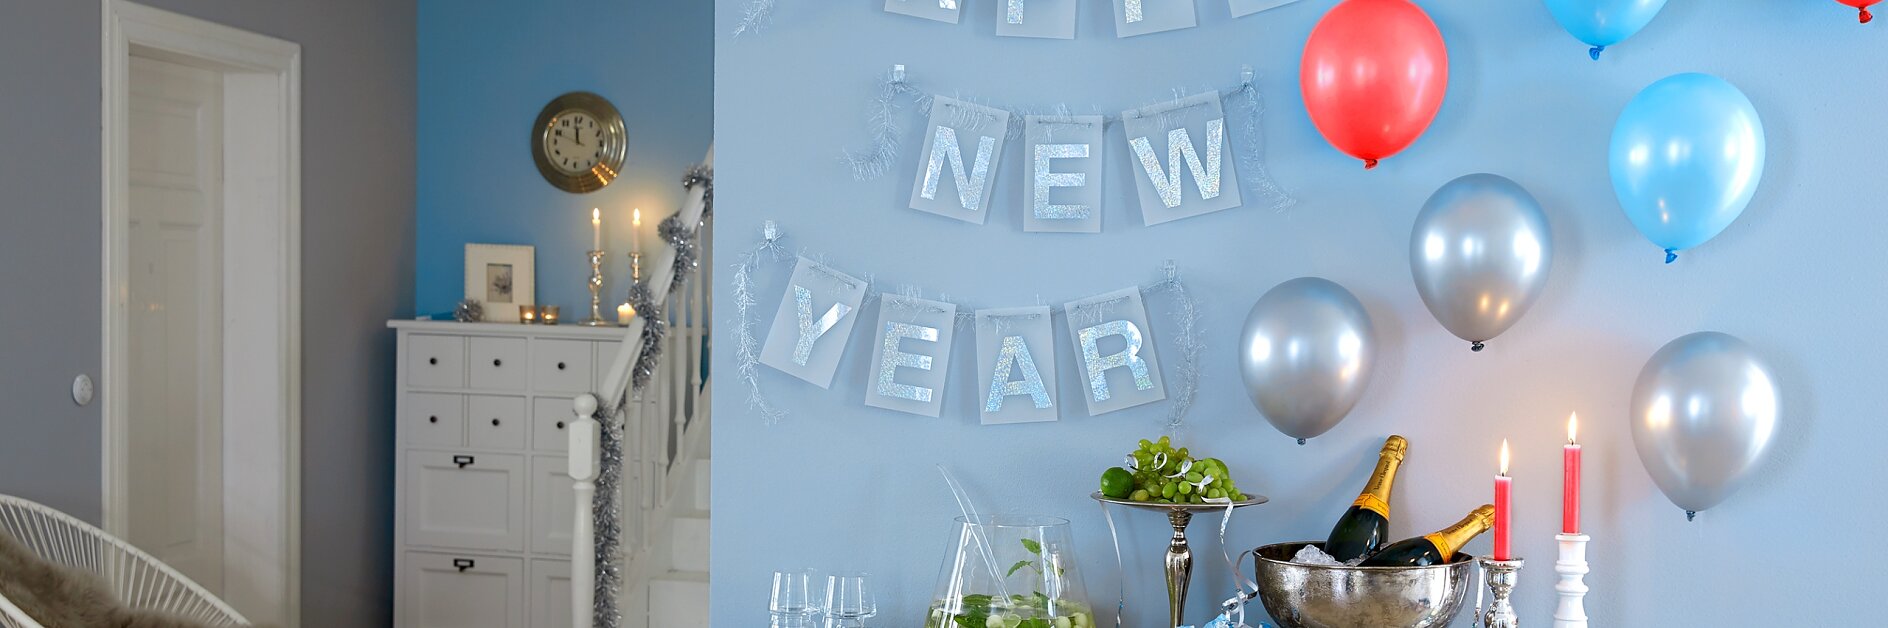
Make a wish – for a happy new year! The festoon above the bar shimmers in all colors thanks to holographic film. Just like the balloons, it is attached with Powerstrips® and can be removed without a trace.
We need: holographic film, tracing paper, print-outs of the letters of "Happy New Year" (Helvetica bold, 450%), cutting mat, cutter, puncher, ribbon, transparent hooks, transparent tape
Fix the holography film on the cutting mat with transparent tape and arrange the single letters on it. Cut out the letters using a cutter.
Cut the tracing paper (18 x 12 cm, for the "W" 18 x 15 cm). Remove the protective film from the letters and glue them two centimeters from the bottom edge on the tracing paper.
Punch 2 holes in each letter (on top).
Peel off the Powerstrips® and push them firmly for five seconds to the wall in the desired location.
Remove the printed protective film.
Firmly press the hook at least 5 seconds on the strips, leaving out the handle.

The perfect happy new year garland for your next party!
