01
Collect all required items and let's start!
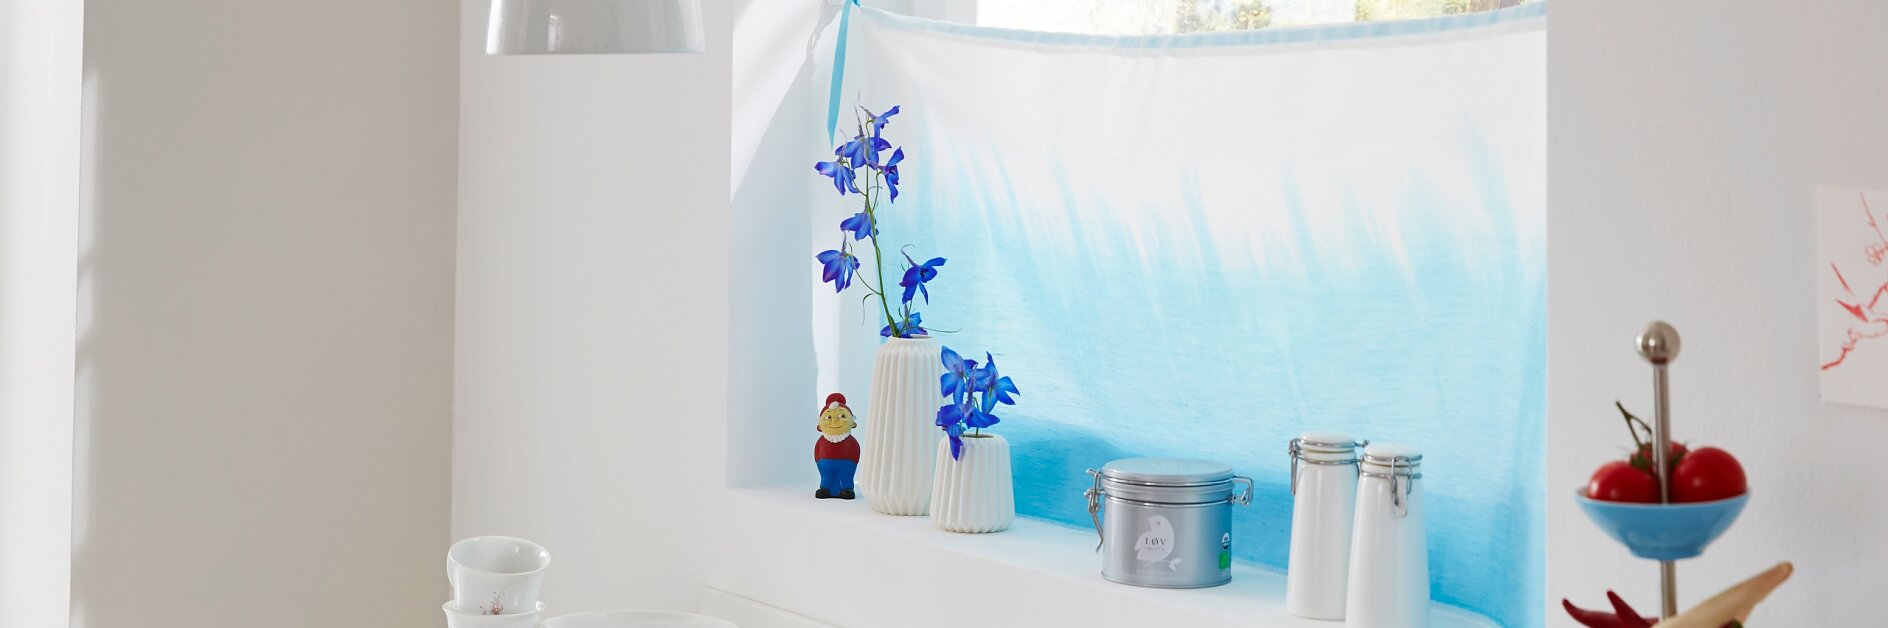
Interior design ideas for your kitchen: The dip-dyed curtains make a great kitchen decor. With tesa Powerstrips® Hook Large CLASSIC all your decorating ideas take shape.

Collect all required items and let's start!

Sew a "tunnel" on the upper border of the fabric: fold and roughly stitch 2 x 2 cm. Fold the fabric longwise, creating a narrow strip. Prepare the dye bath according to the manufacturer's instructions and shortly dip the wet fabric to 5 cm before the desired color height into the color - then immediately pull it out a bit. The color will bleed up higher into the fabric. Allow the color to soak in and then again pull out a bit of fabric. Repeat the procedure several times until the desired color gradient is achieved. Wash the fabric thoroughly, let dry and iron. Remove hanging threads around the open borders.

Using the safety pin, pull the ribbon through the tunnel.

Before applying the Powerstrip®, thoroughly clean the surface with rubbing alcohol or a silicone-free multi-purpose cleaner.

Remove one protective film from the Powerstrip®. Firmly press the Powerstrip® at least five seconds on the desired spot on the wall. Please make sure that the red line of the Powerstrip® is on the downside. Do not remove the protective film on the latch.

Remove the second protective film.

Remove the transparent base plate from the hook.

Attach the base plate with the smooth side above the red line. Firmly press for at least for five seconds. Do not press on the latch.

Place the hook on the base plate and slide it down until it snaps.

Fasten the curtains to the hooks with the ribbons.
