01
Collect all items and let's start!
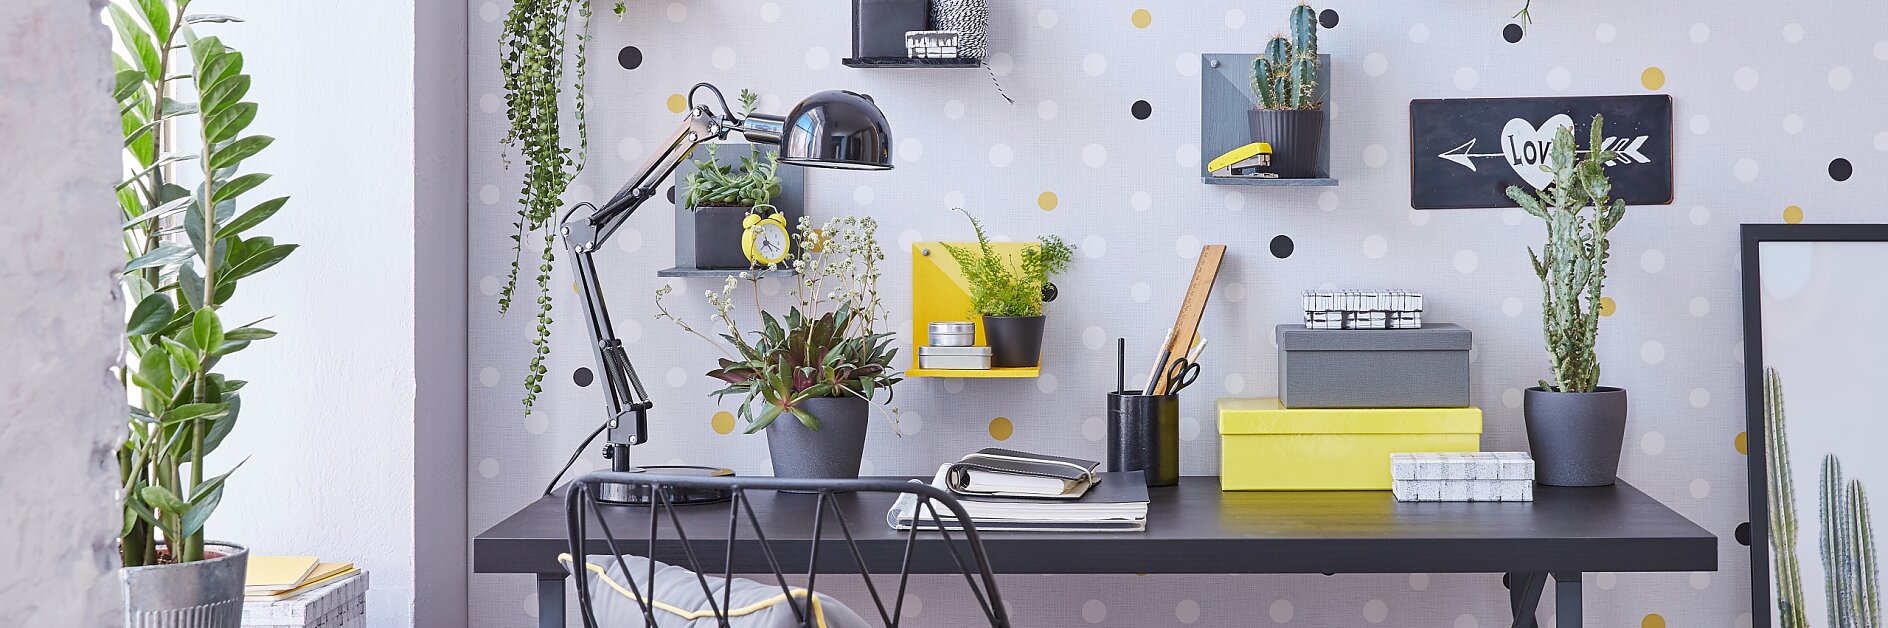
In offices, the furnishings are often functional and simple. Thus, it's a pleasant feeling to rest the eyes on a couple of green plants. Here, they are placed on cool bookshelves that are mounted with tesa® Adhesive Screws. Important: The decorative bookends can be removed very quickly without leaving a trace on the wall!

Collect all items and let's start!

Measure the drill holes on one surface of each bookend and use a pencil to mark: 1 cm on the upper border and 1.5 cm on the side edge. Drill holes into the bookends.

Prime the bookends using the acrylic varnish in the desired Color.
Allow to dry, then trace a diagonal line on the vertical backside using the masking tape. If you make more than one bookend, you may color the triangles alternately. If the lower triangle is to be painted, cover the edge of the shelf board.

Paint the triangular surface with priming varnish in a lighter shade (by adding white paint).

On the backside of the bookends, glue the felt pads to the left and right bottoms as a spacer (adjustment for the adhesive screws).

Place your unique bookends on the desired spot on the wall and mark the area for the Adhesive Screws using a pencil.

Clean the wall from any dust and dirt. Peel-off a Powerstrip® from the the sheet …

… and place it on the desired spot on the wall. Press firmly on different parts for at least five seconds.

Remove the protective film.

Place the Adhesive Screw on the Powerstrip® and press firmly on different parts for at least five seconds.

Mount the bookends on the screws. If necessary, adjust the height of the screws. Fix it with the rubber nuts.

