Bathroom flower vases

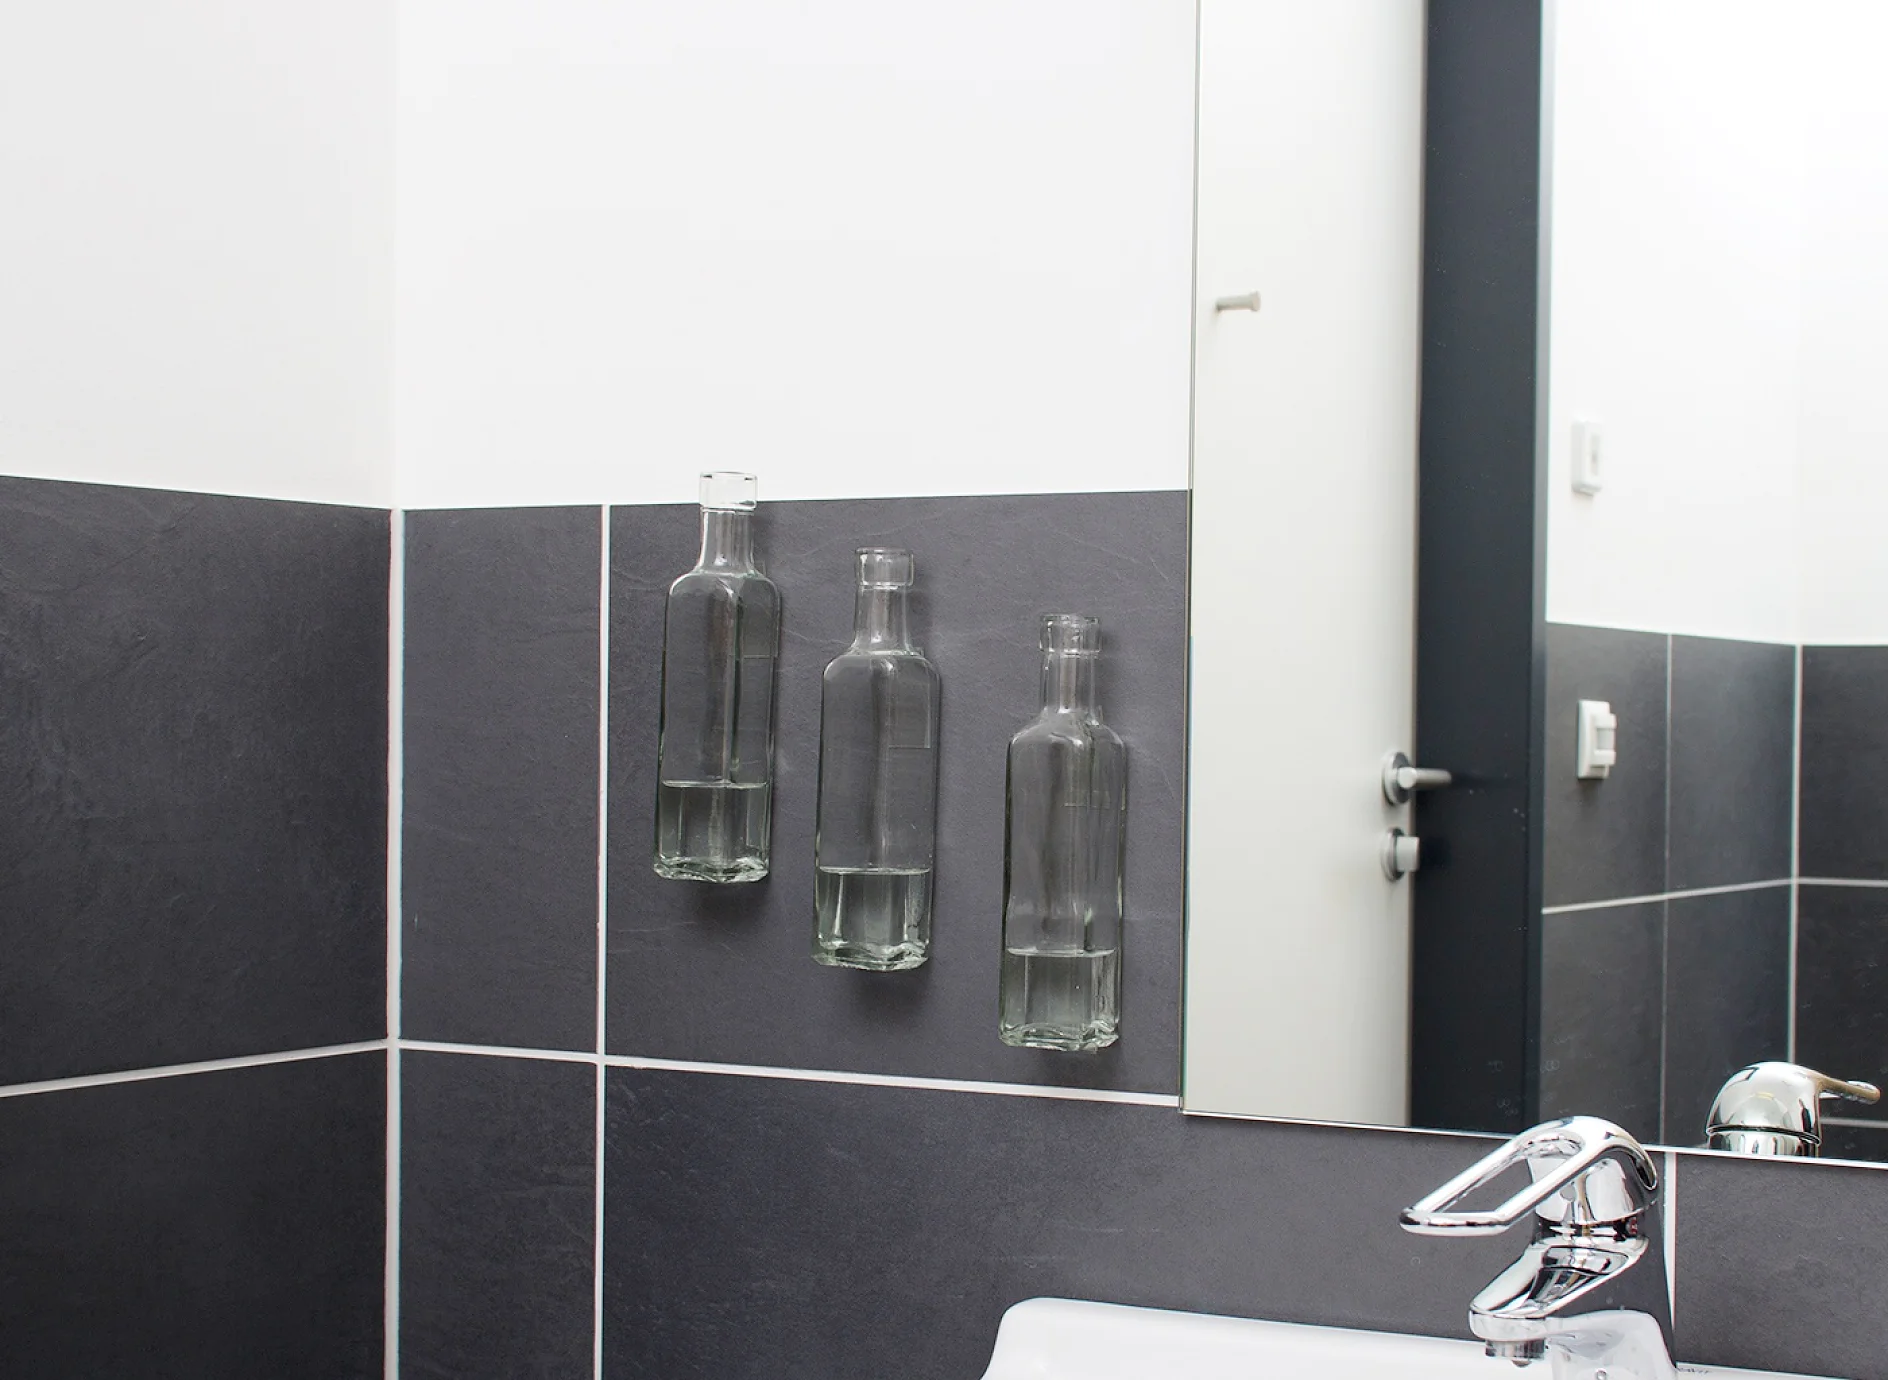
These clever wall mounted vases mean you can create your own floral decoration in the bathroom. They mount easily to tiles and glass surfaces using removable adhesive strips. And when you want to remove them? They come off easily.

Level of difficulty Original & quick

Video tutorial

Bottle vases

Bottle vases

tesa SE

Steps

tesa Powerstrips® Strips Transparent Large can be used to make wall vases from glass bottles.

01Step 1

You’re going to need: three small bottles with flat sides, tesa Powerstrips® Strips Transparent Large, a few cut flowers and a watering can with a slim spout for filling the vases with water. Start off by cleaning the bottles and the surface where you’d like them to go. You’ll find that surgical spirit will get rid of any grease and grime really thoroughly and give you the very best results.
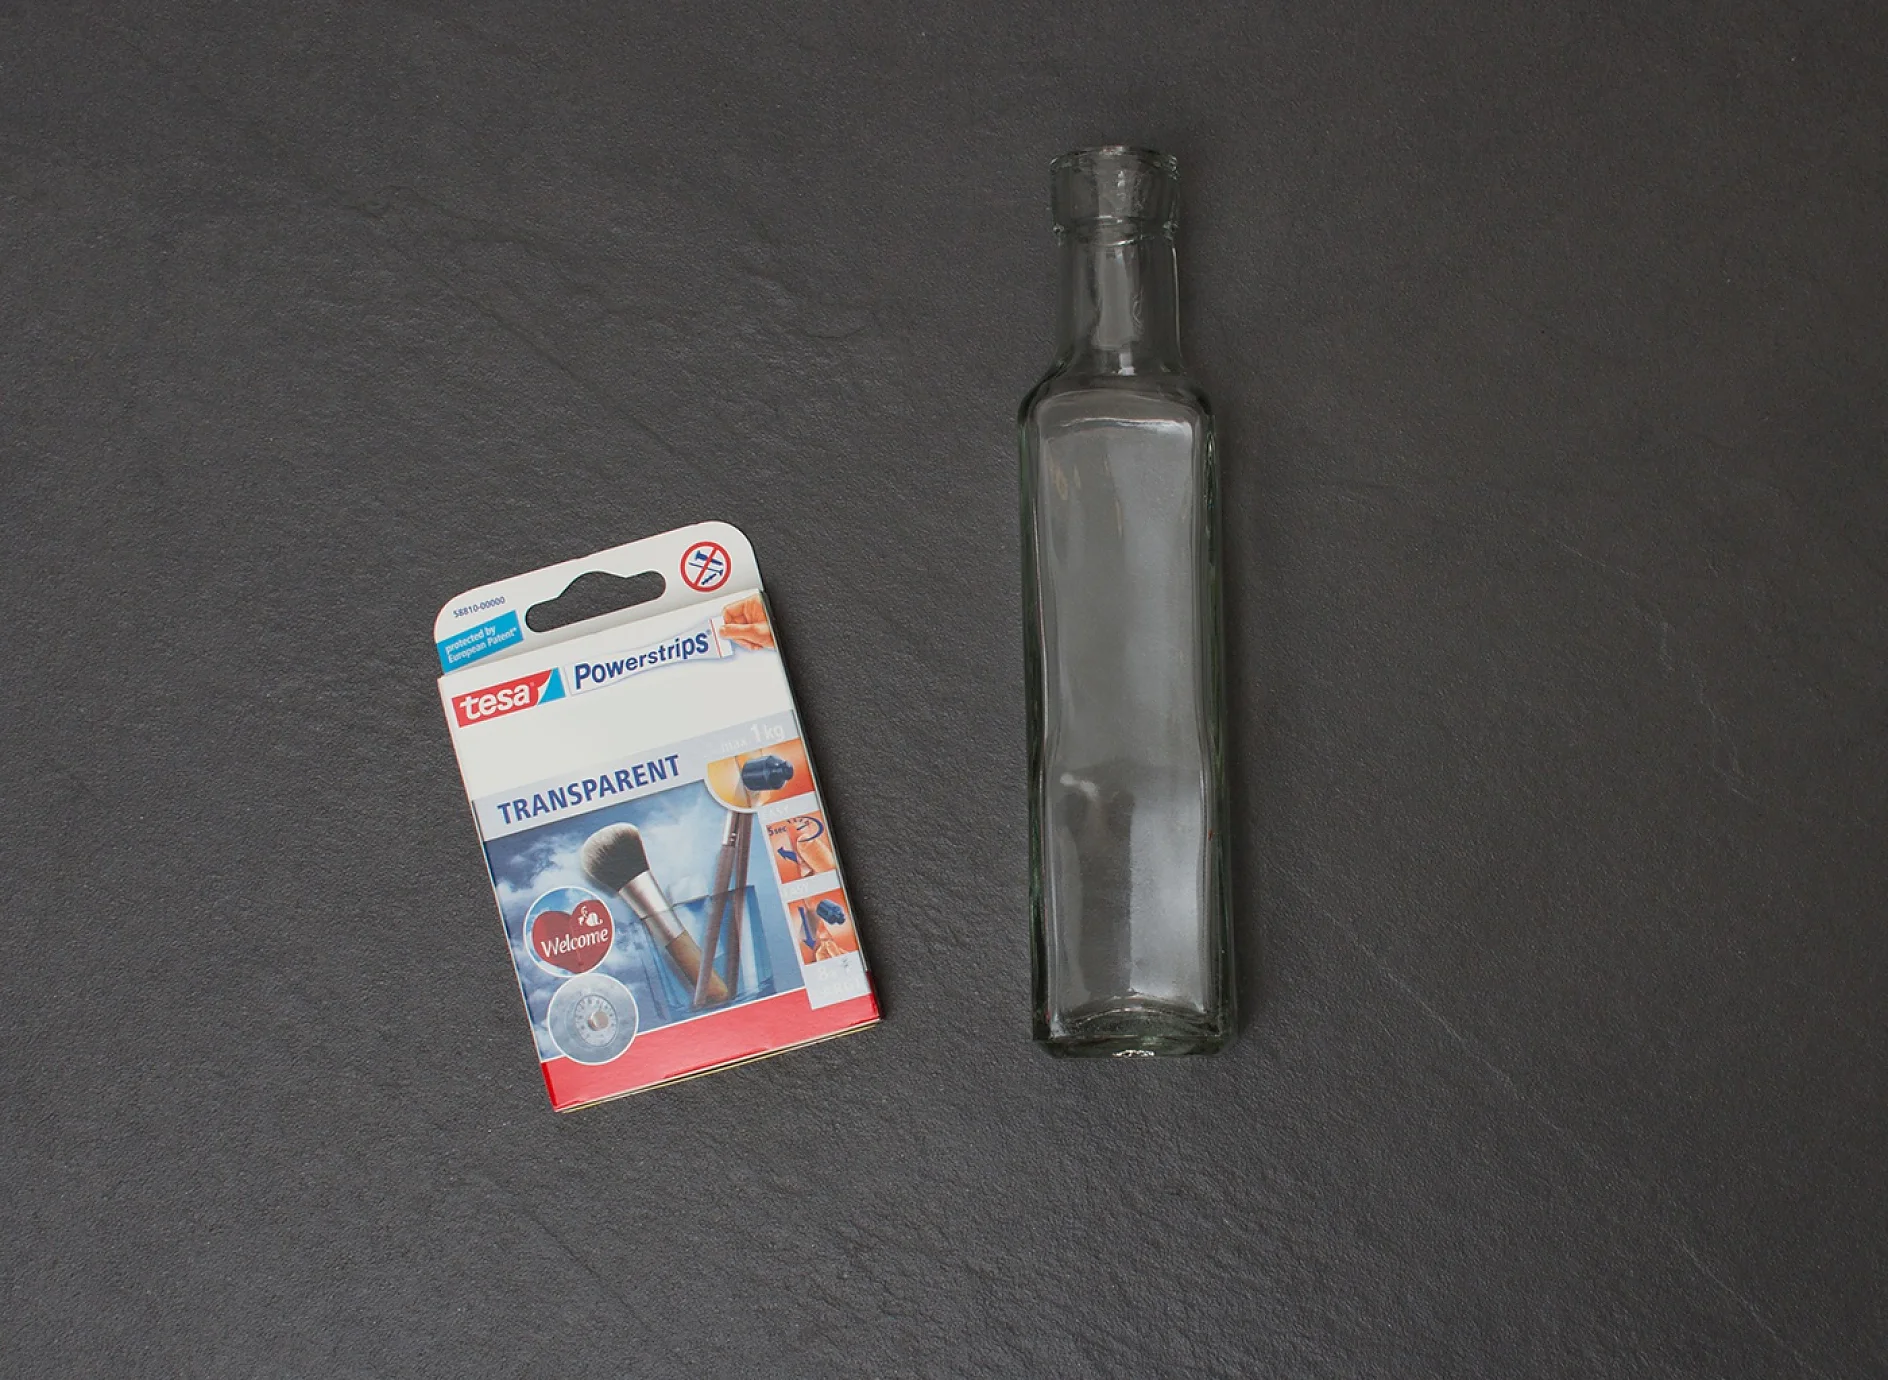
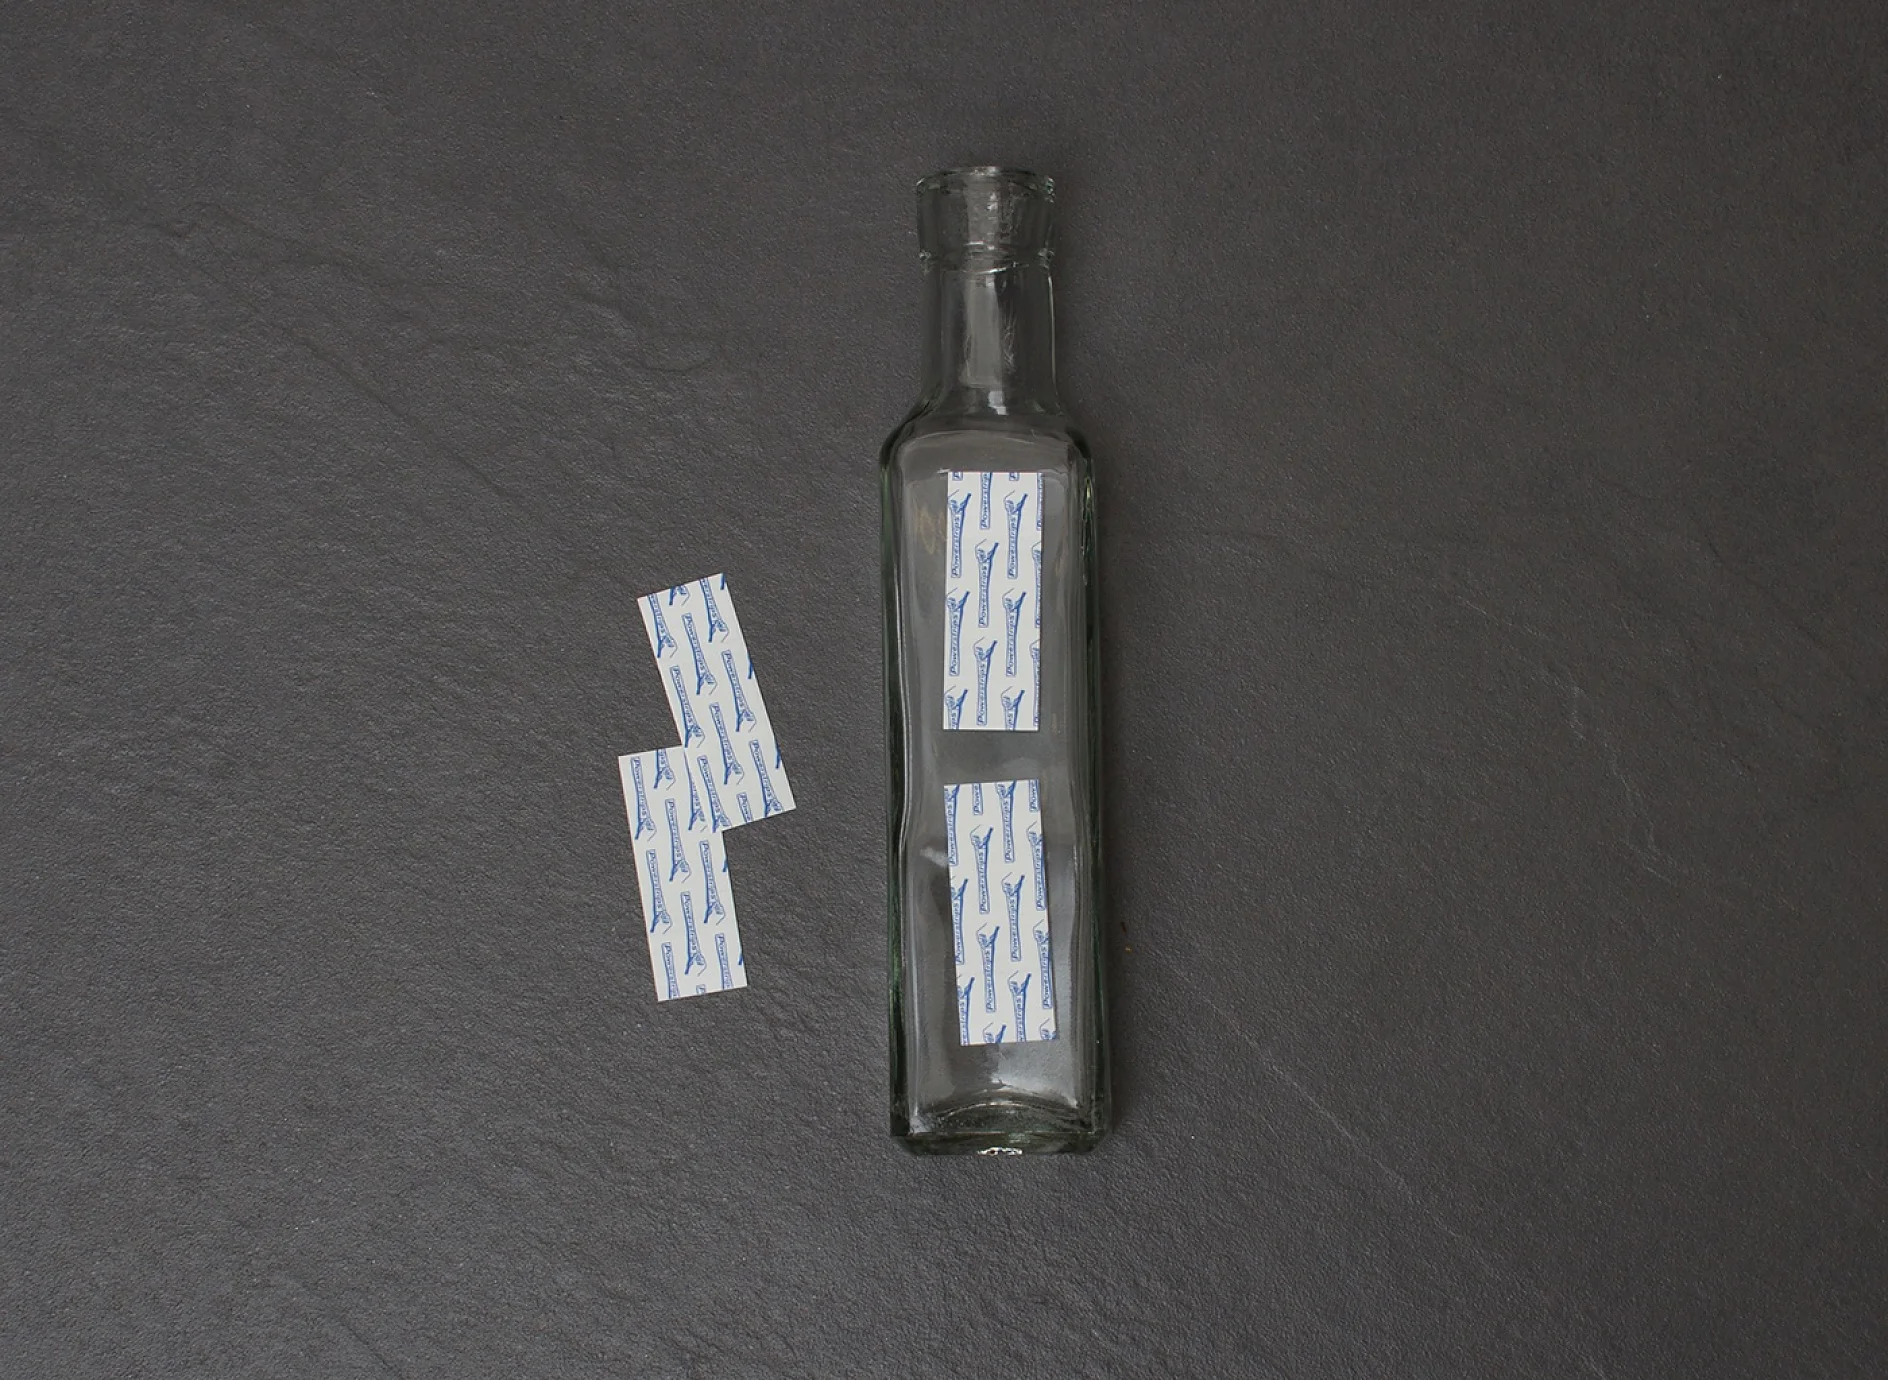
The tesa Powerstrips® Strips Transparent Large are first fixed to the bottles.

02Step 2

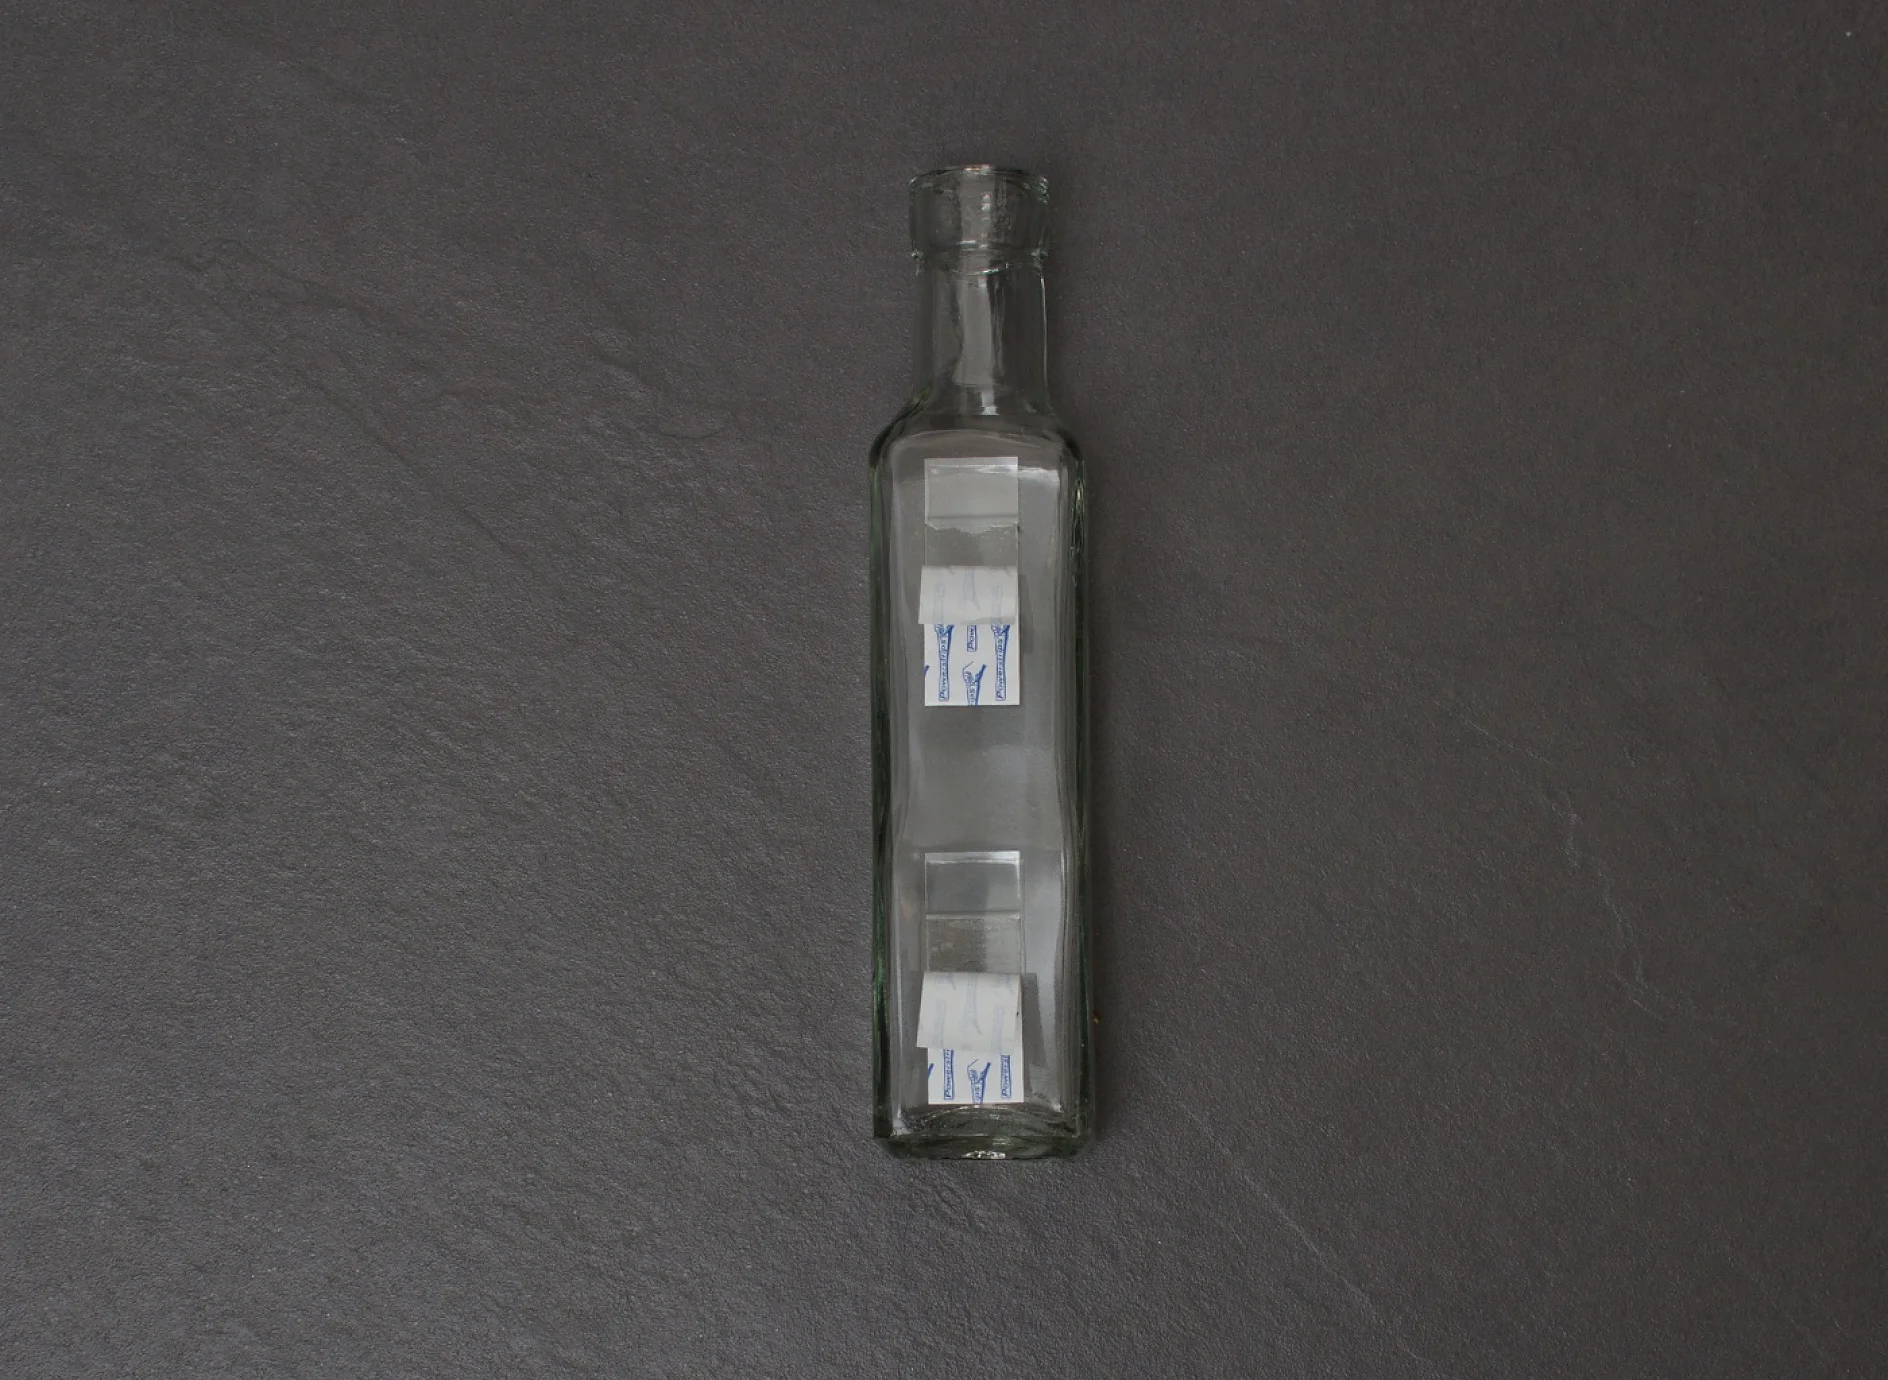
You’ll need two tesa Powerstrips® Strips Transparent Large to attach each bottle to your chosen surface. To make things easier, lie the bottles down on a flat surface like a table and remove the backing paper from the strips. Fix the strips onto the back of the bottles, making sure that the red strips are at the bottom. It’s a good idea to leave the ends free, so that you can use them as grip tabs for removal. Press down firmly for at least five seconds.

tesa Powerstrips® have been fixed to the glass bottles and a design has been decided.

03Step 3

Now you’re almost ready to fix your vases to the wall. Before you do, hold up your bottles and decide exactly where you’d like them to go. Do you want an asymmetric line like we’ve made here? Or maybe a straight row? If you have a narrow vertical space to fill, you could even arrange the vases directly above one other. If you like, you can mark the positions with chalk first to make sure they are super straight and evenly spaced.

Attach the bottles to your chosen surface in the bathroom using tesa tesa Powerstrips® Strips Transparent Large.

04Step 4

Peel the protective film off the back of the strips, being careful not to touch the sticky surface with your fingers. Now apply the bottle to the wall, holding it firmly in place for at least five seconds. This will ensure the tesa Powerstrips have time to bond fully with the tiles or wall. Next prepare your flowers by snipping off the very ends of the stems to make them live longer. It’s a simple trick that really does work!

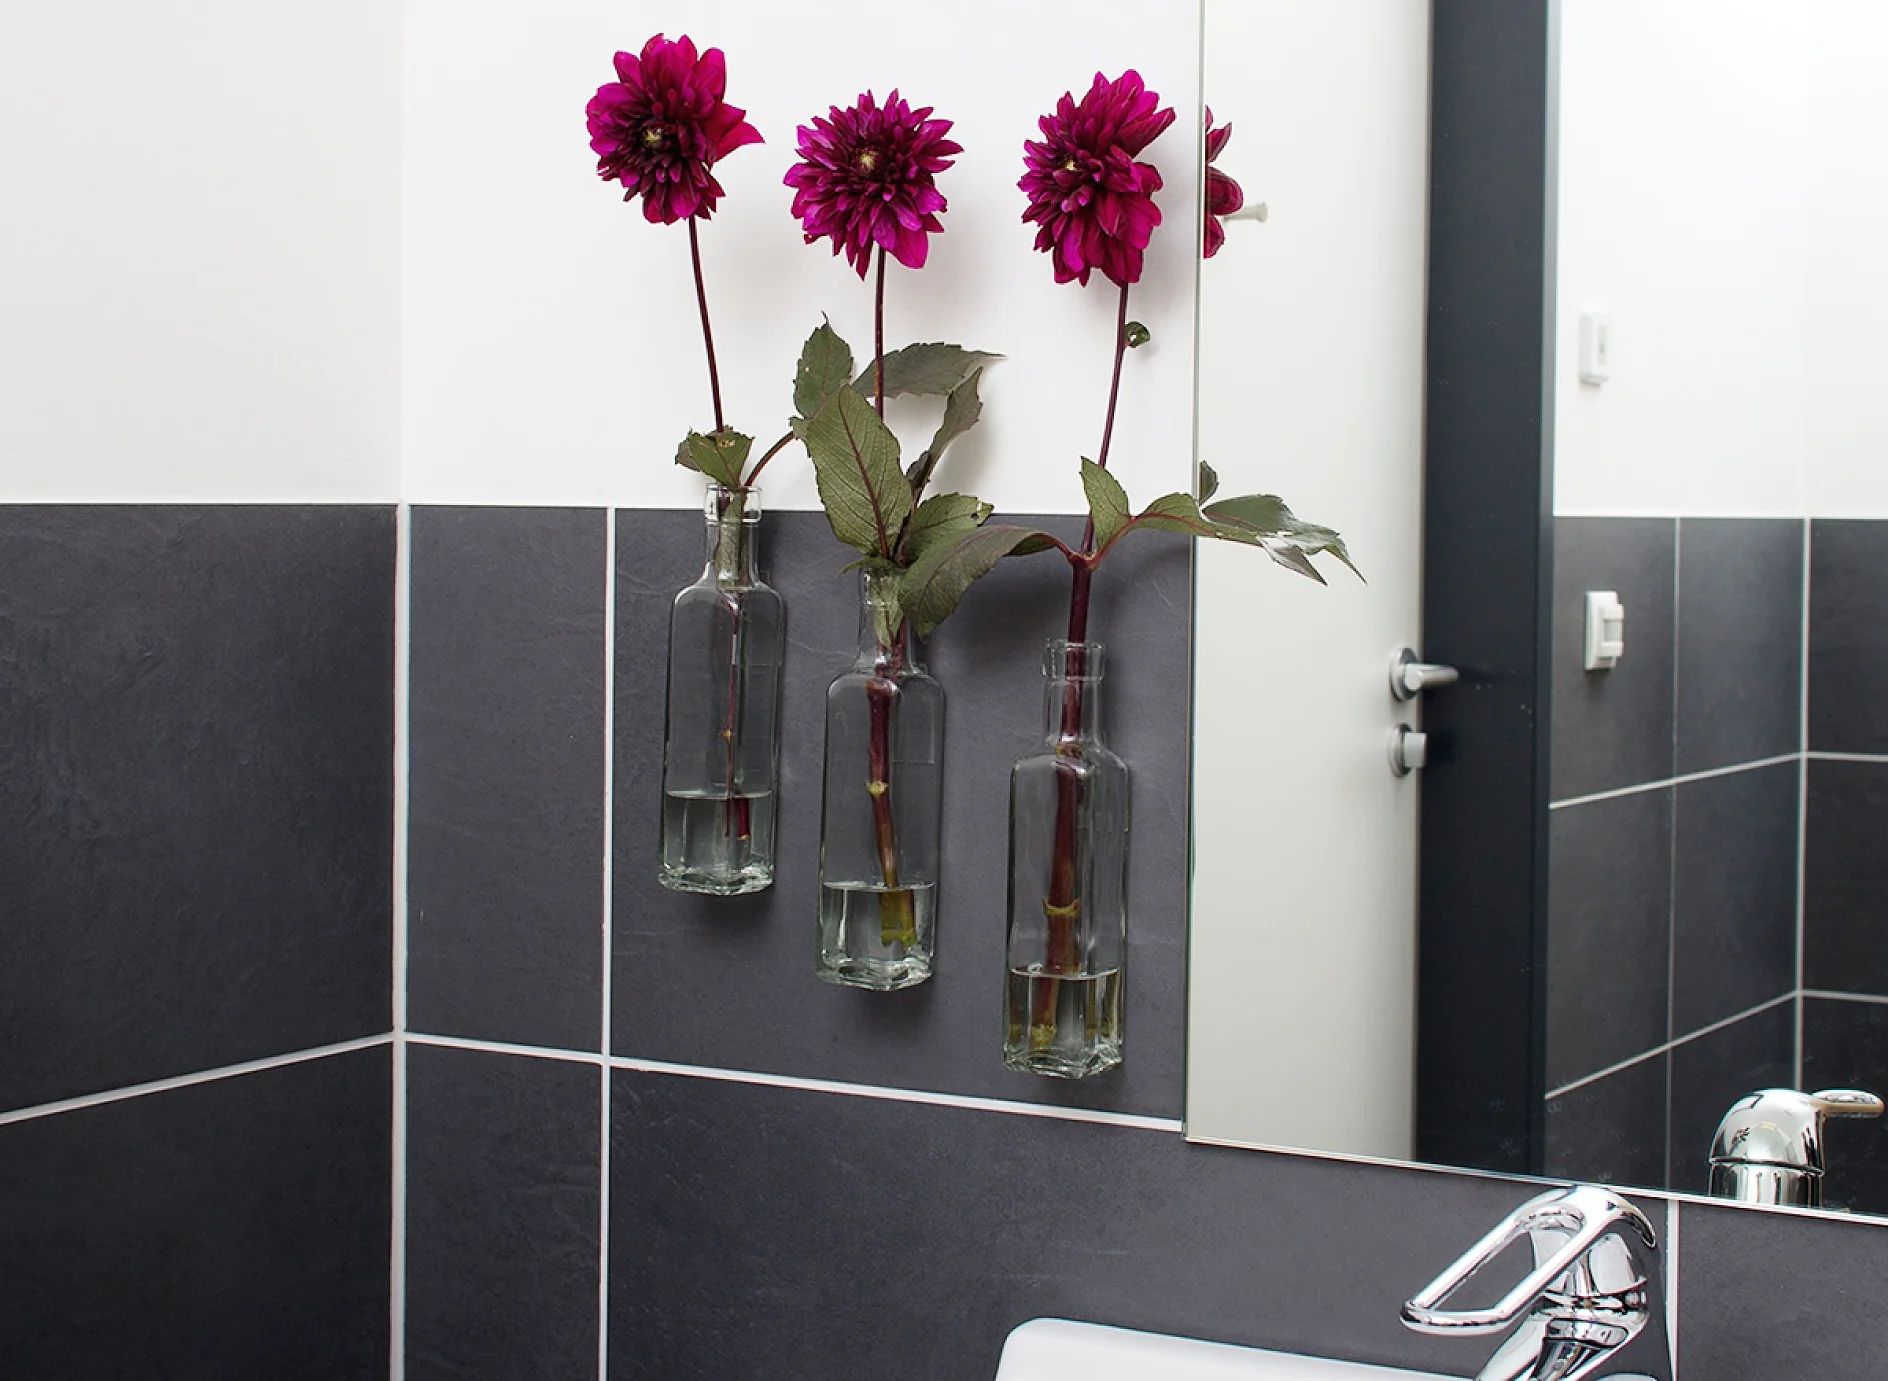
Bottle vases with flowers, which have been fixed in place using tesa Powerstrips® Strips Transparent Large.

05Step 5

Now carefully use your watering can to fill each vase with water. As you do so, make sure you don’t get any drips on the tesa Powerstrips®. Take your chosen blooms and divide them between your three vases. And it’s as simple as that. You’re all finished. Stand back and admire your handiwork. You can change your flowers every week – or even use artificial ones. It’s fine - we promise we won’t tell anyone!

Bottle Vases
06

These clever wall mounted vases mean you can create your own floral decoration in the bathroom. They mount easily to tiles and glass surfaces using removable adhesive strips. And when you want to remove them? They come off easily.