A cozy living room with beige armchairs and a round wooden coffee table. The walls display black and white photos in white frames, all secured with tesa tape. Potted plants are scattered around, and a grey floor lamp stands to the right. A woven basket and side table are also present. (This text has been generated by AI)

ポラロイド風フォトフレームをDIY

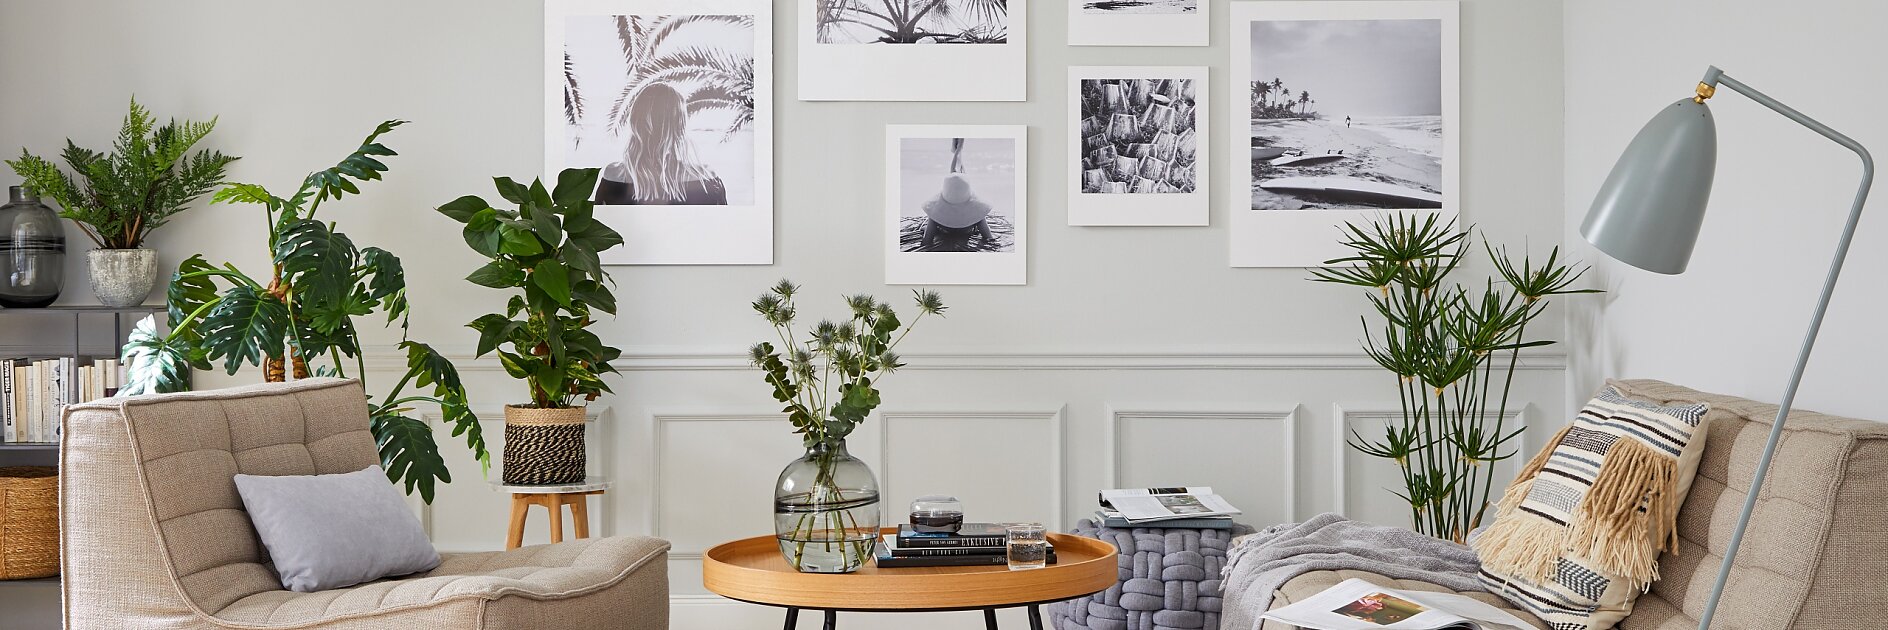
お気に入りの風景をポラロイド風のフォトフレームでかざってみませんか?白黒印刷した写真を白いボードに貼りつけるだけで、レトロで雰囲気のあるウォールアートに早変わり♪

難易度 ふつう

用意するもの

お好みの写真(正方形) ベニヤ板(厚み 1cm) ※縦:写真の大きさ × 1.4、横:写真の大きさ × 1.2 コルクボードまたはフェルトシール(厚み 1 cmくらいのもの) 吊り下げ金具(三角吊りカンなど) ※ない場合は、厚み 1 cmの角材2つで代用もOKです。  木枠専用の高さ調節キャンバスフックをご用意ください。 カッターナイフ 定規 塗装用ペンキ ペイントローラー えんぴつ ドライバー 木工用の接着剤 または 両面粘着テープ 両面粘着テープ(はってはがせるテープはこちら) お好みのマスキングテープ 壁かけ用フック

作りかた

A paint roller set with a red handle lies in a tray on a desk, alongside a hammer, measuring tesa tape, ruler, adhesive hooks, a postcard of palm trees, and a piece of cork. A white chair is partially visible at the bottom. (This text has been generated by AI)
01

材料をそろえたらスタートです!

A hand holds a red-handled paint roller applying white paint on a beige surface. Next to it, a black paint tray containing white paint rests on a grid-patterned mat, with tesa tape ensuring precise edges and clean lines throughout the painting process. (This text has been generated by AI)
02

ペイントローラーを使ってベニヤ板の両面をペンキで白く塗ります。完全にペンキが乾くまでしっかり乾燥させます。

湿気が残っていると、写真が水分を吸収して曲がってしまいますのでご注意ください。

A person is peeling the backing off a small adhesive pad. A roll of tesa tape and additional adhesive pads are on a grid-patterned surface. (This text has been generated by AI)
03

壁にかざったとき安定するように、スペーサーを貼りつけます。

カットしたコルクボードやフェルトシールなどを用意します。

Close-up of a hand holding a small cork square on a white surface, next to a roll of yellow tesa tape and a peeled piece of the same tesa tape. A cutting mat with a grid pattern is partially visible underneath. (This text has been generated by AI)
04

ベニヤ板裏面の下側、中心の位置にスペーサーを貼りつけます。木工用の接着剤や両面粘着テープを使用してください。

裏面の上側の部分には、ドライバーを使って三角吊りカンなどの吊り下げ金具を取りつけます。

※吊り下げ金具の代わりに角材を使用する方法はページ下部の「Hint」をごらんください。

Hands applying patterned black tesa tape to the edge of a white board. A blurred background shows a tabletop with various crafting supplies and a partially visible black-and-white photo. (This text has been generated by AI)
05

ベニヤ板の側面にお好みのマスキングテープを貼りつけます。

余った部分は裏面に折り返して貼りつけます。指で体重をかけるように、しっかりと貼りましょう。

A hand peeling the backing off a small tesa tape strip on a white surface. Several unused tesa tape strips are visible in the background on a sheet. The edge of a decorative item with circular patterns is partially shown below. (This text has been generated by AI)
06

写真をボードの表に貼りつけていきます。

まず、両面粘着テープ(後ではがせるタイプがおすすめです)のはくり紙をはがし、写真の裏面、四隅に貼りつけます。

Hands are placing a black-and-white beach photograph featuring palm trees and a person standing by the shore onto a white mat board using tesa tape. The surface beneath is a patterned table. (This text has been generated by AI)
07

次に、ボードにのせて上からもう一度しっかり押しつけます。事前に貼りつける場所を決めて、えんぴつで場所を書いておくと安心です。

赤いスライダーが付いた白と青のプラスチック製壁掛け用デバイスの写真。日本語のテキストで 2 つの機能が強調されています。1 つ目は取り付けが不要であること、2 つ目はテサ テープで壁にしっかりと貼り付けられることを示しています。断面図も示されています。. (This text has been generated by AI)

09吊り下げ金具のかわりに

厚み 1 cmの角材2つをボード裏面の上部に接着剤などで取りつければ、吊り下げ金具やドライバーがなくてもOKです。

吊り下げ金具の代わりに、ボード裏面の上部2か所に角材を1つずつ接着剤で接着してください。

高さ調節キャンバスフックは吊り下げ金具がついていないキャンバスやファブリックパネルの木枠に針状のフックを刺してかけることができるアイテムです。壁面にキャンバスフックをとりつけたら、針状のフック先端に角材を乗せてください。フック2個をペアで使用すると、より安定します。