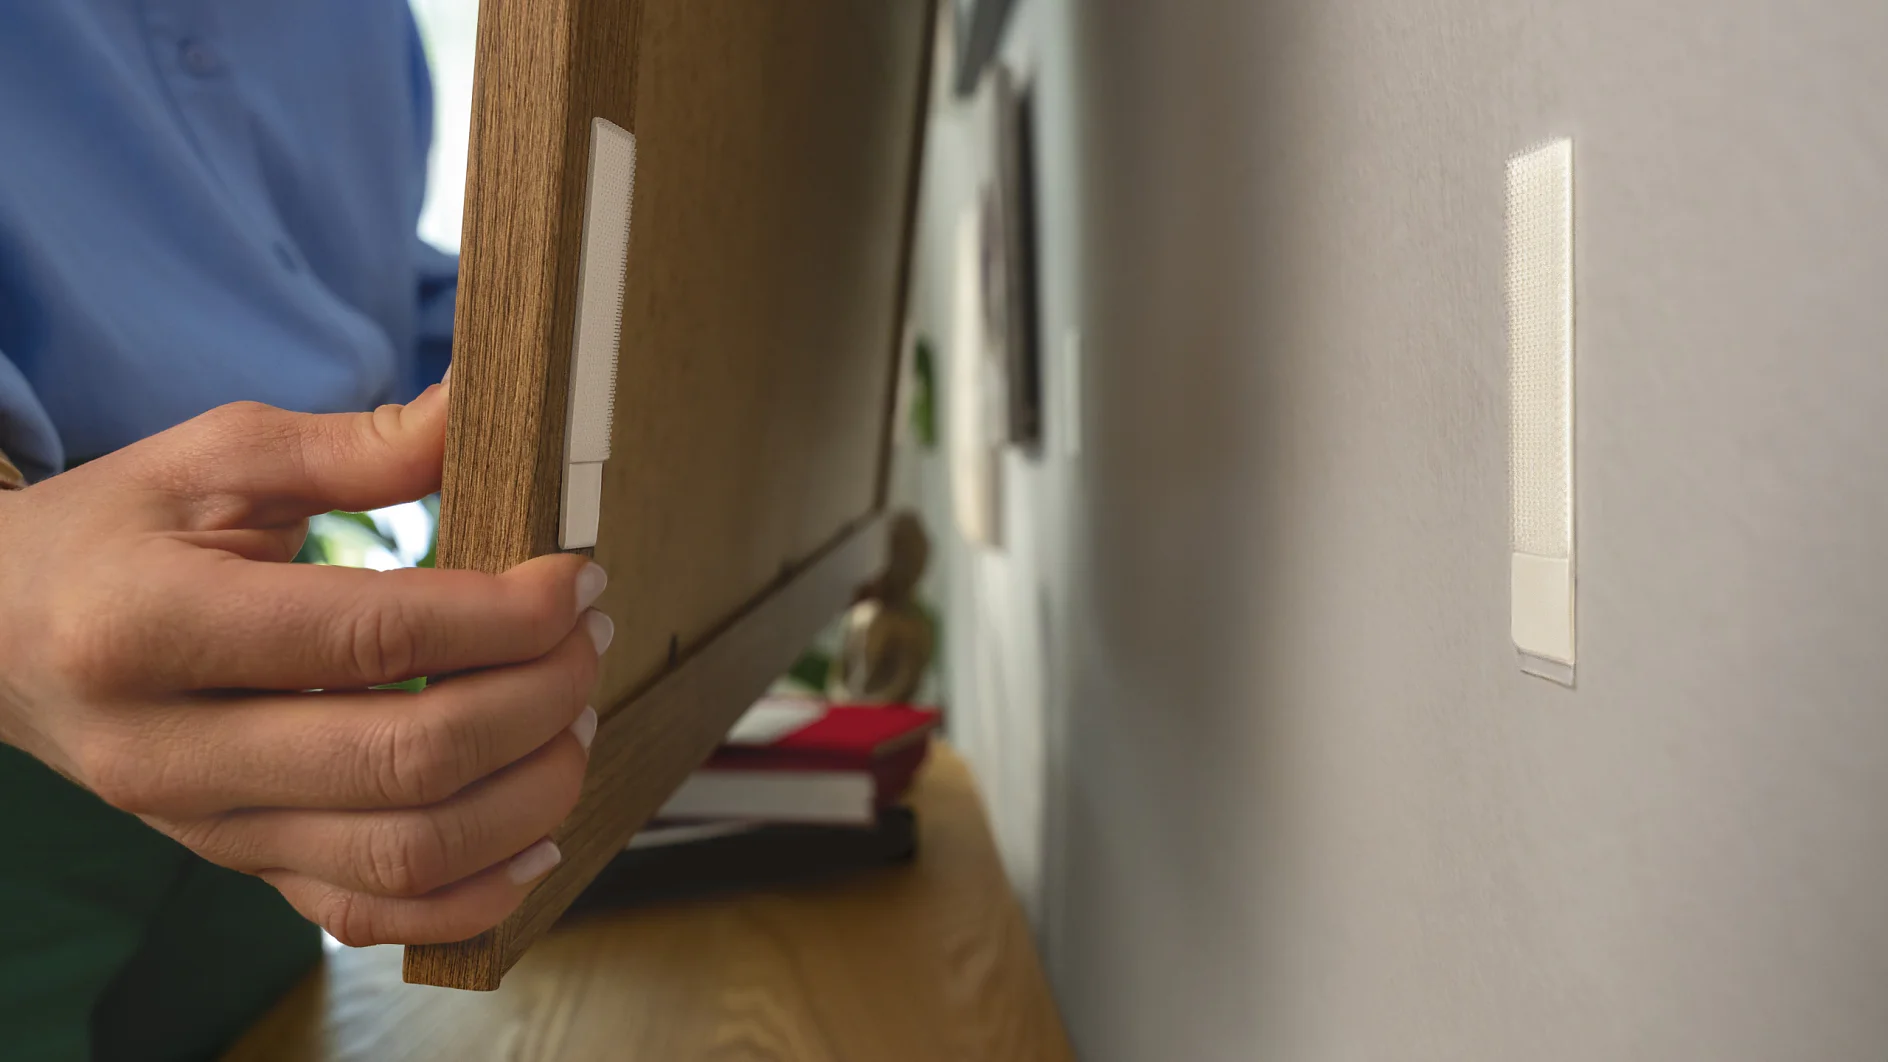
A person in a blue shirt and green pants is hanging a framed picture on a wall using tesa tape. The room is decorated with multiple artworks and has a wooden desk with various items. A window with sheer curtains is open to a view of greenery outside. (This text has been generated by AI)

tesa® Powerstrips CLICK

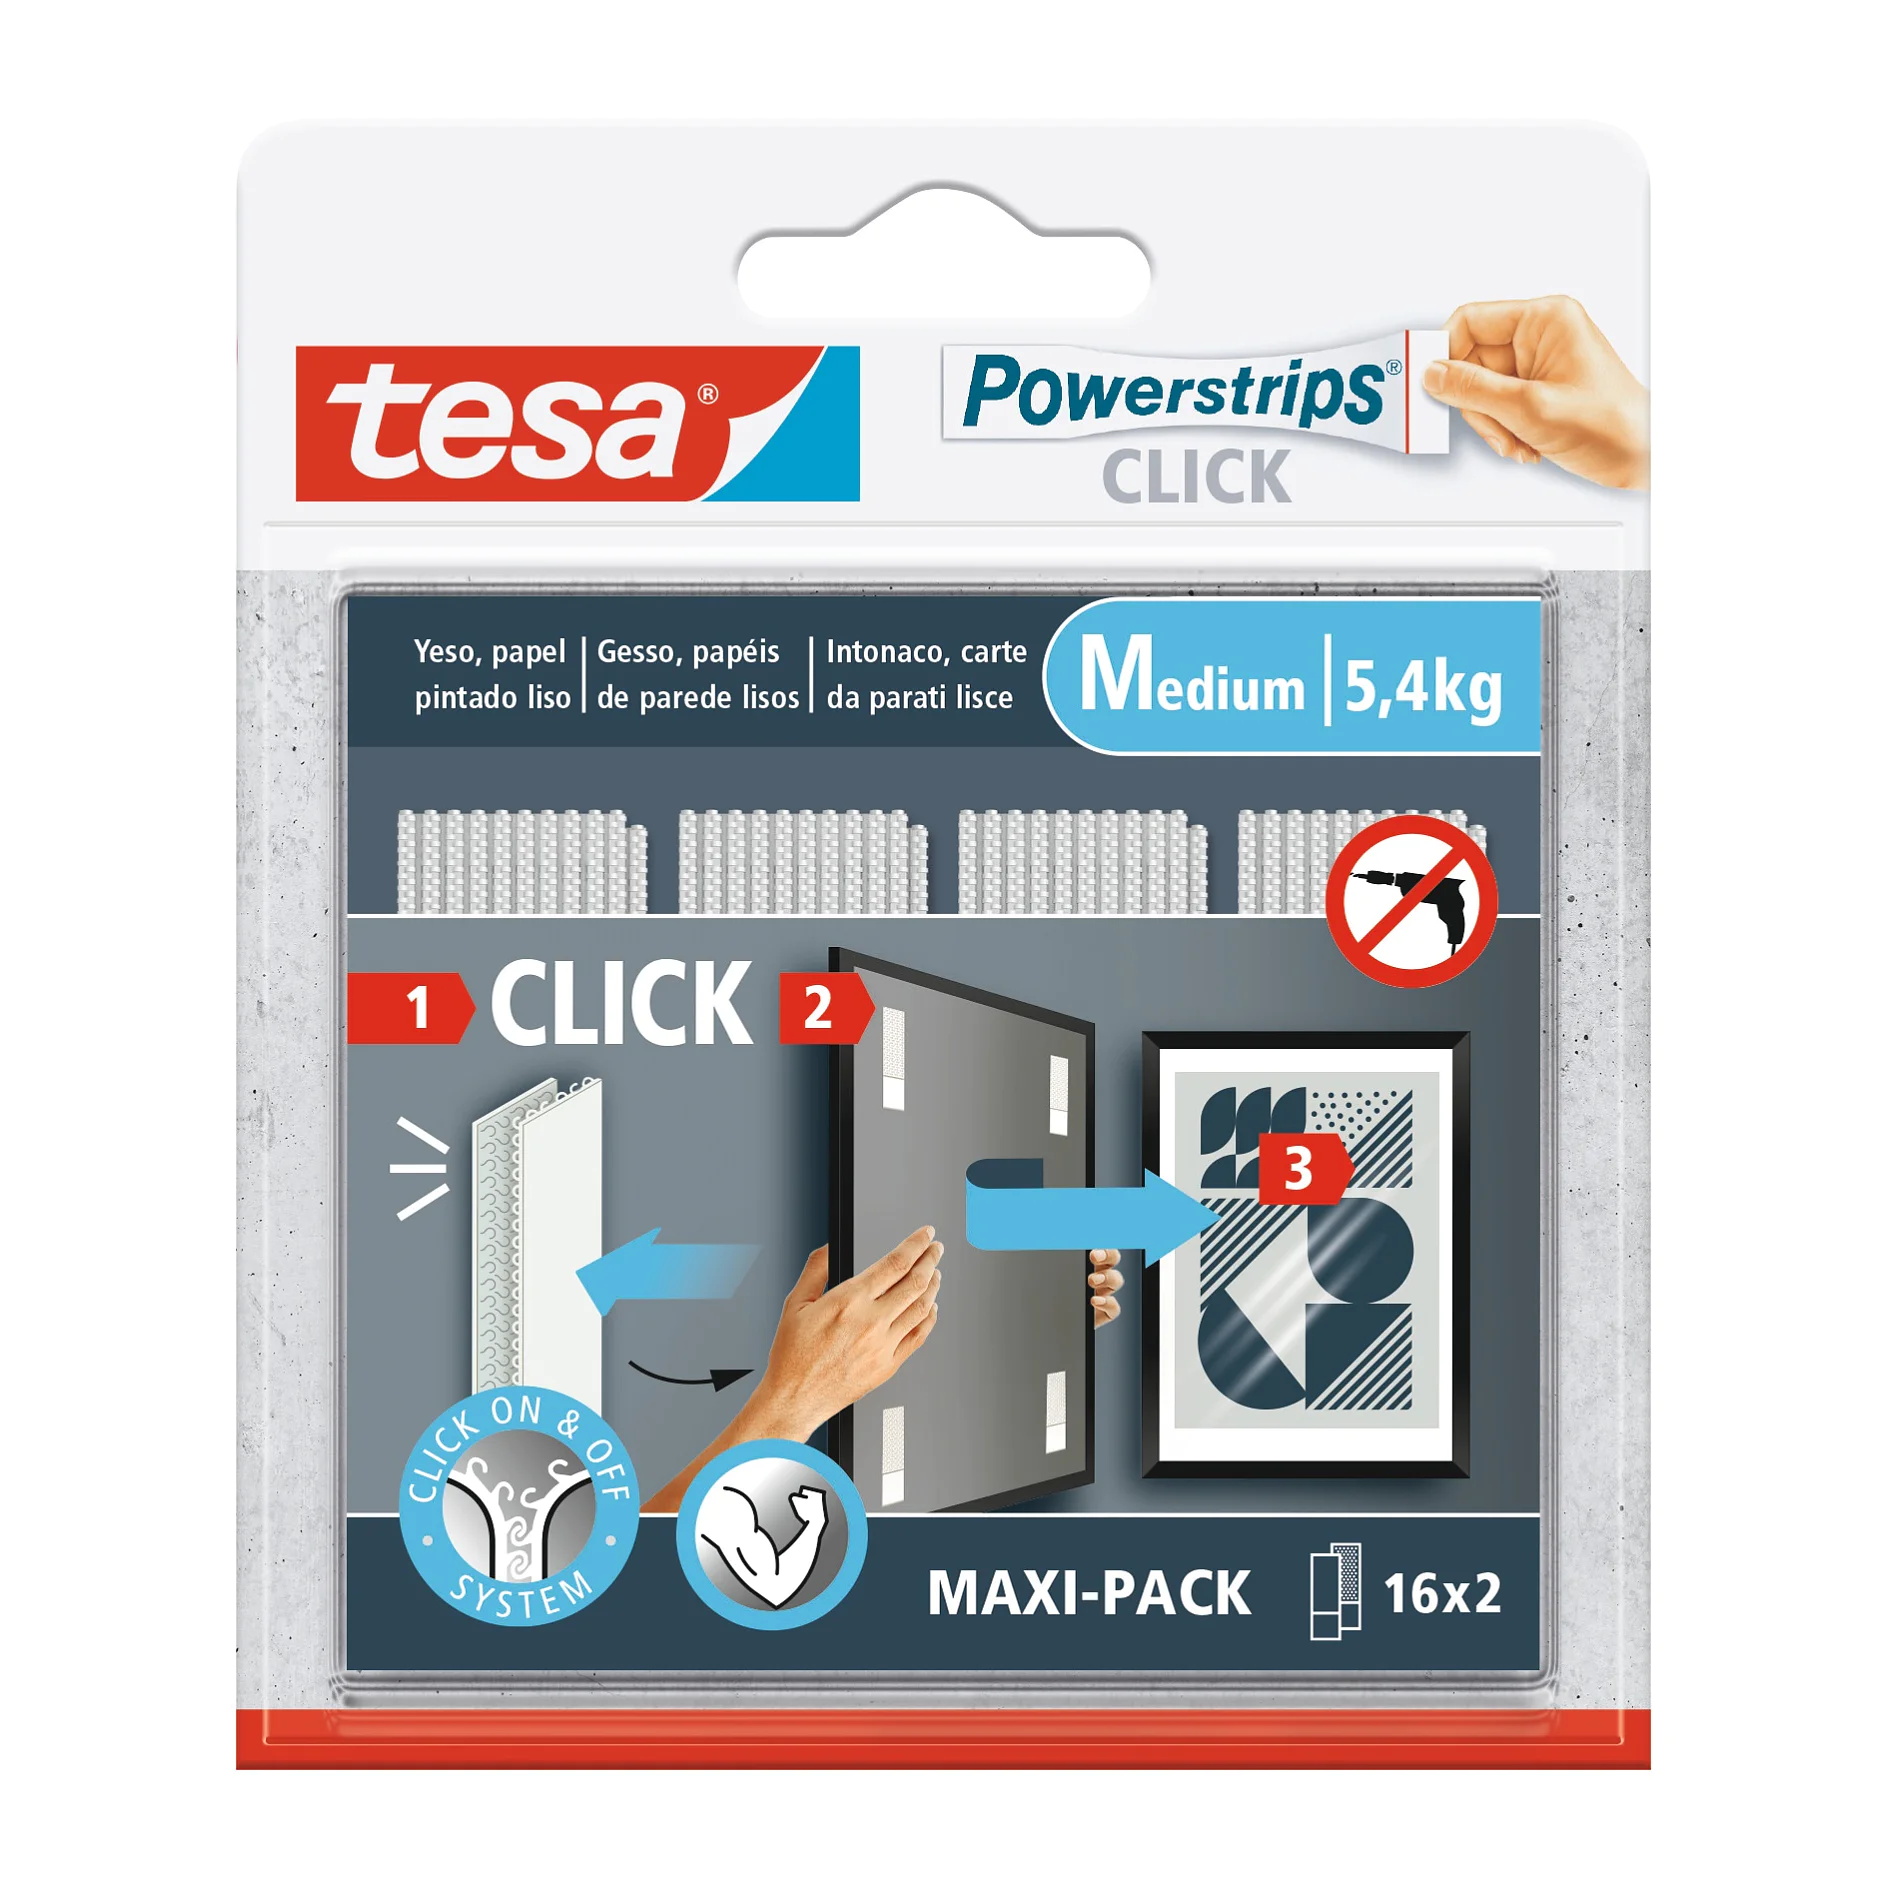
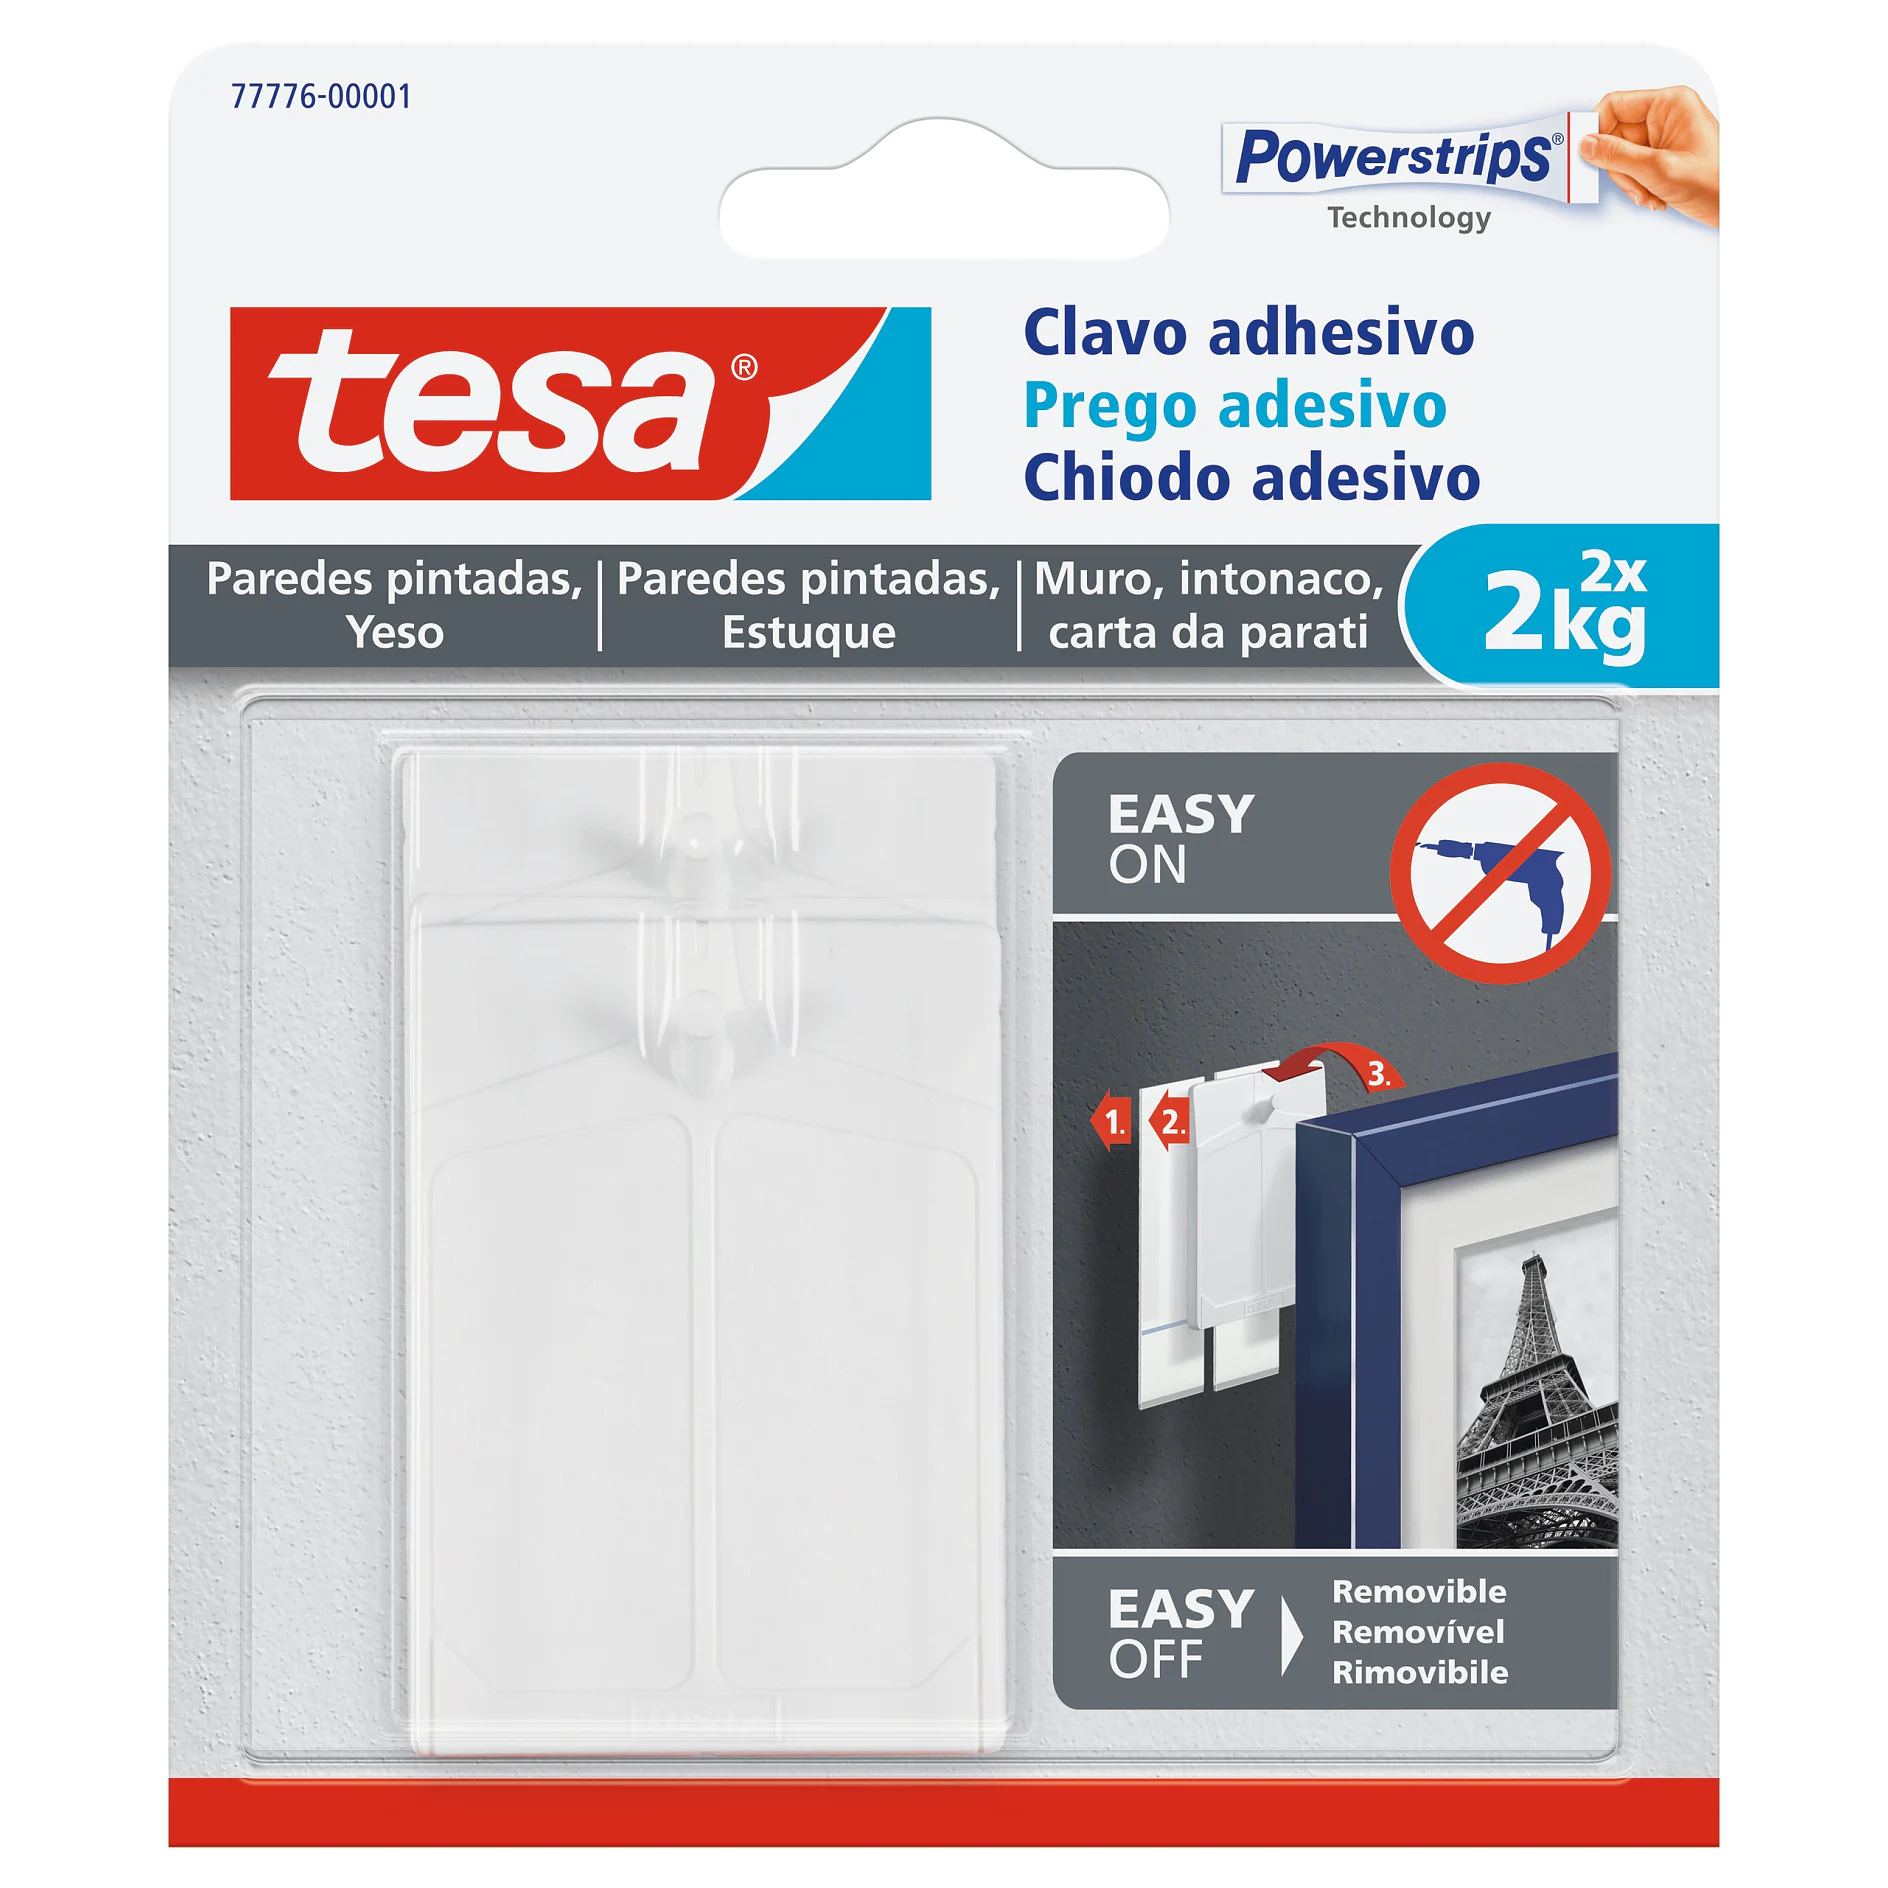
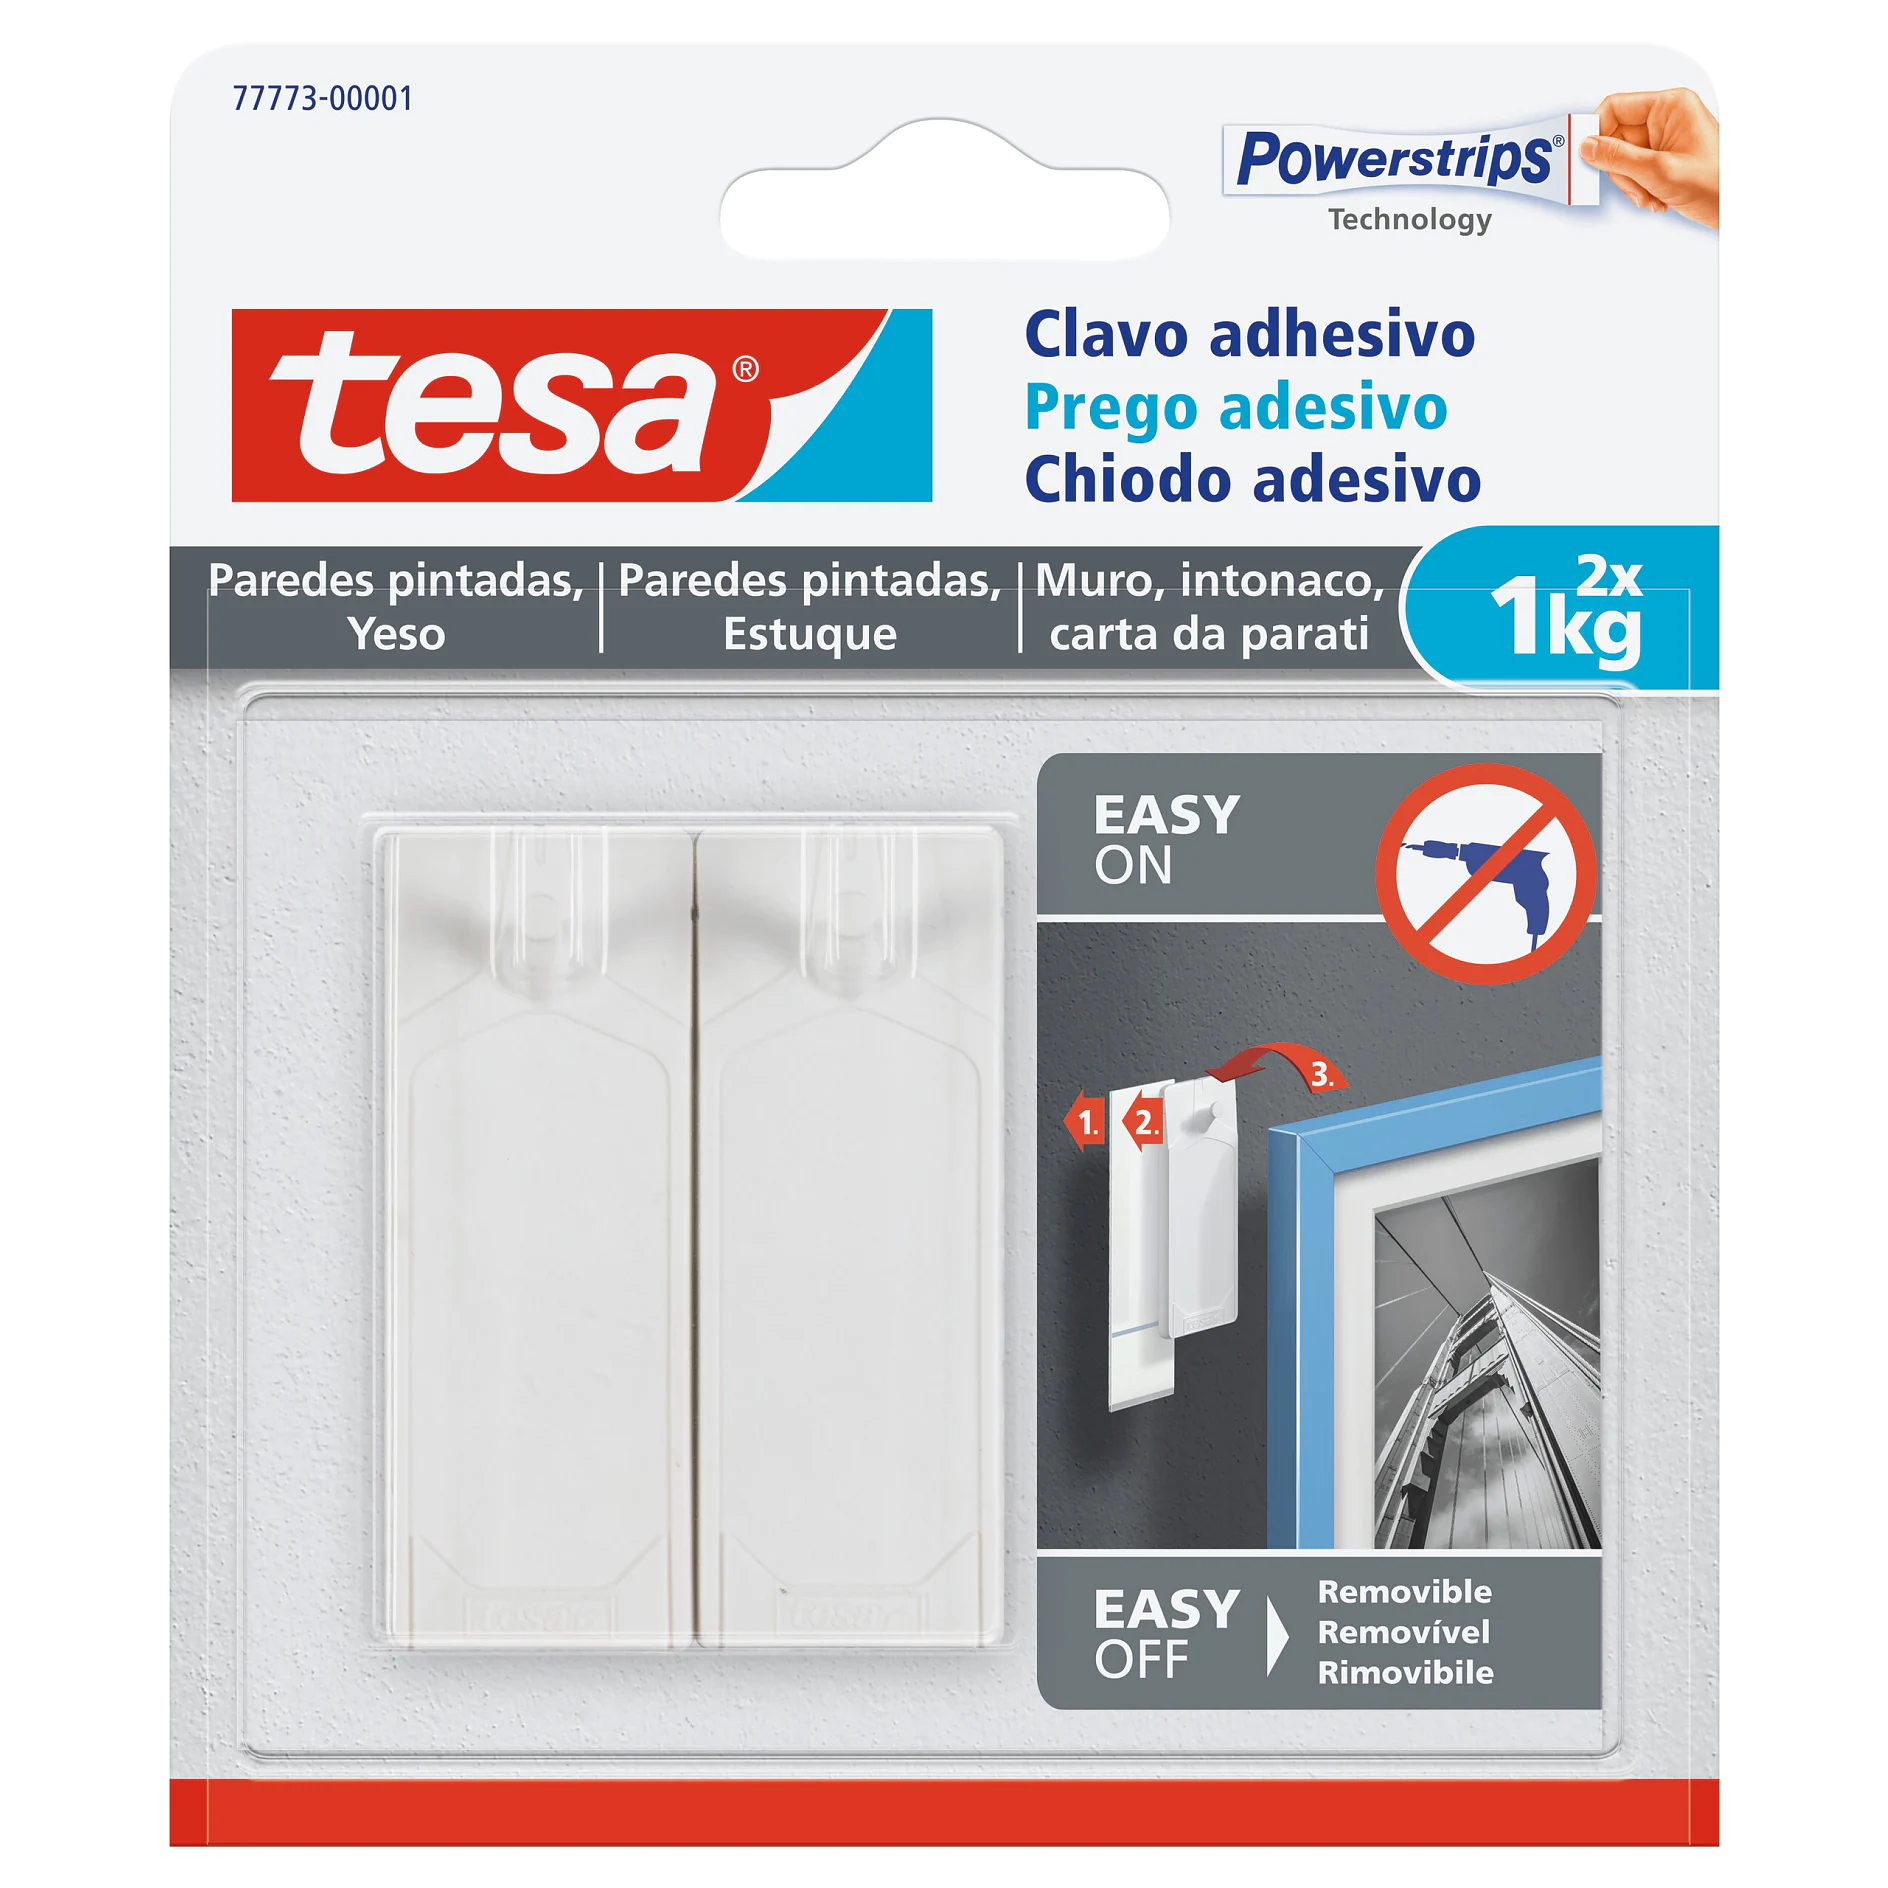
Con tesa® Powerstrips CLICK, decorare e appendere è un gioco da ragazzi : Disponibili in 3 diverse dimensioni!

Powerstrips® Click

tesa® Powerstrips Click

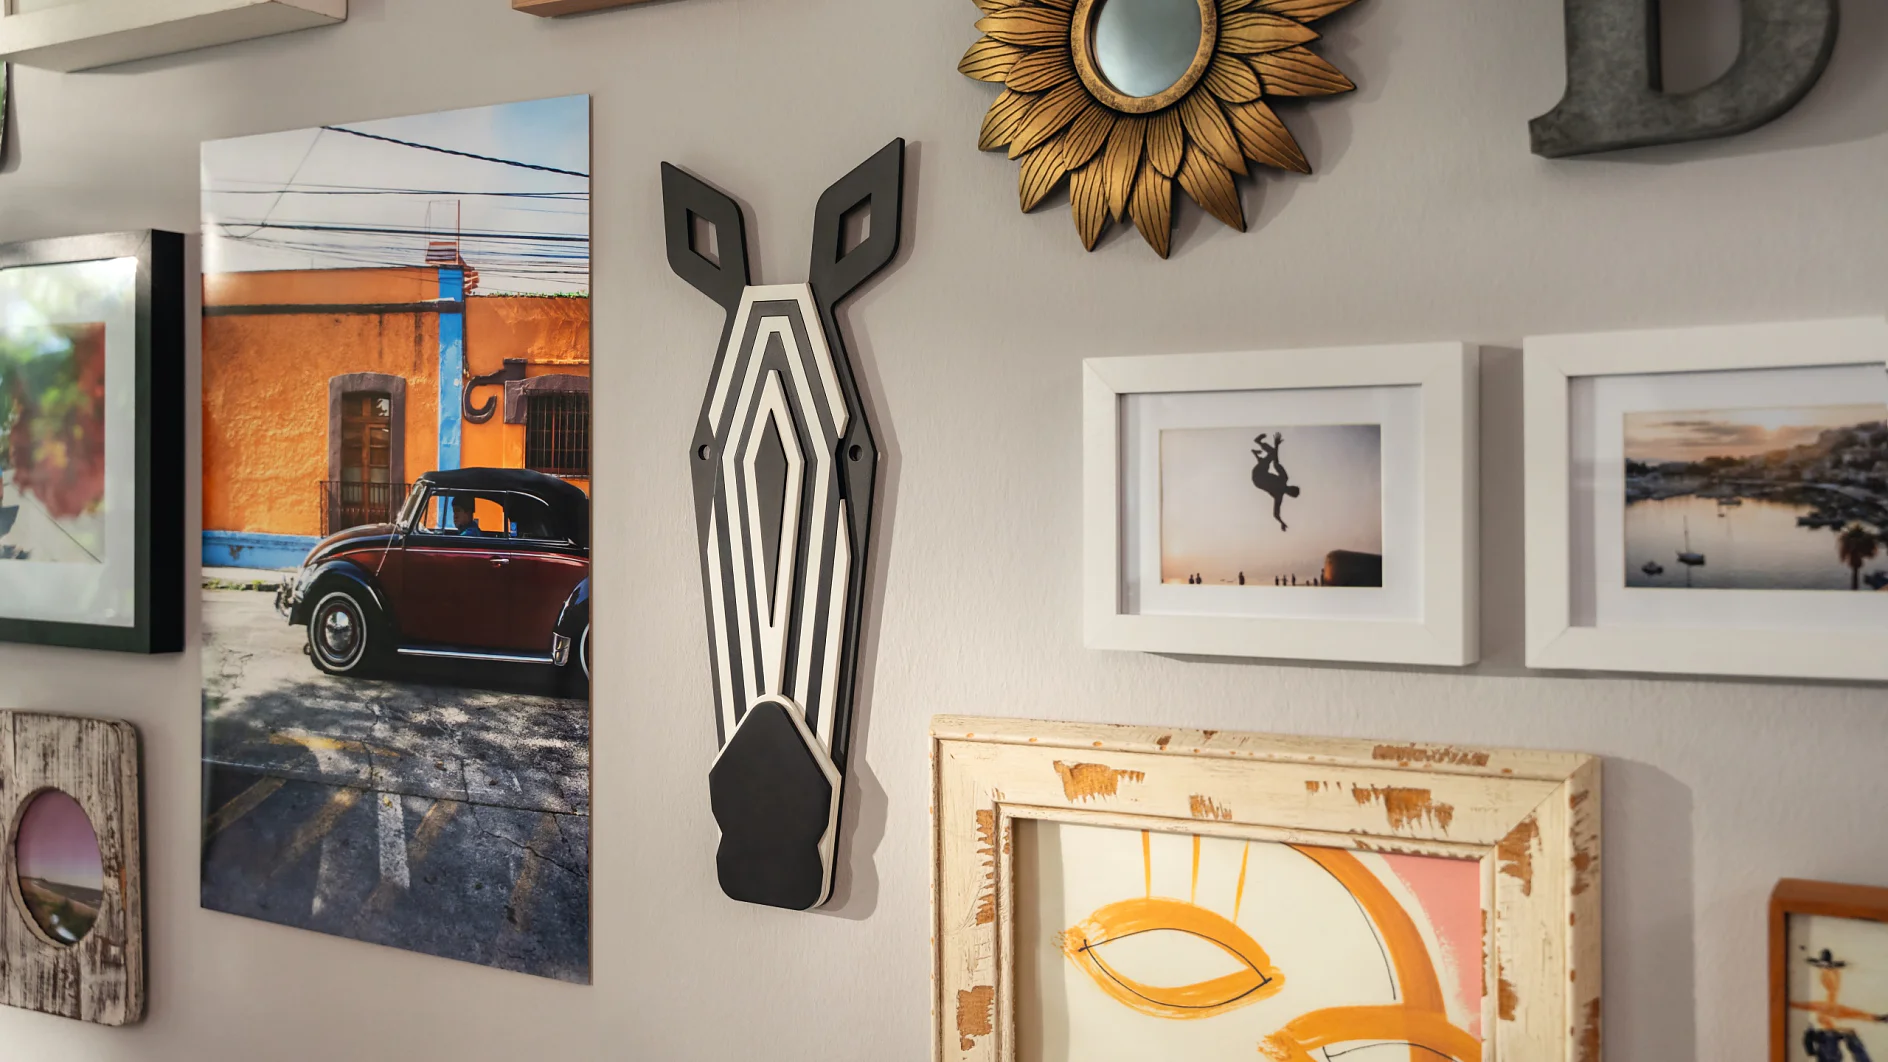
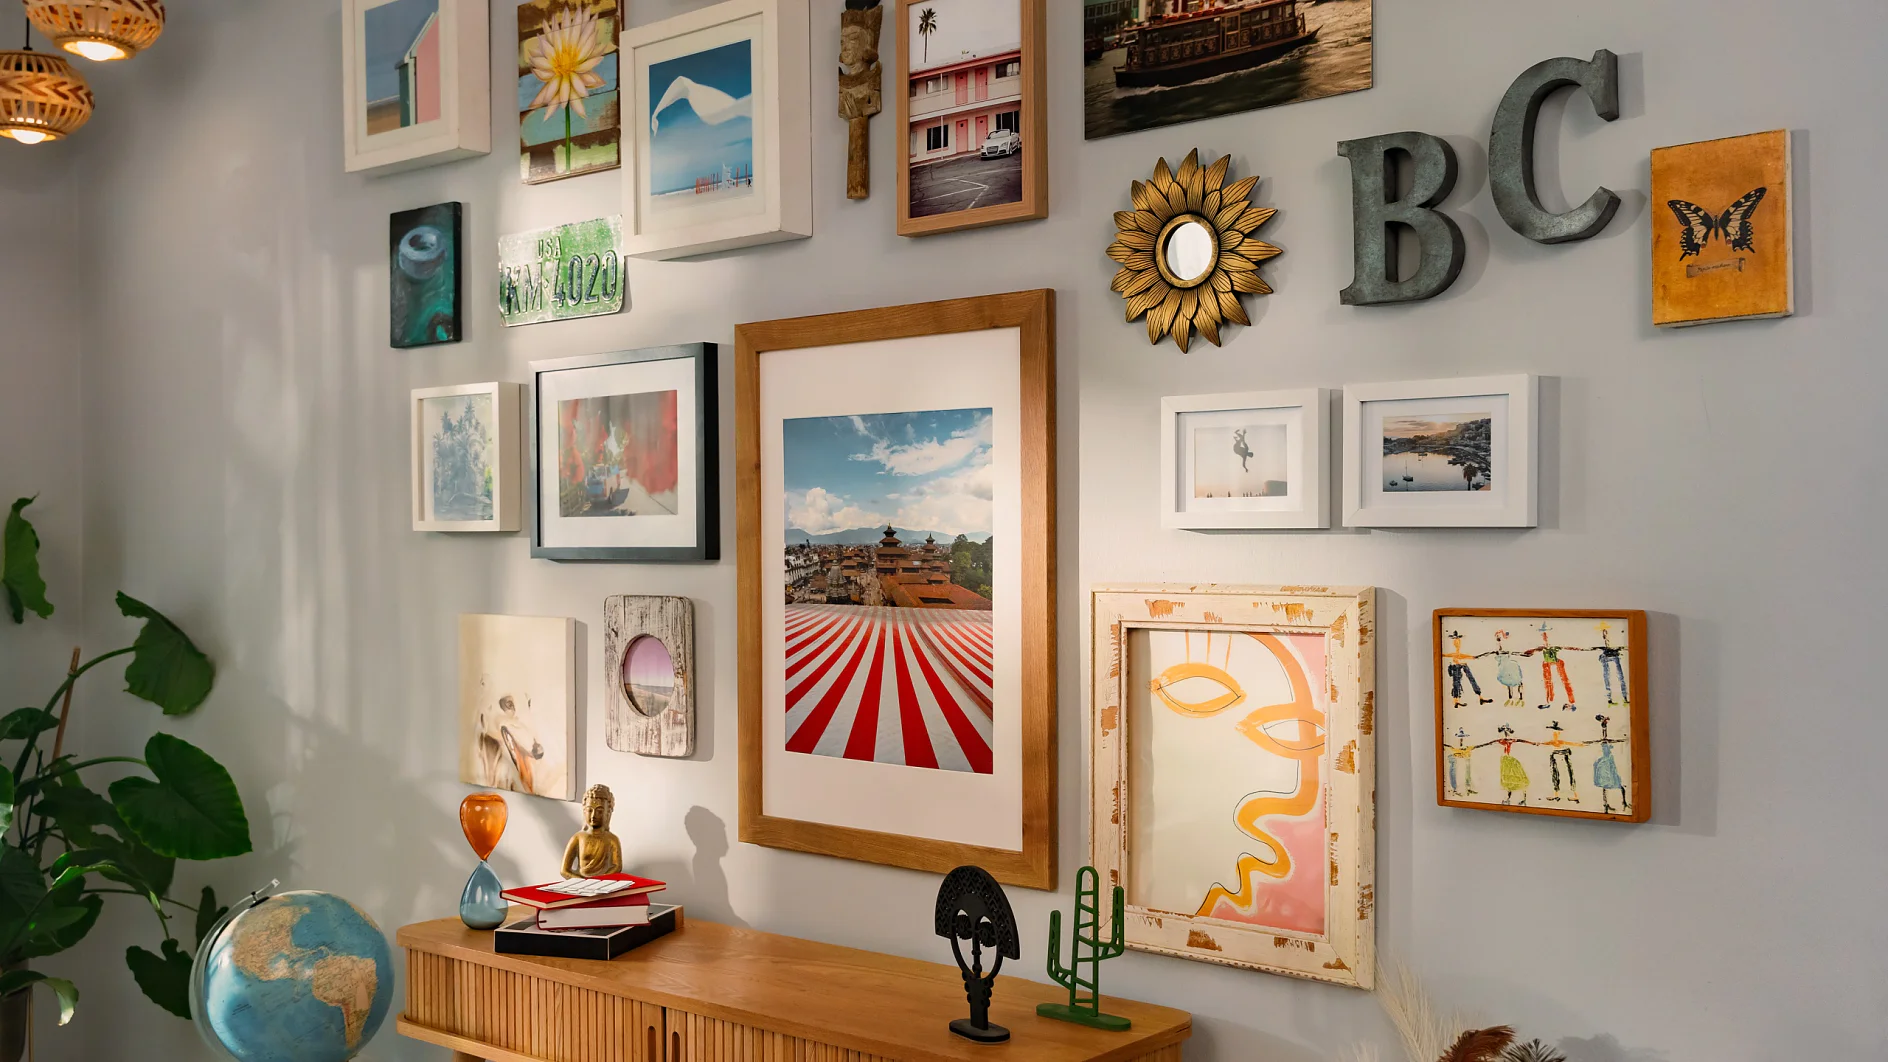
Le decorazioni murali creano atmosfera e stile in qualsiasi casa. Le strisce Powerstrips® CLICK sono la soluzione ideale per fissare quadri e altre decorazioni a parete. Gli elementi hook and loop possono essere usati ripetutamente ed essere rimossi senza lasciare residui.

  • Decorazione semplice: le Powerstrips® CLICK consentono di fissare facilmente a parete quadri e decorazioni
  • Tenuta sicura: utilizzando le strisce di fissaggio, gli oggetti vengono fissati alla parete invece di essere appesi ai chiodi.
  • Fissaggio discreto: le Powerstrips® CLICK sono completamente nascoste dietro l'elemento decorativo o la cornice del quadro.

I vantaggi delle Powerstrips® CLICK in sintesi

Le Powerstrips® CLICK garantiscono numerosi vantaggi. Abbiamo sintetizzato i vantaggi principali, oltre alla facilità d’installazione e alla flessibilità di progettazione:

  • Tenuta forte e affidabile su (quasi) tutte le superfici, fra cui carta da parati e intonaco liscio
  • Appendere, riprogettare e riutilizzare in modo flessibile
  • Innovativo sistema a scatto per un fissaggio facile e una tenuta sicura.
  • Adatto per quadri, cornici e oggetti con retro piatto.
  • Lo scatto indica che le strisce sono state unite in modo corretto.
  • Decorare le pareti senza eseguire fori
  • Rimovibili senza lasciare residui

Decora la tua casa in pochi passaggi con tesa® Powerstrips CLICK, senza forare le pareti

A pair of hands holding an unfolded white paper fortune teller against a blurred brown background. (This text has been generated by AI)

01Fissare insieme le strisce e rimuovere il film protettivo

Prima di fissare la striscia alla superficie, questa deve essere priva di polvere, grasso, calce e altri residui. Dopo aver pulito le superfici dalla polvere, unire le due strisce di Powerstrips® Click e rimuovere la pellicola protettiva di una Powerstrips®.

A person wearing a blue shirt and bracelets is attaching tesa tape strips to the back of a wooden frame on a gray surface. (This text has been generated by AI)

02Fissare la striscia Powerstrips® CLICK sul retro della cornice del quadro.

Fissare la striscia di Powerstrips® CLICK sul retro della foto: Premere quindi il lato adesivo delle strisce sulla foto, sulla cornice o sull'oggetto decorativo. Assicurarsi che la lunghezza della striscia di Powerstrips® CLICK sia sufficiente per reggere il peso. Per una tenuta ottimale, fissare 4 coppie in ogni angolo. Per le cornici più piccole, è possibile utilizzare 2 coppie. Dopo aver fissato le strisce di Powerstrips® CLICK sul quadro, tenerle premute per 10 secondi per garantire una buona adesione. Rimuovere quindi la seconda pellicola protettiva.

A person wearing a blue shirt is adjusting a framed photograph on a wall. The wall features a gallery of various pictures and art pieces, including a sunflower-shaped mirror. For the adjustments, tesa tape is being used to ensure the picture stays securely in place. The photograph being adjusted shows a landscape with blue skies and clouds. (This text has been generated by AI)

03Premere il quadro sulla parete.

Premere quindi il quadro contro la parete con le Powerstrips® CLICK nella posizione desiderata. Premere saldamente il quadro contro la parete per 10 secondi per verificare che le strisce Powerstrips aderiscano correttamente alla parete.

A person in a blue shirt is mounting a wooden frame on a wall using tesa tape adhesive strips. Part of a shelf with items is visible in the background. The frame is positioned near two tesa tape strips on the wall. (This text has been generated by AI)

04Staccare la cornice dal basso

Il quadro può essere quindi staccato dalla parete. Staccare prima la parte inferiore, quindi quella superiore. Una delle strisce di Powerstrips® CLICK rimane sulla parete. Le strisce di Powerstrip® CLICK rimangono fissate sia sul quadro che sulla parete.

A person in a blue shirt attaches a white tesa tape strip to a white wall using both hands. Their left wrist has a gold bracelet. The image focuses on the hands and the strip. (This text has been generated by AI)

05Premere saldamente la striscia di Powerstrips® CLICK sulla parete.

Tenere premuta la striscia di Powerstrips® CLICK sulla parete per altri 10 secondi. Questo consente di attivare tutta la forza adesiva.

A person with curly hair wearing a blue shirt is hanging a picture on a wall. They are adjusting the frame with both hands using tesa tape. The room has pendant lights and a window with white curtains in the background. (This text has been generated by AI)

06È sufficiente premere il quadro o l'elemento decorativo fino a quando si avverte lo scatto

A questo punto, basta “far scattare” il quadro o l'elemento decorativo in posizione. Unire entrambi i lati delle Powerstrips® CLICK fino a quando si avverte lo scatto. Lo scatto indica che il quadro è saldamente appeso alla parete.

A person in a blue shirt is seen sticking a white tesa tape strip vertically onto a wall. The wall is adorned with multiple framed pictures. The persons hands are positioned to smooth the tesa tape onto the surface. (This text has been generated by AI)

07Facile da rimuovere

Se si desidera rimuovere le strisce Powerstrips senza lasciare residui, è sufficiente tirarle con forza verso il basso e parallelamente alla parete.

VIDEO: GUARDA COME FUNZIONA

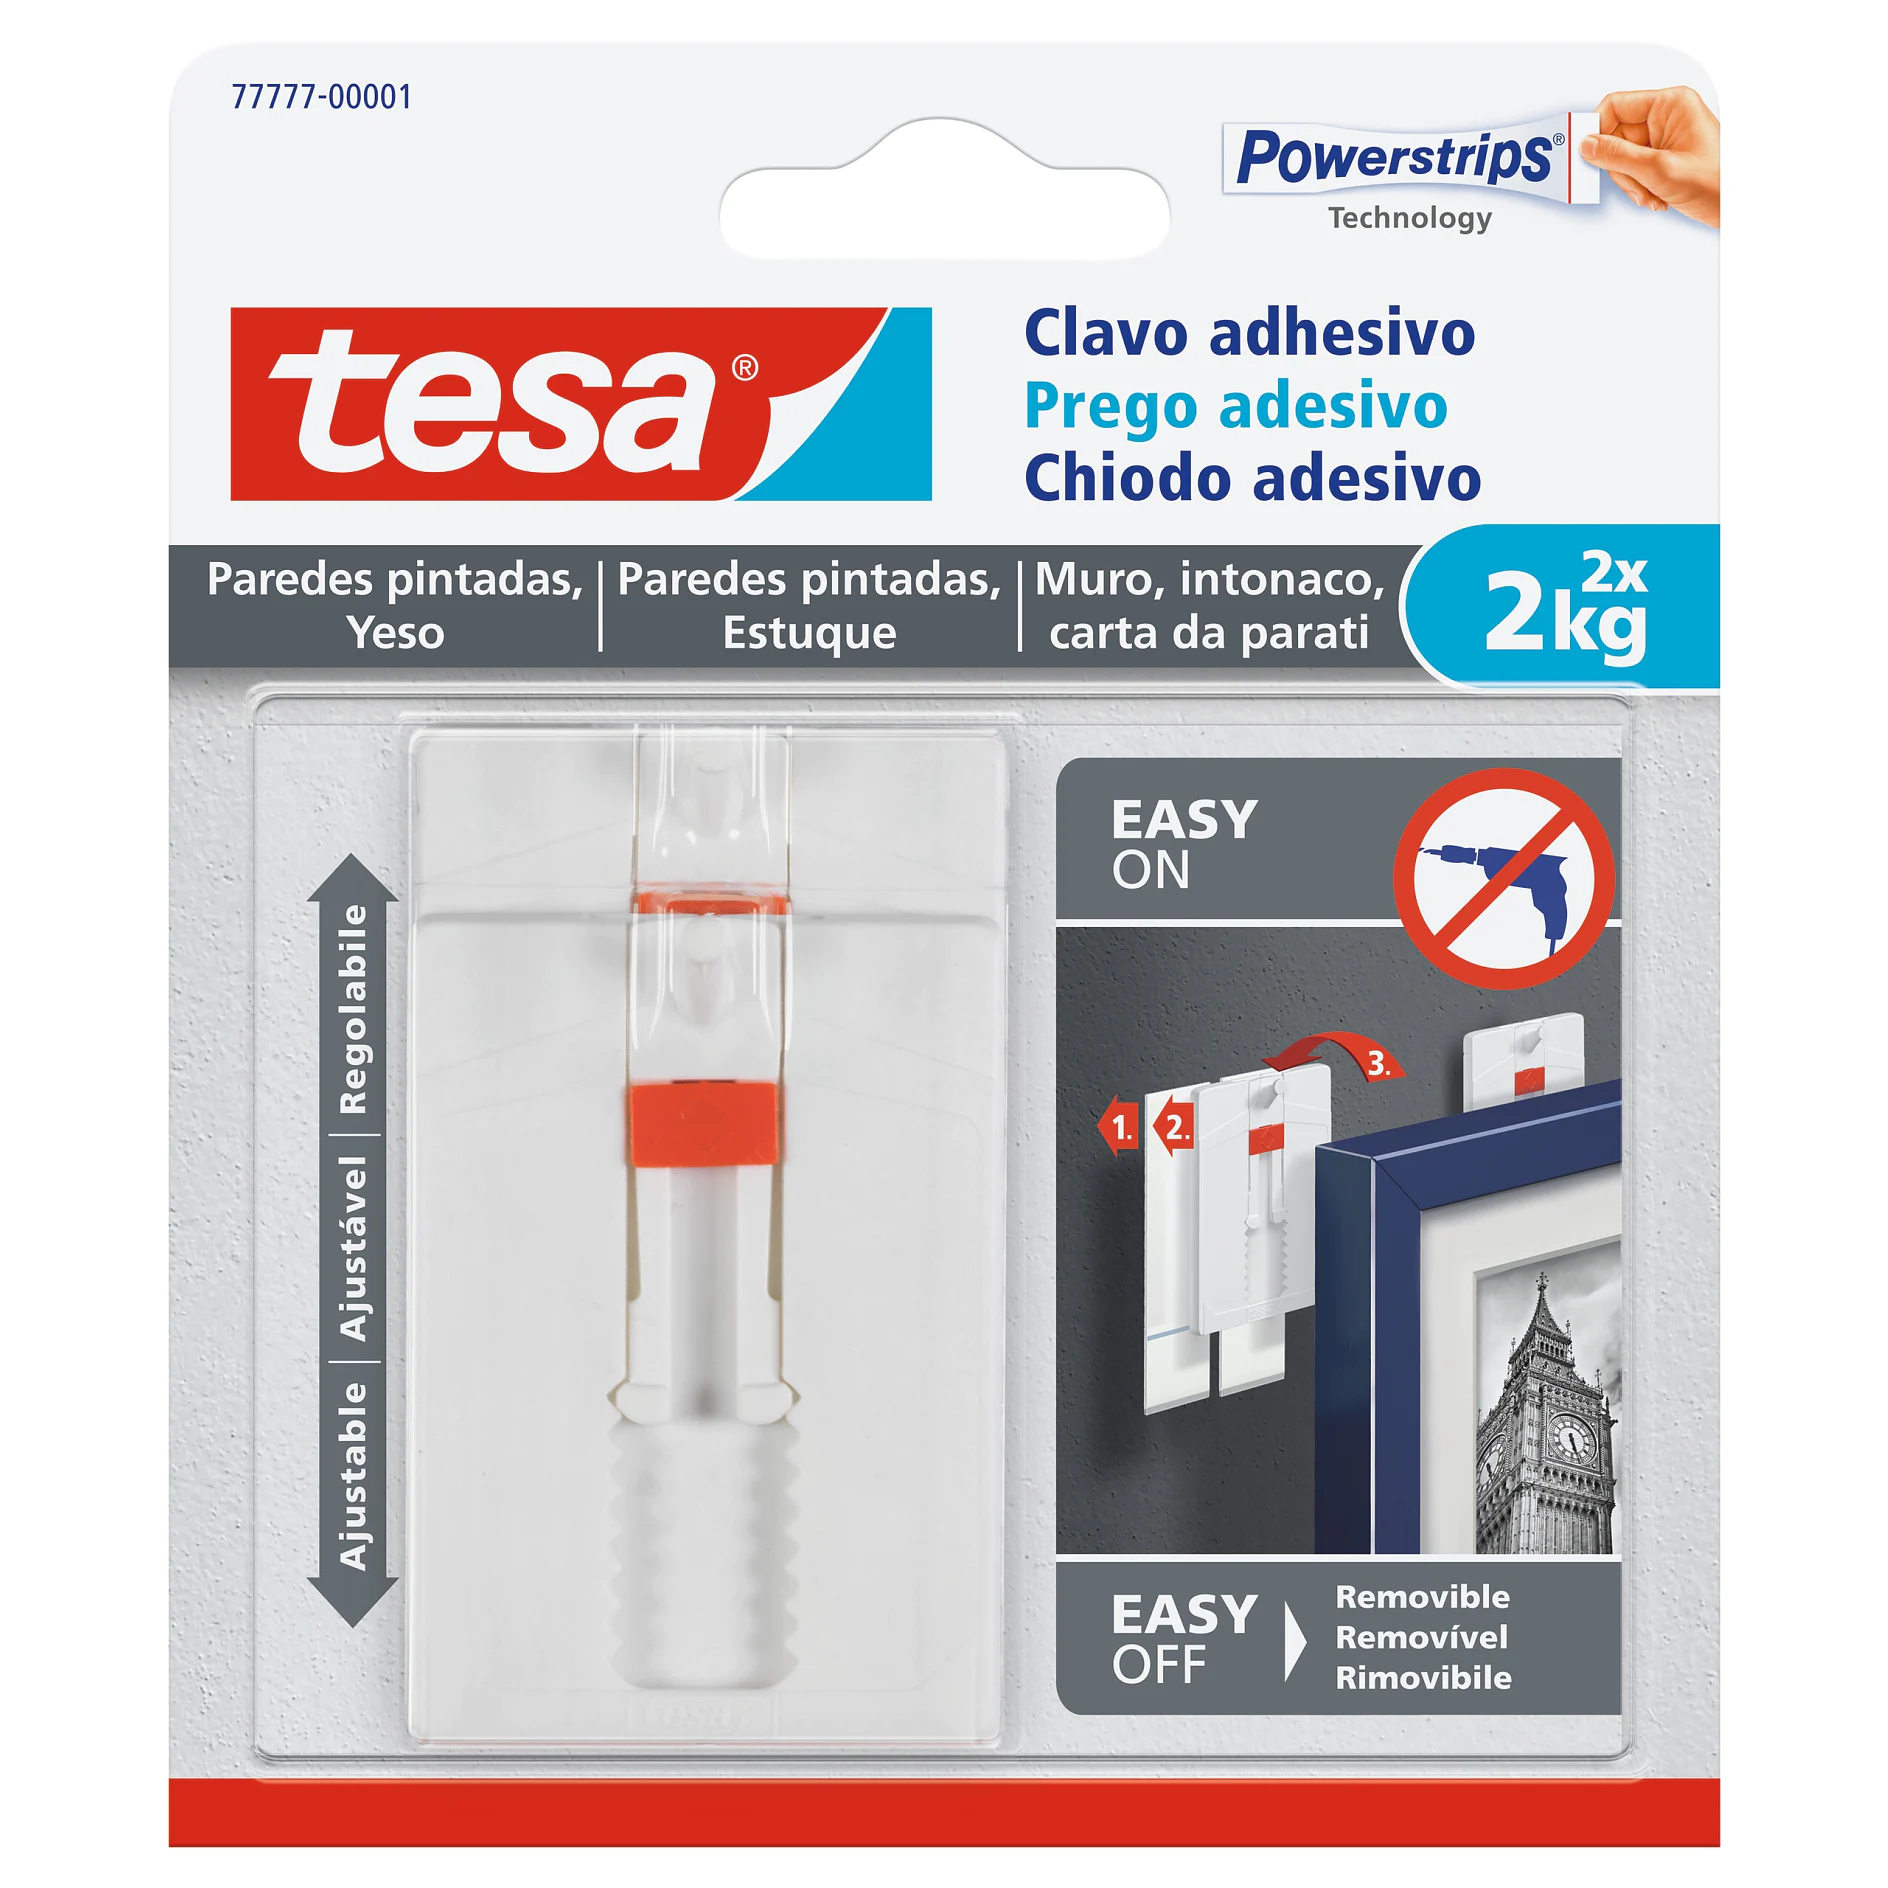
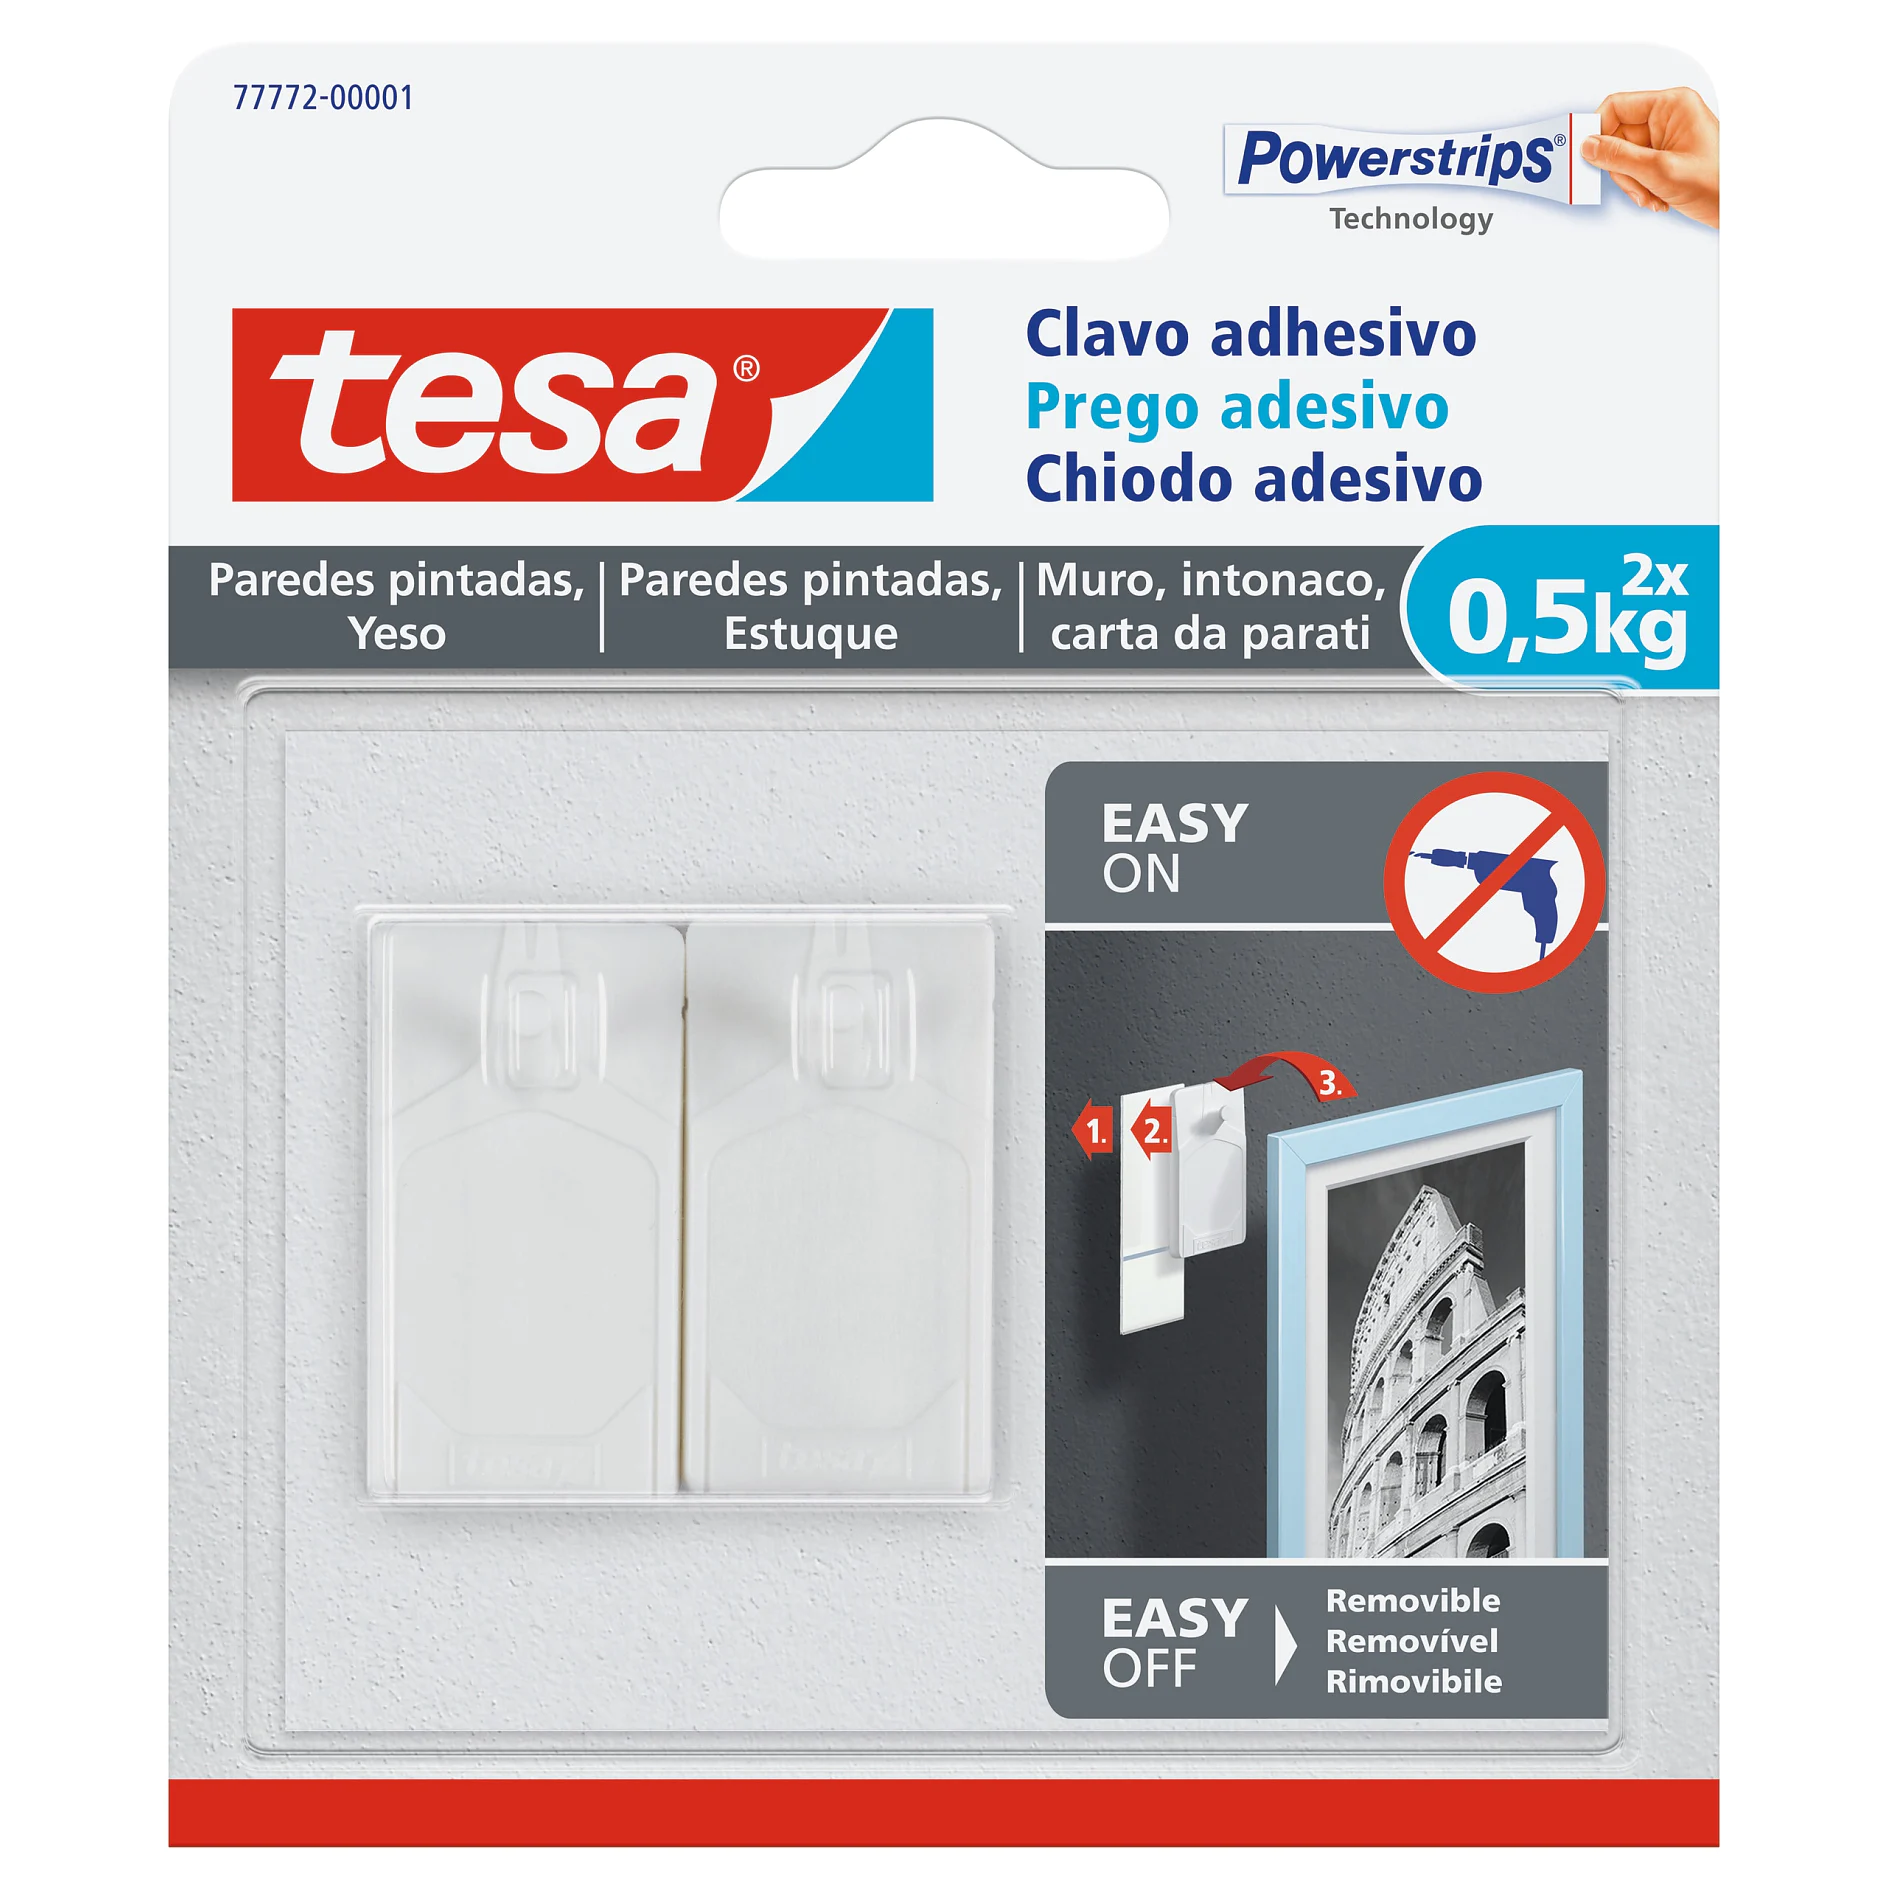
Chiodi adesivi per cornici dei quadri: