In our experience, there are usually one of five reasons why the tesa® Power.Kit system does not deliver what we promised. All of the reasons lie in incorrect prerequisites for adhesive adhesion and can be easily recognized by the so-called "breakage pattern" of the adhesive on the back of the adapter.
1. Insufficient curing time:
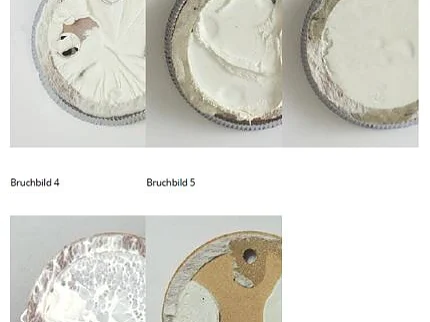
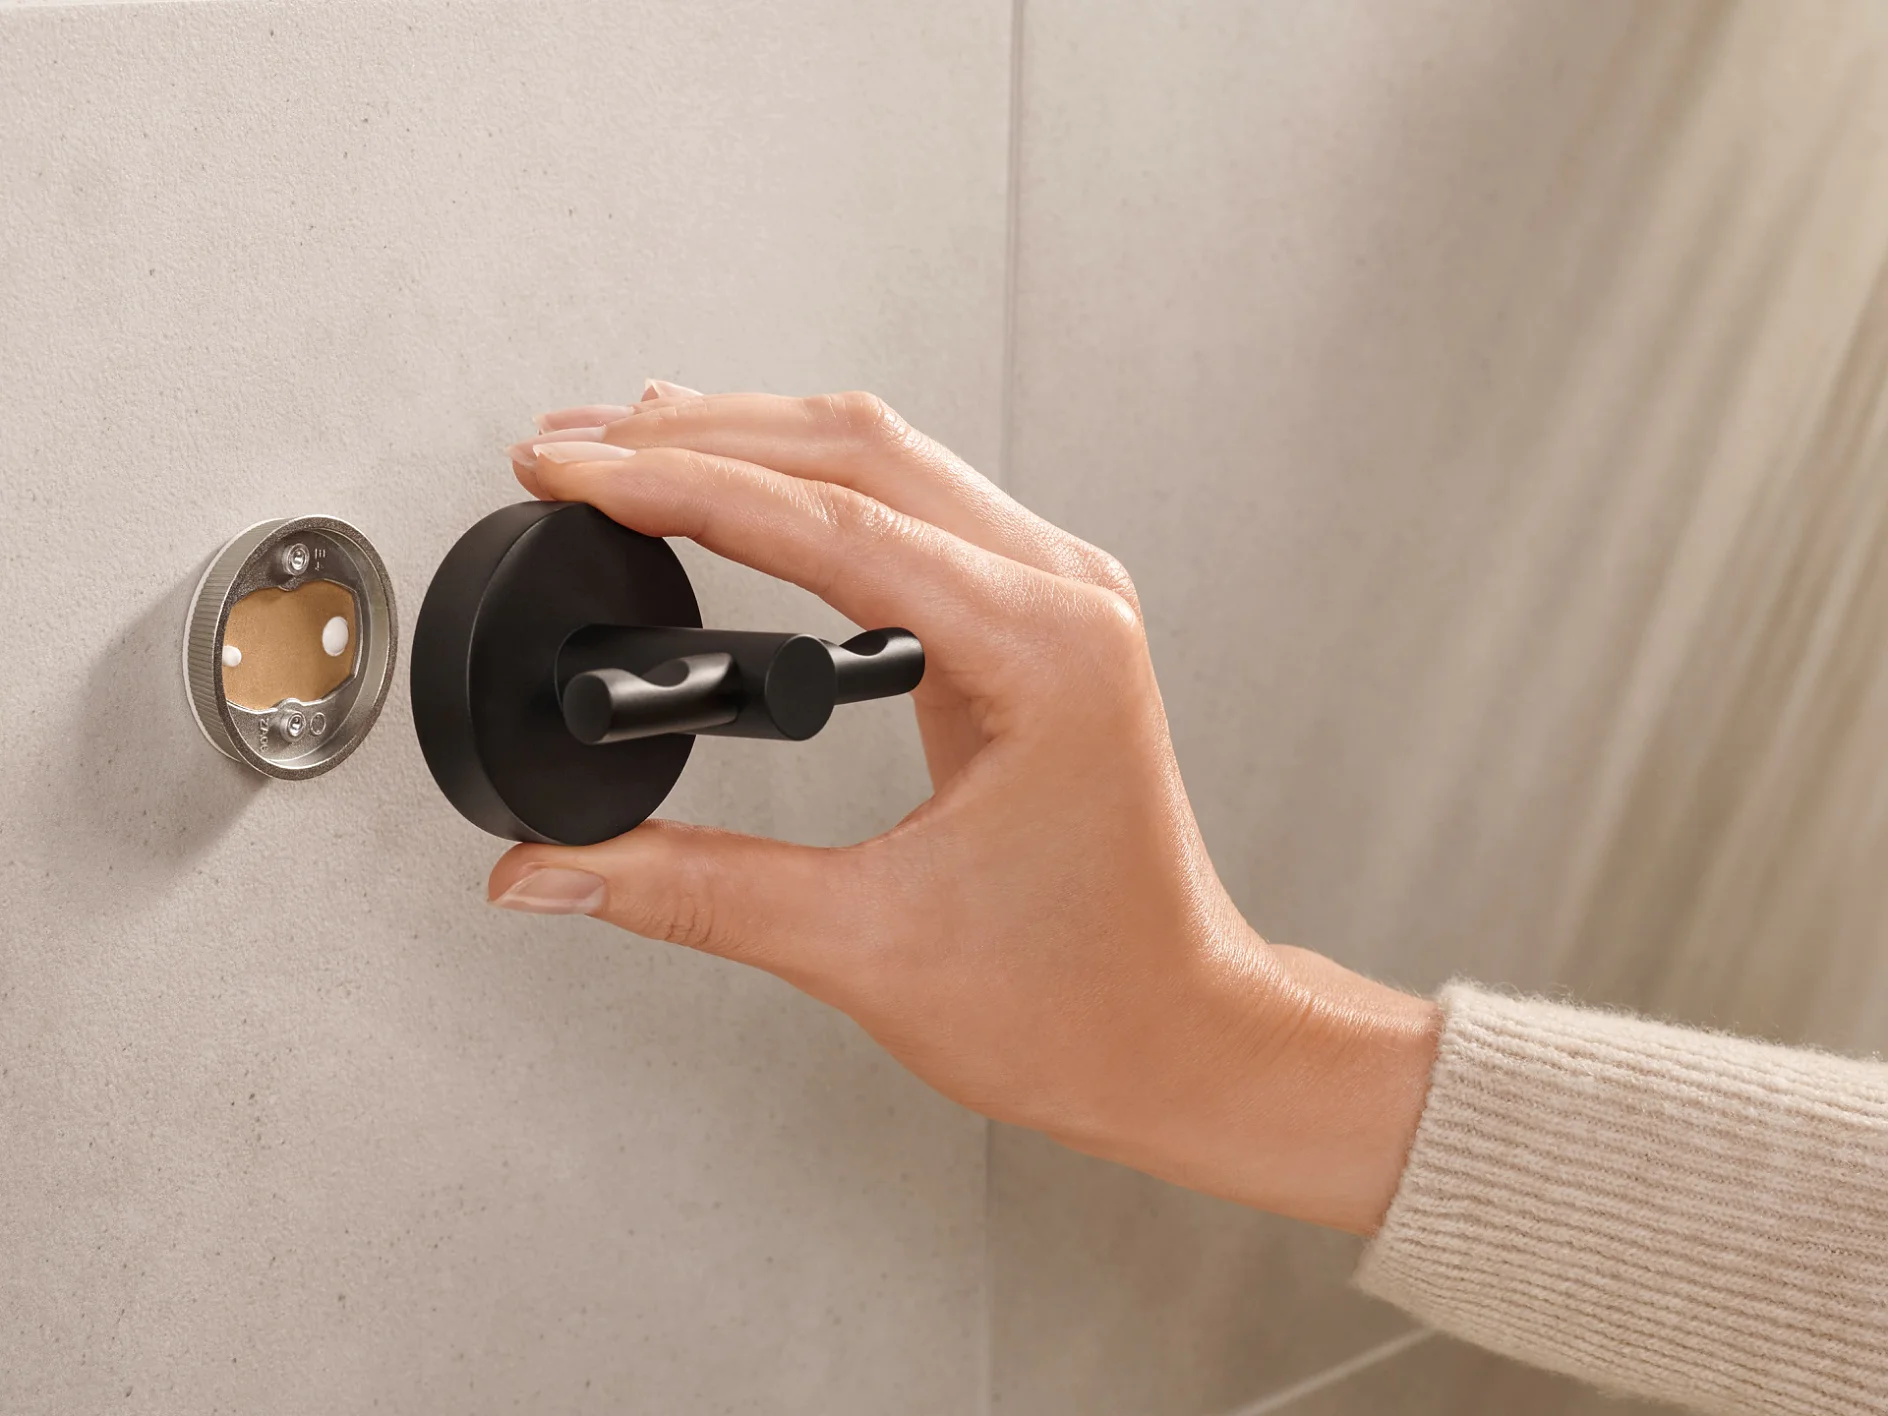
Impatience is probably the biggest enemy of success. If the adhesive is not allowed to cure for the 12 hours specified in the instruction manual (or 24 hours for certain products) and the object is mounted before this time, fracture pattern 2 (see below) is usually the result: Incompletely cured adhesive that has already applied some but not sufficient holding force. Under high load, the adapter tears off and shows an incompletely cohesive fracture pattern in contrast to the fully cohesive fracture pattern that occurs when the correctly installed system is disassembled with pliers (fracture pattern 1).
2. Release layer on the surface:
Many users tend to want to clean the surface particularly thoroughly before applying the tesa® Power.Kit system - unfortunately sometimes, contrary to the instructions in the manual, with the help of conventional household cleaners, which usually contain grease-dissolving or water-repellent ingredients. However, these not only prevent grease and water from adhering to the surface, but also the tesa® Power.Kit adhesive. Whether this could also have been the cause of the lack of adhesion in your case is something you yourself are sure to know best. If so, you will also find confirmation of this in the fracture pattern of your adapter: If the back of the adapter covered with adhesive looks as smooth as in fracture pattern 3, the adhesive has not found a grip. Next time, therefore, it is best to simply rub the surface vigorously with a clean, dry cloth to mechanically remove the last of the residue! Exceptions prove the rule, even with tesa: In the case of specially treated surfaces (e.g. waxed or oiled natural stone or wood) or production-related release layers on the surface (e.g. rigid PVC, as used in window frames), you must remove the release layer with special cleaner, acetone (do not use on plastic surfaces!), or alcohol, but then be sure to let the surface flash off for the reasons mentioned above! IMPORTANT: Alcohol means pure or 70% propyl alcohol from the pharmacy. Do not use cleaning benzine or methylated spirits as a substitute. Likewise, acetone cannot be replaced by nail polish remover. And we have to mention one more exception at this point: In the case of tiles with a so-called lotus or beading effect (nanostructure), the separating layer cannot be removed with chemical agents.
3. Unsuitable substrate:
Although the tesa® Power.Kit system is suitable for almost all common load-bearing substrates, there are individual plastics to which the tesa® Power.Kit adhesive definitely does not adhere. These are primarily polyethylene (PE), polypropylene (PP), and polytetralfluoroethylene (PTFE, Teflon). Loose plaster, wallpaper and textile substrates (e.g. carpeting) are generally unsuitable for surface bonding due to their lack of strength and load-bearing capacity. Since we can only cover a section - albeit as large as possible - of suitable surfaces or surface treatments with our instructions here, it is the user's responsibility to carry out preliminary tests on other substrates.
4. Cavities in the adhesive:
Probably out of habit in dealing with adhesives, users sometimes tend to press the adapter firmly once again after filling in the adhesive. In the case of the tesa® Power.Kit system, however, this does not improve adhesion. On the contrary, the adhesive that has not yet cured is pressed out through the filling and inspection holes, creating voids in the adhesive layer (fracture pattern 4) that reduce the load-bearing capacity of the system.
5. Incorrect filling of the adhesive:
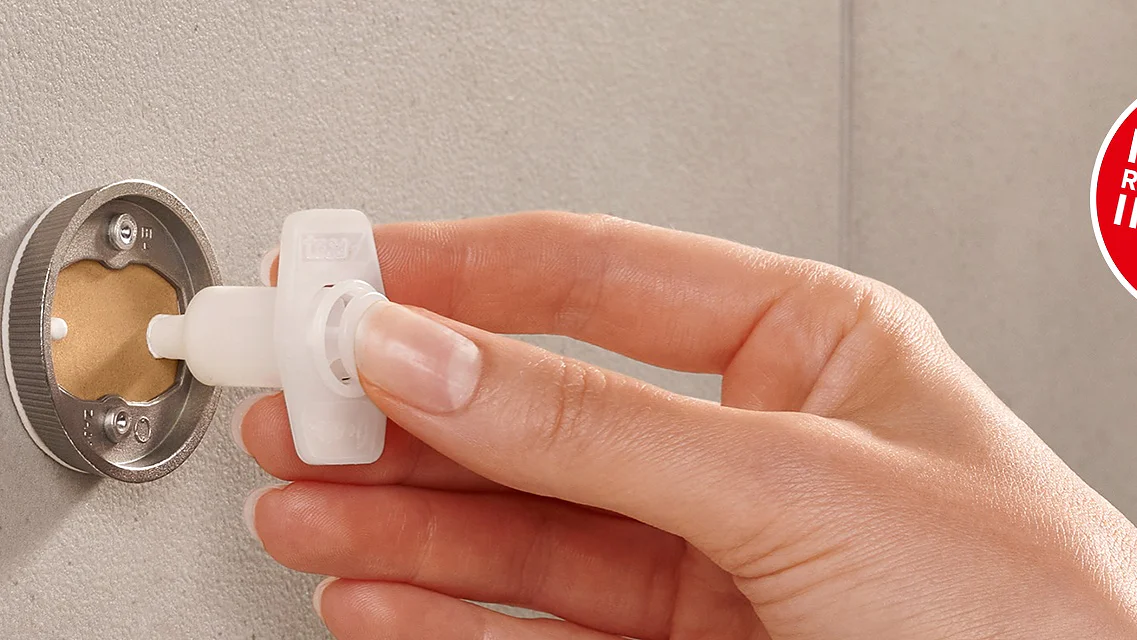
Incomplete filling of the adhesive chamber - possibly through both holes in the adapter (fracture pattern 5) - presents a similar problem: Less effective bonding area naturally also means less holding force! For this reason, it is essential to fill the adhesive only through the one, normally larger filling hole; the chamber is only guaranteed to be completely filled when the adhesive emerges again at the control hole.
![tesa_403500000001_front_pr [en-en] tesa Bath Spare Adapter Kit BK 20-1](/cs-cz/files/images/202402/2/medium-11178985,11178985_padded1x1_18.webp)
![tesa_403490000001_front_pr [en-en] tesa Bath Spare Adapter Kit BK 43-2](/cs-cz/files/images/202402/2/medium-11181118,11181118_padded1x1_18.webp)
![tesa_403510000001_front_pr [en-en] tesa Bath Spare Adapter Kit BK 20-2](/cs-cz/files/images/202402/2/medium-11179283,11179283_padded1x1_18.webp)
![tesa_403590000001_front_pr [en-en] Replacement adapter kit BK 27](/cs-cz/files/images/202402/2/medium-11179807,11179807_padded1x1_18.webp)
![tesa_403600000001_front_pr [en-en] Replacement adapter kit BK 30-2](/cs-cz/files/images/202402/2/medium-11180582,11180582_padded1x1_18.webp)
![tesa_403480000001_front_pr [en-en] tesa Bath Spare Adapter Kit BK 177-2](/cs-cz/files/images/202402/2/medium-11179893,11179893_padded1x1_18.webp)


