Porte-revues mural - installation sans perçage

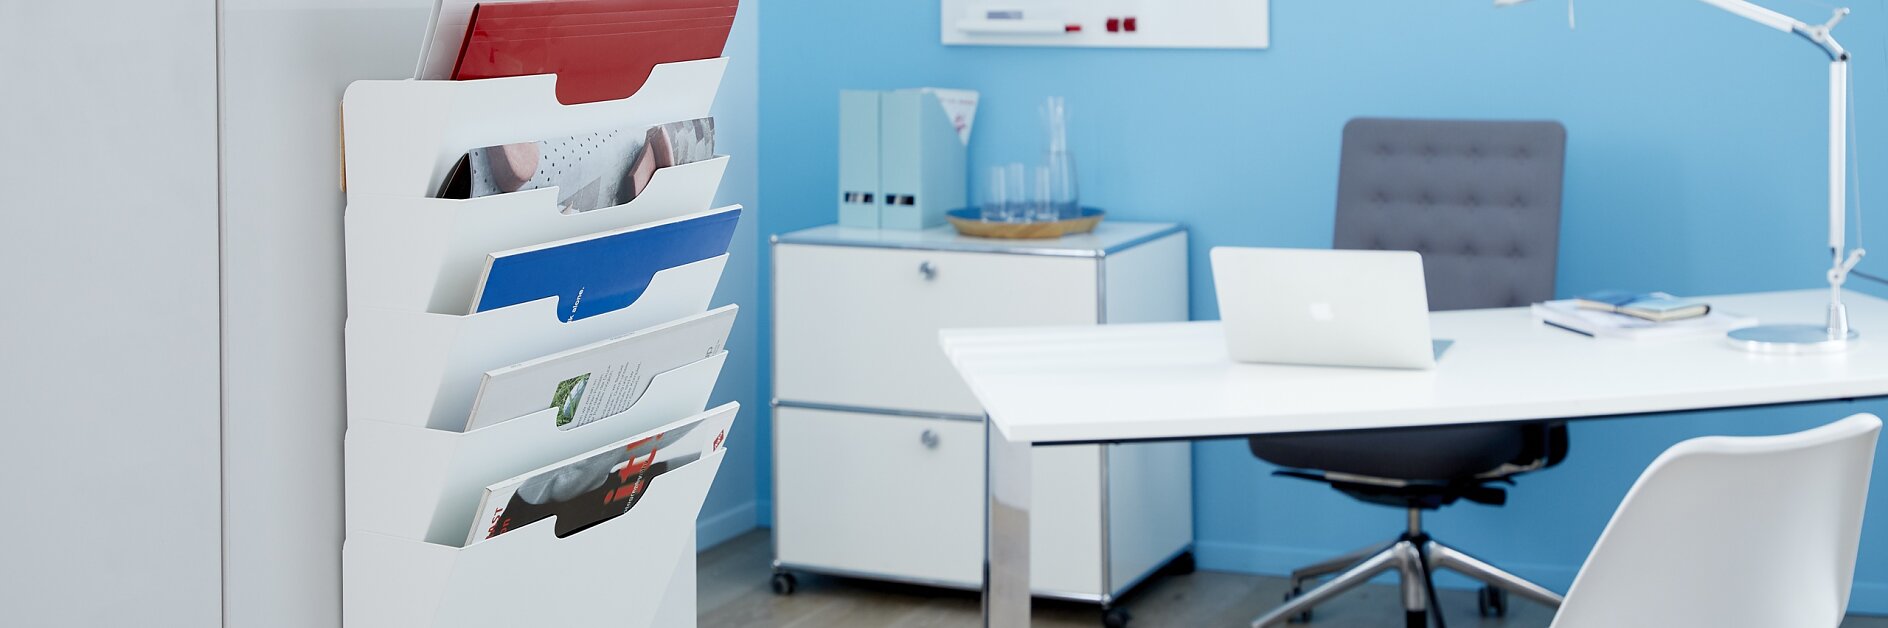
Vos revues et magazines bien rangés au même endroit avec une fixation murale sans perçage ! Le nombre de magazines que nous conservons est impressionnant : un ici, deux ou trois empilés par là... Nous avons une meilleure solution : un porte-revues pour un rangement clair et ordonné à fixer au mur – sans aucun perçage. Vous saurez maintenant toujours où trouver ce que vous recherchez !

Niveau de difficulté Original et rapide à faire

Il nous faut :

2 vis adhésives rectangulaires 10 kg tesa® (77908) Porte-revues

Marche à suivre :

A person wearing a blue denim shirt uses a red cloth to wipe a white wall. The background is out of focus, showing a blue room with a blurred whiteboard. (This text has been generated by AI)
01

Nettoyez la surface avec un chiffon imbibé d’alcool pur ou d’eau. Veillez à éliminer tout résidu de poussière et de graisse.

A person in a denim shirt is holding a white rectangular object with a tesa tape pad on one side and two magnets on the other. The background shows a blurred office setting with a whiteboard and a desk. (This text has been generated by AI)
02

Utilisez le porte-revues pour repérer l’endroit où fixer les vis. Retirez le film de protection de la première vis adhésive.

A hand in a blue denim sleeve is holding a rectangular piece of light brown material with a small metal pin. The hand is pressing it against a vertical surface, secured with tesa tape. A blurry whiteboard is visible in the background. (This text has been generated by AI)
03

Collez la vis sur le mur. Elle reste bien en place, vous pouvez sans problème passer à l’étape suivante sans avoir à maintenir la vis.

A person in a blue denim shirt adjusts a red and black lockout device on a cabinet door handle in an office environment using tesa tape. The door handle is mounted on a light-colored surface. (This text has been generated by AI)
04

Pressez maintenant le tube de colle fourni et injectez la colle dans le plus grand trou. Arrêtez dès que la colle commence à ressortir du plus petit trou. Répétez l’opération avec la deuxième vis.

Two wooden wall brackets with protruding metal rods on a white surface, secured with tesa tape against a blurred background of a blue wall with a white item in the distance. (This text has been generated by AI)
05

Laissez sécher 12 heures. La colle sera alors au maximum de sa capacité d’adhésion.

A man in a blue denim shirt is attaching a wall-mounted file organizer on a white wall in a modern office space using tesa tape. The room features a light blue wall, white furniture, and a desk lamp in the background. (This text has been generated by AI)
06

Vous pouvez maintenant fixer le porte-revues sur les vis et bien serrer. La force adhésive le maintiendra bien en place.

A man in a denim shirt is organizing folders in a wall-mounted file holder using tesa tape. He is in a brightly lit office with blue walls, a desk lamp, and office supplies in the background. (This text has been generated by AI)
07

Rangez-y vos magazines et profitez du confort d'avoir toujours toutes vos lectures bien rangées et ordonnées en un seul endroit. Fini le désordre et les magazines éparpillés ici et là !

A hand in a denim sleeve is using a red adjustable wrench to loosen or tighten a bolt on a white panel. The background is blue with some blurred objects. (This text has been generated by AI)
08

Si vous n’avez plus besoin du porte-revues, vous pouvez le retirer très facilement. Après avoir démonté le porte-revues, tournez les vis l’une après l’autre à l’aide d’une pince multiprise pour les retirer du mur.

A person uses a metal scraper to remove material from a white wall. In the background, there is a blurred office setting with a chair and a laptop on a desk. The person is wearing a blue shirt, utilizing tesa tape for the task at hand. (This text has been generated by AI)
09

Les résidus de colle se retirent facilement à l’aide d’un grattoir, votre mur est intact.