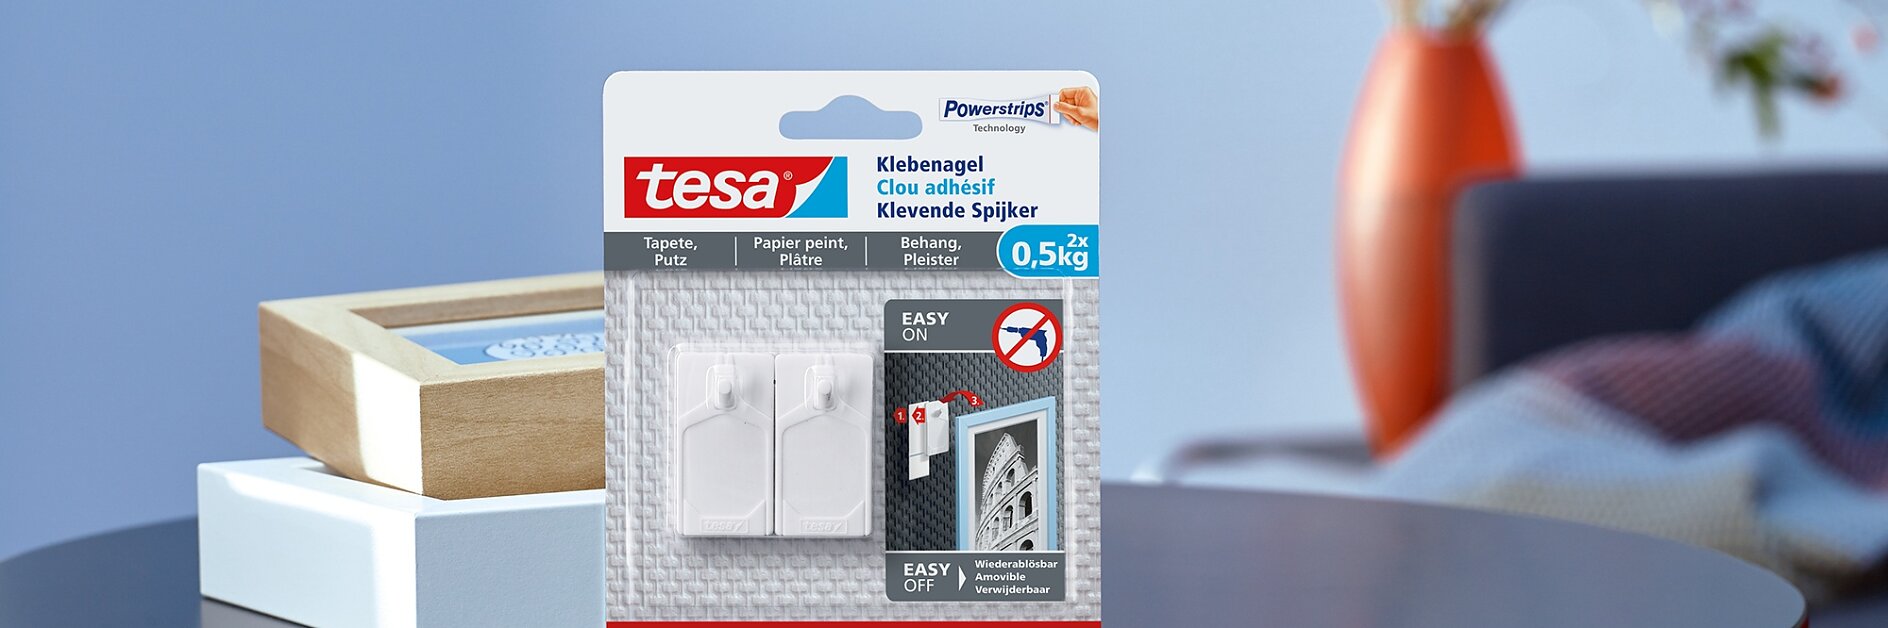
Utiliser le clou adhésif pour papier-peint et plâtre tesa® 0,5 kg

la méthode simple et rapide pour fixer ou accrocher vos objets sur des surfaces texturées et délicates.

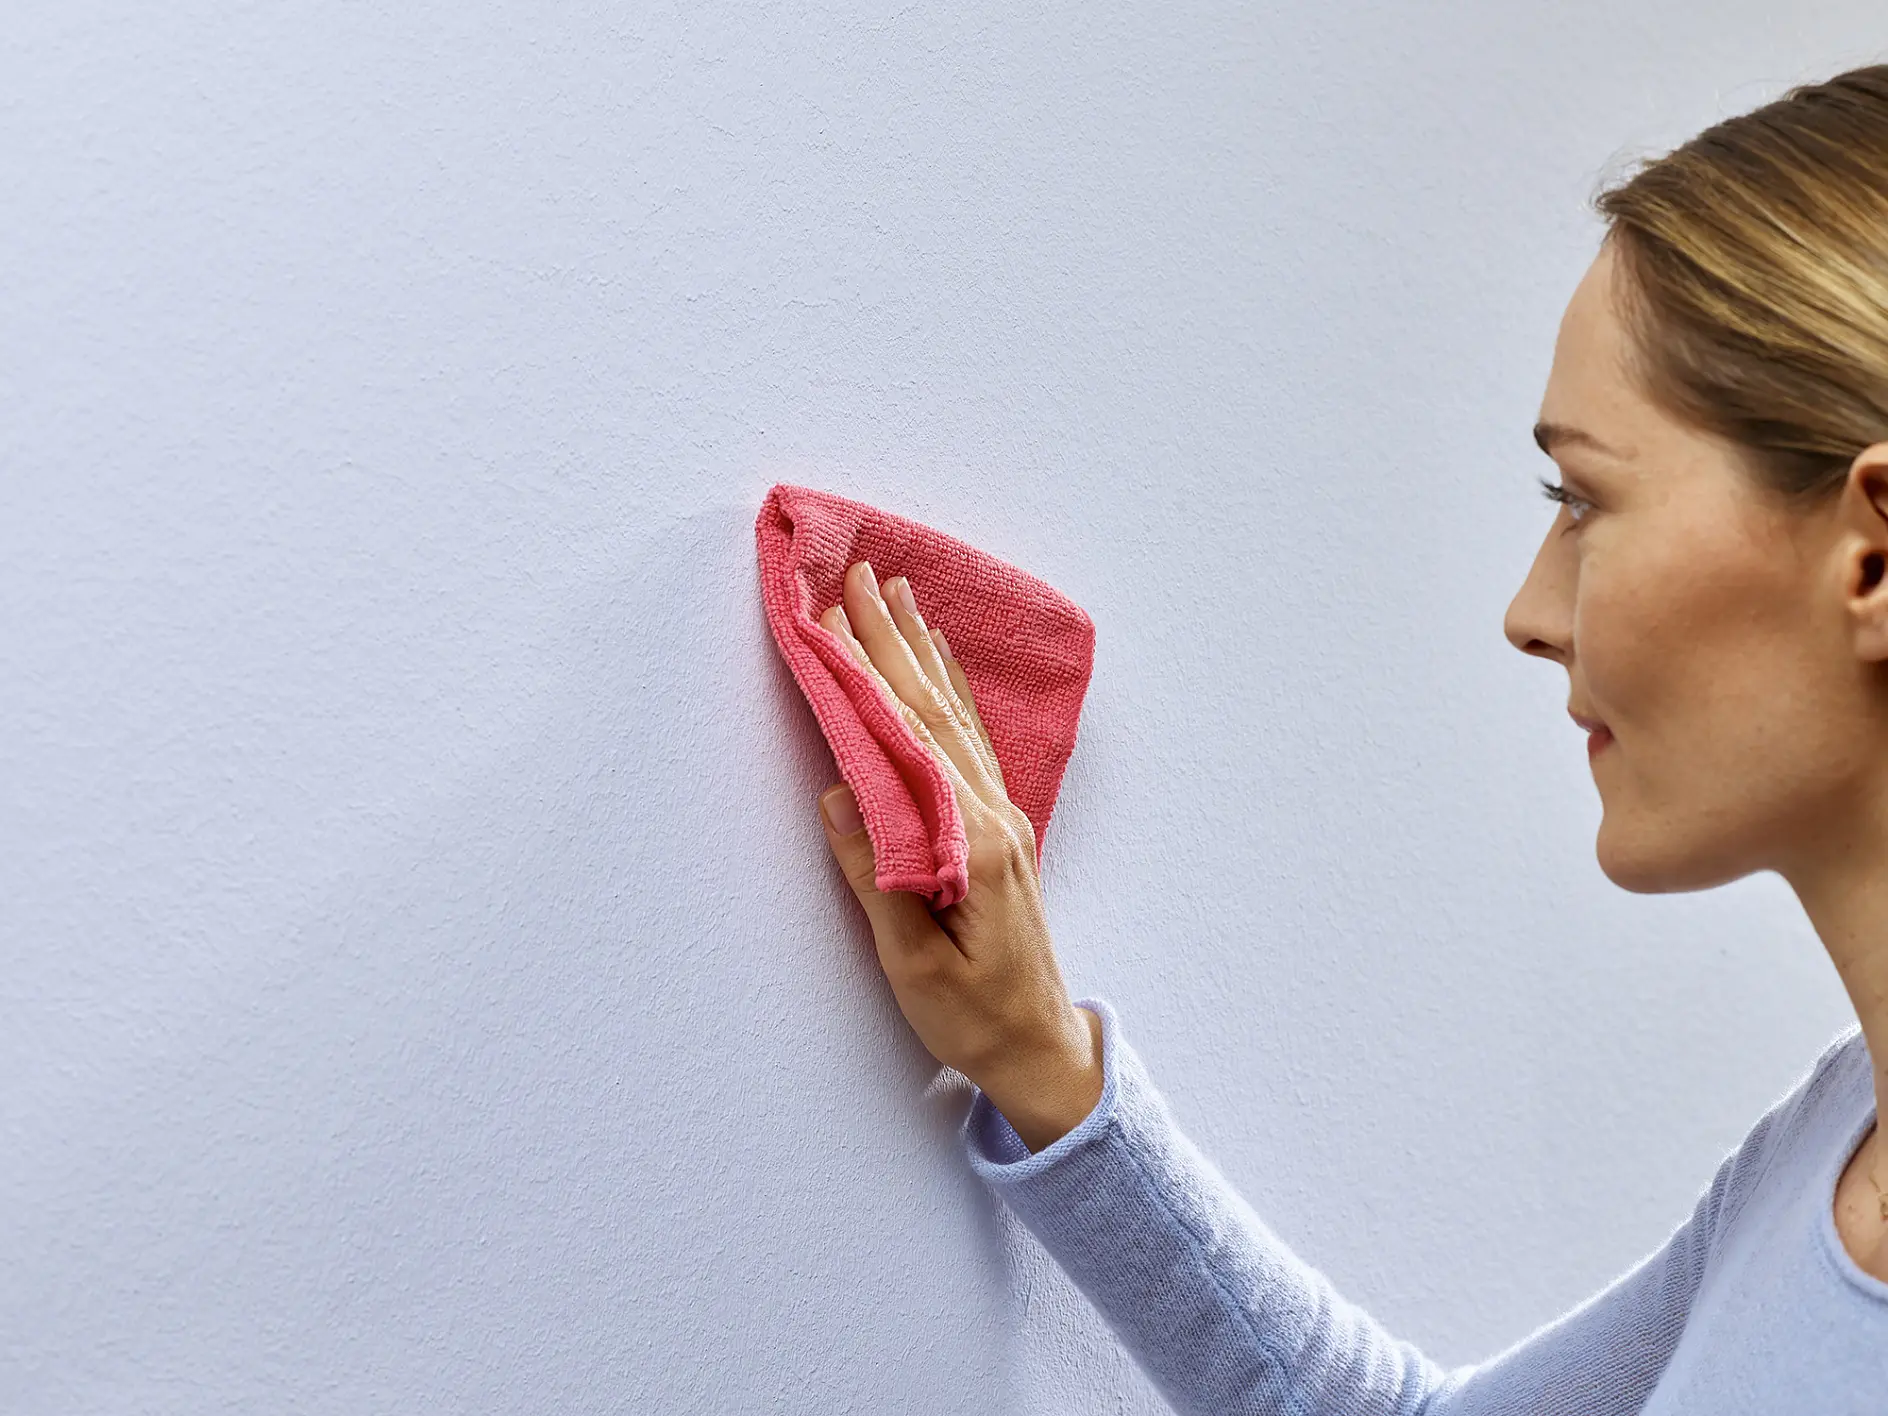
A person is cleaning a white wall with a red cloth. The person has light brown hair tied back and is wearing a light blue sweater. The image focuses on the hand holding the cloth against the wall, alongside rolls of tesa tape ready for use nearby. (This text has been generated by AI)

01Nettoyer la surface

Nettoyer votre surface avec un chiffon propre garantira une adhésion optimale. Testez toujours la capacité de charge de votre surface avant.
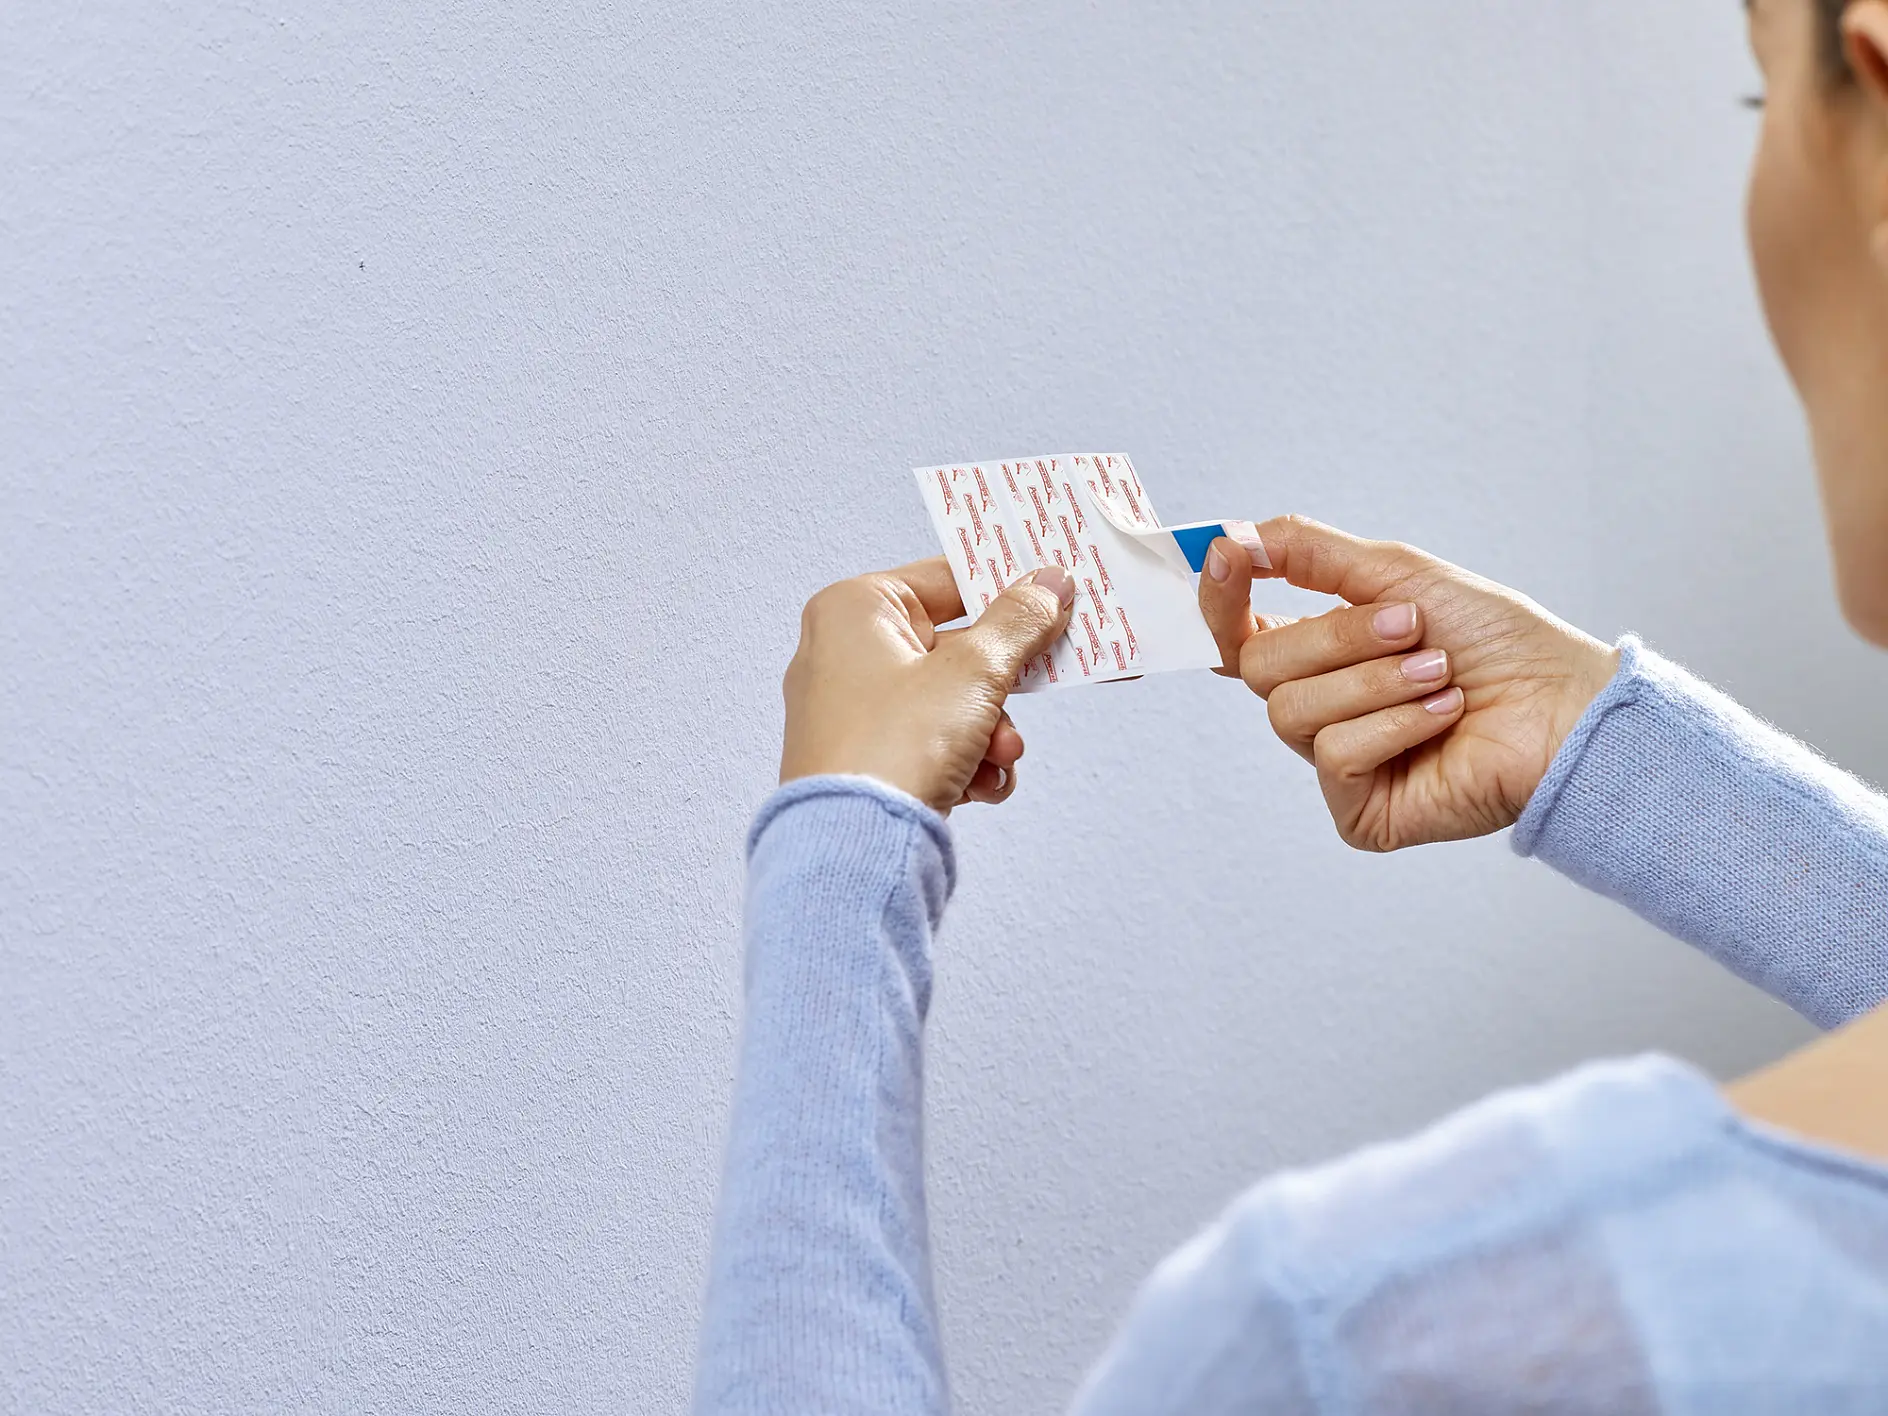
A person wearing a light blue sweater is holding a tesa tape adhesive strip. They are peeling off the backing to prepare it for application against a plain white wall. The focus is on the hands and the strip. (This text has been generated by AI)

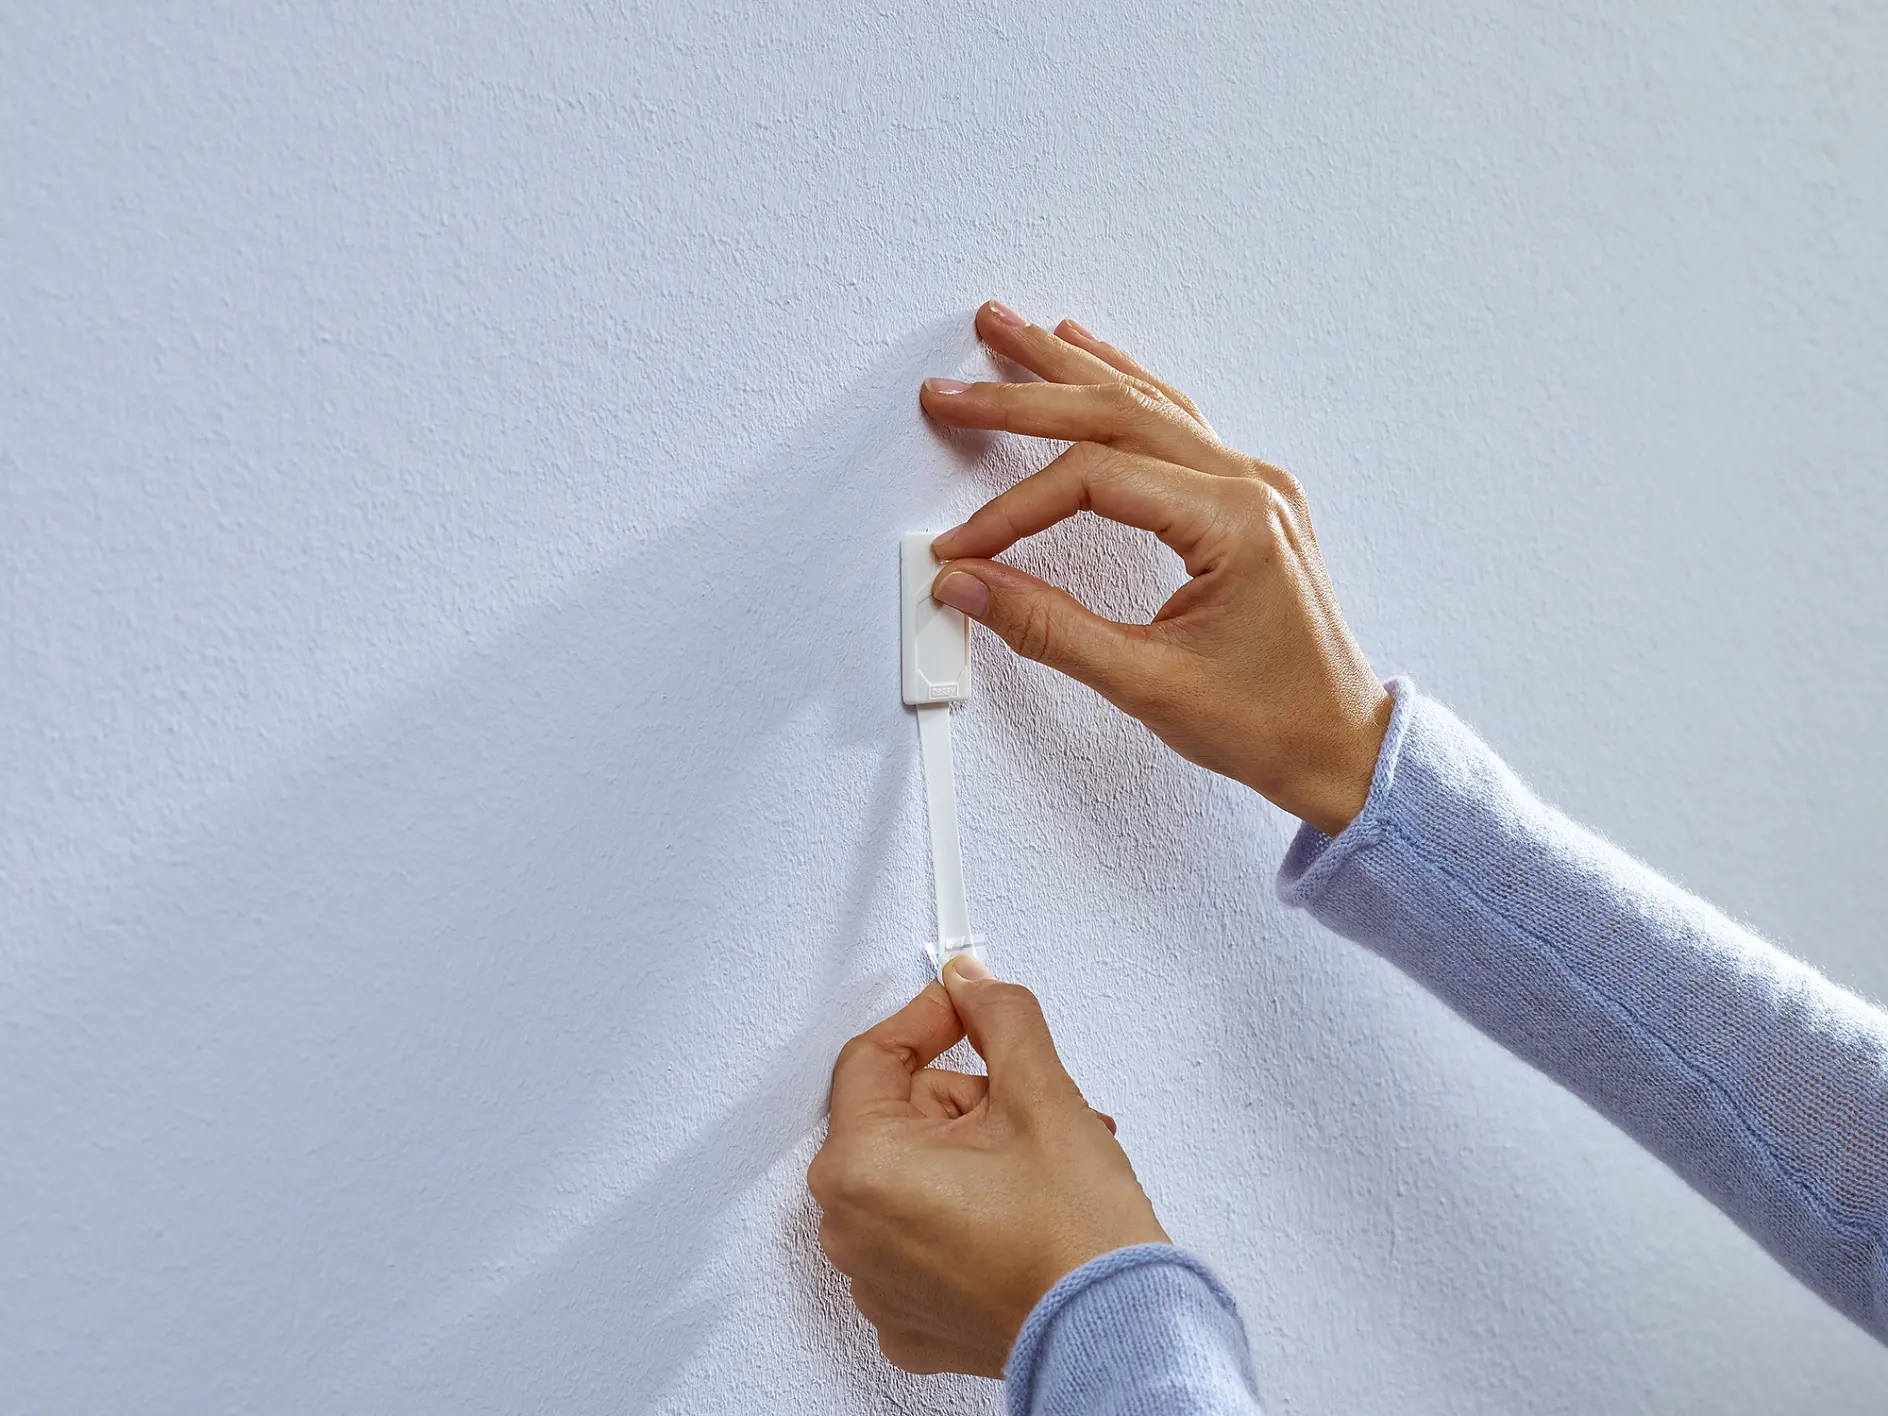
02Retirer la languette adhésive de son support

Décollez la bande adhésive en saisissant la languette à une extrémité. En prenant soin de ne pas toucher la surface de l'adhésif, appliquez la bande verticalement, avec la languette bleue vers le bas, face au mur.
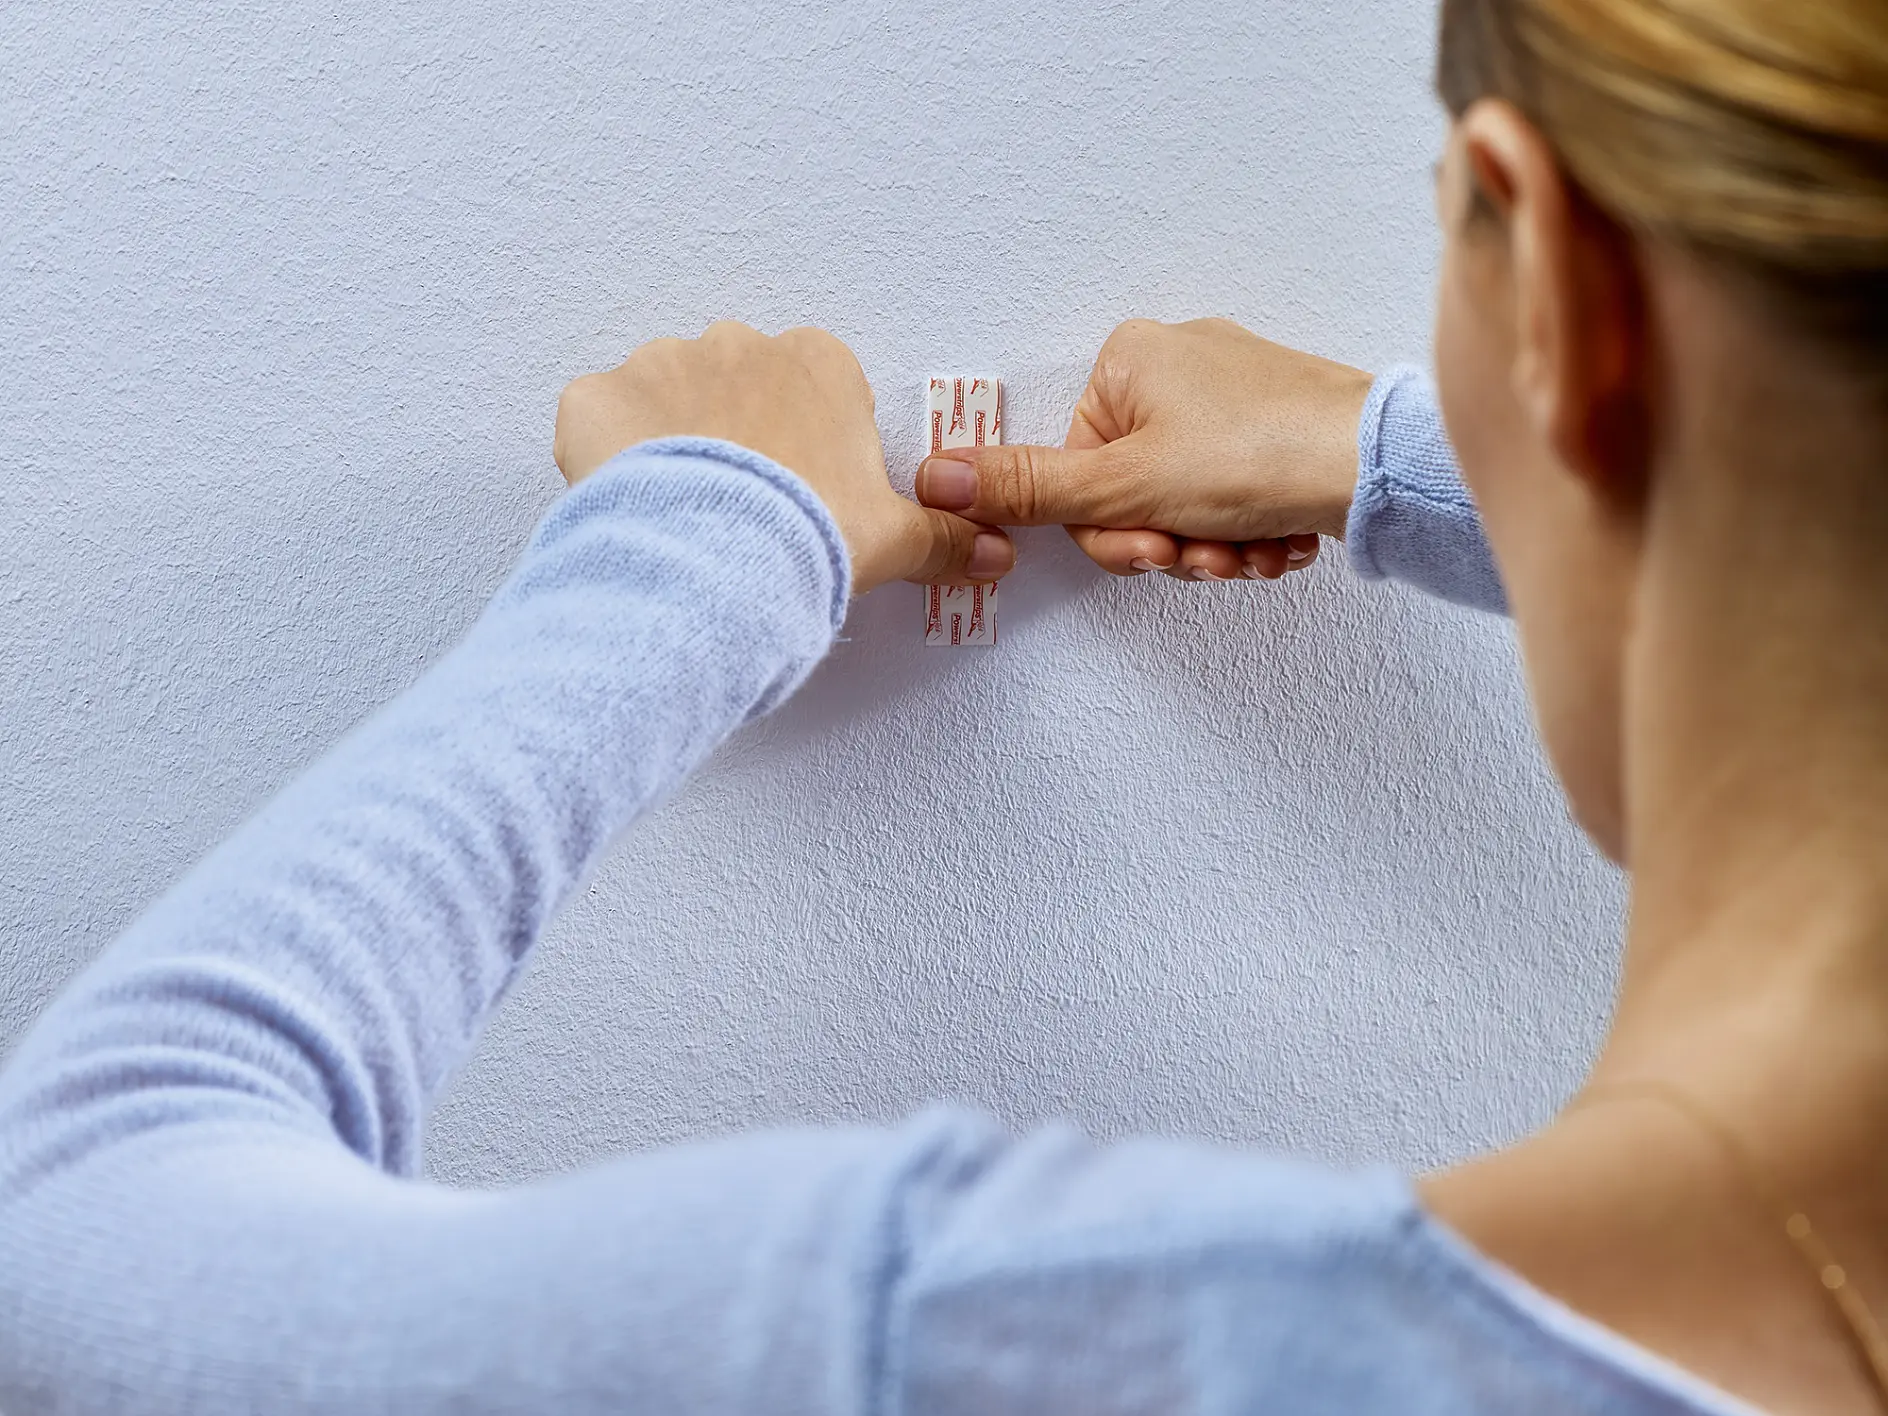
A person wearing a light blue long-sleeve shirt installs a small, white plastic piece onto a white wall using tesa tape. The image is taken from behind, focusing on their hands and the wall. (This text has been generated by AI)

03Coller la bande à la surface

Exercez une pression sur toute la surface pendant au moins 5 secondes pour garantir l'activation de la technologie Powerstrips®.
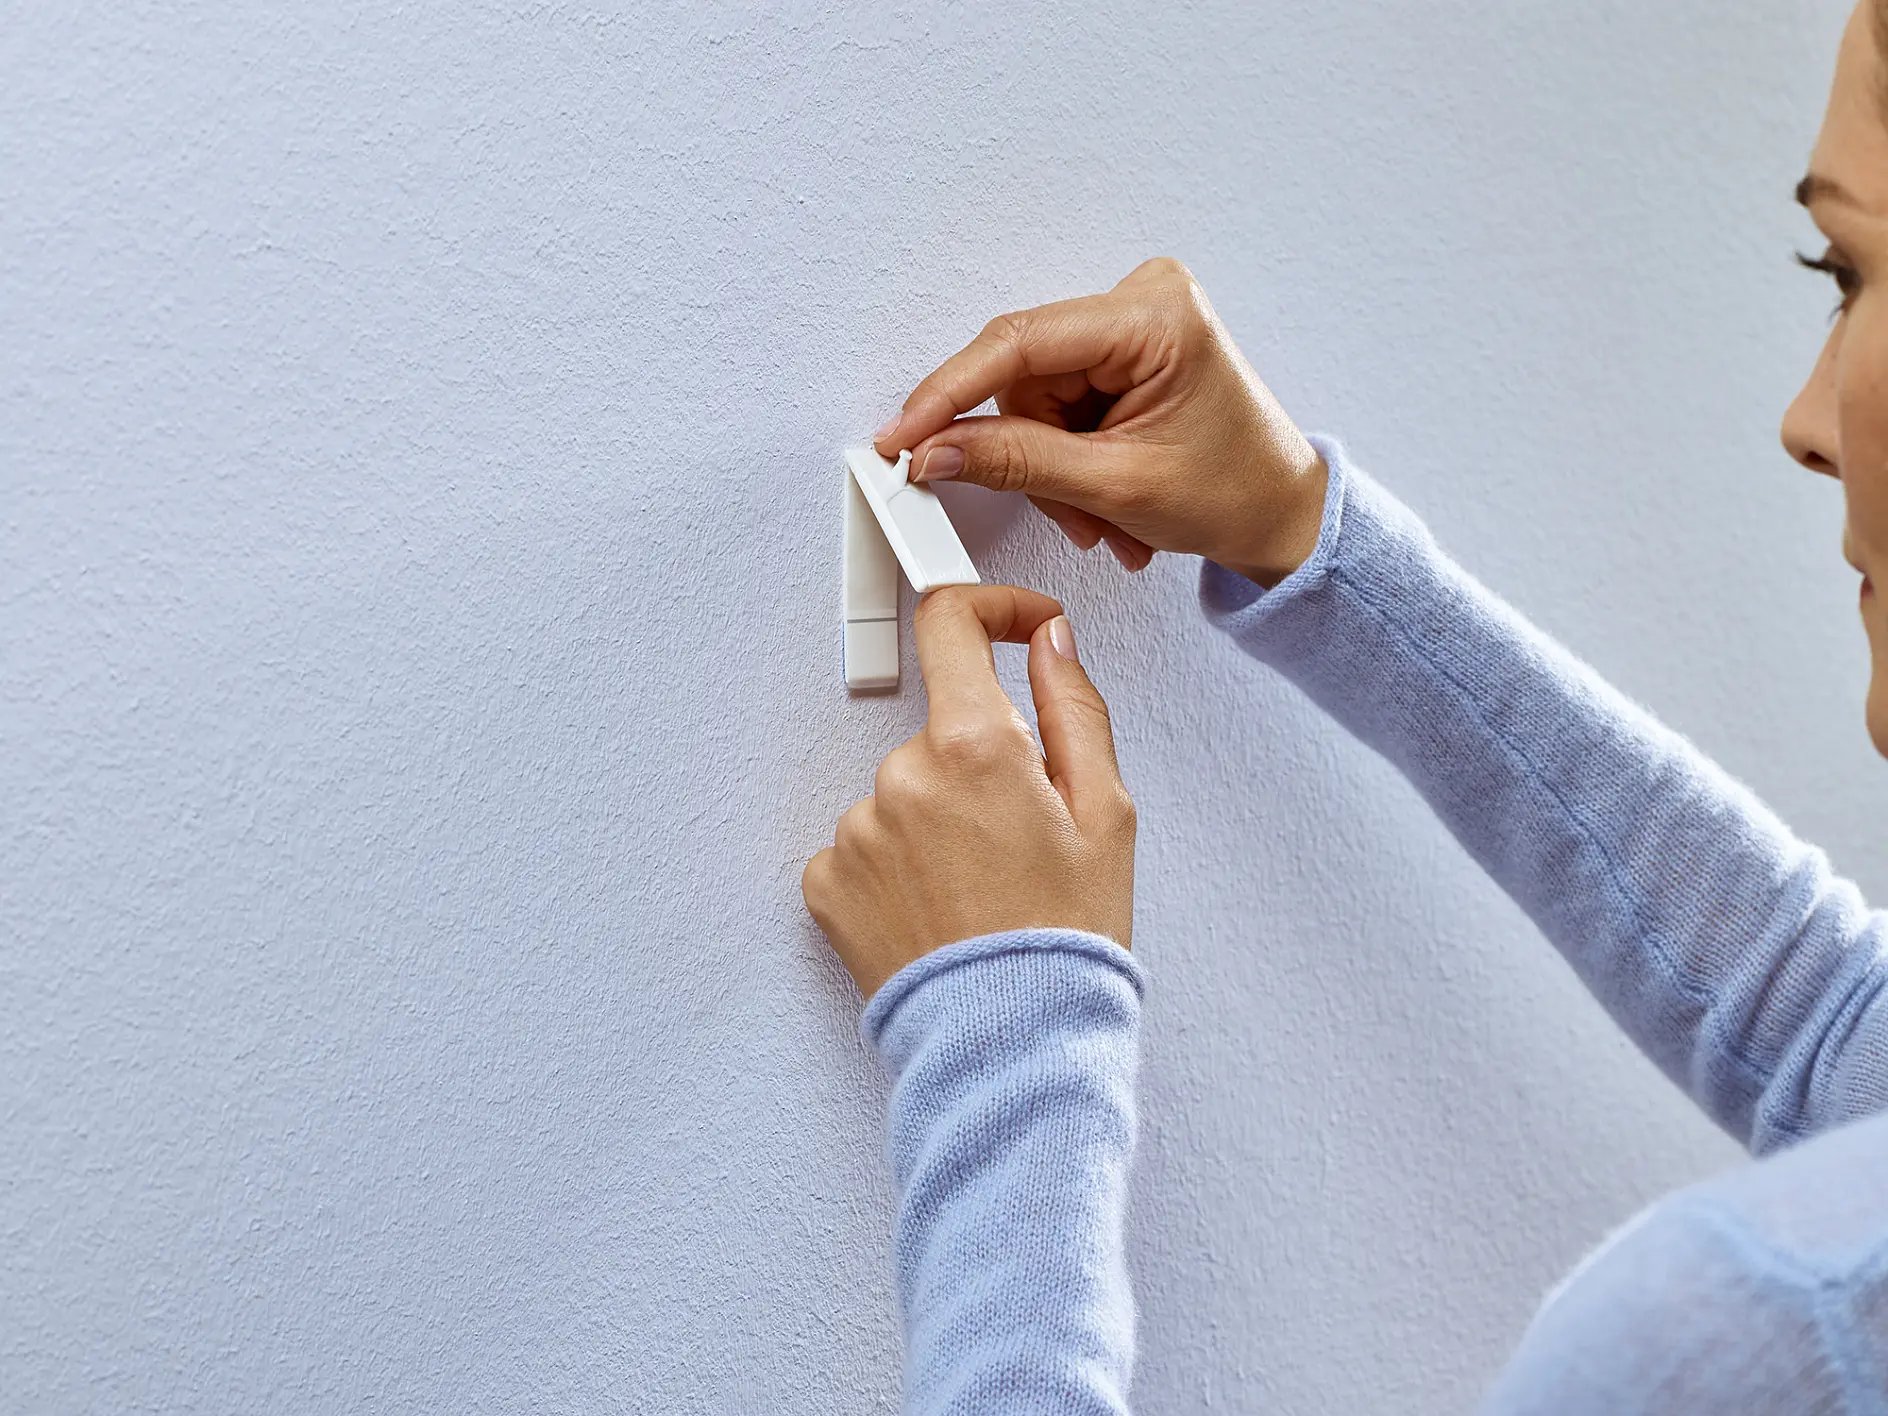
A person wearing a light blue sweater is attaching a white adhesive hook to a smooth, light-colored wall using tesa tape. They are pressing the top of the hook with one hand while holding the base steady with the other. The face is partially visible. (This text has been generated by AI)

04Coller le clou à la bande

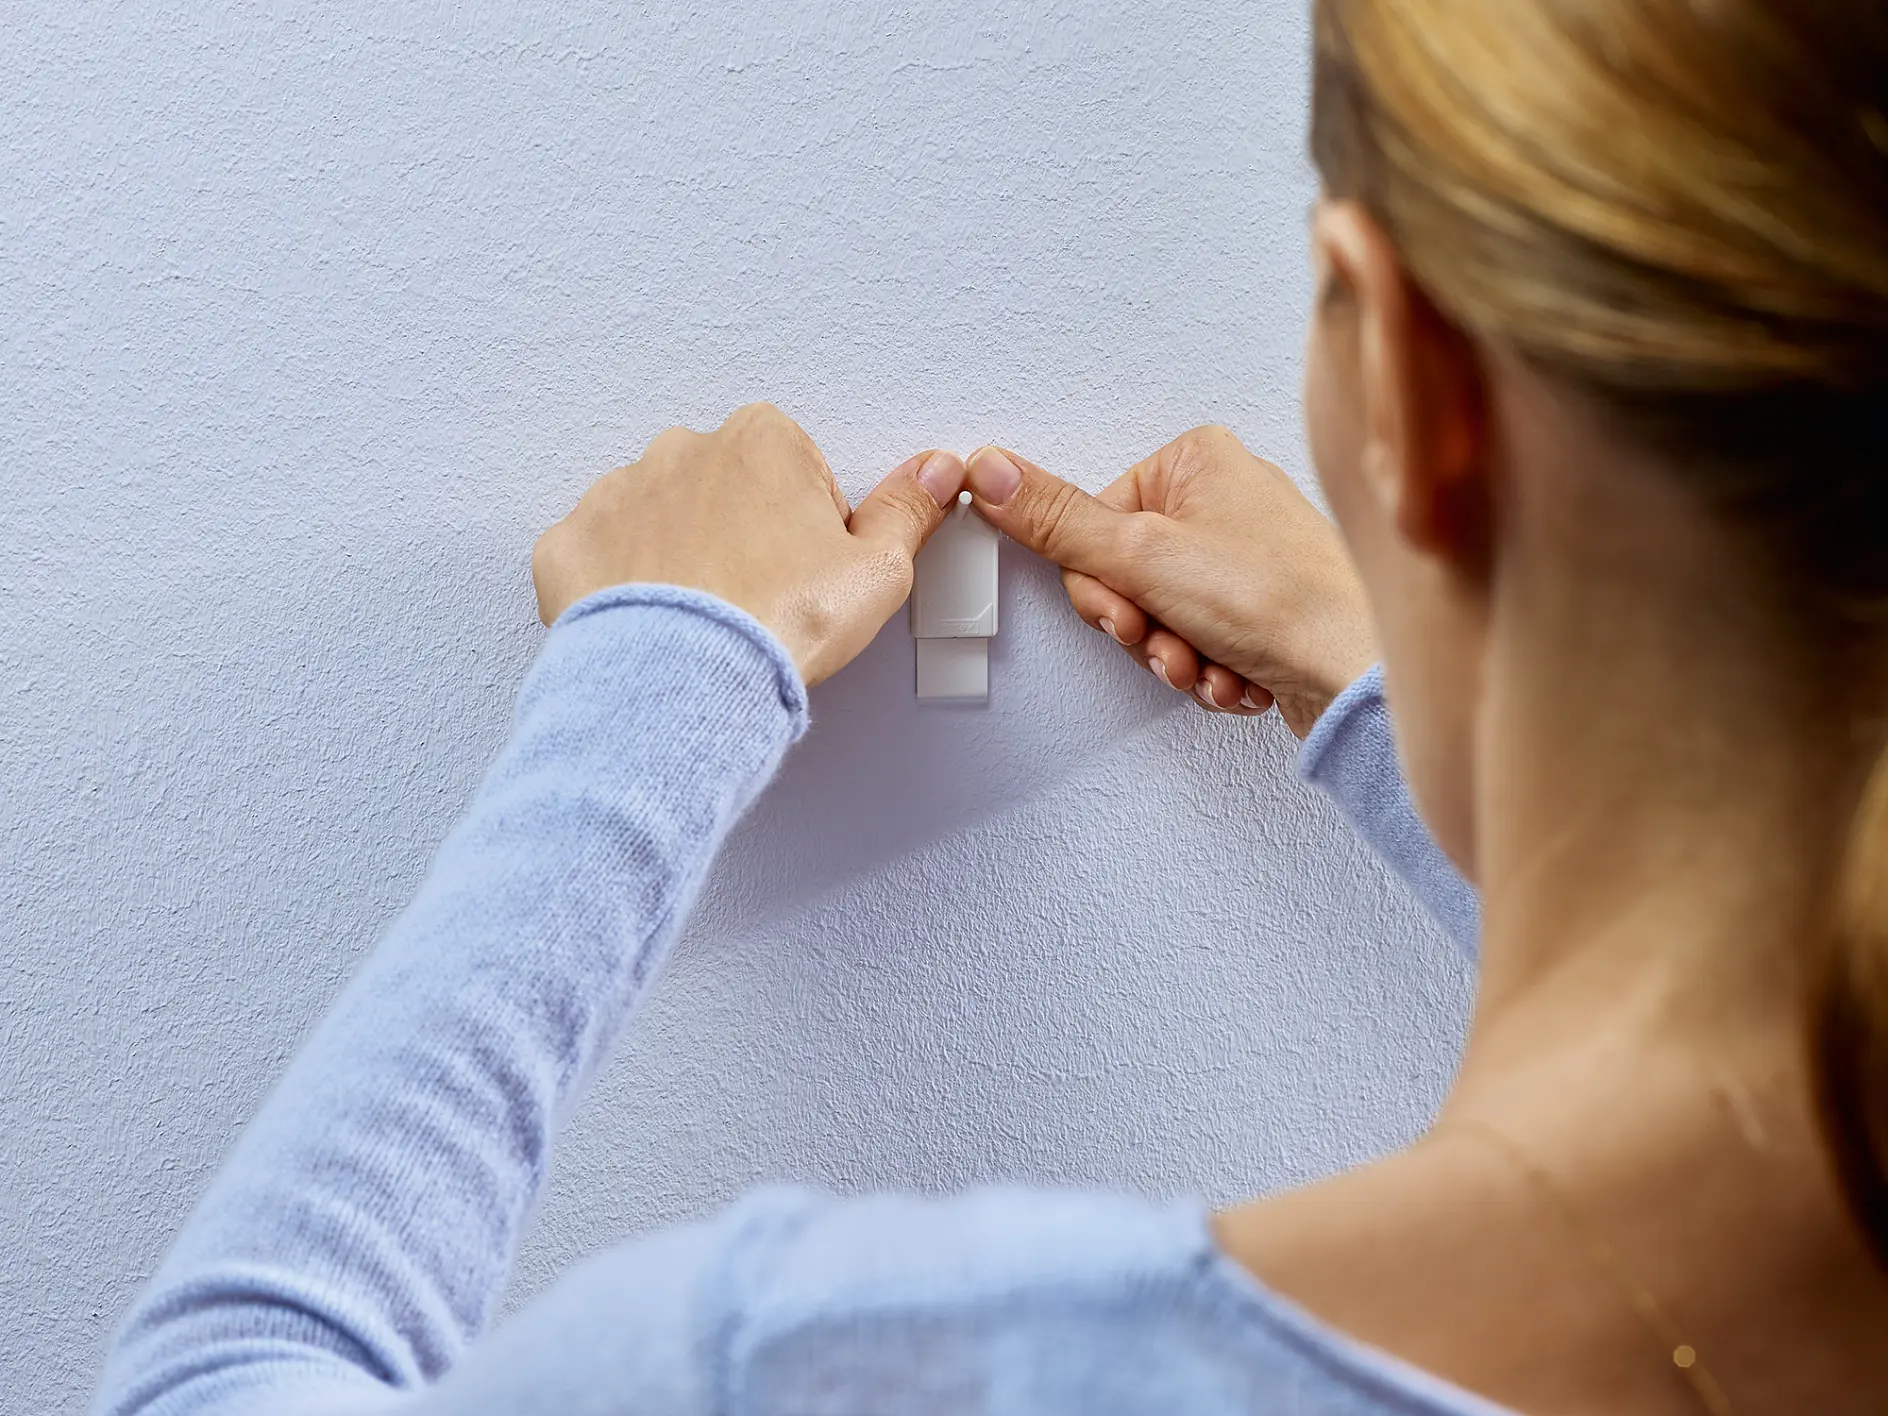
Retirez le film de protection avec le logo Powerstrips® et alignez le clou avec le bord supérieur de la bande - en vous assurant du sens du clou - puis pressez tout simplement le clou vers le bas, sur l'adhésif, juste au dessus de la ligne grise.
A person with light brown hair is attaching a white adhesive wall hook to a light-colored wall using tesa tape. The person is wearing a light blue long-sleeve shirt, and both hands are visible while positioning the hook. The room has a soft, neutral ambiance. (This text has been generated by AI)

05Fixer le clou

Appuyez fermement avec les deux pouces en haut du clou pendant 5 secondes et pendant 5 autres secondes en bas. Et voilà, c'est fini!
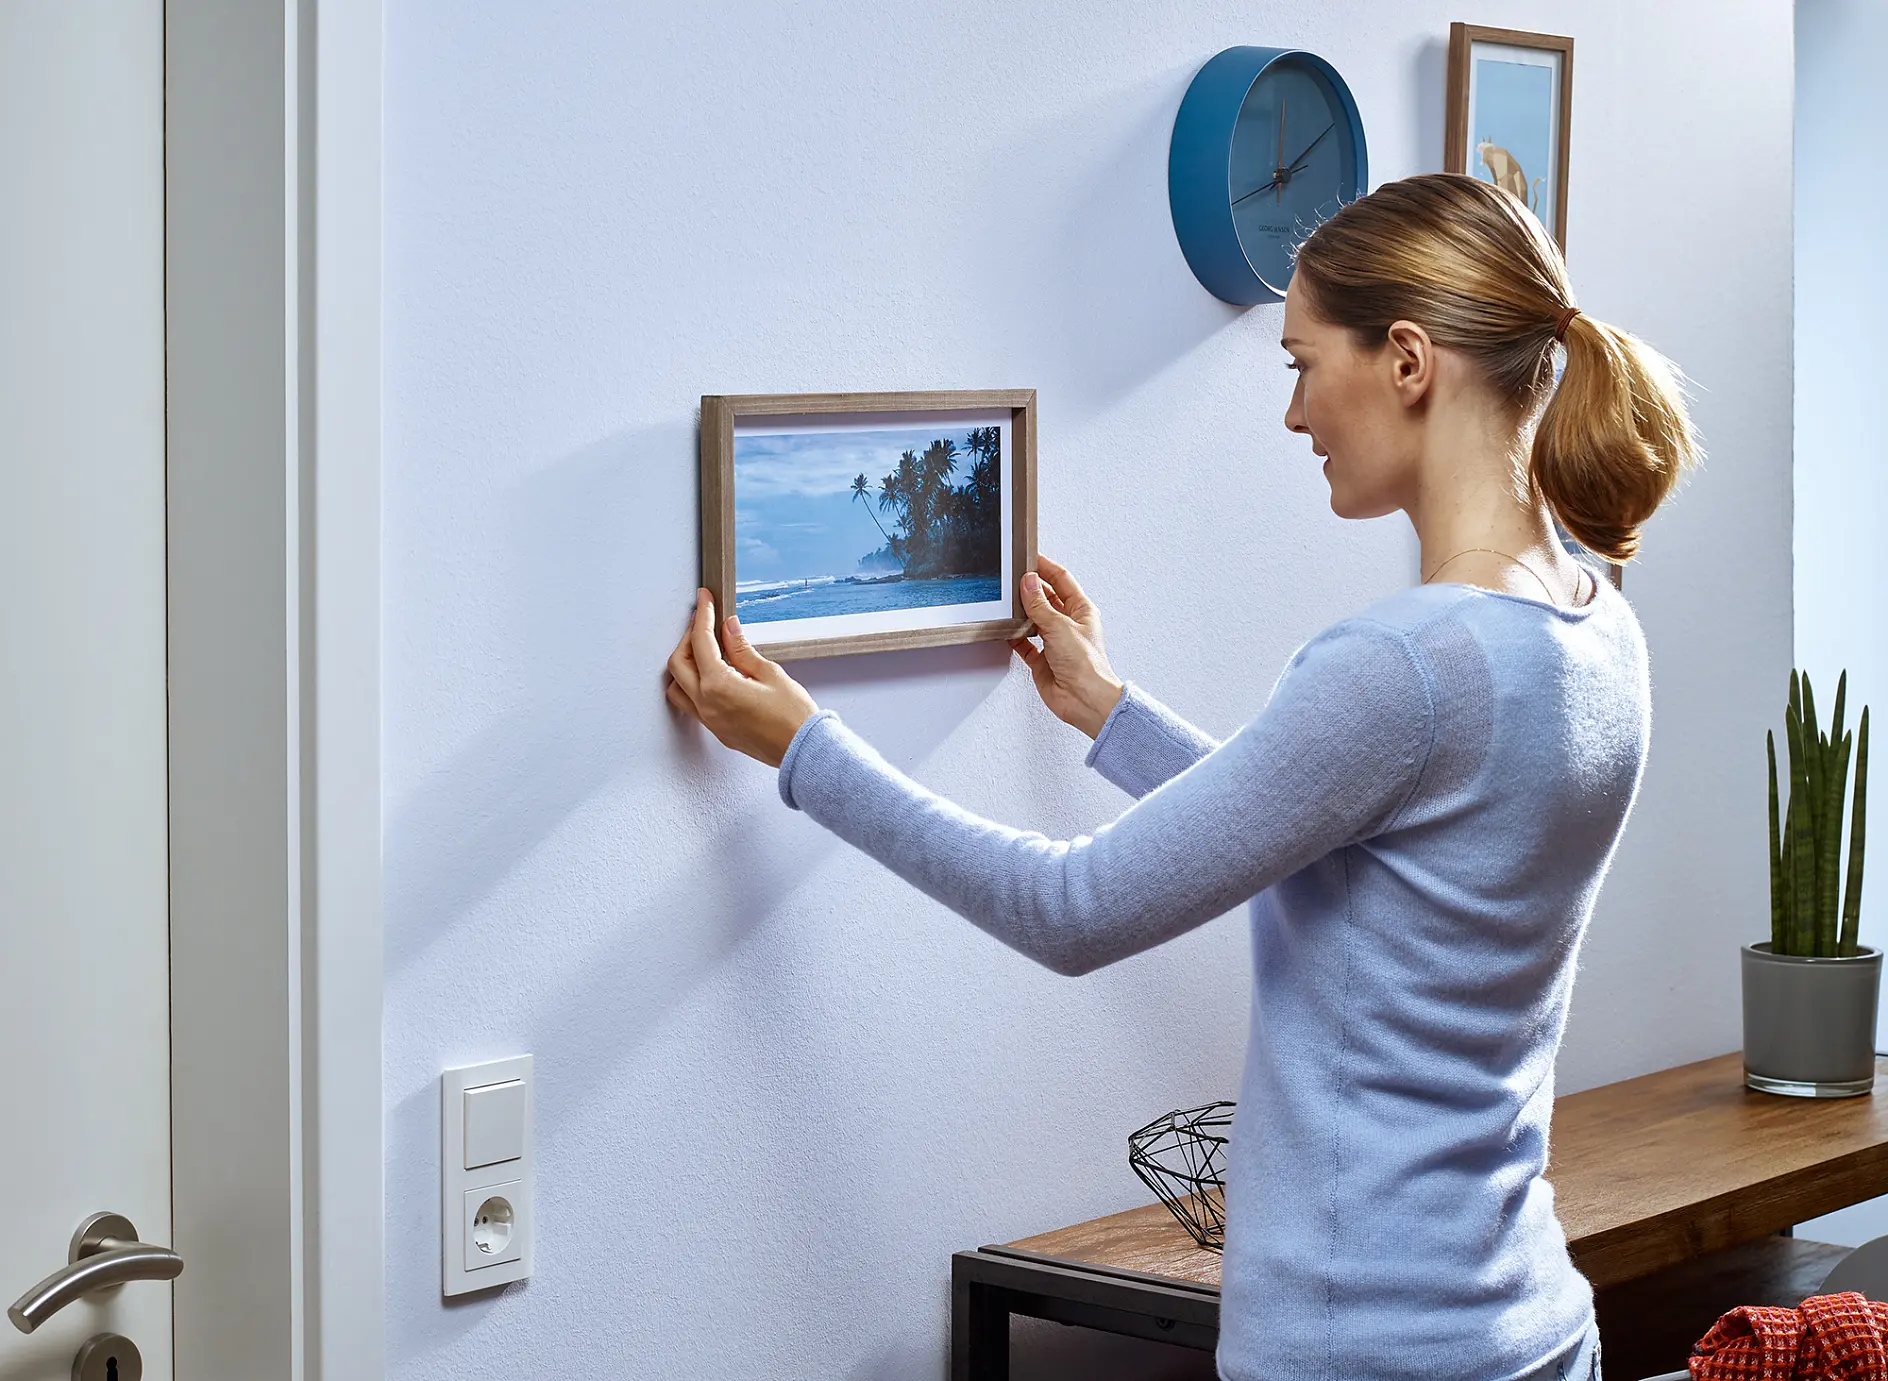
A woman in a light blue sweater is adjusting a framed picture of a beach scene on a white wall with the help of tesa tape. A modern clock and a small plant are on a console table nearby. A light switch and a door are partially visible. (This text has been generated by AI)

06Accrocher votre objet

Votre clou adhésif est parfait pour tout ce qui pèse moins de 0,5 kg, et pas seulement les petites images (vous pouvez utiliser deux clous pour doubler la force d'adhérence). Et comme ils sont retirables et repositionnables, vous pouvez déplacer vos photos, tableaux et décorations aussi souvent que vous le souhaitez.
Two hands are attaching a white hook with tesa tape backing to a textured white wall. The person is pressing the hook firmly with one hand and securing the tesa tape strip with the other. The person is wearing a light blue long-sleeve top. (This text has been generated by AI)

07Comment retirer un clou adhésif

C'est très simple. Il suffit de prendre la tête du clou avec une main (assurez-vous de ne pas appuyer sur la surface) et la languette visible avec l'autre main. L'astuce est de tirer la bande adhésive doucement vers le bas, parallèlement à la surface et non en l'éloignant. Cette action défait les milliers de liens minuscules qui composent la surface adhésive, en garantissant que la surface du dessous reste propre et sans trace.
Dernière mise à jour le 8 juil. 2026