Packaging of tesa tape adhesive screws is displayed on a wooden surface outdoors. The package includes triangular screws suitable for brick walls. A blurred brick wall and a metallic object are in the background. (This text has been generated by AI)

Utilización del tornillo adhesivo triangular tesa® para ladrillo y piedra 5kg

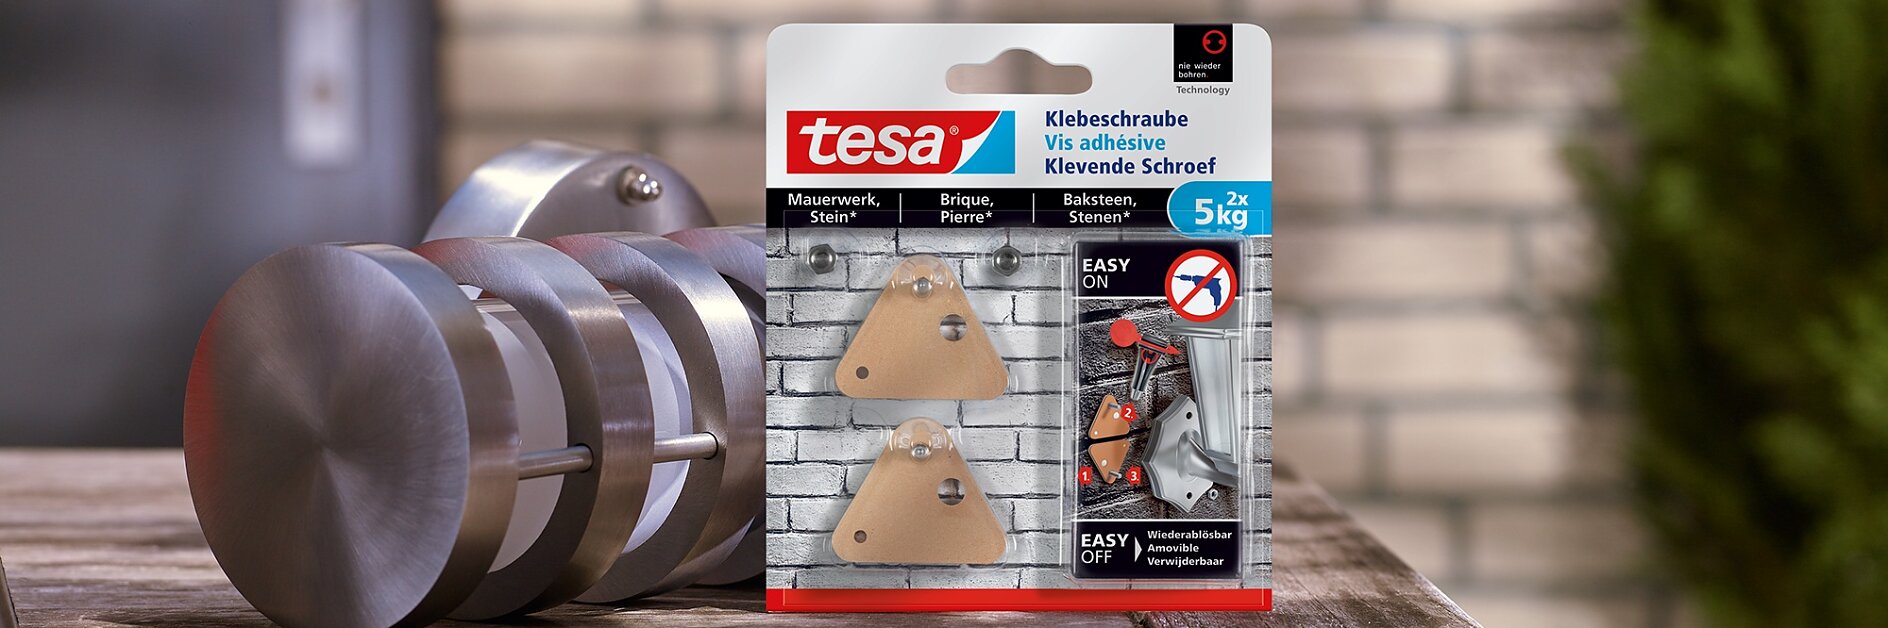
Montaje sin herramientas, sin complicaciones y sin estropicios en superficies rugosas.

A person with short hair uses a brush to clean a white brick wall. They are wearing a gray sweater over a red plaid shirt and are positioned next to a gray door. A bush is visible in the foreground. (This text has been generated by AI)

01Prepare la superficie

Utilice un cepillo para eliminar la máxima cantidad posible de suciedad, polvo y arenilla de la superficie, pues estos elementos pueden reducir la capacidad de adherencia de los tornillos ajustables.
A man in a gray sweater and checkered shirt installs a smart doorbell on a white brick wall near a blue door. He appears focused on attaching the device securely to the wall using tesa tape. (This text has been generated by AI)

02Pegue los tornillos

Despegue el papel de la base de cada tornillo para dejar al aire los bordes adhesivos. Coloque los tornillos en la zona donde quiera montarlos, eligiendo un punto liso y regular, y después presiónelos suavemente para que se adhieran a la superficie.
A person holding a small black tube of paint in one hand and a thin paintbrush in the other, applying paint to the brushs tip. The background features a gray brick wall with strips of tesa tape neatly positioned for guidance. (This text has been generated by AI)

03Abra el tubo

Perfore la boquilla del adhesivo con la herramienta suministrada y luego deslice la herramienta por el otro extremo del tubo.
A person is installing beige address numbers on a white brick wall using a red screwdriver. The person is wearing a gray sweater over a red and blue plaid shirt. Sunlight casts shadows on the textured bricks. (This text has been generated by AI)

04Aplique el adhesivo

Introduzca la boquilla en el orificio mayor de cada tornillo y aplique el adhesivo hasta que vea que empieza a salir por el orificio más pequeño. No hace falta presionar. Deje que la tecnología "nie wieder bohren" (nunca más taladro) actúe durante 12 horas o durante toda la noche. La humedad del aire reacciona con la fórmula y le aporta capacidad de adherencia.
A man in a gray sweater and red plaid shirt is installing a round black device, possibly a camera or sensor, on a white brick wall using tesa tape. He is positioned near a door, and there is greenery visible to the right. (This text has been generated by AI)

05Cuelgue el objeto

Ahora simplemente cuelgue el aplique exterior en los tornillos. Por supuesto, la utilidad del producto no se limita al montaje te apliques. Puede colgar también cualquier otra cosa: un soporte de herramientas, por ejemplo, o una escuadra para colgar una planta.
A man is using an electric drill to install a wall anchor on the exterior brick wall of a building with tesa tape. He is wearing a gray sweater and a red checkered shirt. There are small plants at the bottom right corner of the image. (This text has been generated by AI)

06Desmontar un tornillo adhesivo

Desmontar un tornillo adhesivo es algo realmente muy sencillo. Hemos desarrollado la tecnología "nie wieder bohren" (nunca más taladro) para que sea resistente cuando tiene que soportar cargas, pero no cuando se somete a torsión. Con ayuda de una llave inglesa sujete la base del tornillo y luego gire.